Hello Honey Bee friends! Today I’m sharing my card that features the new Farmers Market Cart Add-on Honey Cuts. This is the latest add-on for the previously released Market Cart Builder. There’s also a Farm Fresh Market Cart Add-on and a Pumpkin Spice Market Cart Add-on for the Market Cart Builder so you can use it year round!
You can even use other small elements from other sets as I did in this blog post where I made the Market Cart into a seashell cart for a summertime card!
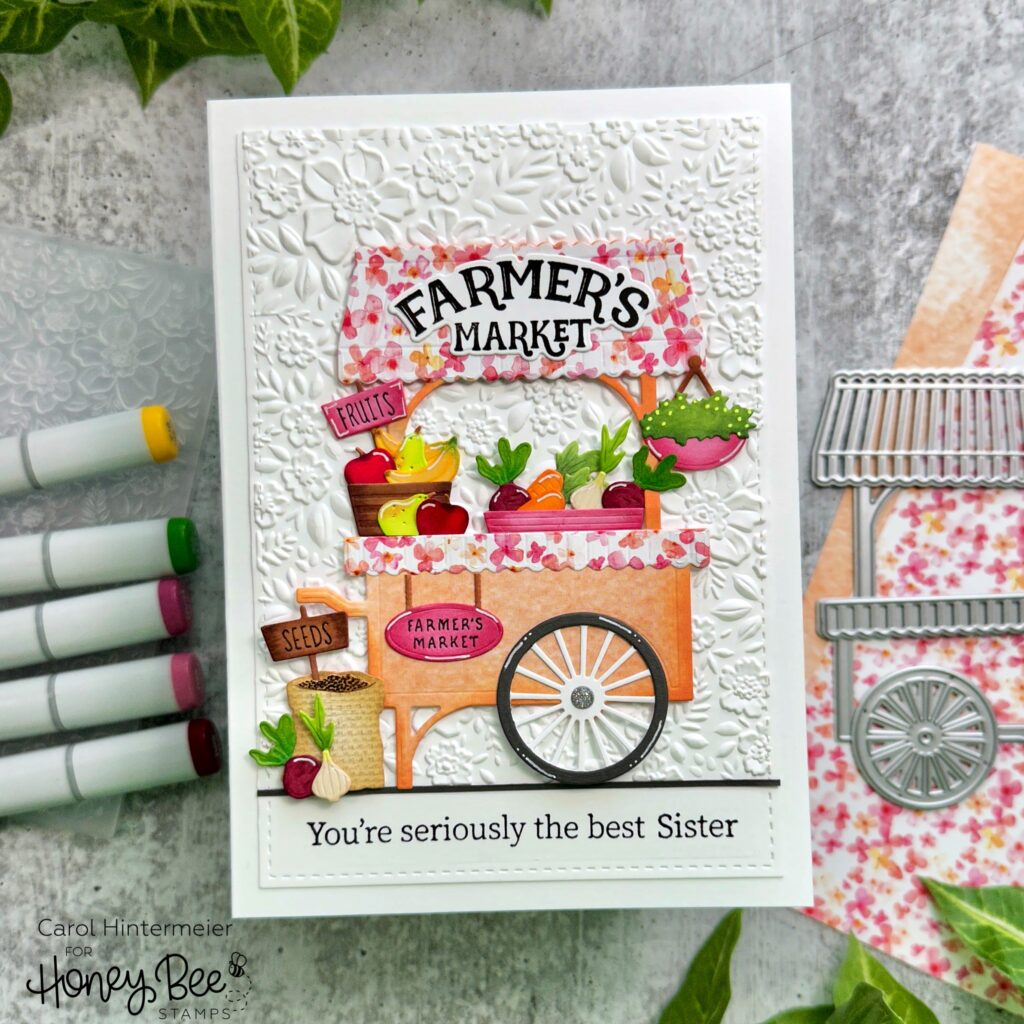
I made the A7 card base and background layer first. I die cut 80# Neenah with the largest A7 Double Stitched Frames Honey Cut. Then I placed it in the Spring Medley 3D embossing folder leaving about ¾” of the end out of the embossing folder. This leaves a nice smooth area to stamp the sentiment from the This One’s For The Girls stamp set in black ink.
Here’s a great tip for how I get the sentiment straight. I used a t-square ruler to draw a light pencil line where I wanted the sentiment to be stamped. Then I placed the piece in my MISTI, aligned the sentiments along the pencil line and then picked them up with the MISTI door. NOW, erase the pencil line! If you wait until after the sentiment is stamped, you run the risk of smearing the ink. I inked up the stamp with Intense Black ink and stamped it on the panel. I adhered a thin strip of dark gray cardstock where the embossing folder ended.
Next I created my cute market cart. I used the Market Cart Builder, the Farmers Market Cart Add-on, and paper from the Simply Spring paper pad.
The Market Card Builder is die cut from one sheet of patterned paper from the Simply Spring paper pad. Just flip it over for the orange cart. I die cut the images of the Farmers Market Cart Add-on from 80# Neenah white cardstock, except for the wheel and seed sack. I used dark gray cardstock and a patterned paper scrap from the Simply Spring paper pad.
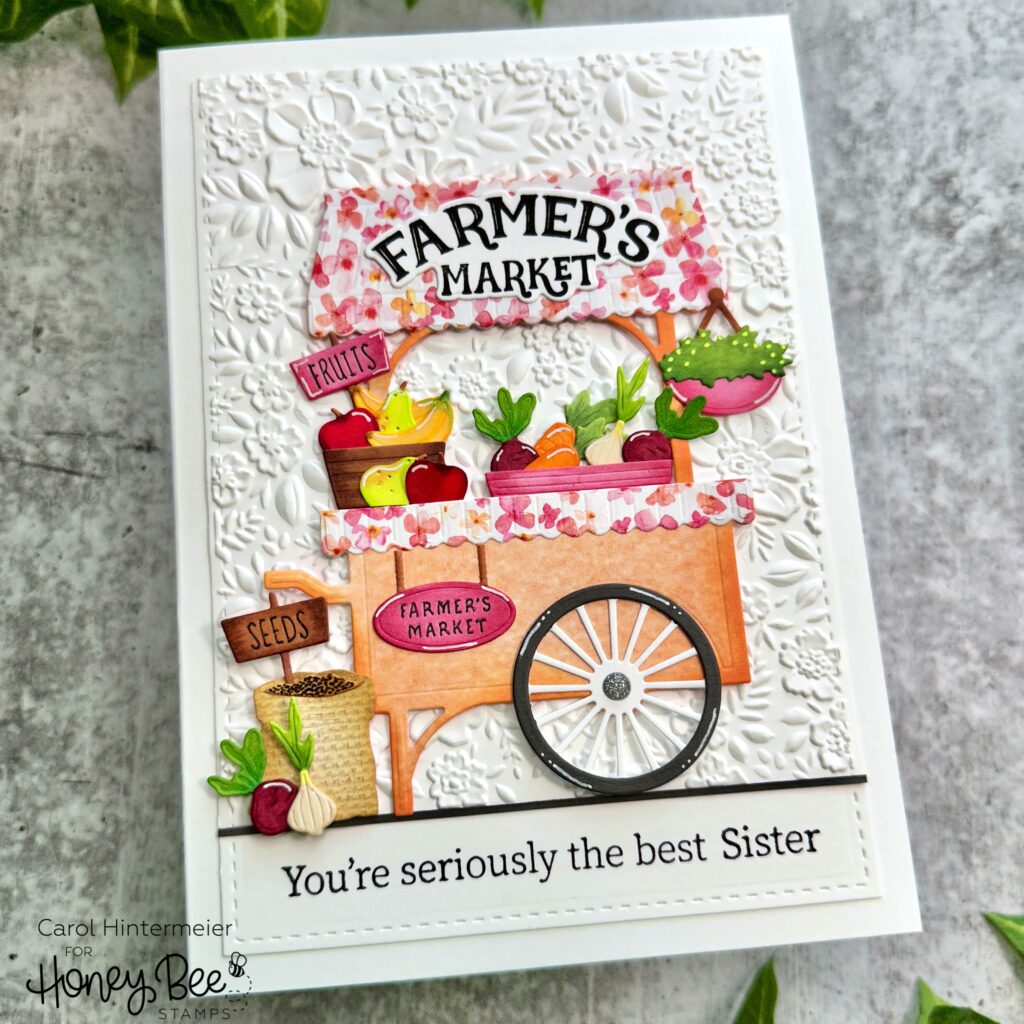
I used Copic markers to color the images. These are small images and you can keep your coloring simple and it will still be easy and beautiful! Of course, you can always use your colored cardstock scraps if you don’t want to color the images! There’s a layering guide in the Farmers Market Cart Add-on description that shows how the pieces go together. I used Bee Creative glue to adhere the layers together.
Another tip is to use a Micron 005 black pen to trace the embossing left from die cutting the signs. This pen’s tip fits perfectly into the lettering of the signs!
I used foam tape and glue to adhere the elements to the card base. I felt like the top of the cart needed something so I used the sentiment from the Eggstra Special stamp set, stamped it in black ink, then cut it out with the coordinating Honey Cut.
I added a sparkly enamel sticker, from the Shimmer and Shine Enamel Stickers, to the wheel center. I added accents to the elements with a yellow and a white gel pen.
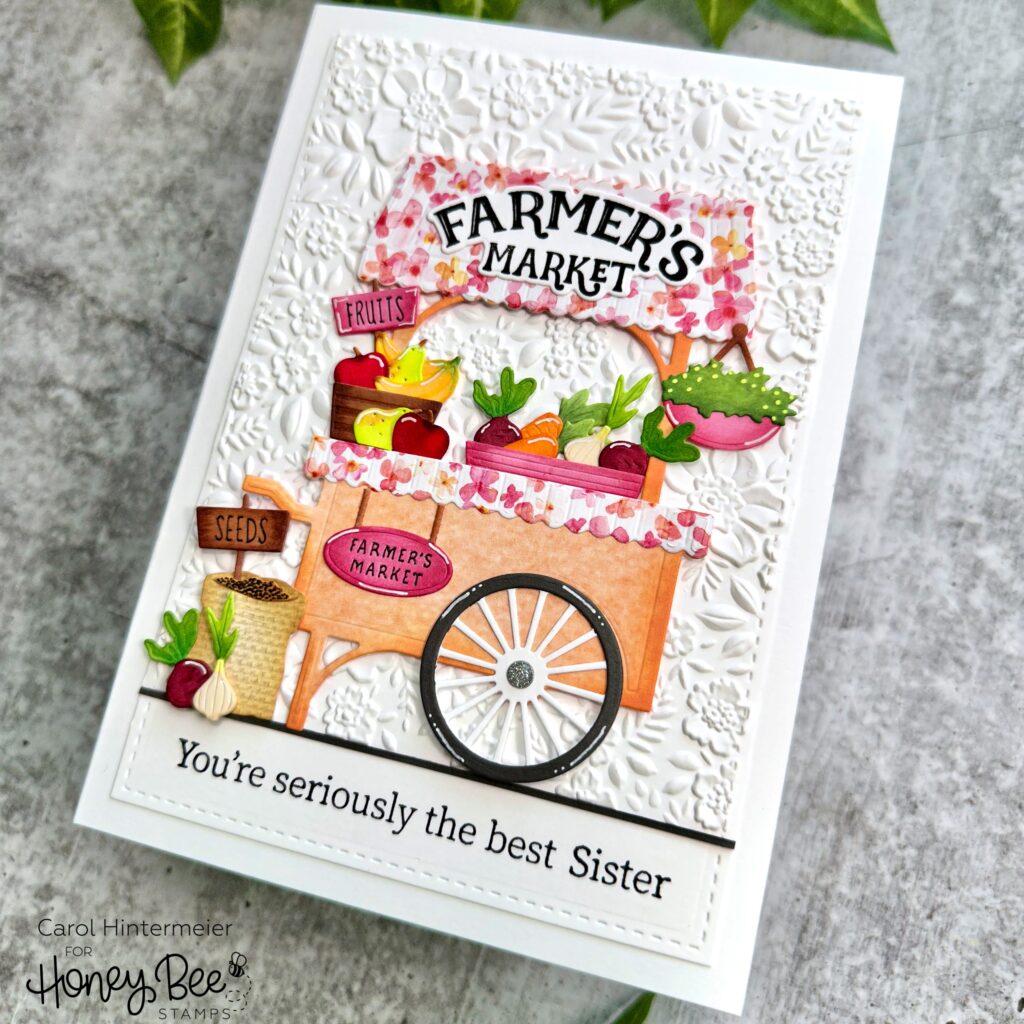
I had lots of fun making this “girly” style of Market Cart card! And I’m sure my sister will love it! There are so many ideas in my head for this set, and I hope I’ve given you some inspiration for using all of the Market Cart sets! Thank you very much for stopping by today. It’s always so appreciated!
5 responses to “You’re Seriously The Best — A Farmers Market Cart Card”
Absolutely beautiful 😍
Absolutely beautiful!!!!
Thank you so much Joanne! I sure appreciate your kind comment!
SO WONDERFUL!!! I’VE BEEN TRYING TO GET OUR LOCAL STAMP STORE TO CARRY THIS WHOLE LINE OF DIES. WONDERFUL COLORING, COMPOSITION AND IT’S PERFECT THE WAY YOU USED PATTERNED PAPER TO CUT THE CART AND TRIMS.
Thank you so very much, Kristen, for your kind comment! It is a beautiful and fun line for sure!