Hello Honey Bee friends! The Lovely Layers line is one of my favorites by Honey Bee, and today I’m using three Lovely Layers sets on my card! And I’m also using some of the gorgeous floral paper from the Simply Spring paper pad. Check out all of the details on how to make this easy, but beautiful, card below.
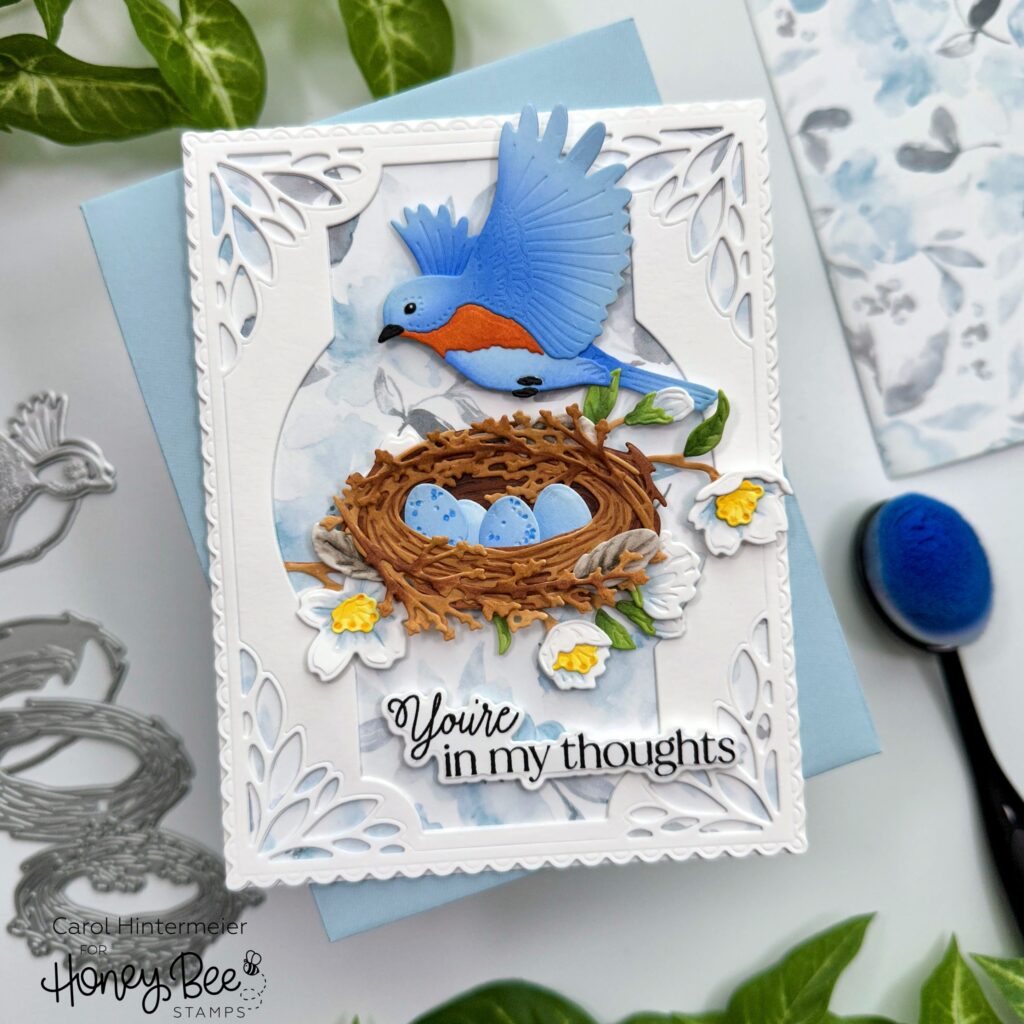
First I die cut two of the Spring Vine Layering Frames from 80# Neenah. I adhered those together with Bee Creative glue and adhered the frame to the blue floral paper from the Simply Spring paper pad. (Note: I made sure leave that space where the branch tucks under without glue.) Then I added the layers to an A2 card base.
Next I die cut the pieces of the Lovely Layers: Nest from 80# Neenah. I used Copic markers to color the layers. The colors I used are E79, E59, E57, and E55. The feathers are colored with W7, W5, W3, and W1. I used glue to adhere the layers and set it aside to work on the other card elements.

The branch for the nest is the Lovely Layers: Cherry Blossom. I die cut it and the layers from 80# Neenah. (Note: I only die cut the layers that would not be hidden from the nest.) I wanted the flowers to coordinate with the beautiful floral paper, so I used Copic markers to add shading in the flower centers. I used B93 and B91, going over those colors with C1 and C0 to tone down the blue a bit. The green leaves are G85, G43, and G24. The flower centers are Y19, Y15, and Y11. I used E55 to color the branch.
After I adhered the Cherry Blossom layers I tucked the end of the branch under the frame using glue and a few foam squares to adhere it.
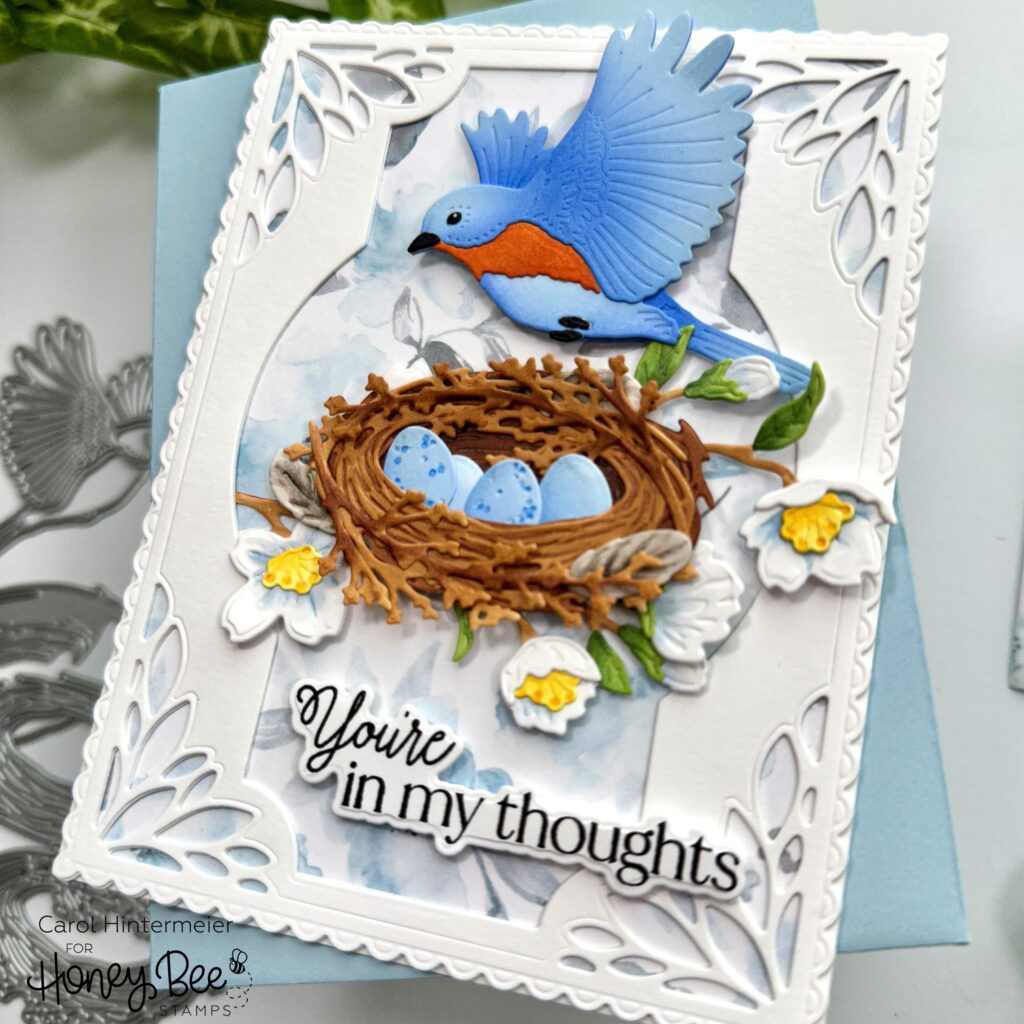
The final element is the Lovely Layers: Spring Birds. I die cut the blue bird pieces from 80# Neenah. This time I used a couple of blue inks in my stash and blender brushes to color the bird. The rusty color is Rusty Hinge Distress ink. I did color the beak, eye, and feet with a black marker. I used Bee Creative glue and my reverse tweezers for easy assembly. If you need help with the layers, be sure to check out the link for the handy layering guide found in the product description.
I stamped the sentiment from the Daisy Layers Bouquet stamp set with black ink. I cut it out with the coordinating die and popped it up with foam tape onto the card.
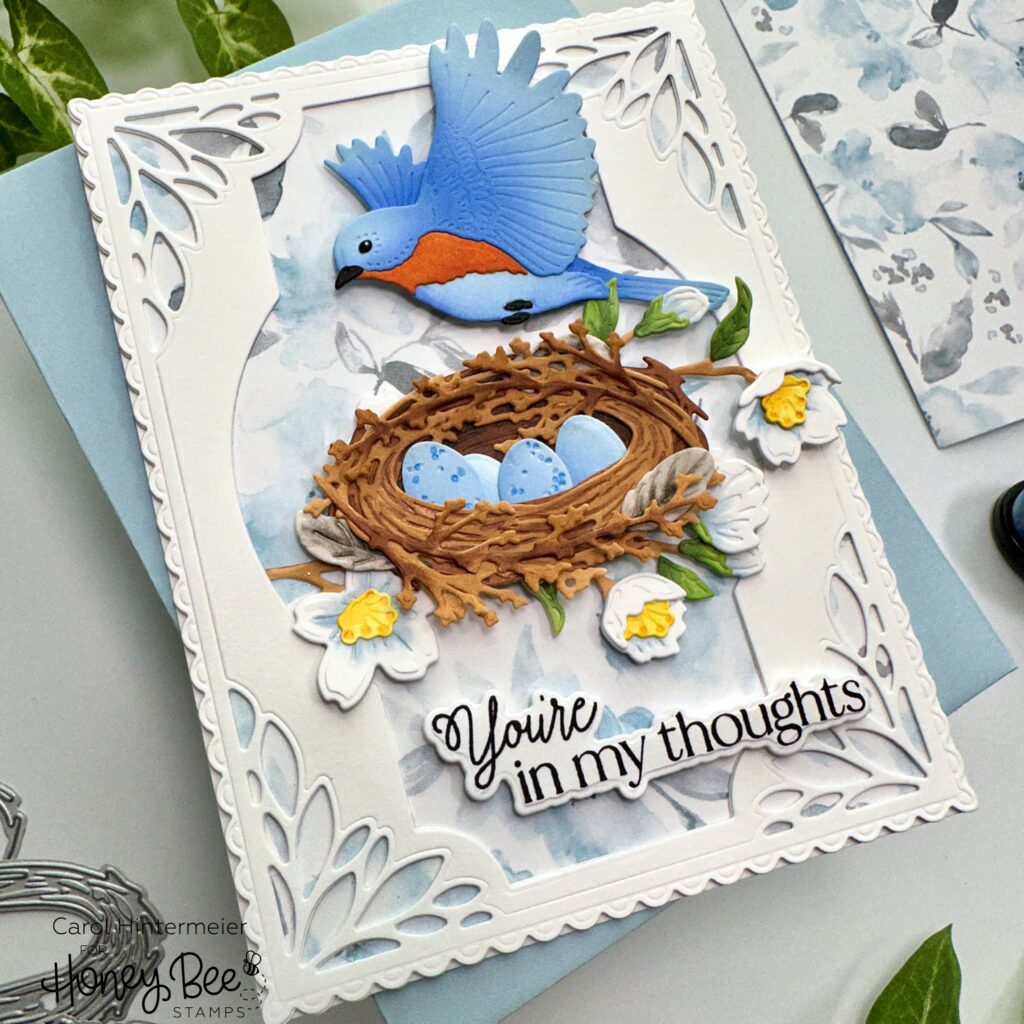
I love how this card turned out and it will be perfect to have for sending to someone that needs a smile. Thank you so much for stopping by. I hope you have a wonderful and crafty day!
2 responses to “You’re In My Thoughts”
Fantastic card!
Will be getting these products to try this out.
Thanks for your inspiration.
Thank you so much Connie! I’m so happy to have given you inspiration and hope to see what you create!