Hello Honey Bee friends! Today I’m sharing my card that features three of the beautiful newest Lovely Layers sets–Love Birds, Birdcage, and Sweetheart Roses! I chose some cheerful springtime colors for this card since spring is just around the corner!
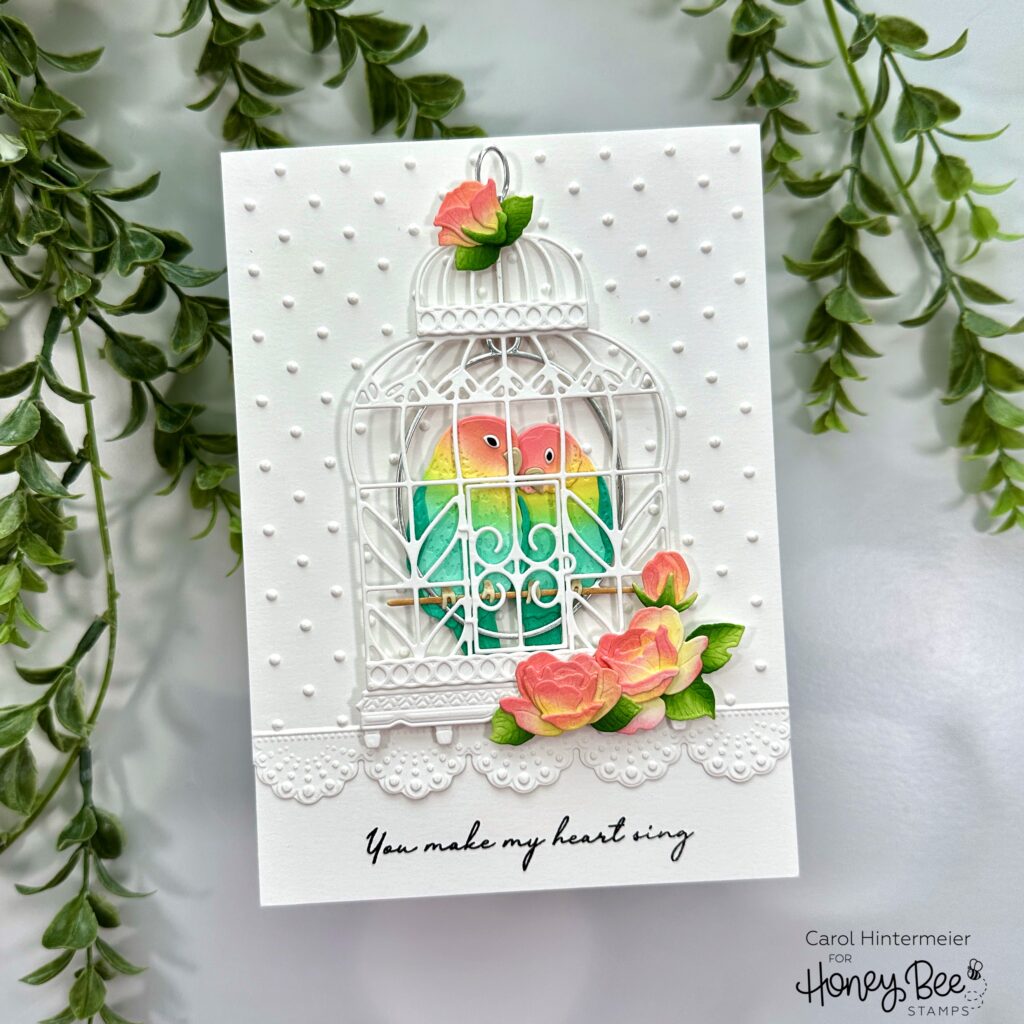
The card base is 5″ x 7″ and topped with a white cardstock layer embossed with the Eyelet Lace 3D embossing folder. I used the coordinating die to cut the bottom edge.
The sentiment is stamped in black ink and is from the By Your Side stamp set. Since I stamped it directly onto the card base, I didn’t need the wonderful coordinating Honey Cuts.
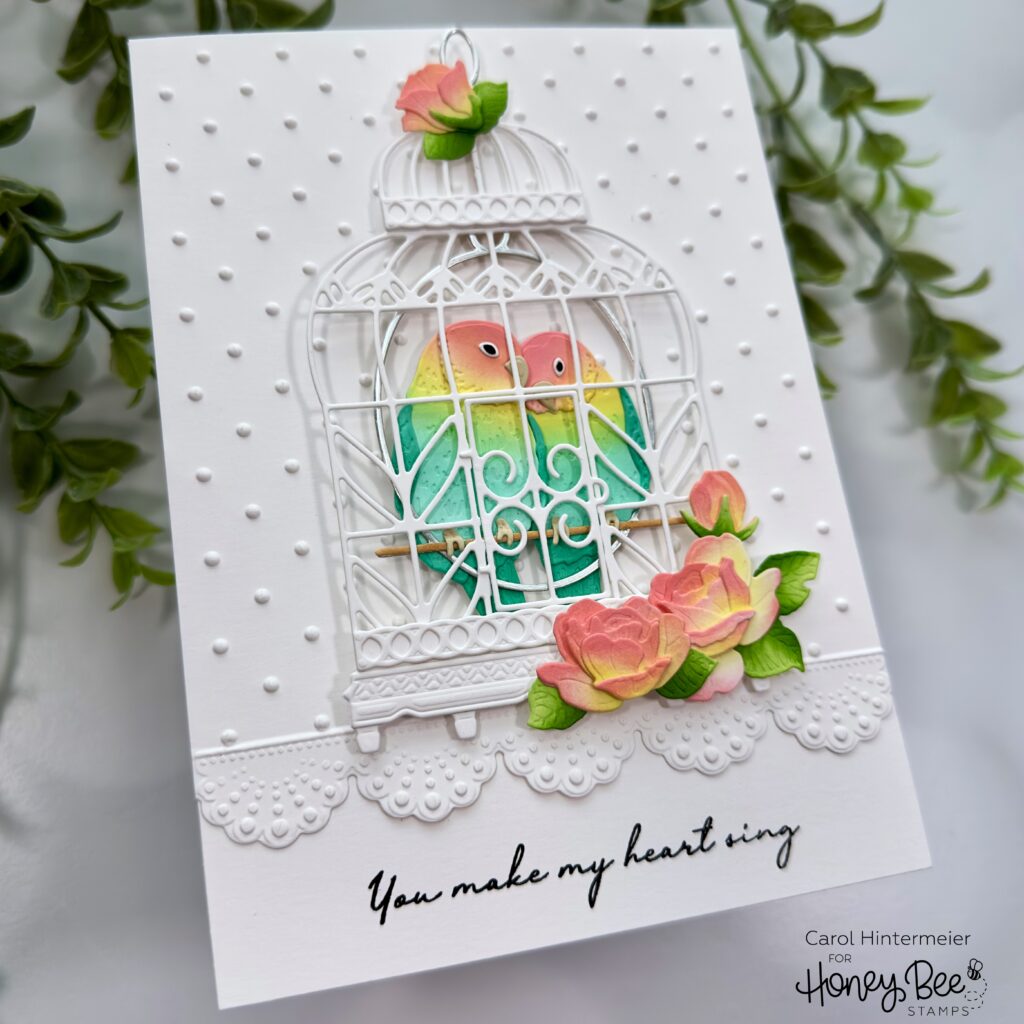
I created the white Lovely Layers: Birdcage by cutting the dies with 110# white cardstock except for the round portion of the perch and the top piece which are cut from silver cardstock. I die cut another of the perch (just the horizontal piece) from scrap white cardstock. I trimmed it and used a light brown Copic marker to color it to resemble wood. Then I used glue to adhere it to the silver portion of the perch.
I used the handy Layering Guide to assist my assembly since this was the first time using the Birdcage set. After I glued the pieces together, I set it aside to work on the birds. I die cut all of the Lovely Layers: Love Birds from white cardstock. Using ink blending brushes, I colored the birds in a coral, yellow, and teal ink shades that I have in my stash.
Again, I used the Love Birds Layering Guide to adhere my layers together with glue. When I glued their claws on I made sure to just add a dot of glue to the top. This allowed me to lift the base of the claws to adhere them over the perch. Once I had the birds and perch finished, I glued them behind the birdcage. I made sure to position the birds so the eyes were in an open area of the cage.
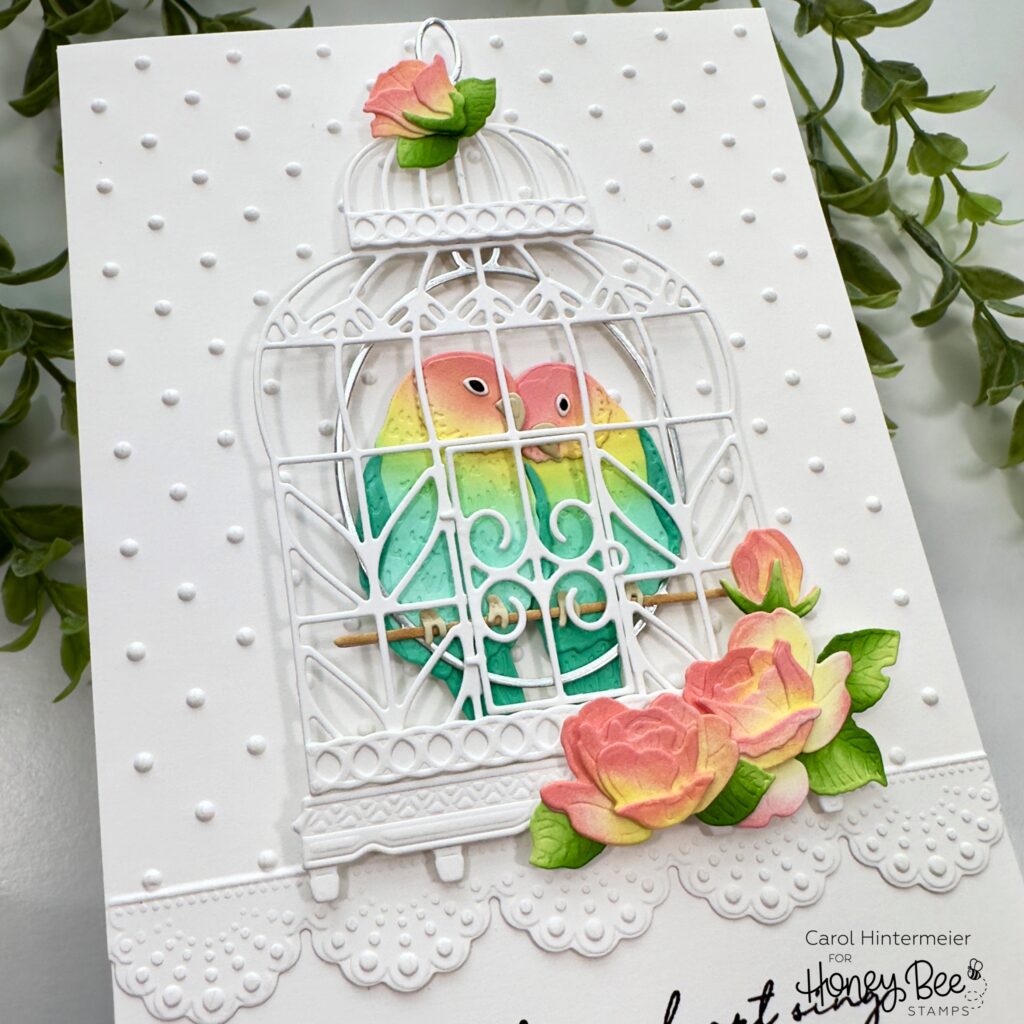
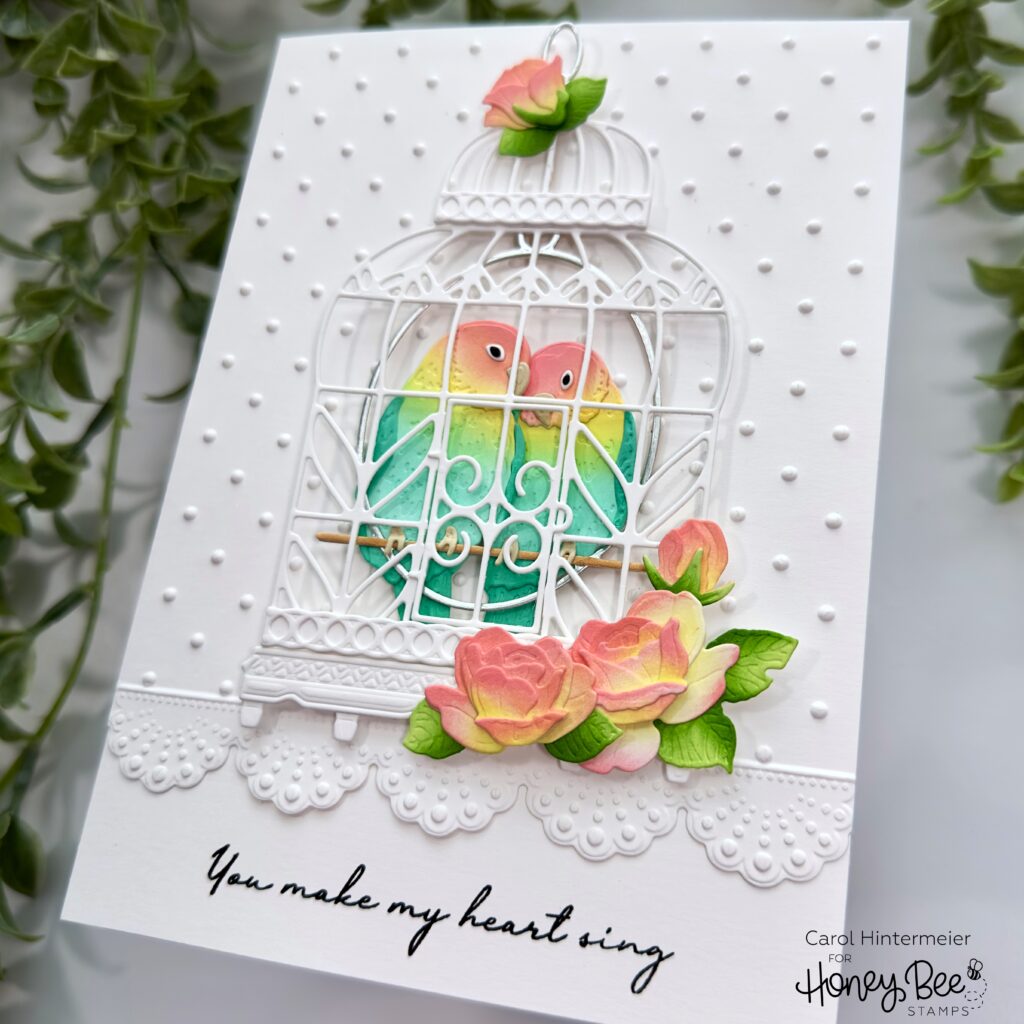
I added a few strips of foam tape to the back of the birdcage to adhere it to the card. For the decorative flowers, I die cut the Lovely Layers: Sweetheart Roses from white cardstock. I did not die cut the large branch piece as the flowers and leaves can be used alone making this set even more versatile!
The roses are colored with the same coral and yellow inks that I used on the birds for a cohesive look. After I adhered the Sweetheart Roses layers, I arranged them on the bird cage and adhered with glue.
I really love how this turned out and hope you do too! If you would like to see some of the actual card making process, please join me on my Instagram to see the reel that I will be sharing. Thank you so much for stopping by. I hope your day is a good one filled with crafty fun!
4 responses to “You Make My Heart Sing”
I love this card. Your choice of colors and way of using them is beautiful. Inspires me to get my rose dies out and play with them.
Thank you so very much, Cathy! You’re the best!
Oh Carol, this is the most romantic, gorgeous card ever! While I had just bought some of the dies used here, I immediately rushed to buy the rest so I could copy your lovely design. Just stunning. Thank you so much for the inspiration!
Danita, your sweet comment has just made my day! Thank you so very much!!!