
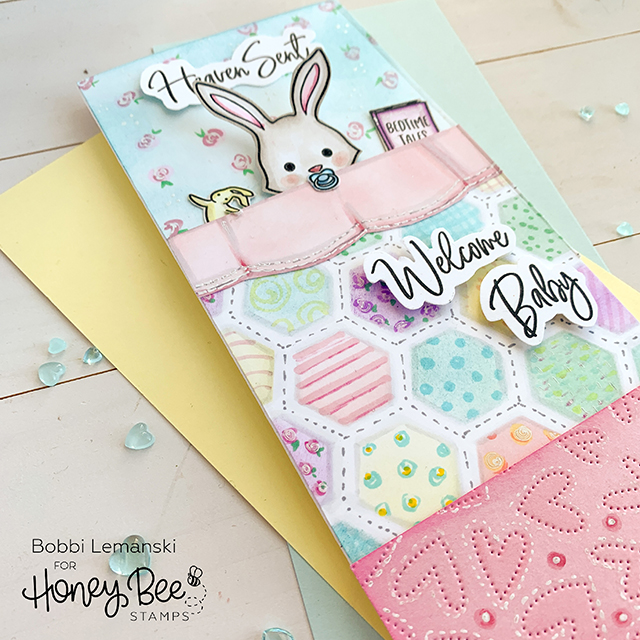
Hi there! It’s Bobbi here with a sweet card for a little baby that’s arriving soon! This card shares much handmade love for the little one. My niece and her husband can’t wait for their first child to arrive in early April. I want to be ready with a handmade card to welcome our newest family member. I thought it would be cute to bundle the little joy in a sweet baby quilt. To make this slim line baby card that measures 3-1/2″ X 8-1/2,” I used the following Honey Bee Stamps products:
Heaven Sent stamp and die sets
Hexagon Pattern Background Stencils
Fluttering Hearts Pierced Cover Plate
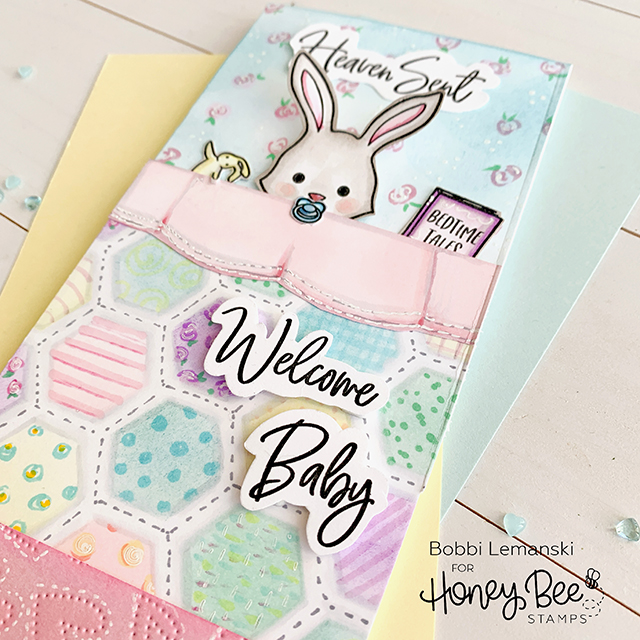
To start, I stamped, colored and cut out the bunny, storybook, pacifier, and tiny bunny. I also stamped and hand cut the “Heaven Sent, Welcome Baby”
words as well. Next, I cut rectangular pieces of card stock as follows:
- Hexagon quilt: 3-1/2″ wide X 5-3/4″ long from white cardstock
- Blue fitted sheet: 3-1/2″ wide X 2-3/4″ long (behind the bunny’s head) from white cardstock
- Pink unfitted sheet: 3-1/2″ wide X 1″ long from white cardstock (Note: I hand cut the one edge for the look of soft folds. You could leave it straight and it would look great.)
- Pink folded blanket at the foot of the bed: 3-1/2″ wide X 2-7/8″ long from pink cardstock
I used Broken China Distressed Oxide Ink and my larger blender brush to color the fitted sheet background for behind the bunny’s head. I added a little rose pattern by simply creating small flower designs and leaves on the inked sheet using Copic markers in pinks and greens.
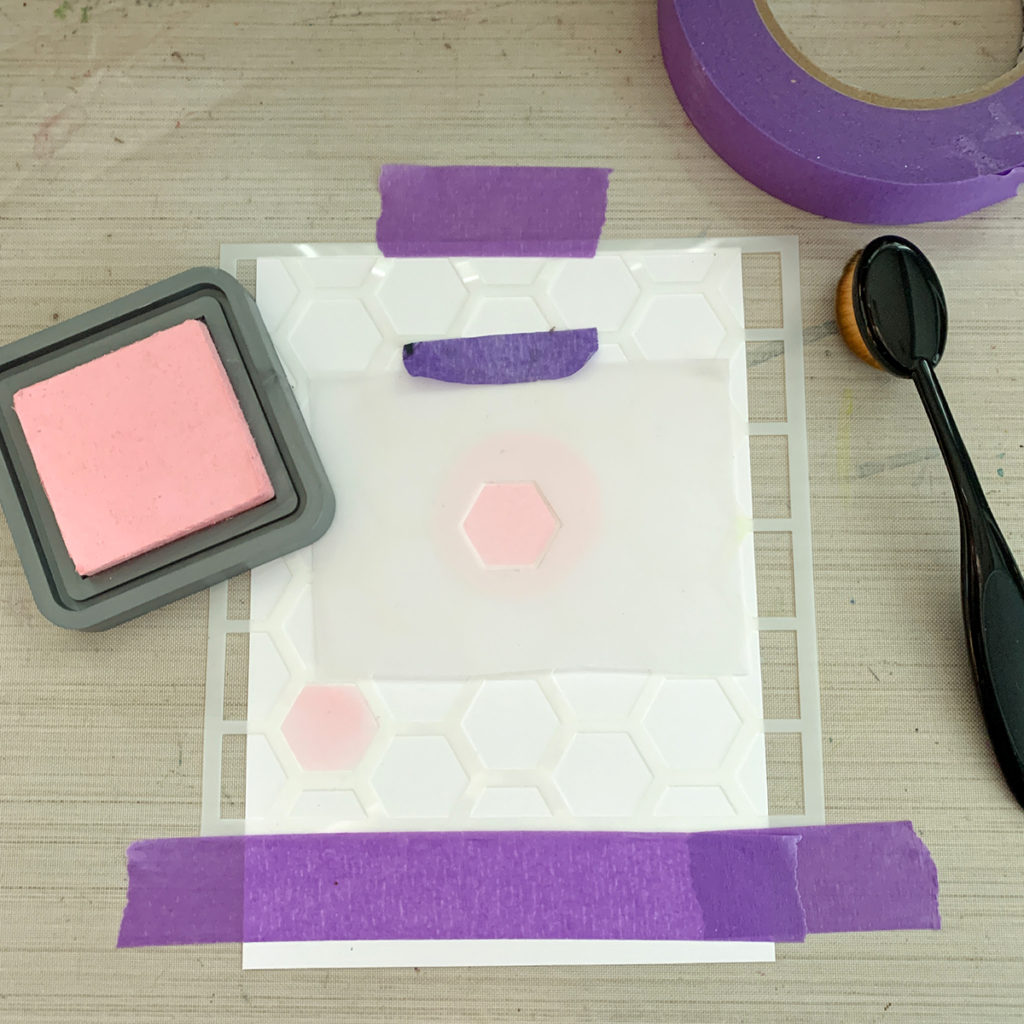
To create the quilt, I used the smaller pattern stencil to make the individual quilt blocks. I created a mask using vellum with a hexagon die cut out of it and applied ink to each block while blocking the adjacent hexagons using the mask. Distressed Oxide Inks in Cracked Pistachio, Spun Sugar, Squeezed Lemonade, Wilted Violet and Broken China were used and applied using my smaller blender brushes. Flowers, dots, stripe and check designs were added to each quilt block using Copic Sketch markers and my white gel pen. I added gray stitching between the squares to mimic quilting stitches and a soft gray shadow around each hexagon to make them appear a bit more dimensional. (Note: In my photo above, I am using a 5″ X 7″ piece of cardstock. Later, I decided to cut it down to be a slim line size.)
Time-Saving Tip: If you don’t like the idea of creating the individual custom patterns for each hexagon, simply die cut hexagons from your favorite pattern papers and adhere in place using the stencil as your positioning guide. It will save you coloring time. Spring Fling pattern paper or The Bee’s Knees patterns would be so cute to use for a baby quilt!
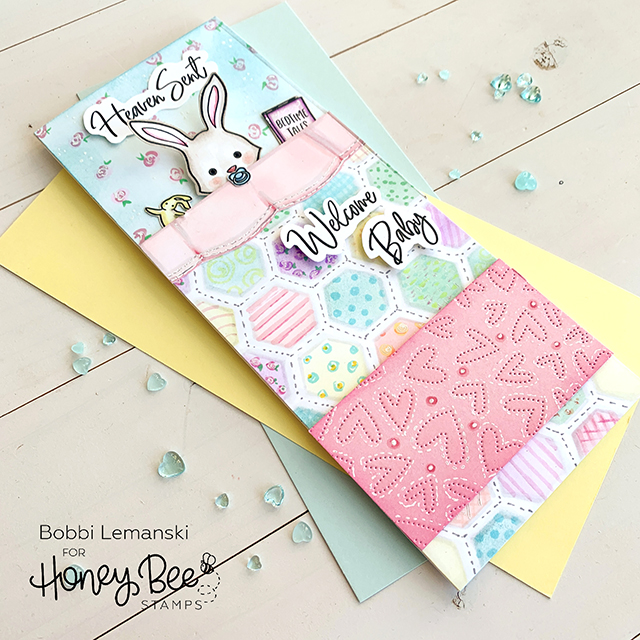
I hand cut a softly scalloped edge for the unfitted sheet, applied Spun Sugar ink using a blender brush and added a few faux folds and stitching on the edge. For the pink folded blanket at the foot of the bed, I die cut the pierced heart design and added white stitching lines around each heart using my white gel pen to mimic hand quilted stitching. I applied Picked Raspberry ink around the edges, too.
All of the elements were adhered together, tucking the bunny and elements under the quilt, with the quilt overlapping the sheets, to create the card. The “Welcome Baby” words and the bunny’s head were popped up using dimensional foam tape to complete the look. This card will fit in a business size envelope or you could create a matching envelope using an envelope maker. I hope the new parents will enjoy receiving this card when baby arrives. 🙂 You can shop all of these products at Honey Bee Stamps.
Want to see more ideas and inspiration from me? Subscribe to my blog, BobbiHartDesign.com. I’ll send you updates on new posts! You can also find me on Instagram as @BobbiHartDesign and on Facebook as BobbiHartDesign. Bobbi Hartmann Lemanski, Bobbi Hart♥ Design, Adding h♥art into every design