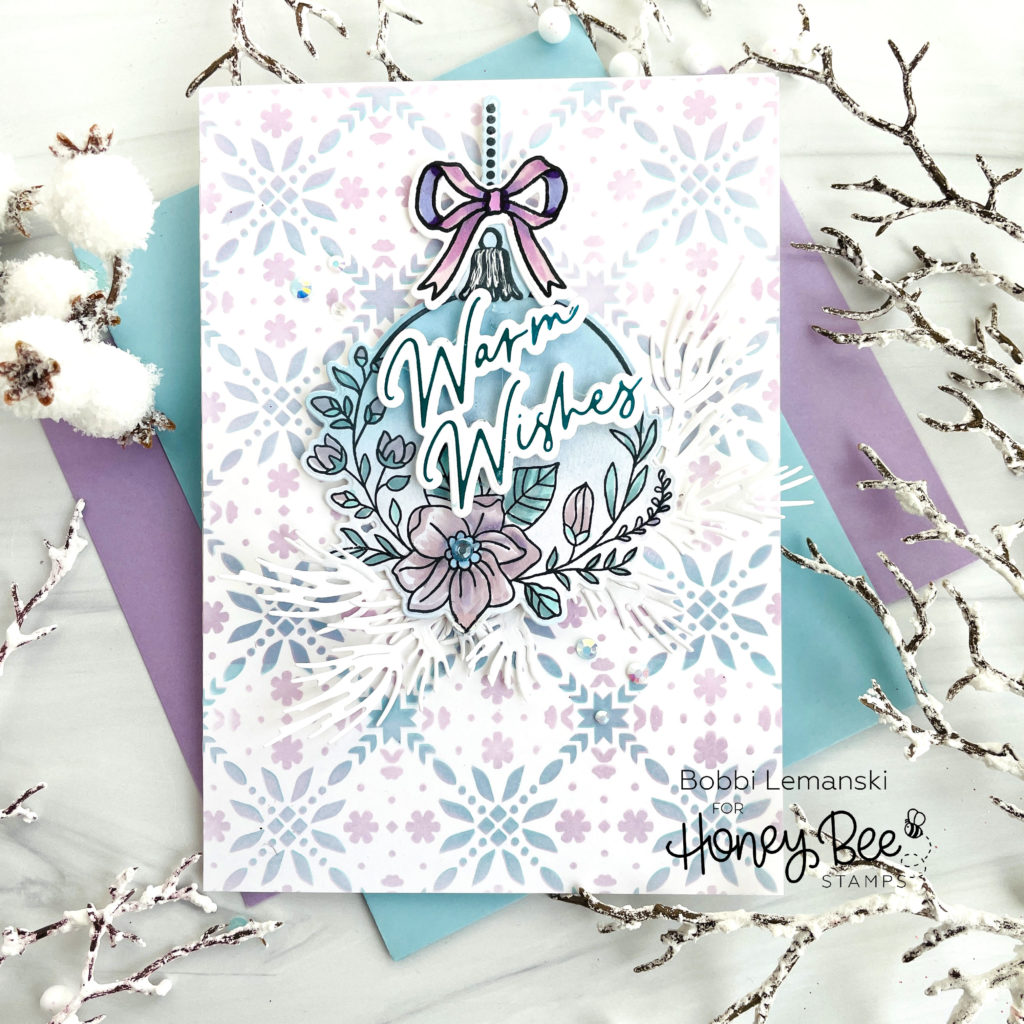
Hello friends. It’s Bobbi Lemanski here sending out some warm wishes, a hanging ornament and Christmas florals for the holidays! The new Honey Bee Stamps release called, “Make It Merry” includes these items I’m using today:
Elegant Floral Frames stamp set and coordinating dies
Foil Script: Holiday Hot Foil Plate and Honey Cuts
Lovely Layers: Winter Greenery – Honey Cuts
Nordic Winter – Set of Two Background Stencils
Snowflake Wax Stamper and Winter Wonder Wax
Inside: Holiday Sentiments stamp set (from a prior release)
The featured project below is made from Neenah 80lb Solar White cardstock for the card base and card front panel. All of the black ink stamping was done using Honey Bee’s Bee Creative Intense Black Ink. I use Honey Bee Stamps Bee Creative Precision Glue for adhering my elements together. My card is 5″ X 7″ in size.
To make this A7-sized card, I started by creating the two-toned background using the Nordic Winter – Set of Two Background Stencils. I stenciled the first stencil design using Broken China Distress Oxide Ink and the second design using Spun Sugar Distress Oxide Ink. When the two combine, it makes a pretty lavender color. I love that!
I stamped and cut the frame /ornament using the Elegant Floral Frames stamp set and coordinating dies. I blended more aqua colored ink on the frame using my blender brush and Broken China. I used my Copic Sketch Markers to color in the florals. I used V01, V12, RV93, RV95, BG11, BG72, and BG75 for a lavender/pink/blue color scheme. I attached the hanging ornament to the stenciled front panel using Scrapbook Adhesives .25 Foam Squares in white. I attached a bow at the top, colored in V04, BV00 for a pink and lavender look.
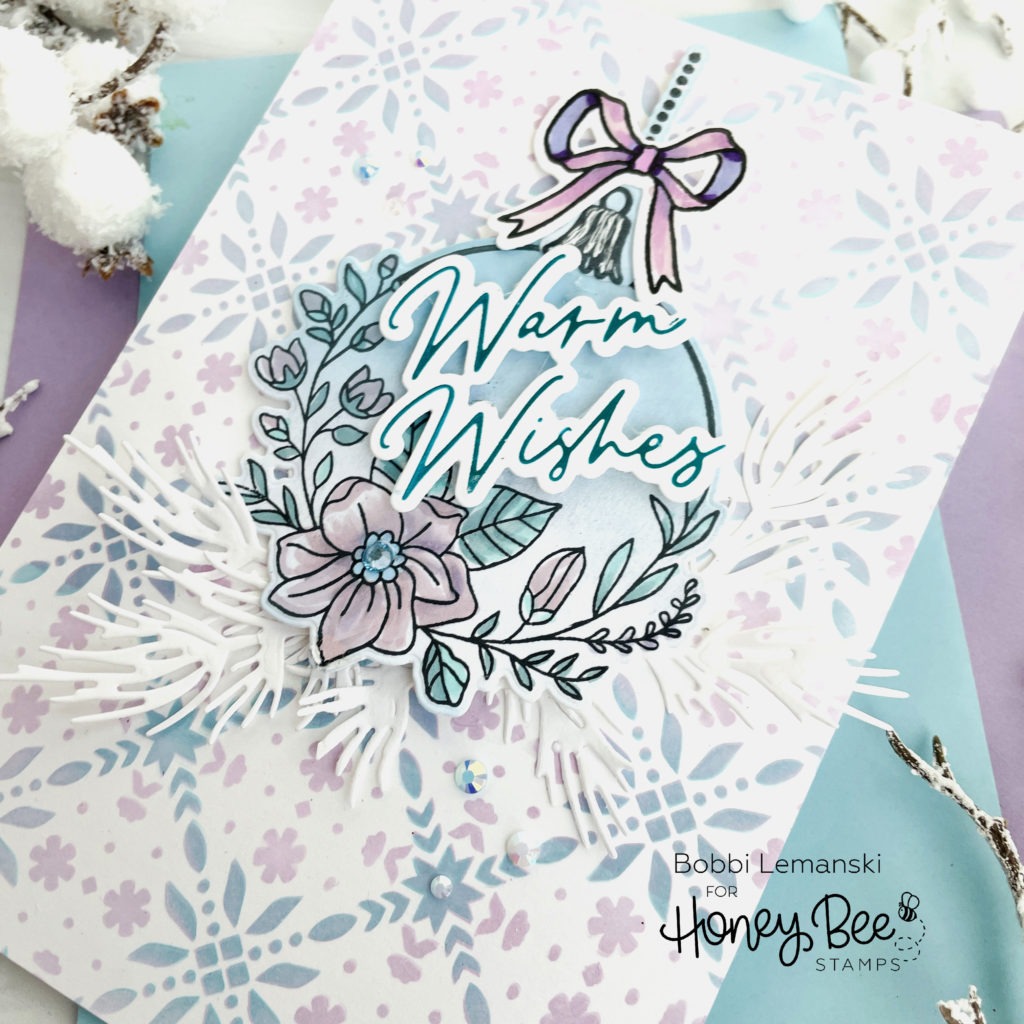
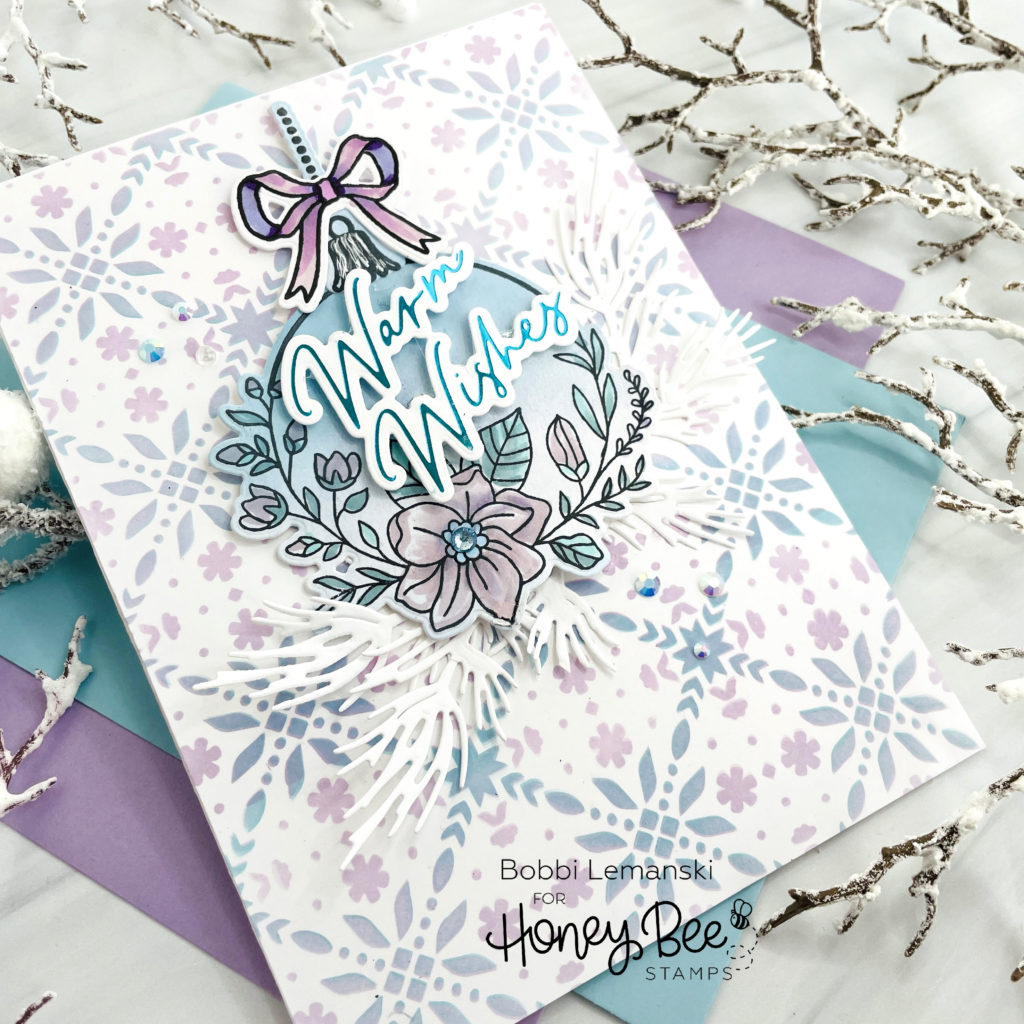
After attaching the design, I die cut white stemmed evergreens using the Lovely Layers: Winter Greenery – Honey Cuts and Neenah 80lb Solar White cardstock. I tucked and glued the greens beneath the ornament. I foiled the “Warm Wishes” sentiment in Teal Glimmer Foil (using my Spellbinder Glimmer Hot Foil System) and die cut it using the coordinating dies included in the Foil Script: Holiday Hot Foil Plate and Honey Cuts set. I attached the sentiment right over the ornaments using Scrapbook Adhesives .25 Foam Squares in white. I added a few accent Hugs & Kisses Gem Stickers around the ornament for a little holiday sparkle. Inside the card, I stamped a holiday greeting from the Inside: Holiday Sentiments stamp set.
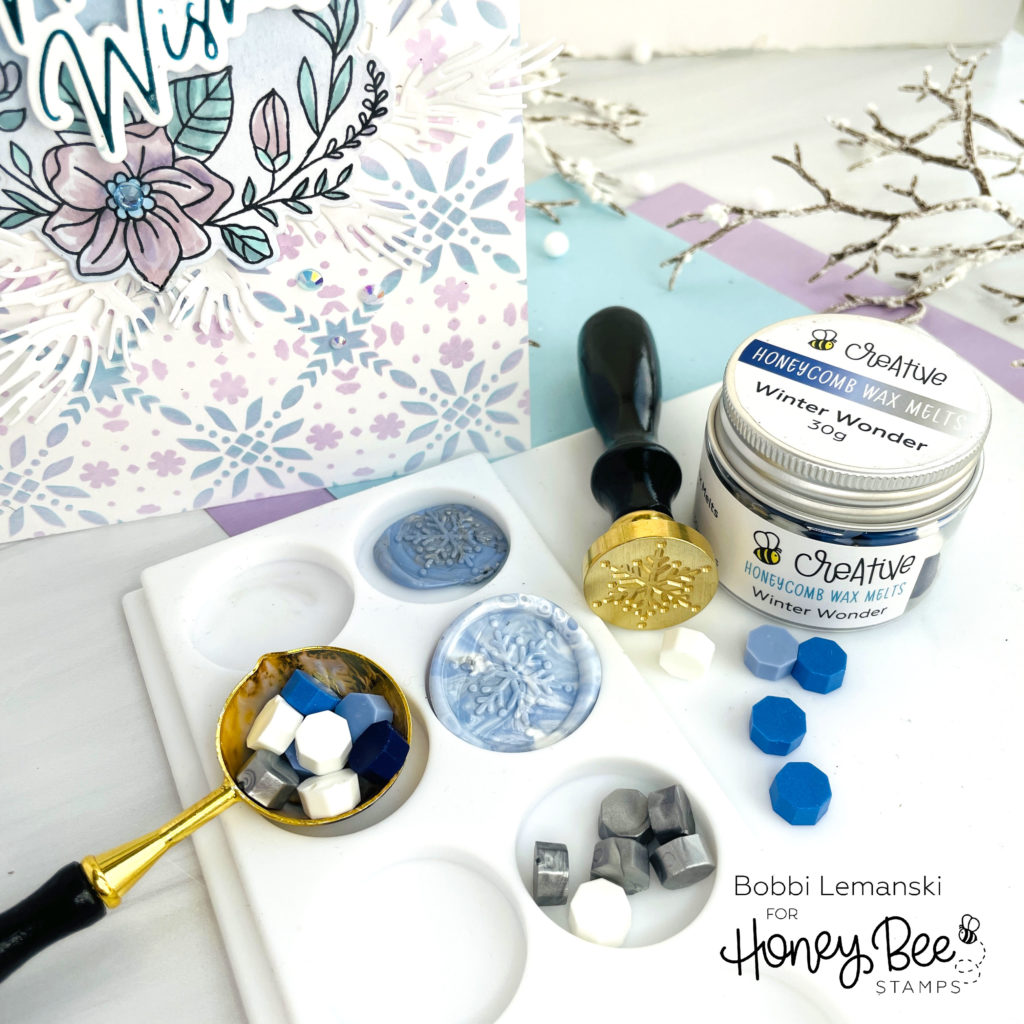
To seal my envelope, I created a matching snowflake wax seal using the Snowflake Wax Stamper and Winter Wonder Wax. You will want to make sure you have the spoon and this NEW Craft Mat that keeps the wax seal circular. The seals are so easy to pop out, too! I use four wax pellets to make one seal. For my snowflake, I used two white and two light blue to create the swirl design. I use my Wax Stirring tool to swirl the colors around before and after I pour the wax in the mold. This mat is also great for paint splattering and water color and Bleed-proof white inks, too! You can buy the whole wax seal bundle for the holidays here!
You can shop the entire Honey Bee Stamps Make It Merry release here. If you decide to place an order, please use the links in this post so that Honey Bee knows which ideas inspired you!
Thanks for stopping by today. If you want to see more ideas and inspiration from me, subscribe to my blog, BobbiHartDesign.com. I’ll send you updates on new posts! You can also find me on Instagram as @BobbiHartDesign and on Facebook as BobbiHartDesign.