Hello friends!! It’s Channin here with a new card and video!! Today I will be creating a fun birthday with the Quatrefoil Layers Stencils!
VIDEO: Quatrefoil Rainbow Birthday Card
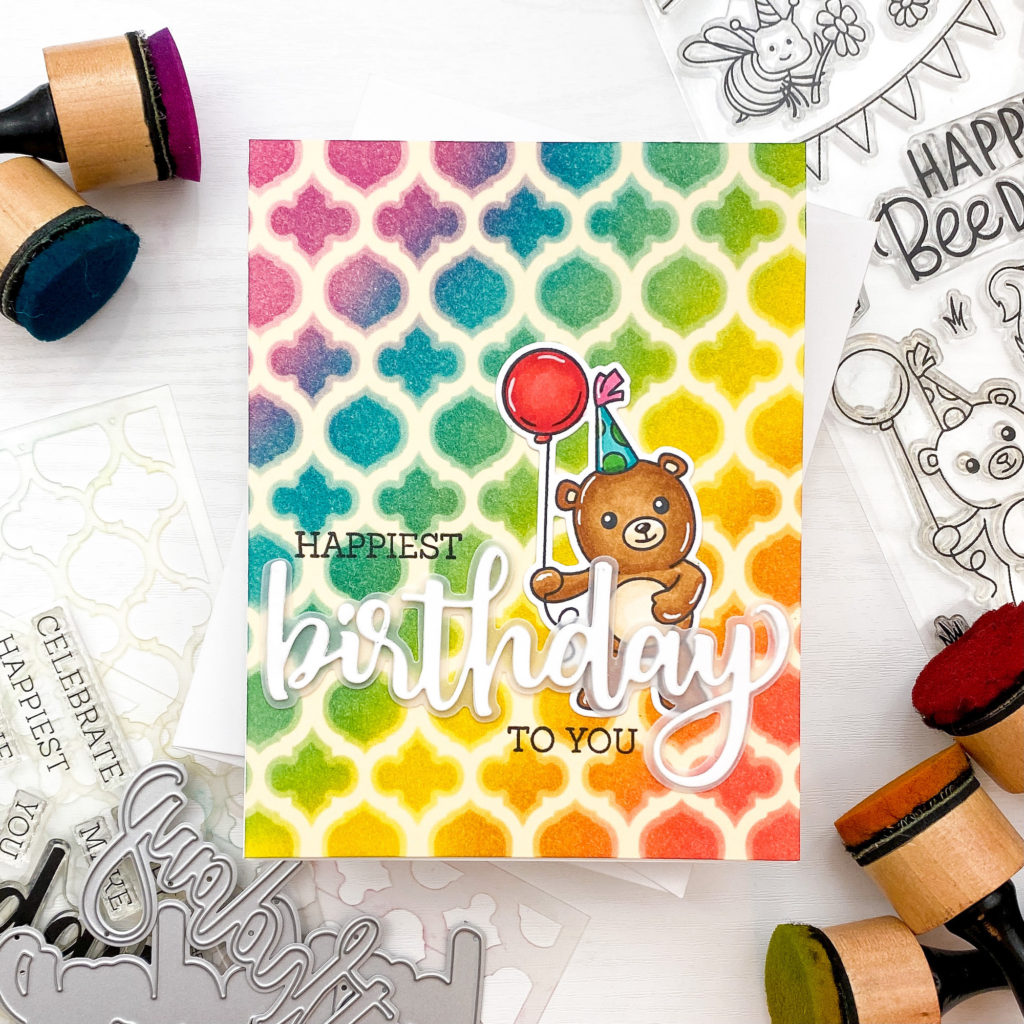
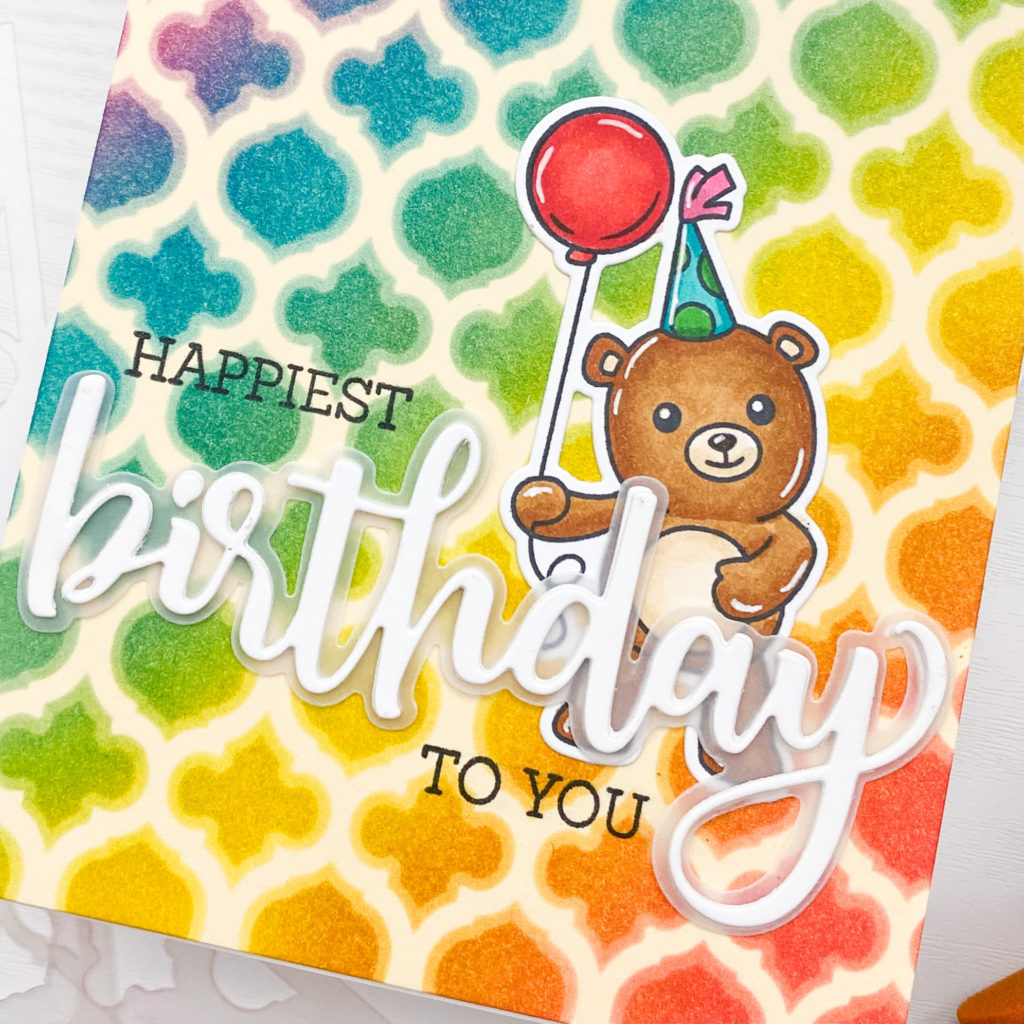
To create this card I placed the top Quatrefoil Stencil over an A2 panel (4 1/4” x 5 1/2”) of cream cardstock and lightly ink blended with several Distress Inks (Picked Raspberry, Mermaid Lagoon, Pine Needles, Mustard Seed, Wild Honey, & Barn Door). I then removed the stencil, placed the base stencil over the panel and then heavily ink blended with the same inks.
Next, I stamped and copic colored an image from the Happy BEEday Stamp Set. When I finished coloring the image I then die cut it out with the matching dies.
Next, using the Birthday Honey Cuts I die cut 3 birthdays out of white cardstock and one shadow layer out of vellum. I then added glue and stacked two of the cardstock birthdays together. Next, I adhered the stacked birthdays over the vellum and then finished the dimensional sentiment by adhering the last cardstock birthday behind the vellum.
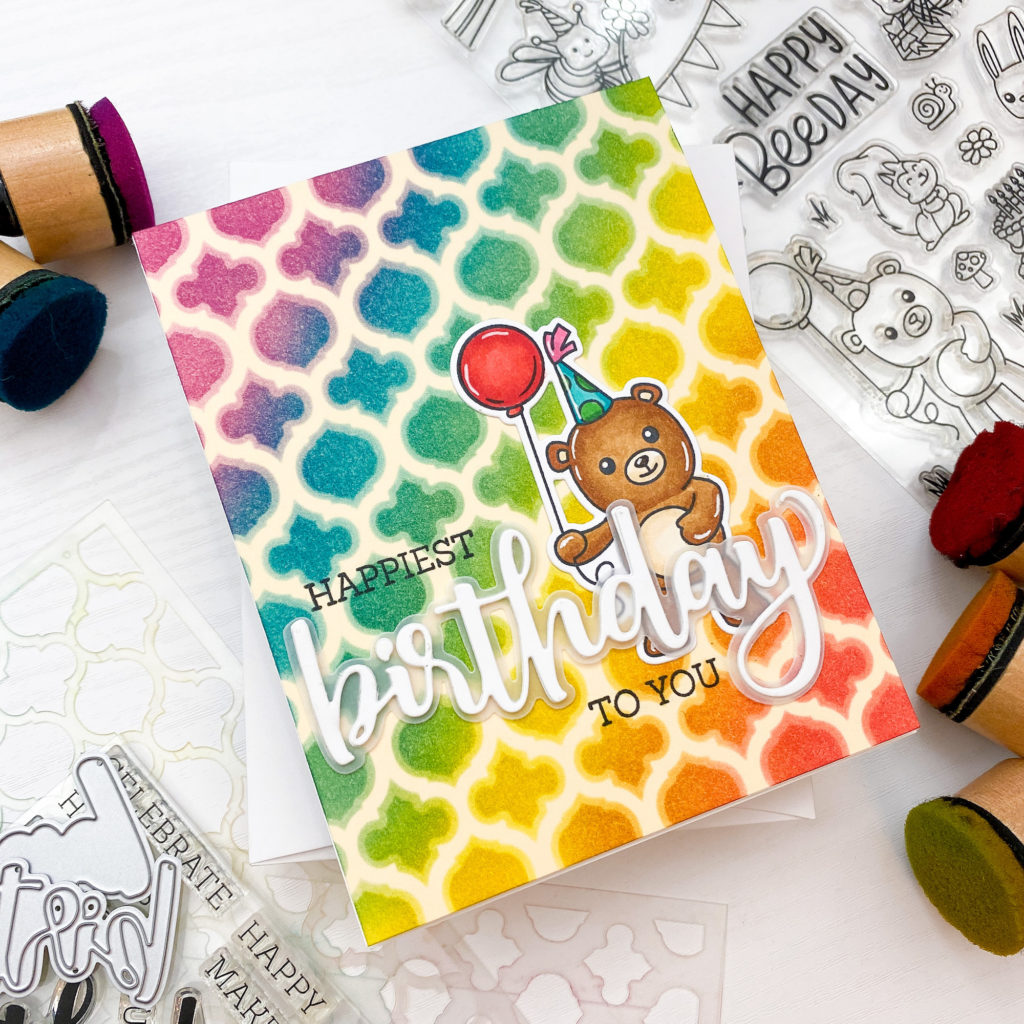
I then stamped the rest of my sentiment onto the ink blended panel. Lastly, I finished the card by adhering the panel to the front of an A2 top-folding white card base and then adhered the image and dimensional sentiment with liquid glue.
I hope you enjoyed today’s cards and video! Thank you so much for stopping by!
~Channin
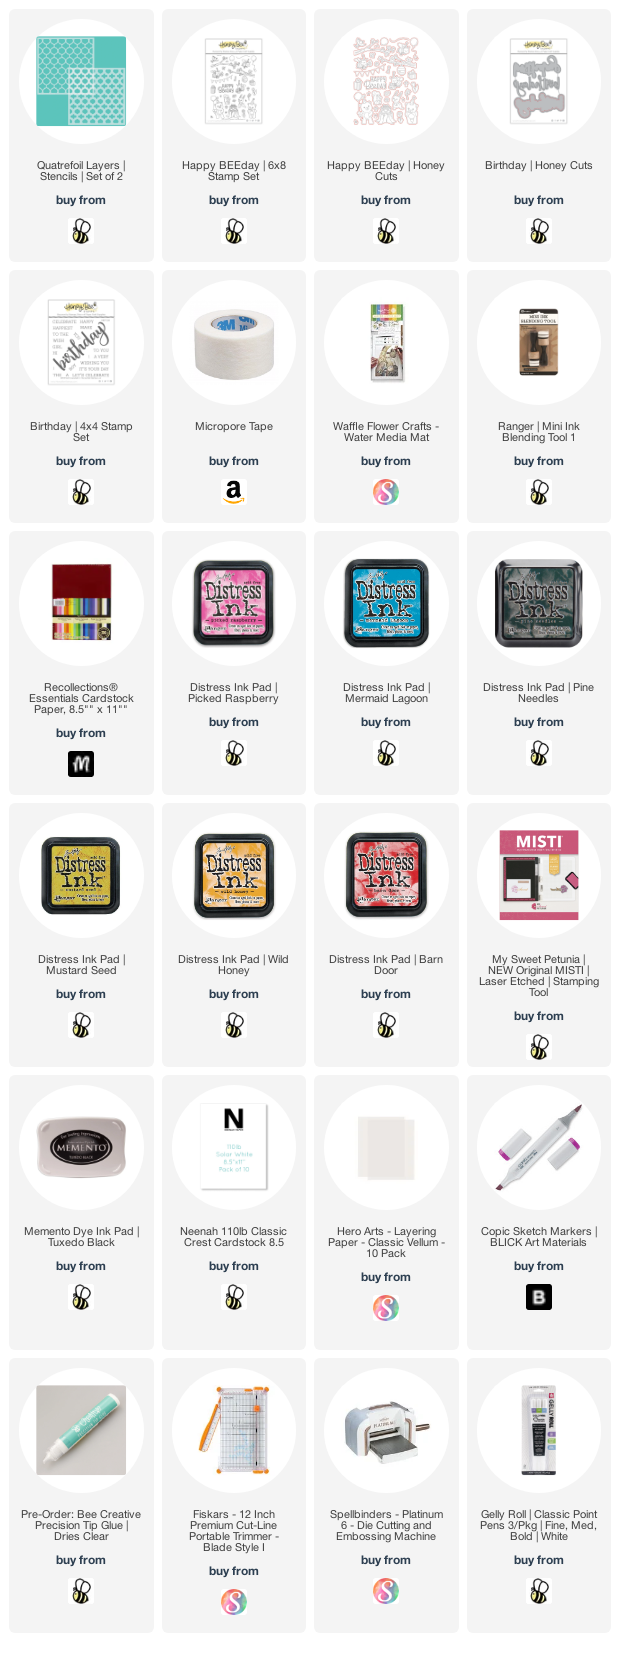
Supplies: