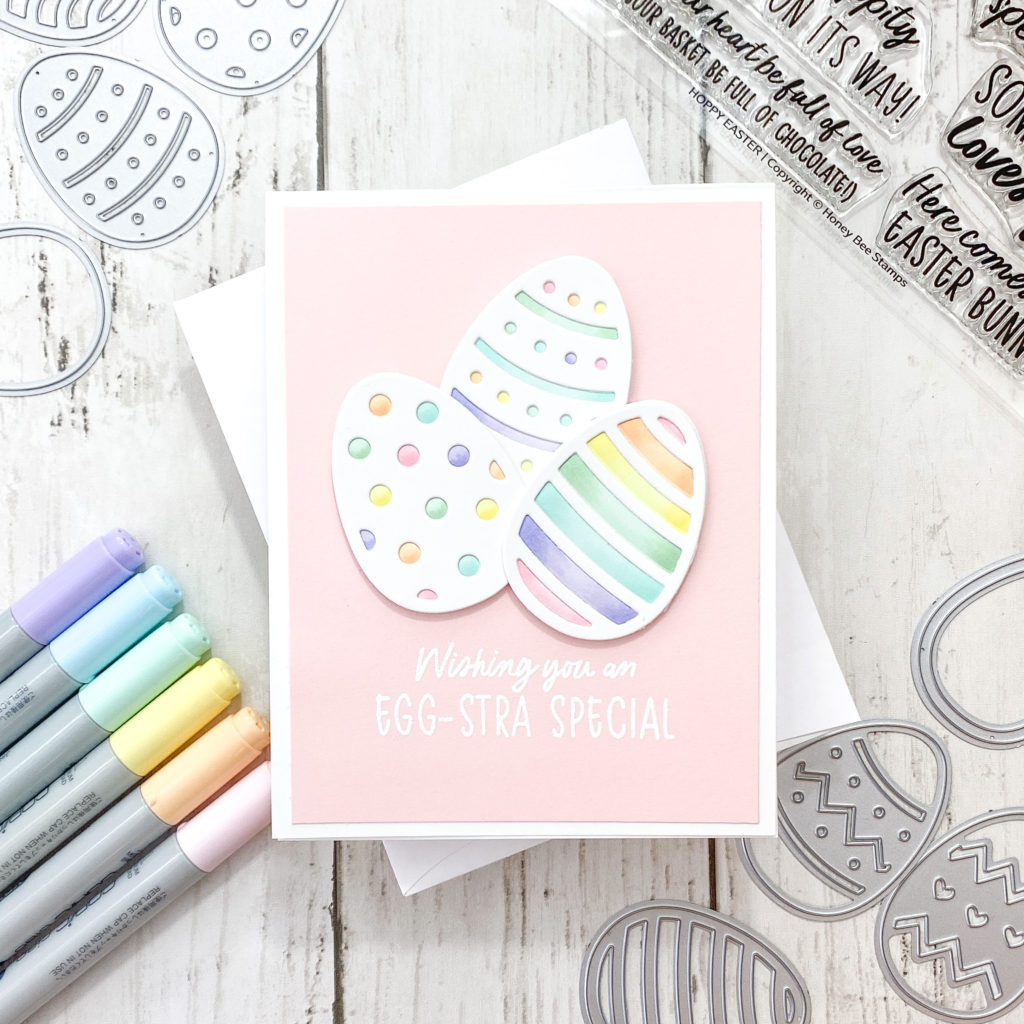
Hello friends!! It’s Channin here with a new card and video!! Today I will be creating some colorful easter eggs with the new Build An Egg Honey Cuts Set!! Watch to see how I use the faux inlay technique to add color to the open sections of the patterned eggs.
Build An Egg with Faux Inlay Technique
To create this card I first die cut three patterned eggs and three plain eggs out of white cardstock. I then debossed the three plain eggs with the three patterned dies I had just used and rubber mat. Once I had debossed the eggs I then copic colored them.
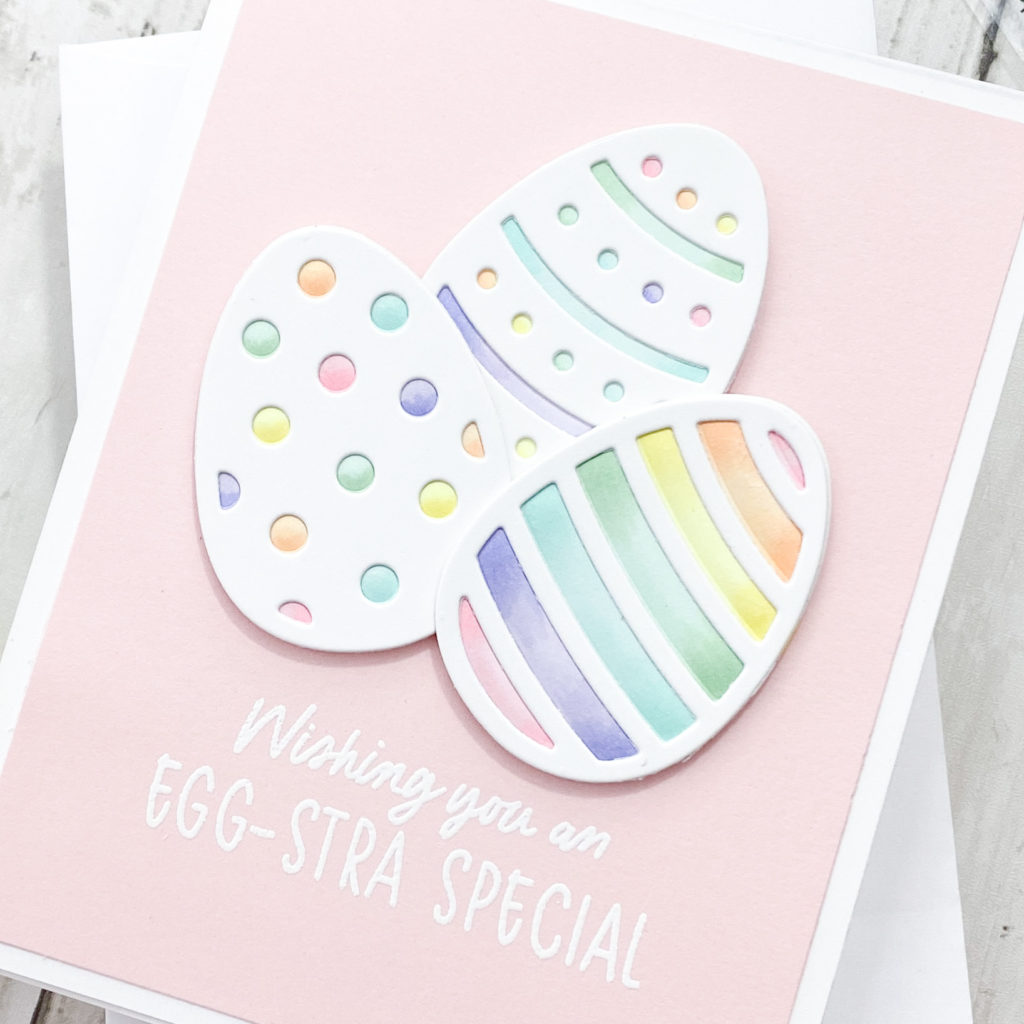
When I had finished coloring the eggs I then adhered the matching patterned egg on top with Precision Glue. Next, I stamped and white heat-embossing a 4” x 5 1/4” panel of light pink cardstock with a sentiment from the Hoppy Easter Stamp Set.
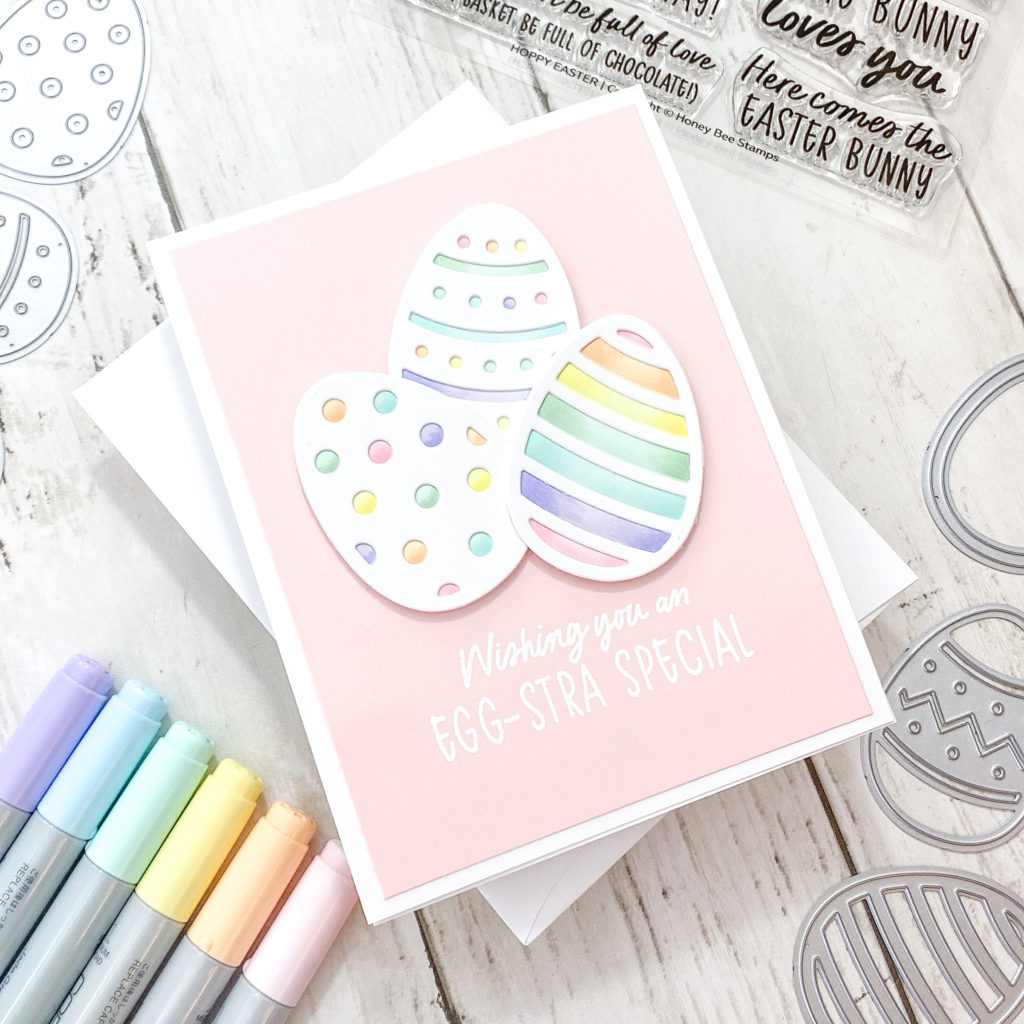
When I had finished heat setting the sentiment I then adhered the panel to the front of an A2 top-folding white card base and then adhered the eggs with foam adhesive. I then finished the card by stamping a sentiment inside the card in Spun Sugar Distress Oxide.
I hope you enjoyed today’s cards and video! Thank you so much for stopping by!
~Channin
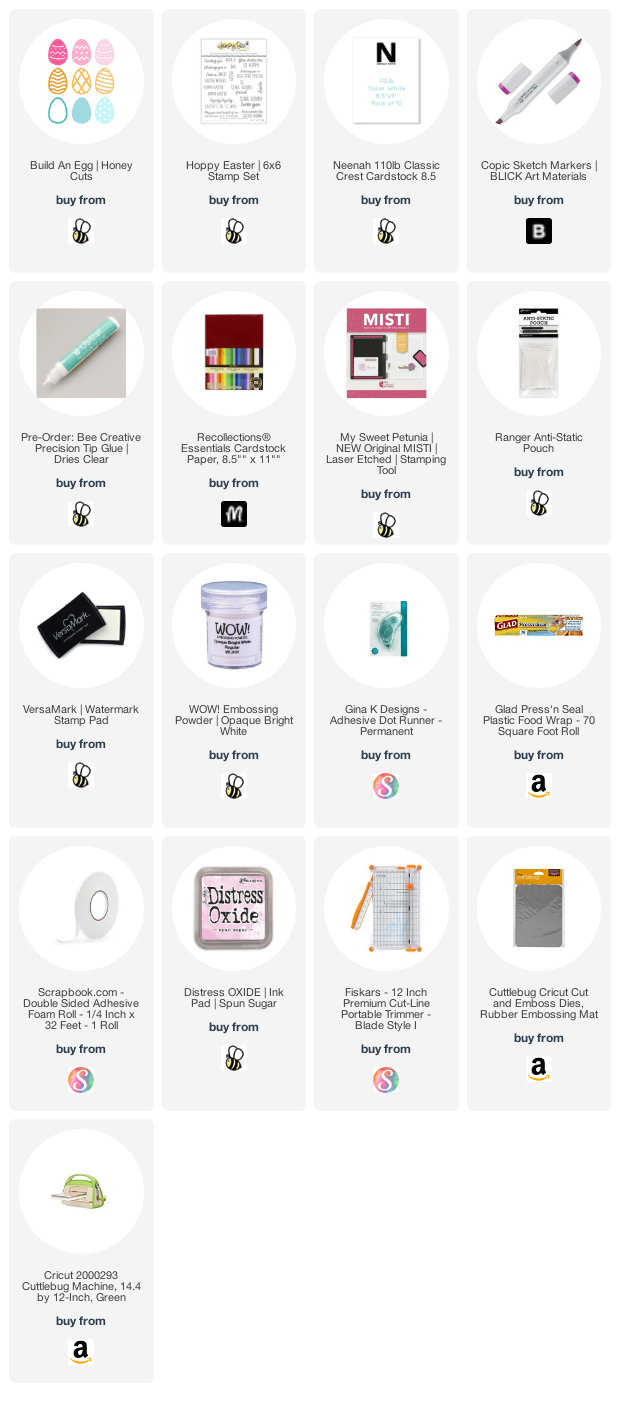
Supplies:
One response to “VIDEO: Build An Egg with Faux Inlay Technique”
Love this fun Build An Egg set! Pretty card design with these lovely pastel colors!