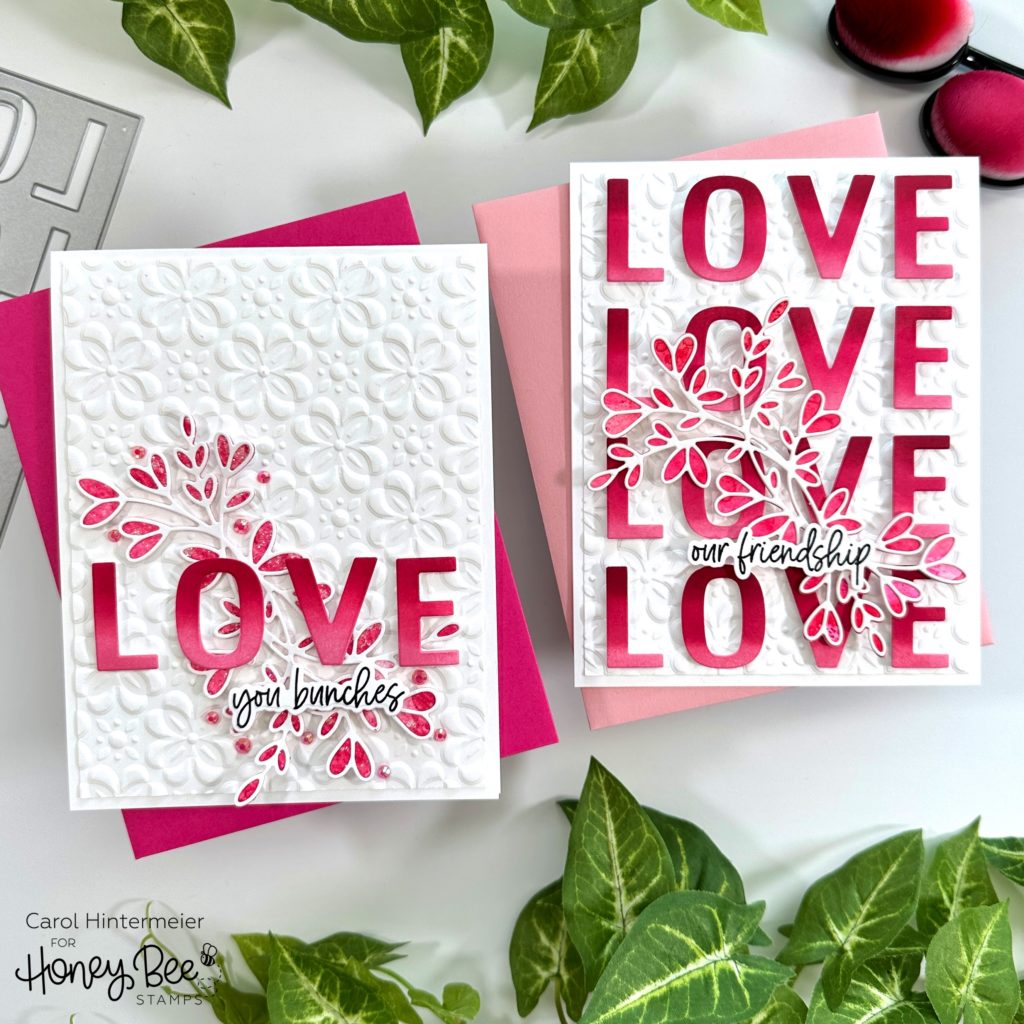
Hello Honey Bee friends! Today I’m sharing two cards, one more clean and simple, and the other not as much, that feature the LOVE A2 Cover Plate Honey Cuts! Even with more details, the second card was still very quick to make! I have the directions for both cards condensed together for you below.
For both of these cards I began by die cutting two pieces of 80# Neenah cardstock with the LOVE A2 Cover Plate die. I kept the die cuts in the negative spaces and added strips of removable tape to the back to hold the letters in place.
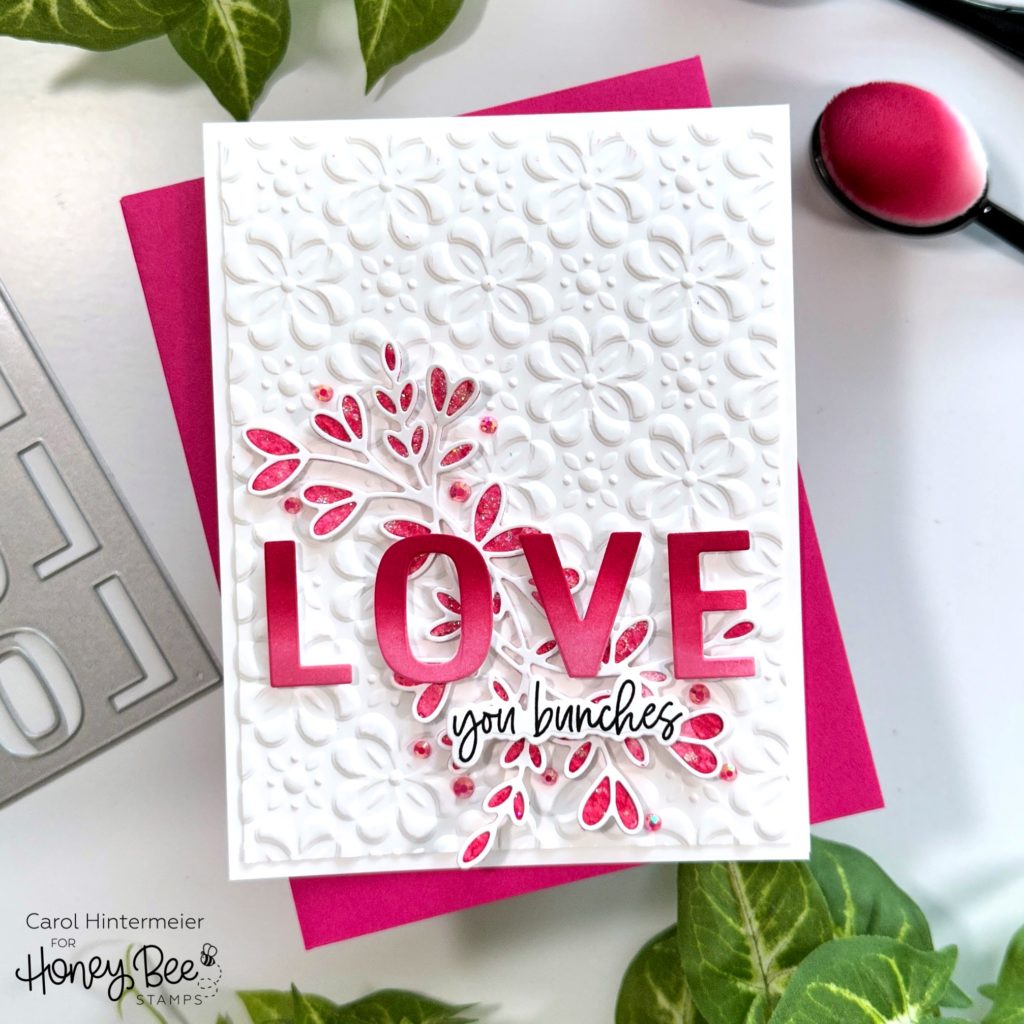
With the letters taped into place, I was able to easily blend three shades of pink ink (random ones in my stash) onto each row of letters. These small blending brushes, and also these brushes, make it very easy to get the ombré look.
Next I smooshed the same pink inks onto my craft mat. I spritzed on some water and dipped in a piece of watercolor cardstock. I used my heat tool to dry the ink and repeated the steps until I liked the look. When the piece was dry, I die cut the base layer of the Lovely Layers: Heart Vine twice from the inked panel. Then I die cut white cardstock with the top layer and adhered them together with glue.
I went back to my ombré LOVE A2 Cover Plate die cuts and put a piece of removable tape on the front before removing the tape from the backside. This kept the letters spaced perfectly as I added strips of narrow foam tape to the back of the letters.
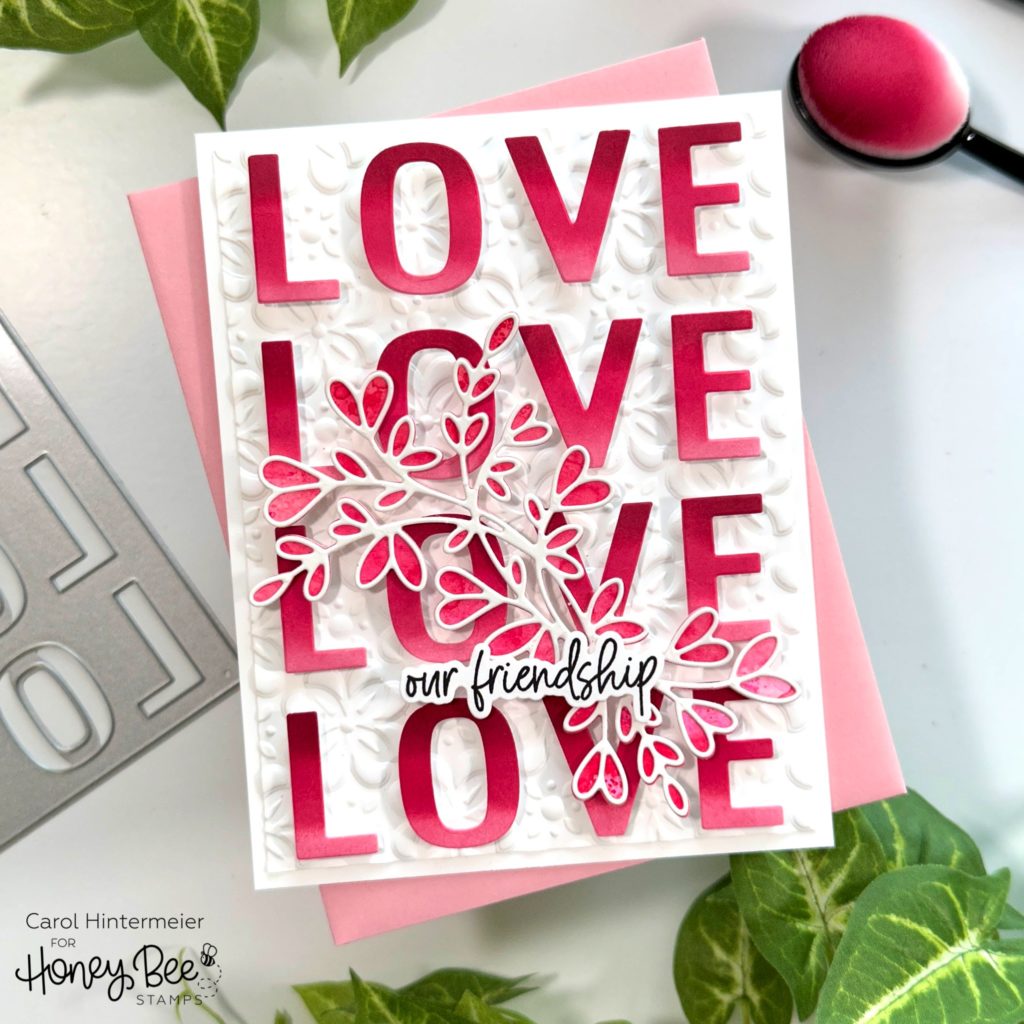
Next I embossed two pieces of white cardstock with the Clover Petals 3D embossing folder. I trimmed both to 4″ x 5-¼” and adhered them to A2 card bases with Bee Creative glue. On the first card I adhered the Lovely Layers: Heart Vine die cut on the embossed layer first. Then I removed the backing from the foam tape and adhered the LOVE to the card over the Heart Vine. For the second card I used my t-square ruler to line up and adhere the sentiments to the card.
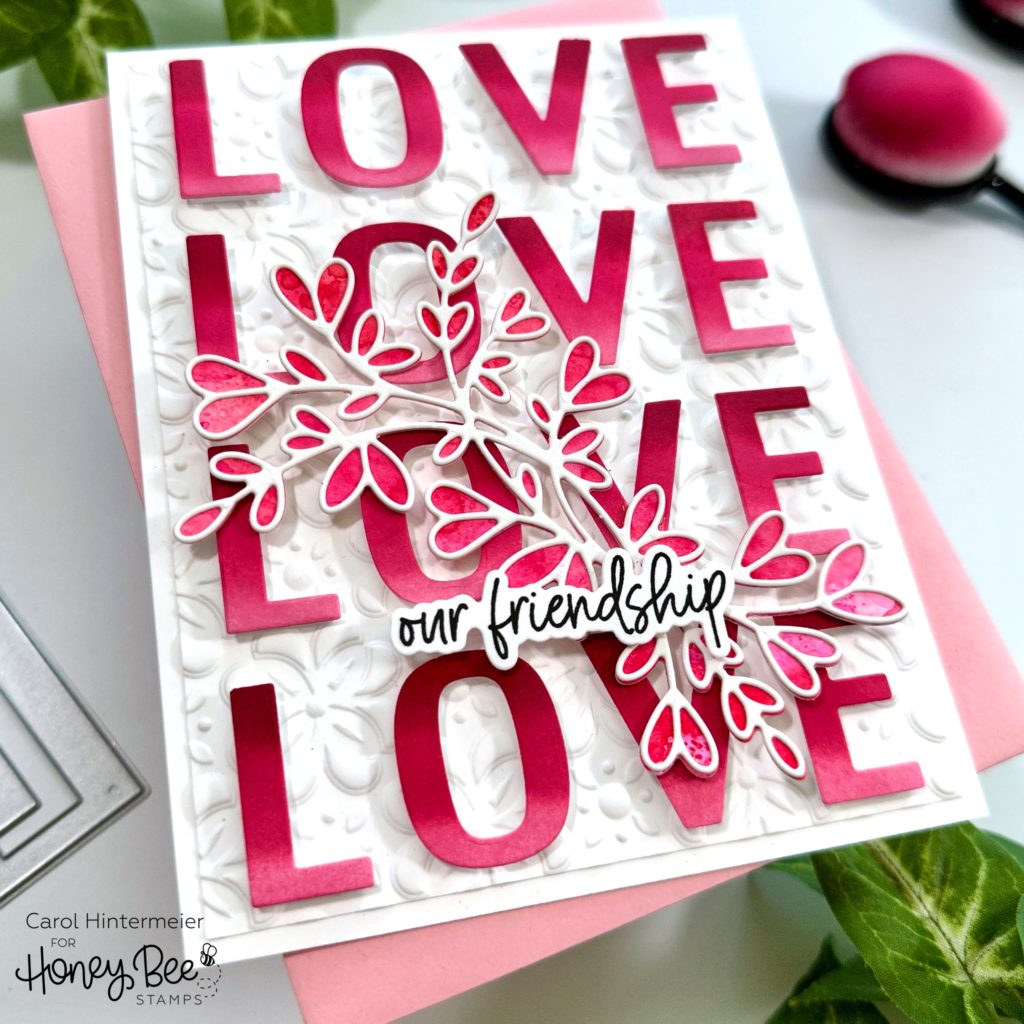
I adhered the Heart Vine over the sentiments of the second card with glue. Then I stamped two sentiments from the Love Love Love stamp set in black ink and die cut them with the coordinating Honey Cuts. I do love dimension so of course, I added foam tape to the back of the sentiments to adhere them to the cards.
The first card has some coordinating sparkle I added from the Bee Bliss gem stickers set.
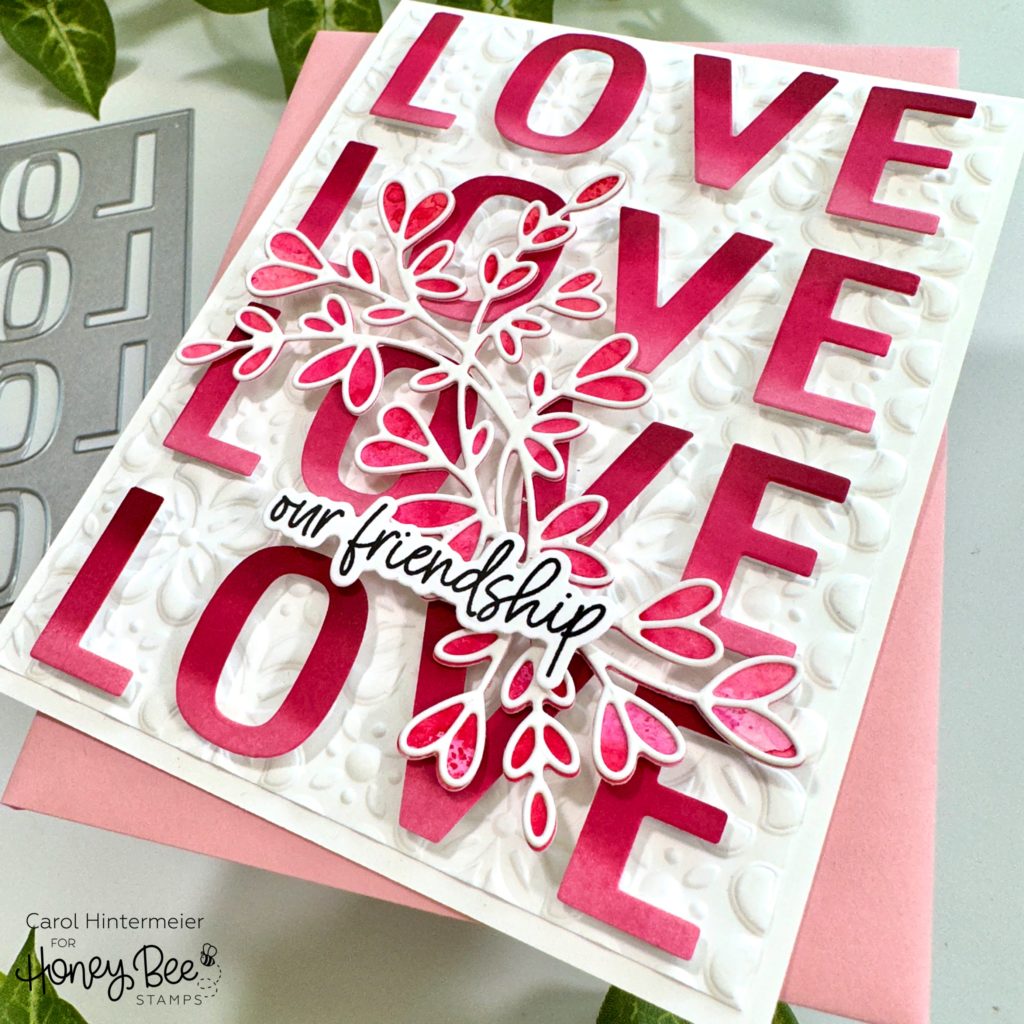
I really LOVE (haha!) how these turned out and how easy they are to create! To make them even faster, but still beautiful, you could omit the foam tape pieces on the back of the LOVE die cuts and just use glue to adhere them.
Thank you so much for stopping by today! I always appreciate your kind comments too!