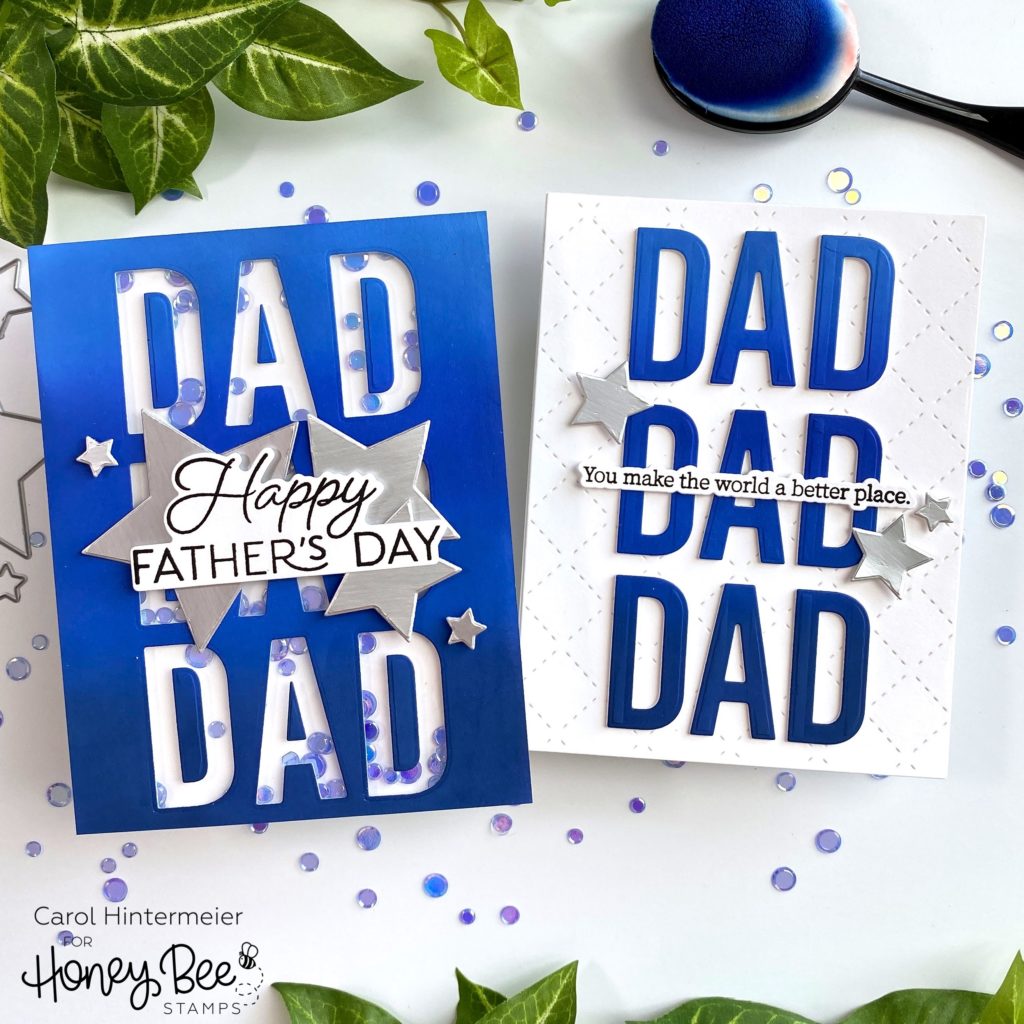
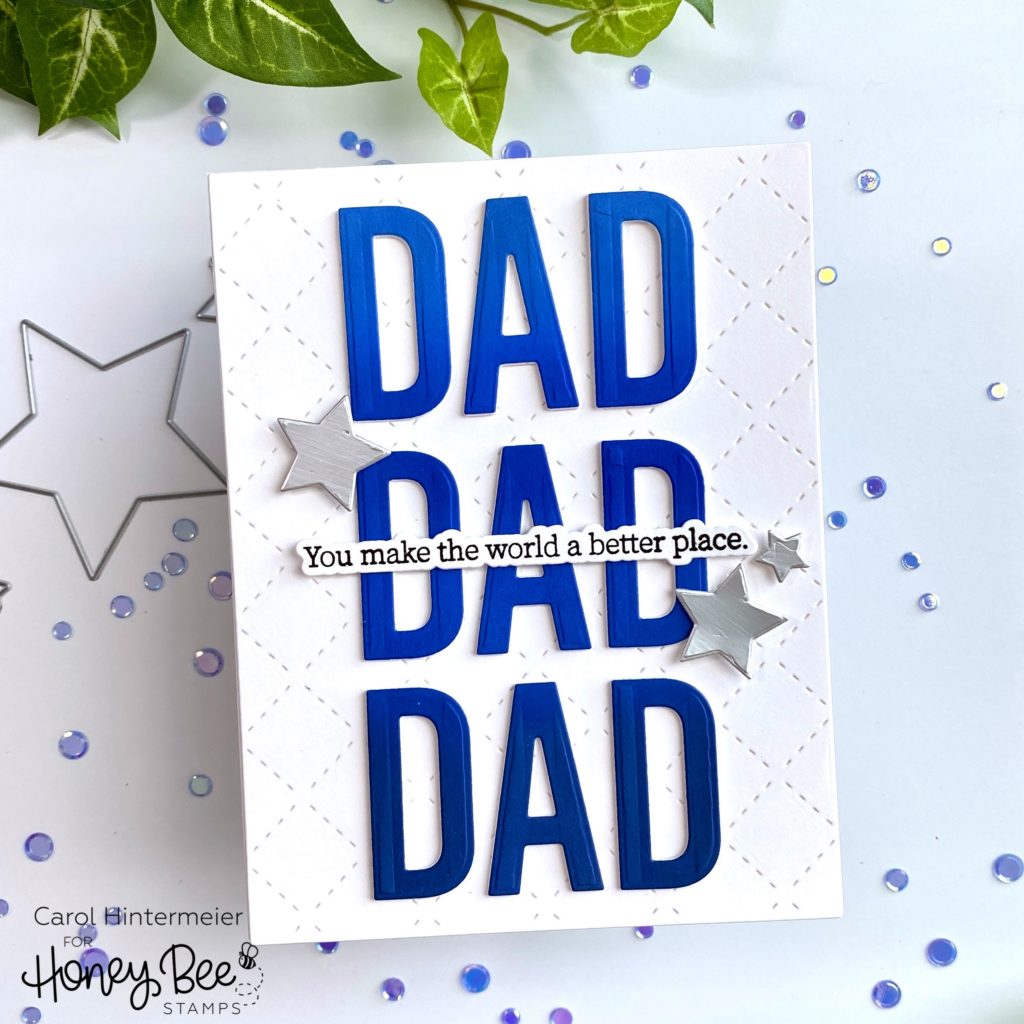
Hello Honey Bee Friends! Today I’m sharing two Father’s Day cards I made with one inked and die cut piece! My inspiration for this design is the design of the new Happy Happy Happy A2 Cover Plate die. These cards were so fun and easy to make–read on for the details!
The first thing I did was use a Detail Blender brush to ink up a panel of white cardstock with blue Distress Oxide inks. I used Chipped Sapphire, Prize Ribbon, Blueprint Sketch, and Tumbled Glass. I mixed and blended the colors until I had the subtle ombre look I was going for. Then I used the letters “D” and “A” from the Bee Bold Alphabet Honey Cuts to die cut the word Dad three times on the inked panel. A t-square ruler helps to keep things straight for this design. I set the die cut letters aside while I worked on the shaker card. BE SURE TO SAVE the little center pieces of the d’s and a’s!!!!
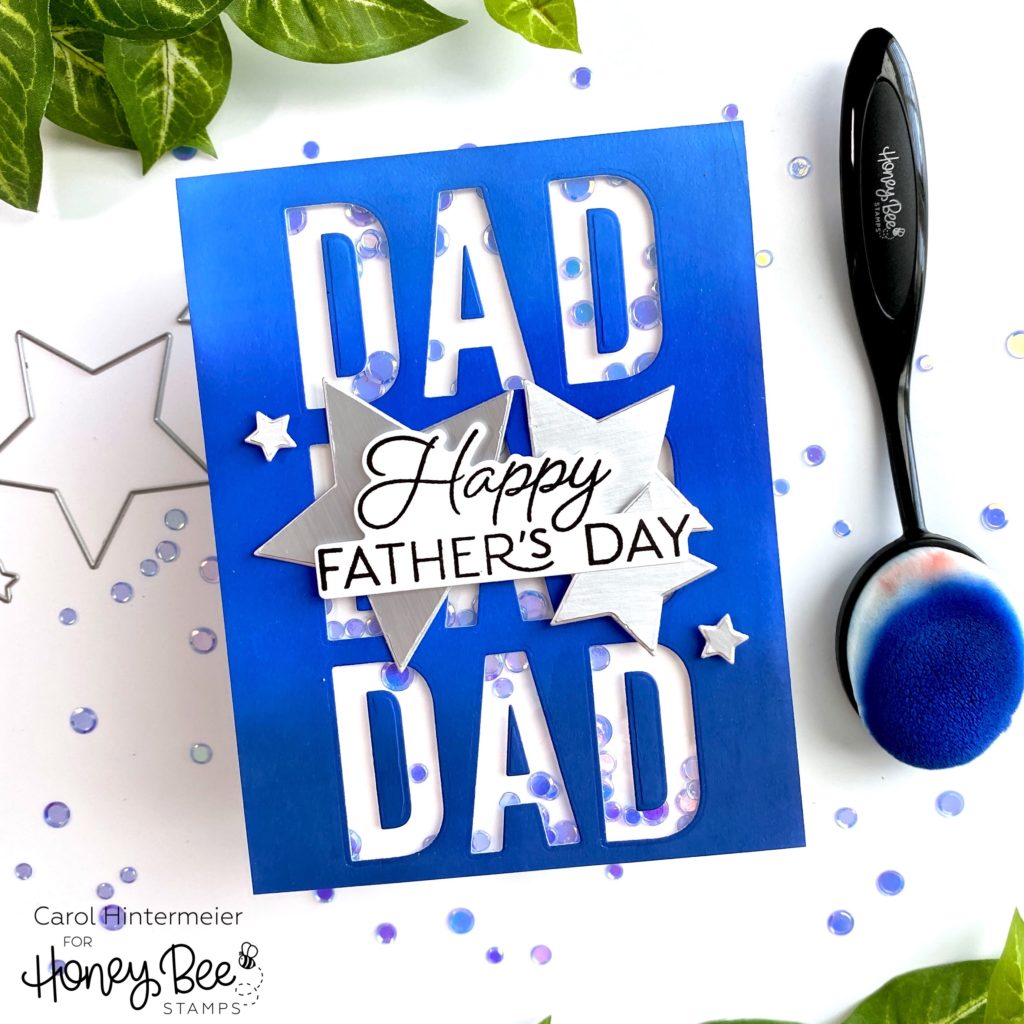
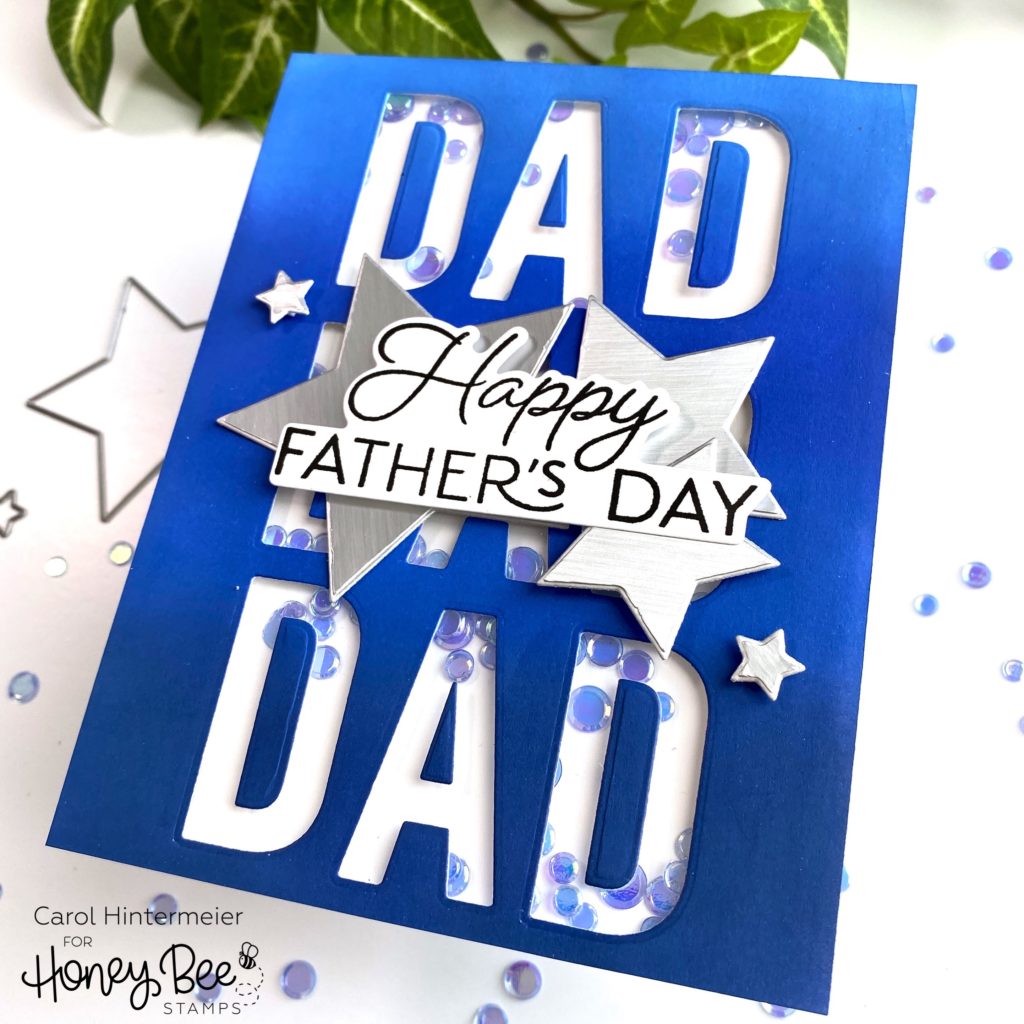
I added some clear acetate to the back of the inked, die cut panel with Bee Creative glue. Then I added foam tape along the edges of the card back and in-between the words. I sprinkled in some Maliblue confetti mix sequins into each section. Then I removed the adhesive backing and placed an A2 card base onto the piece. Such a fun shaker card for your guy!
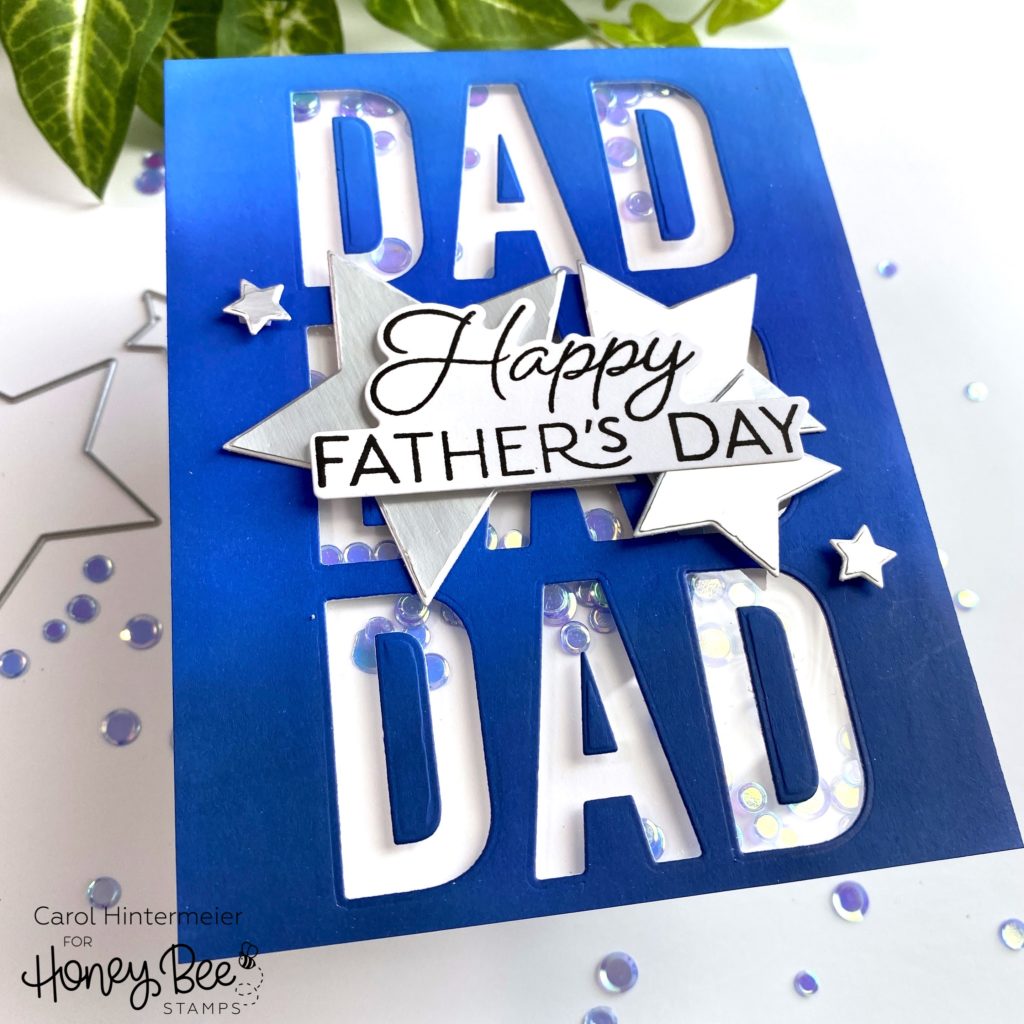
I die cut some silver metallic cardstock with stars from the Stacking Stars Honey Cuts and adhered them with Bee Creative glue and the small ones with foam tape. Then I stamped the sentiment from the Father’s Day stamp set with black ink and die cut it with the coordinating Honey Cut. I used Bee Creative glue to adhere it to the card.
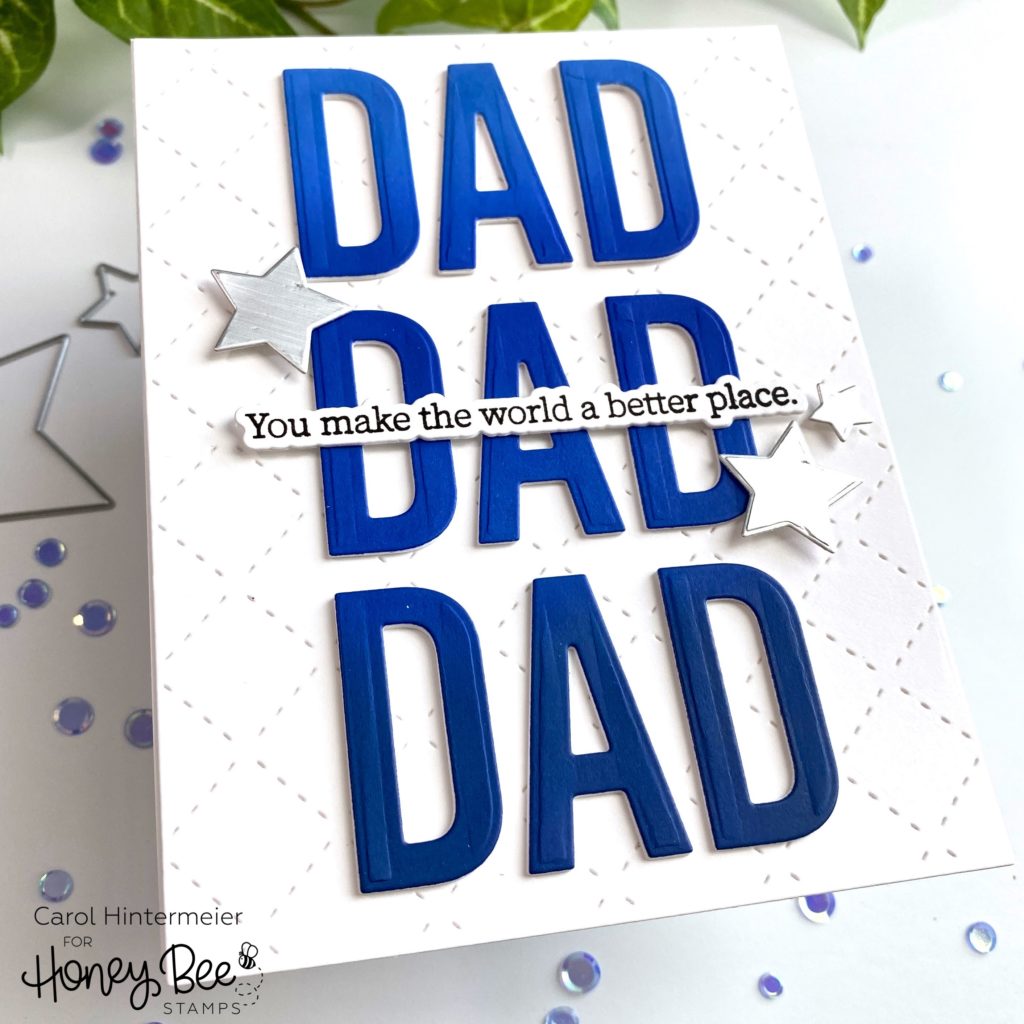
For my “bonus” card I die cut white cardstock with the Quilted A2 Cover Plate to add some detailed interest to the card background. I adhered it to an A2 card base.
Next I used my Bitty Buzz Cutter to die cut white cardstock with the letters D and A to have three white layers per letter. I HIGHLY recommend this cute little die cutter! I decided to order it and just received it a couple days ago. It was so easy to use and made die cutting so many of the letters to stack up so easy! Glue all of the layers of letters together with Bee Creative glue.
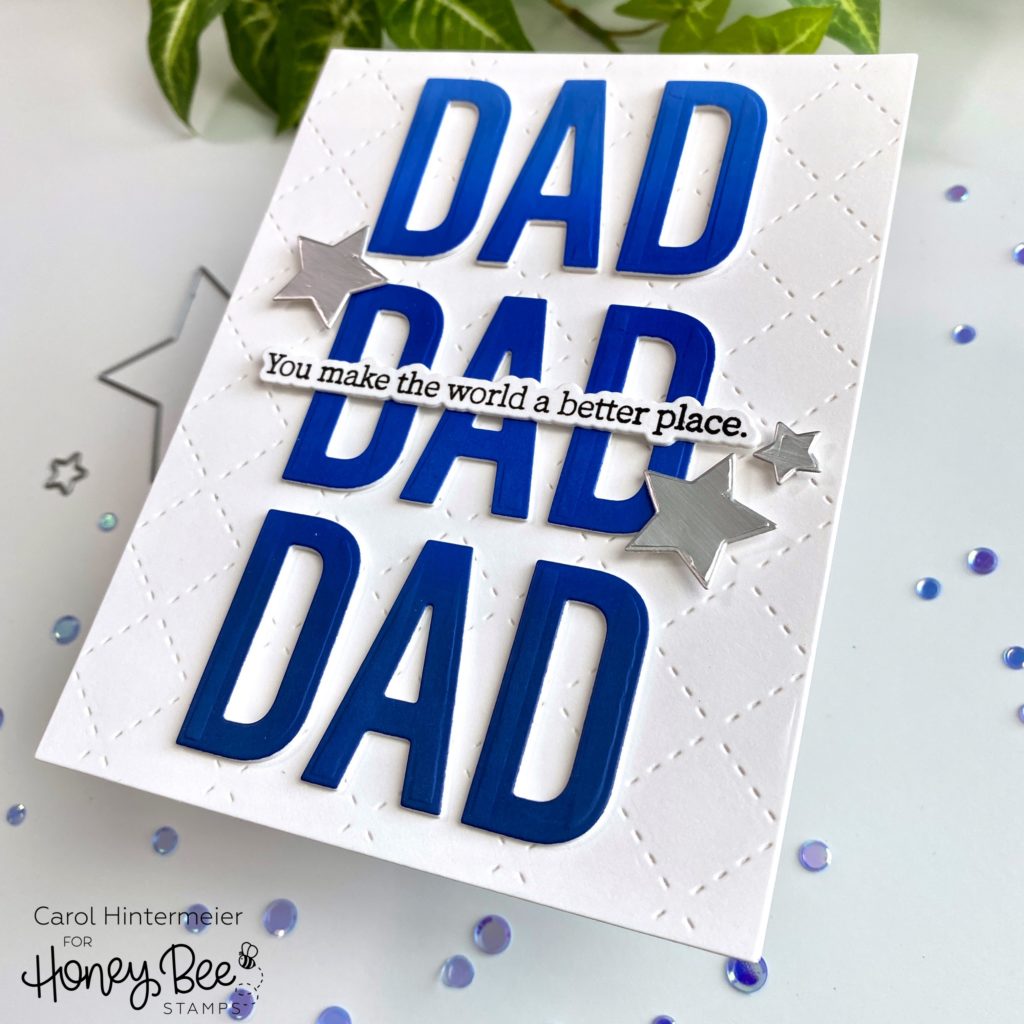
Then I used my t-square ruler and used a sticky mat to line up the letters. Next I placed removable tape over each word to pick it up all together and used Bee Creative glue to adhere the letters. I added a few extra stars I die cut with the Stacking Stars Honey Cuts to the card. Then I stamped the sentiment from the Inside: Thankful Sentiments set and die cut it with the coordinating die. I die cut two more of the sentiments from white cardstock and adhered the layers together before adding it to the card.
I sure hope you’ve enjoyed my two-for-one cards and that you have been inspired by them! Thank you, always, for stopping by
2 responses to “Two-For-One Dad’s Day Cards”
Love this card!!
Thank you so much, Jamie!!