
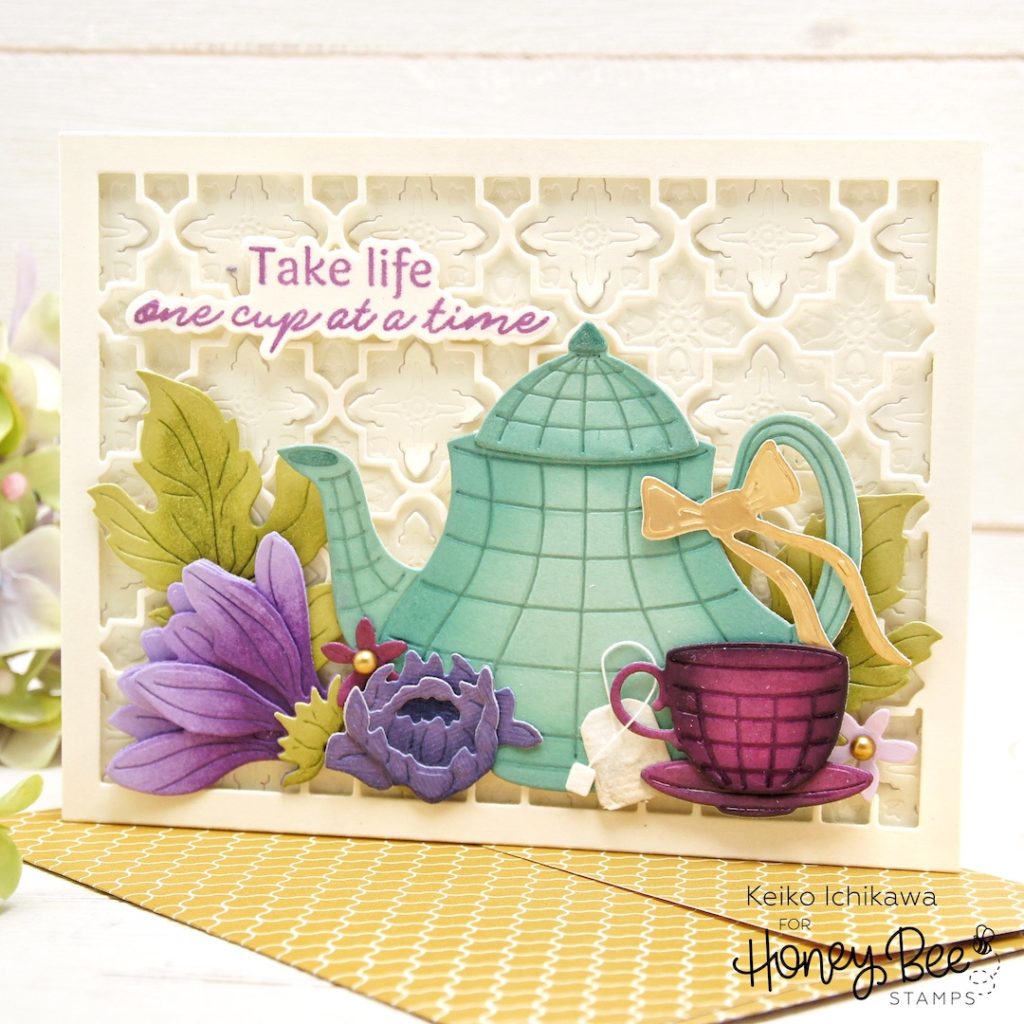
Hello friends! Happy new week! It’s Keiko from Happy Tree Studio and today, I have this tea time scene card to share with you. It’s almost all die cut except the stamped sentiment. I am a tea lover (maybe living in the Britain for six years had something to do with that) so I was so excited when I saw these tea themed sets!
I used a bunch of brand new stamps and dies to create this card and here is the list:
Teapot & Cup (die): teapot, cup, and tea bag
Lovely Layers: Mum (die): flowers and leaves TIP: I used the bud and the center part of the main flower
Ornate A2 Cover Plate (Top and Bottom die): background
Teatime Florals (stamp & die): sentiment
Toil & Trouble (die): bow
Whimsical Spring Flowers (die): small flowers (not new)
I started this card by die cutting all the elements from various card stocks. These die cuts have wonderful details embossed by the dies and I enhanced them by inking with the coordinating colors of inks. For the patterns on the teapot and cup, I traced the embossed lines with clear gel pen to make them stand out even more. I added the tag and thread to the tea bag and love how it turned out! The sentiment was stamped on the same cream card stock as the card base using purple die ink and cut out with the coordinating die.

For the background, I die cut the top layer from cream card stock and the base (bottom) layer from slightly darker cream card stock. I was going to pop up the top layer of the background with foam tapes, so adhering all the die cuts required some creative gluing (I wanted to add the same foam adhesives to the back of the die cut elements to support the delicate background panel). First, I arrange all the die cuts on the top panel, and then picked them all up at once (including the top panel) using Press ‘n Seal. Then I applied foam adhesives to the back of die cuts and the edges of the frame, flip over, and adhered to the base panel. I simply added liquid glue to the ones that are not adhered properly.
To finish off the card, I added gold pearls from the new Autumn Pearl Stickers to the centers of the small flowers.
Thank you so much for stopping by today. Have a wonderful week!!
