Hello Honey Bee friends! Today I’m sharing my sweet birthday card featuring a few new products from the awesome Celebrate release! Ice cream is my favorite dessert so I just had to use these dies from the Lovely Layers: Cupcakes & More Honey Cuts!
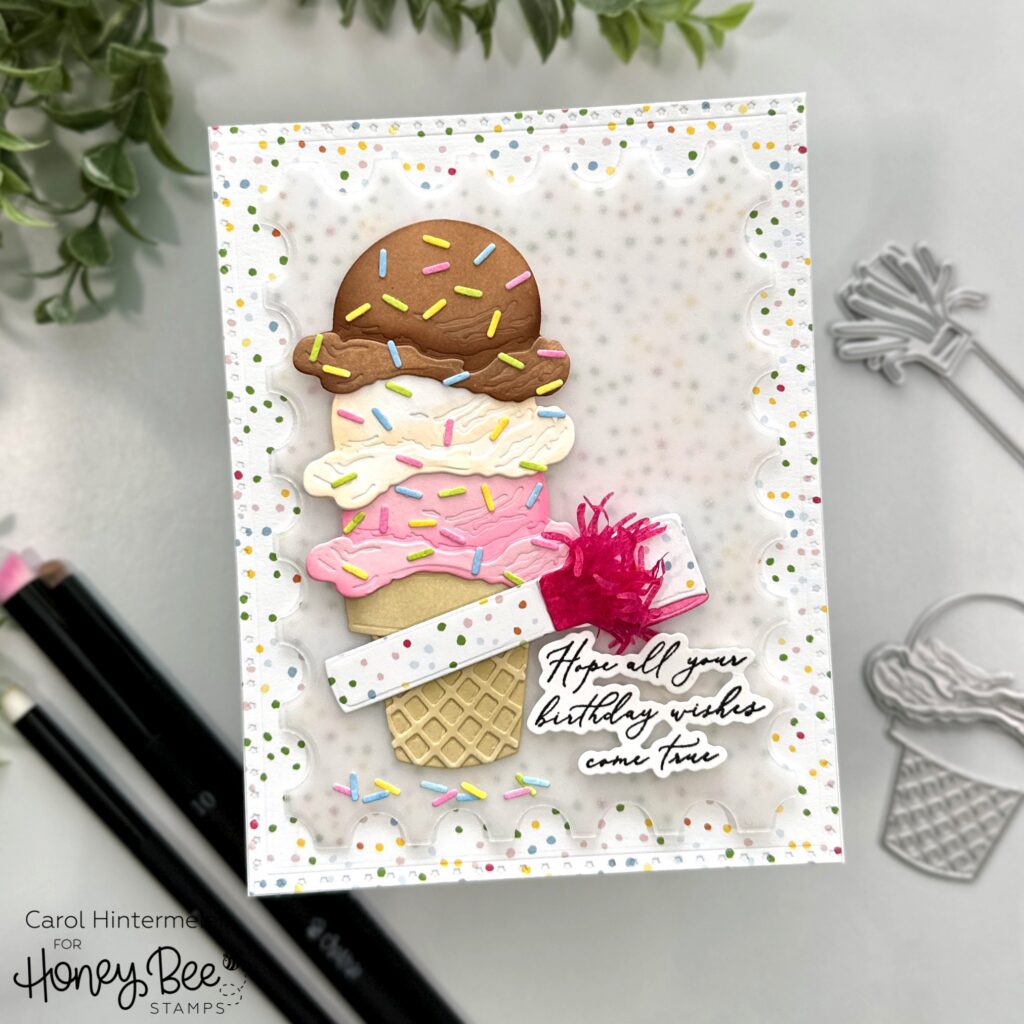
First I created the card base and layers by die cutting a piece of patterned paper from the Let’s Party paper pad with the largest Lovely Layouts: Party Frames die set. I adhered it to an A2 card base with Bee Creative glue. I die cut vellum with the next largest die and set it aside to work on the other card elements.
Next I die cut 80# white cardstock with the ice cream cone and ice cream scoop dies (x 3) from the Lovely Layers: Cupcakes & More set. Then I used Detail Blender Brushes to add inks to the die cuts. I used various inks in my stash to imitate chocolate, and strawberry ice cream. I used the new BeeLuxe Blending Brushes to add darker shading to the ice cream scoops. These small angled brushes make it easy to keep the ink just where I wanted! I added shading to the vanilla scoop with Copic marker E50, blending it some with the 0 marker.
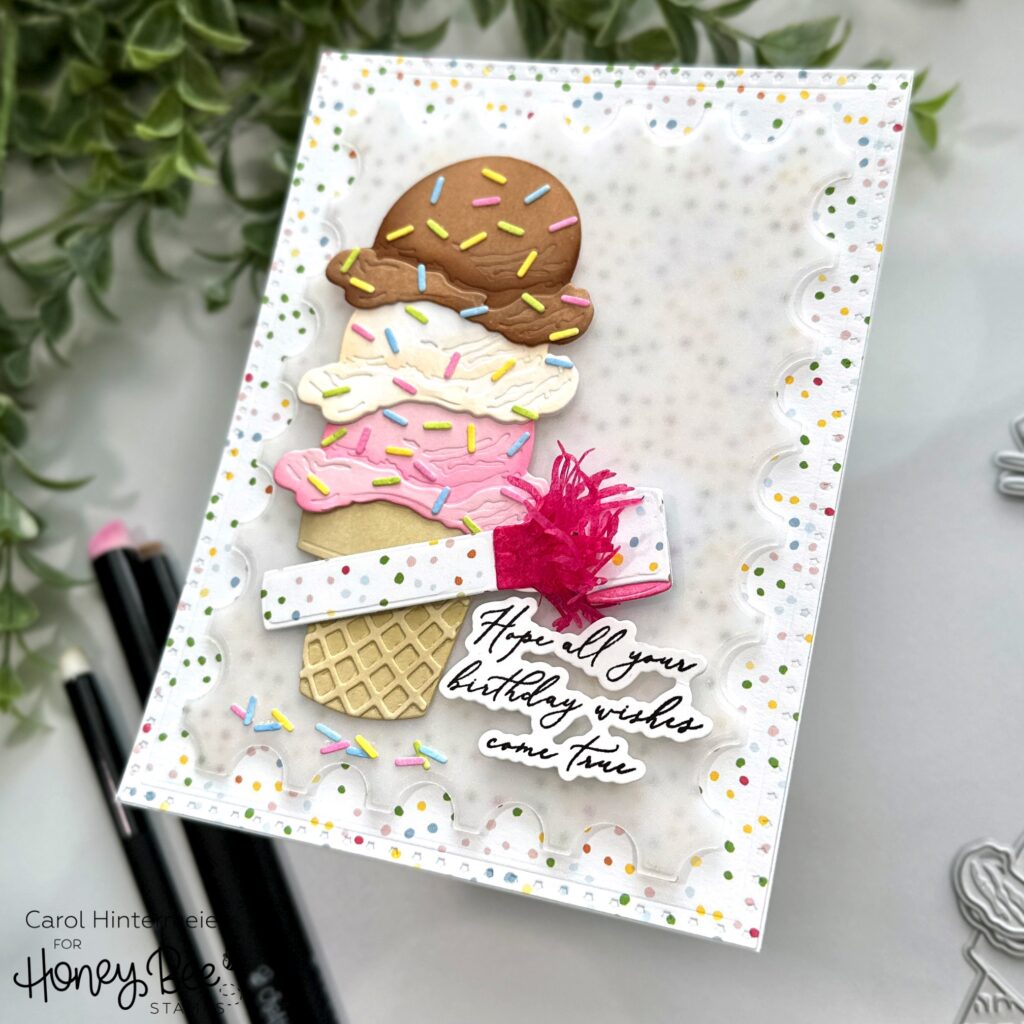
When I first saw the Lovely Layers: Party Blower Honey Cuts, I had a thought wondering if it would work to die cut tissue paper with the two fringe dies. I was delighted to find that it works great and creates a fun and fluffy fringe for the party blower! I die cut three layers of tissue paper with the two dies and glued the layers together. I coordinated the Party Blower with the background by cutting it from more paper from the Let’s Party paper pad. If you need assistance assembling the party blower, be sure to check out the handy and downloadable layering guide found in the product description.
I stamped the sentiment from the Celebrating You stamp set with black ink. Then I cut it out with the coordinating die and added foam strips to the back.
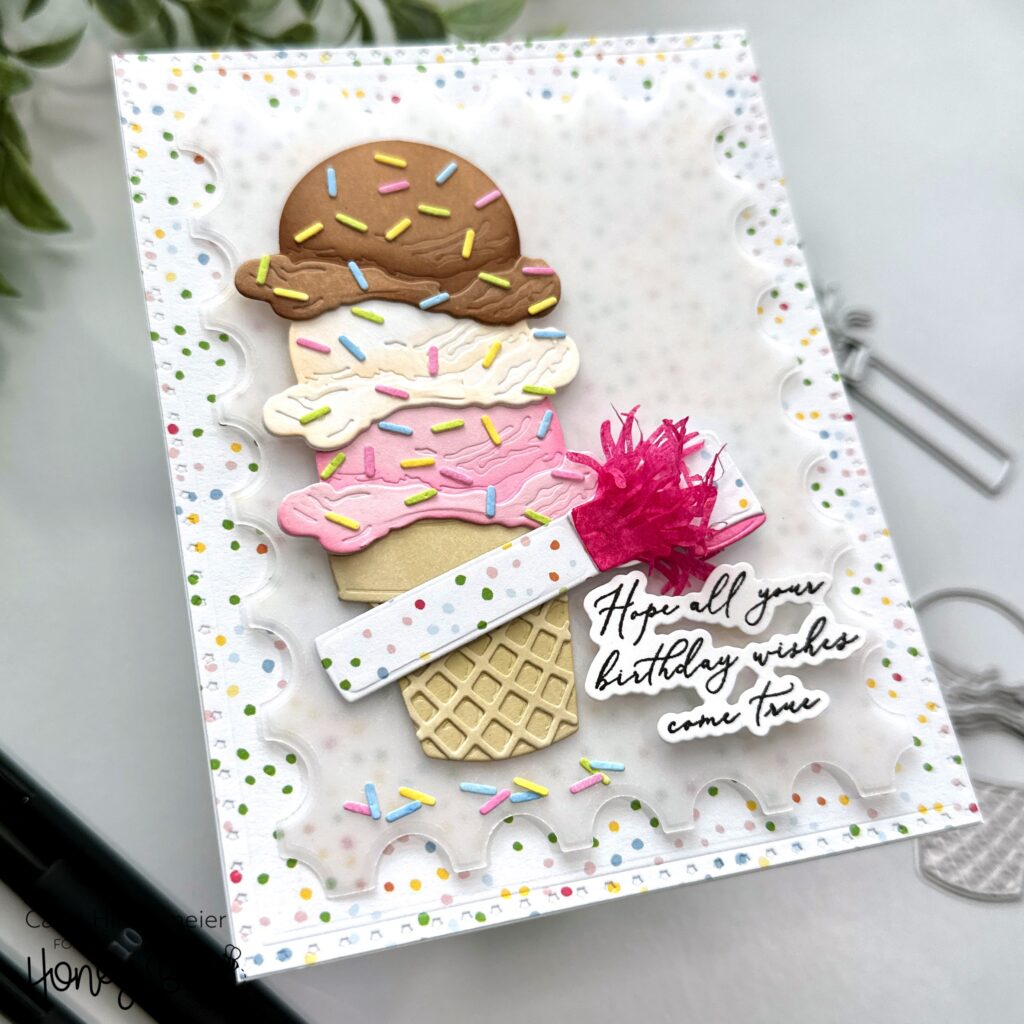
To assemble my card elements, first I added tape runner to the back of the ice cream cone and adhered it to the Lovely Layouts: Party Frames vellum layer. TIP: I used tape runner instead of liquid glue to avoid the warping you get with the vellum. The Party Blower is popped up with thin foam tape to adhere it. Now I can add foam dots to the back of the vellum. These are hidden from view by placing them behind the card elements.
To add extra sweetness to the card, I die cut the sprinkles from scrap paper that I inked up with coordinating colors. The little sprinkle die is one of several embellishment dies included in the Lovely Layers: Cupcakes & More Honey Cuts.

I love the sweet softness of this birthday card and hope I’ve given you more inspiration for ways to use these fabulous new products! Thank you so much for stopping by!