Hello Honey Bee friends! Our neighborhood is a newer one and the home next door is about to be finished so I’m going to need a card to give our new neighbors! I used the new Spring Wreath set along with a fun texture paste stenciled background for my card today. Of course, if you change the sentiment, this card is perfect for lots of occasions!
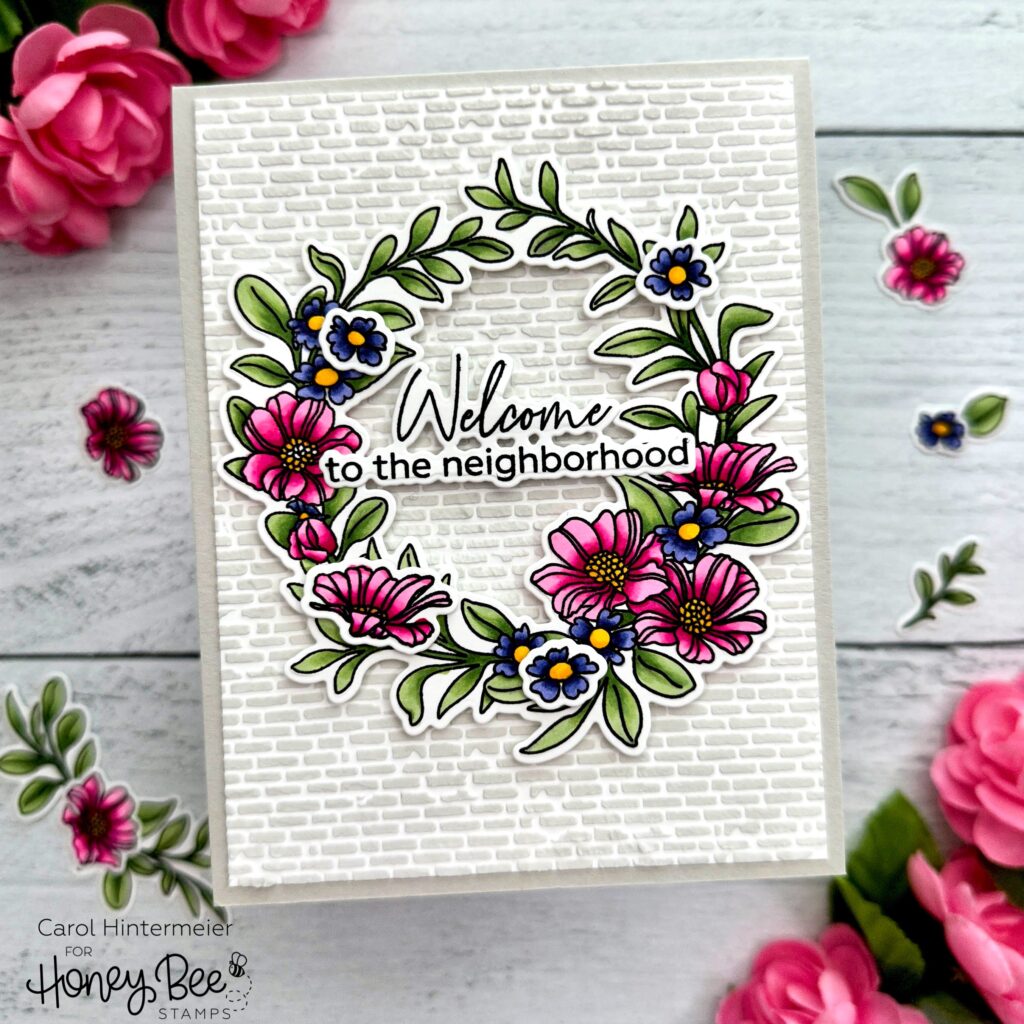
I made the background panel first so it would have time to dry. First I added color to my texture paste by mixing in a couple drops of Lost Shadow Distress Ink refill. Just put the drops on your craft mat, scoop out your texture paste and mix it up. I used a palette knife to spread the paste through the Salvaged Bricks stencil on a piece of 80# Neenah.
Next I stamped all of the images from the Spring Wreath stamp set onto 80# Neenah with Intense Black ink. I always stamp all of the images of a set so that I will have all of the options available for my card. I used my Copic markers to color the images. These are the colors I used:
- pink flowers: RV09, RV06, RV04, RV02
- blue flowers: BV08, BV04, BV02
- flower centers: Y19, Y08
- leaves: G24, G43, YG61
I cut the images out with the coordinating Spring Wreath Honey Cuts. I added foam tape to the back of the wreath and four of the small flowers. I’ll save the other pieces for another project.
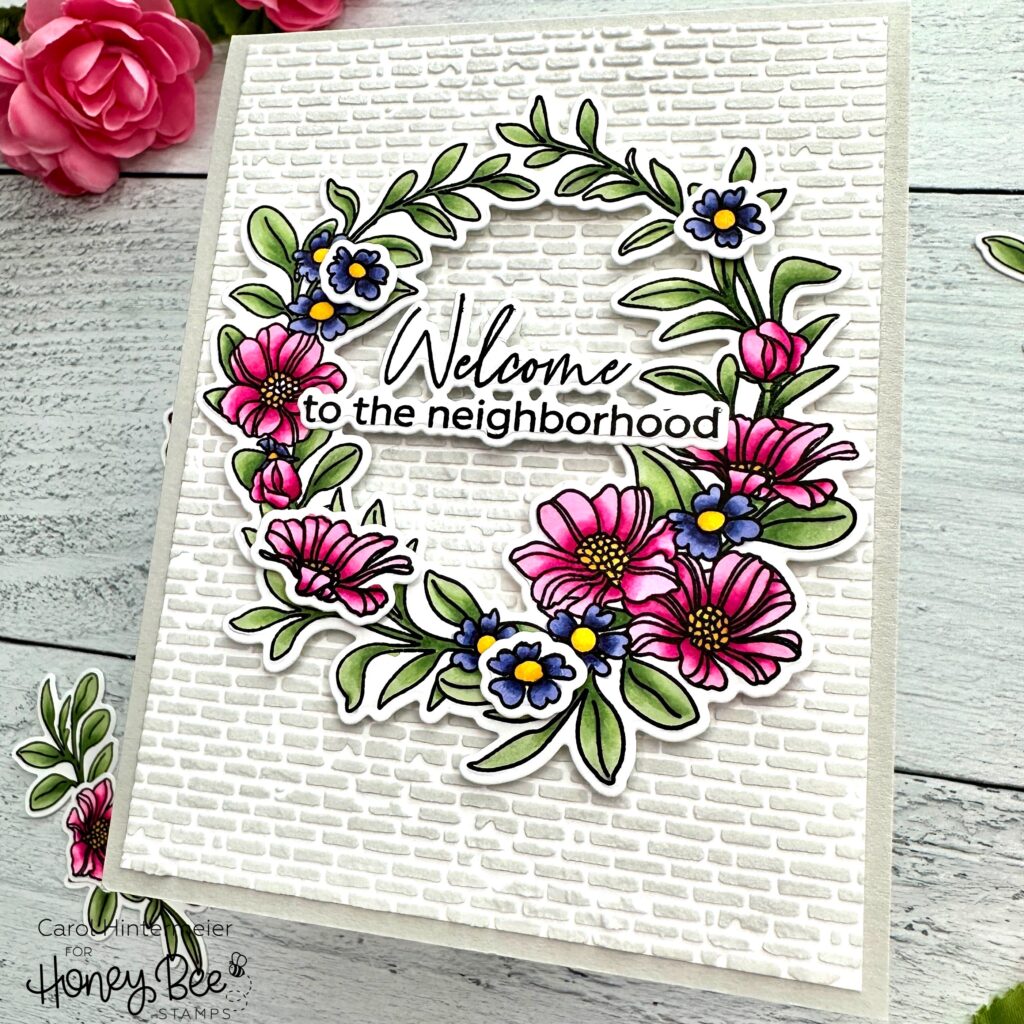
The sentiment is from the No Place Like Home set and stamped in Intense Black ink. I die cut it with the coordinating Honey Cut. I added foam tape strips just to the middle part of the sentiment since part of it will overlap the wreath.
Next I trimmed the Salvaged Brick panel to 4″ x 5-¼”. I used Bee Creative glue to adhere it to a coordinating gray cardstock A2 card base.
Then I removed the backing of the foam tape and adhered the wreath, flowers, and sentiment to the card.

I just love this brick background for the bright and cheerful wreath! I hope I’ve give you some fun ideas for your card making too. Thank you for stopping by–keep crafting!
2 responses to “Spring Wreath on a Textured Brick Background”
Love the card. I am practicing with my Copics and this is inspiring.
Thank you so much Pamela!! Practice, practice is what I’ve done too! I’m so happy to have give you inspiration!!