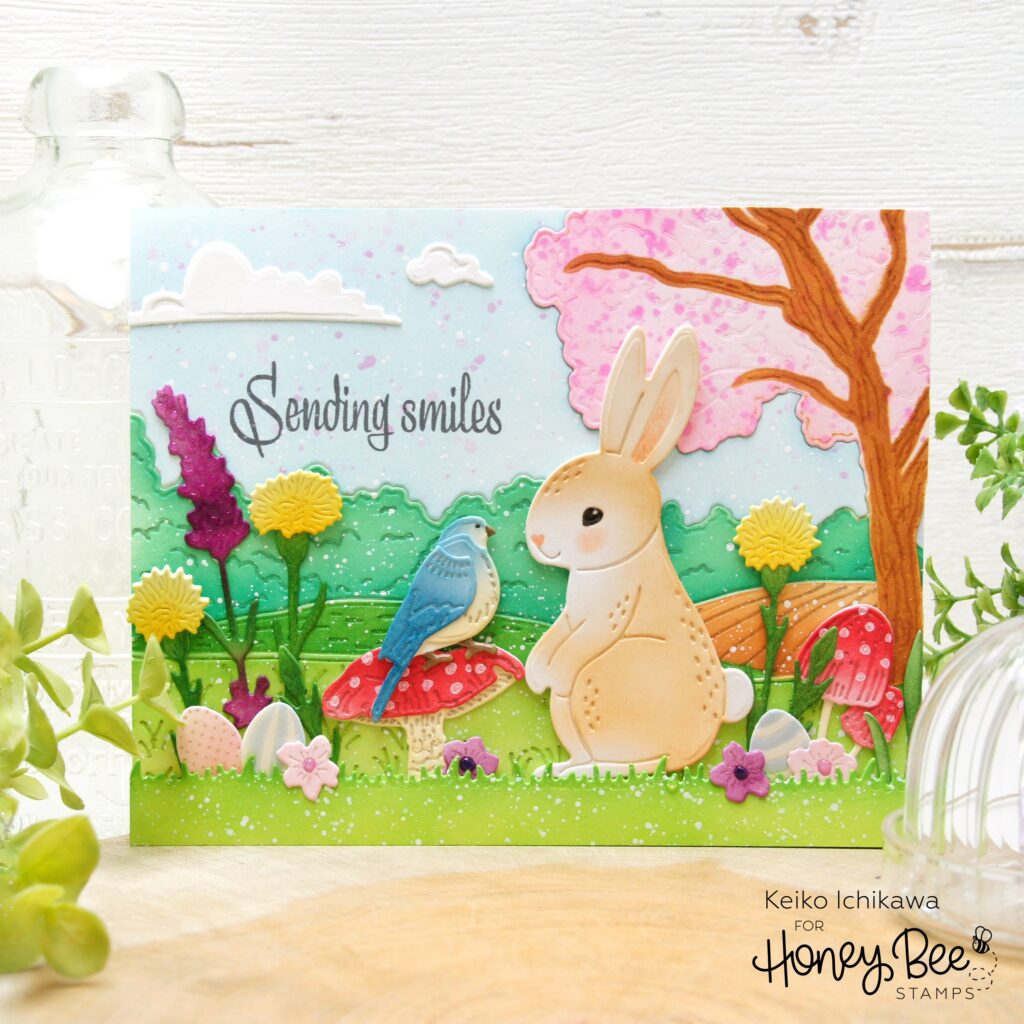
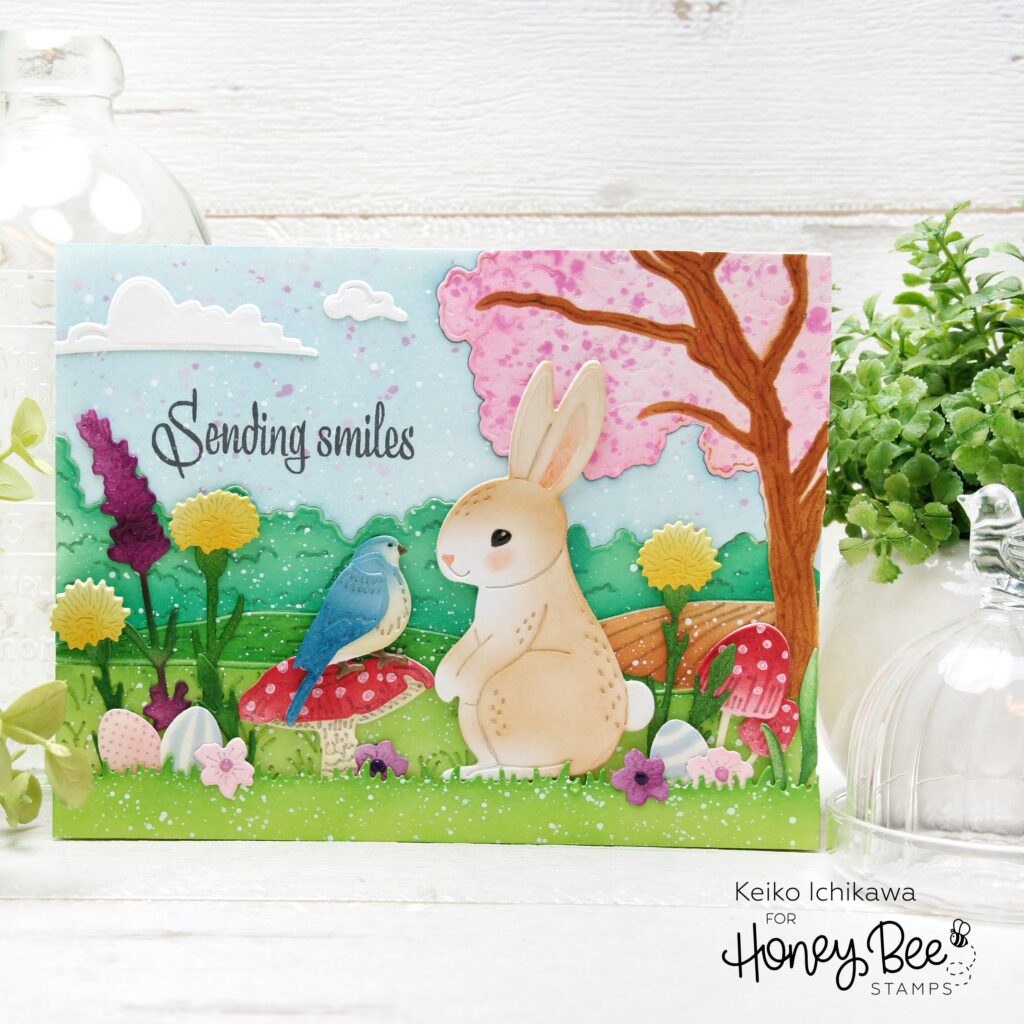
Hello friends! It’s Keiko from Happy Tree Studio and I am sharing this sweet spring scene card with you today. I don’t know about you, but I am so ready for spring and decided to make a very springy card! These scene cards are my most favorite card to create, especially the ones I can use a variety of dies. I used 10 different die sets to create this scene. It took me a while to go through my entire collection of Honey Bee die sets to pull each elements but I enjoy the process so much.
To create the background, I die cut a piece of A2 sized card panel with Farmhouse Fields Scene Builder die. I love this die so much because it creates this beautiful scene with so much details just by die cutting. I then inked the entire scene using the coordinating stencil set and various colors of Distress Inks. I first inked the tree with green inks but changed my mind to make it into a cherry blossom tree. So I die cut another tree, inked it with pink inks, cut it out and glued it on top of the green tree. To add some depth to the scene, I die cut a grassy border using Horizon Slimline Borders die set. After inking, I added some white splatter to the entire scene and pink splatter to the tree and the sky to emulate cherry blossom petals. I also traced all the embossed details with grey pen to make them stand out. The sentiment is from the new Mailbox Memos stamp set and I stamped it with dark grey ink instead of black to make it a bit softer.
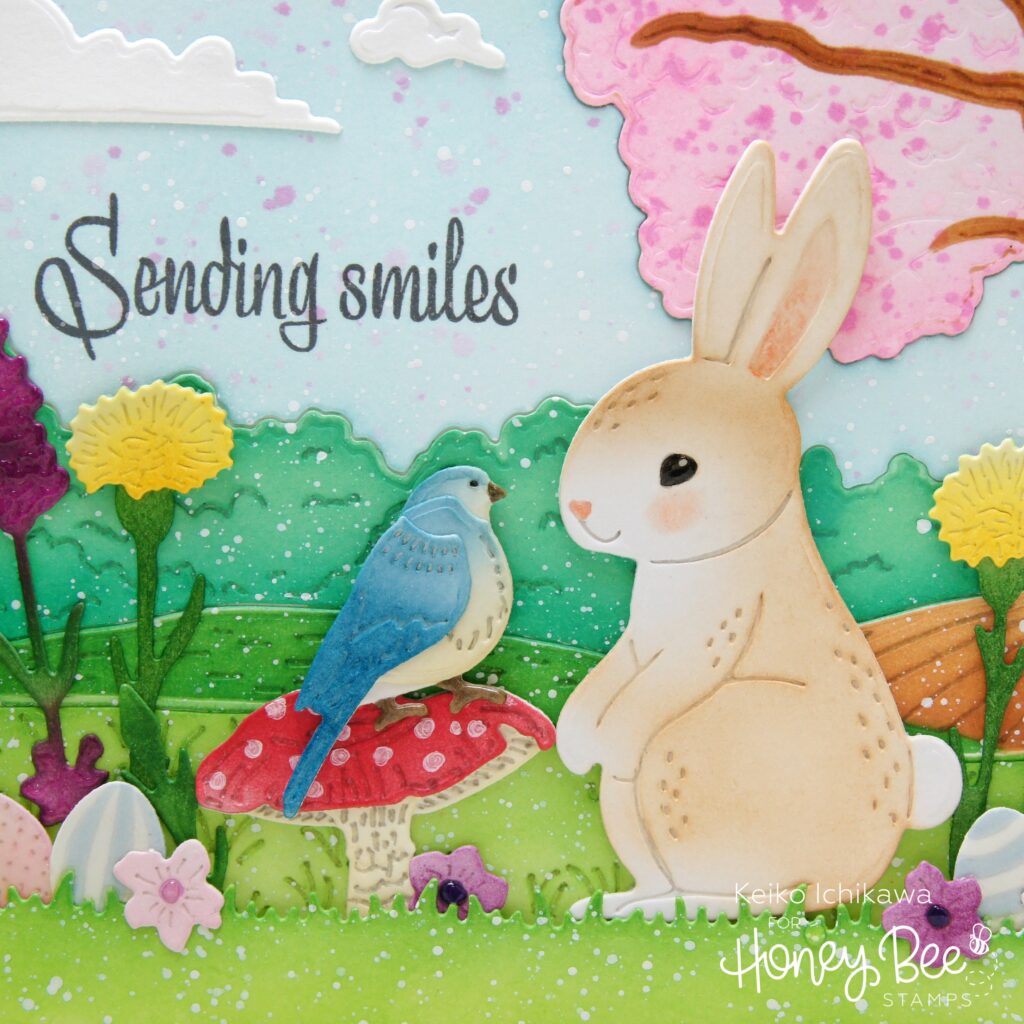
All the elements on the card were die cut from white card stock and inked with Distress inks. Here are the list of the die sets I used:
Bunny Basket (bunny)
Lovely Layers: Seasonal Frame (bird)
Lovely Layers: Mushrooms (mushrooms)
Itty Bitty Eggs (eggs)
Lovely Layers: Autumn Bouquet (yellow flowers)
Lovely Layers: Spring Greenery (purple flower)
Farm Fresh Market Cart Add-On (tiny flowers)
Cottage Countryside (clouds)
After inking each elements, I added white pen detail to the mushrooms and strips to the eggs with a marker. I also added some Glossy Accents to some areas such as eggs, flowers, and eyes.
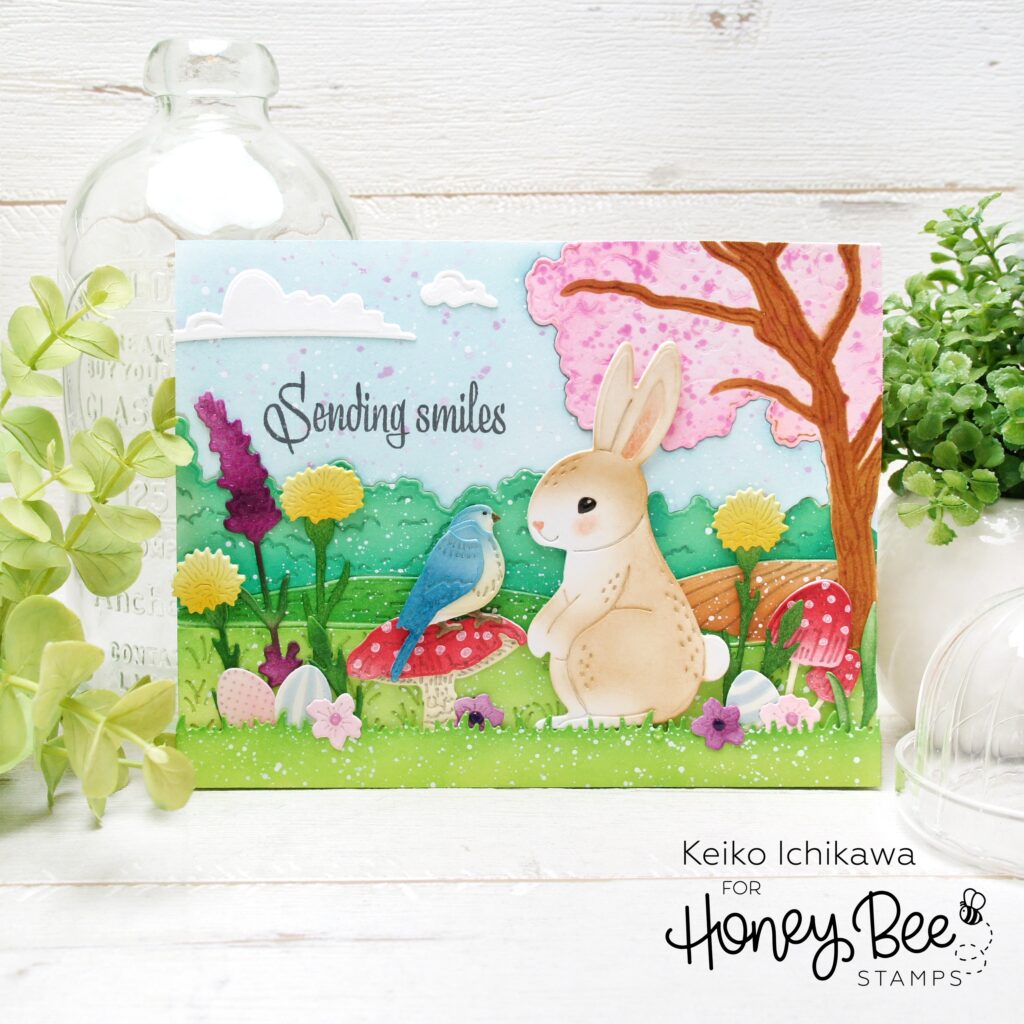
To assemble the card, I first adhered the background panel to the card base and popped up the grassy border with some foam tapes. I then adhered the elements using both liquid glue and foam adhesives. TIP: Since the bunny is pretty large, I layered two extra die cuts on the back instead of using foam tapes. I sometimes do this trick for the large die cuts to avoid them being squished in the mail and also make them look nice and neat.
Thank you so much for stopping by today. Have a wonderful week!!

One response to “Spring Scene Card Using Die Cuts”
Such a sweet scene! It immediately transported me to a warm spring day and put a smile on my face. I love all your attention to detail, just precious!