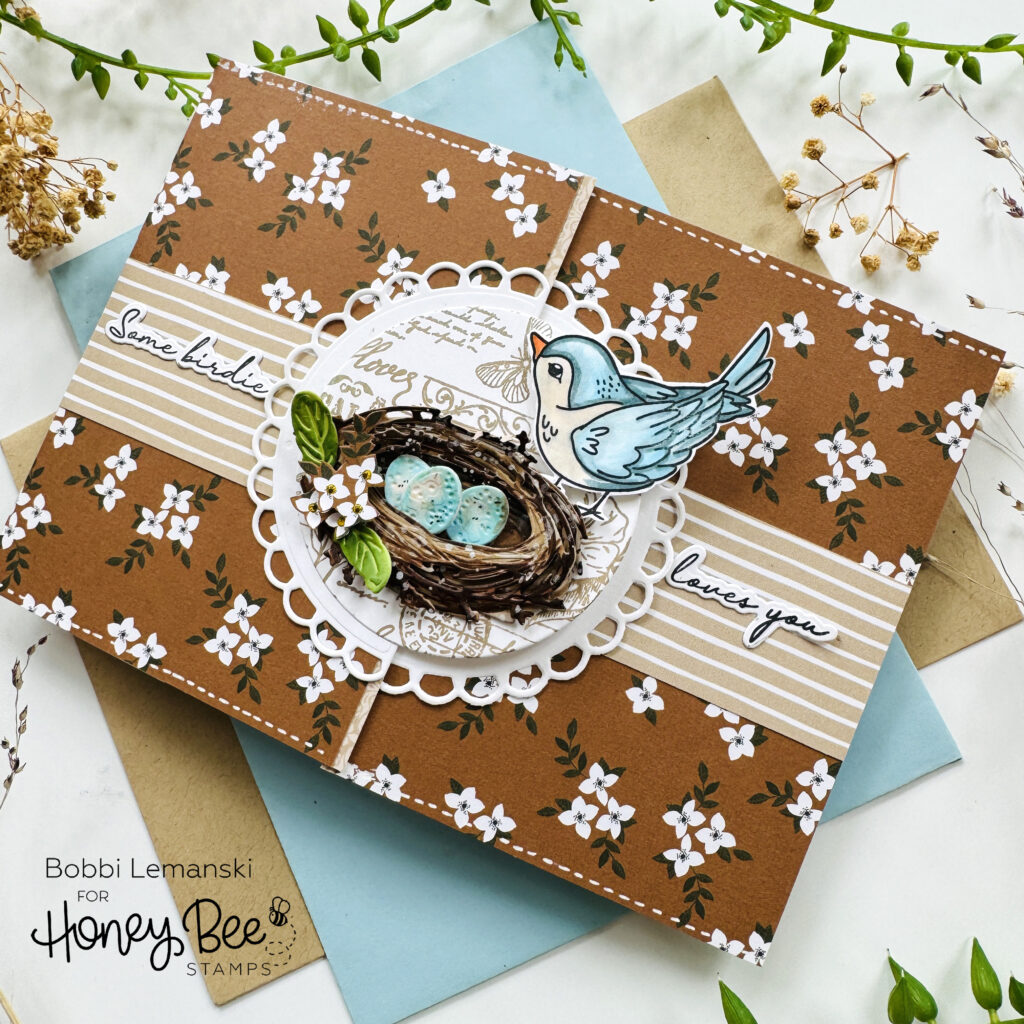
Happy Spring! It’s Bobbi here and I’m really enjoying this amazing weather we are having this March. I love hearing the birds sing and seeing my spring bulbs sprouting from the ground. It was nature that inspired my card today. I’m using the following Honey Bee Stamps products:
Lovely Layers: Nest Honey Cuts dies
Lovely Layouts: Posted – Honey Cuts dies
By Your Side Stamps and Honey Cuts dies
Vintage Flora Background Stamp
Love is in the Air stamps and Honey Cuts dies
Sweet Stacks: Circles – Honey Cuts die
SALE TODAY: Get your items today and save! The Spring Sale is happening now! From March 15th – 17th Save 20% on our Spring Collection with the code: SPRING20!
The featured project below is made from Neenah 80lb Solar White cardstock for the card base. All of the black ink stamping was done using Honey Bee’s Bee Creative Intense Black Ink. I use Honey Bee Stamps Bee Creative Precision Glue to adhered my elements together. When I want dimension, I use Bee Creative Foam Dots With Tab. My card is 5″ X 7″ in size.
CARD BASE / FLAP ASSEMBLY
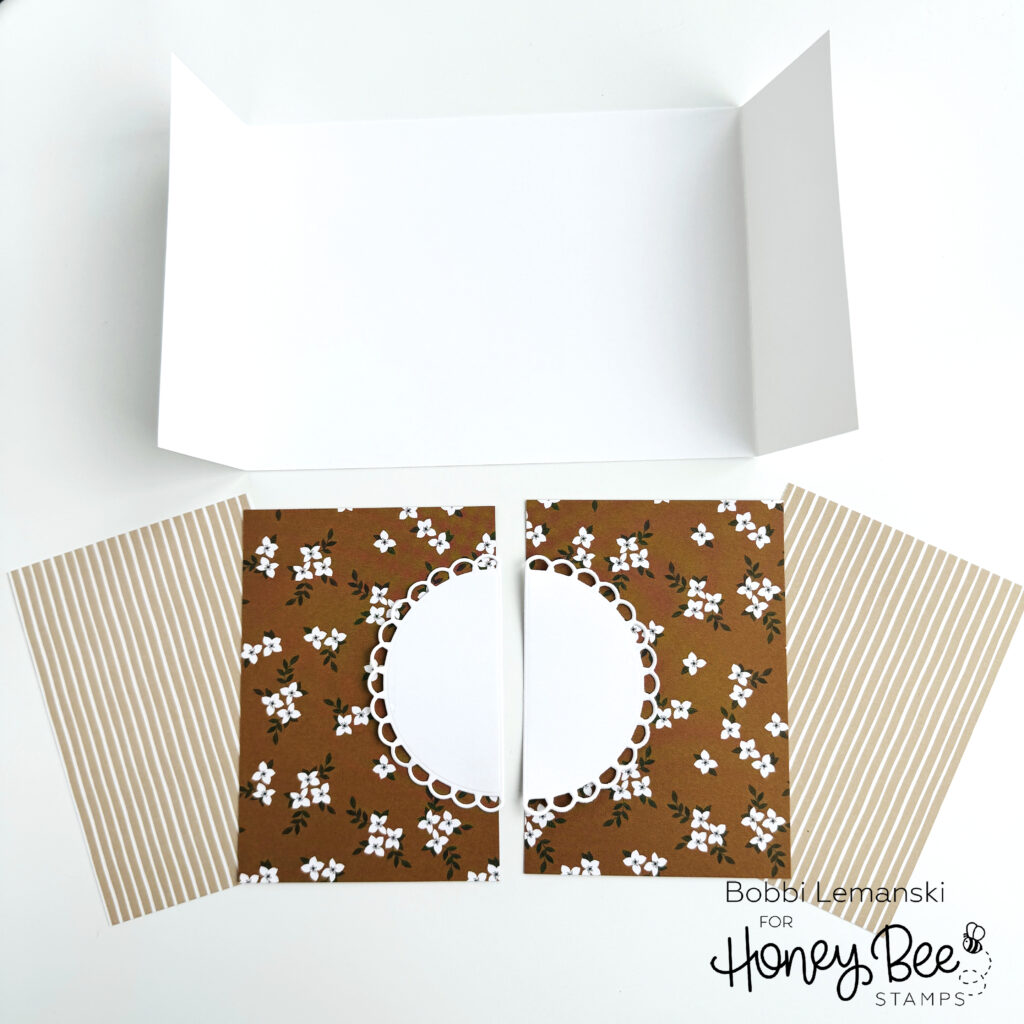
To make this 5″ X 7″ card, I cut one 11″ wide X 5″ tall piece of white cardstock and scored 2″ in from each short side. I also cut four pieces of pattern paper measuring 3-1/2″ wide X 5″ tall from two patterns of paper from the Vintage Love paper pad. I cut one scallop circle from white cardstock using the shape from the Lovely Layouts: Posted – Honey Cuts dies. I adhered the striped pieces on the inside of each flap, attaching the pieces 1/4″ out from the score marks inside. I attached the floral pieces on the other side of the flap, the outer side, attaching right at the score line. The striped papers stuck out further by 1/4″ on each side. I also added 1-1/2″ strips of striped paper across the centers of each of the front flaps and attached 1/2 of the cut scalloped-edge circle to each side flap.
I stamped a piece of white cardstock with the Vintage Flora Background Stamp using Toffee Crunch Memento Ink. I cut the stamped design using a 2-3/4″ circular die to fit inside the scalloped circle design. I glued it in place on the left side flap only, leaving the right side unattached.
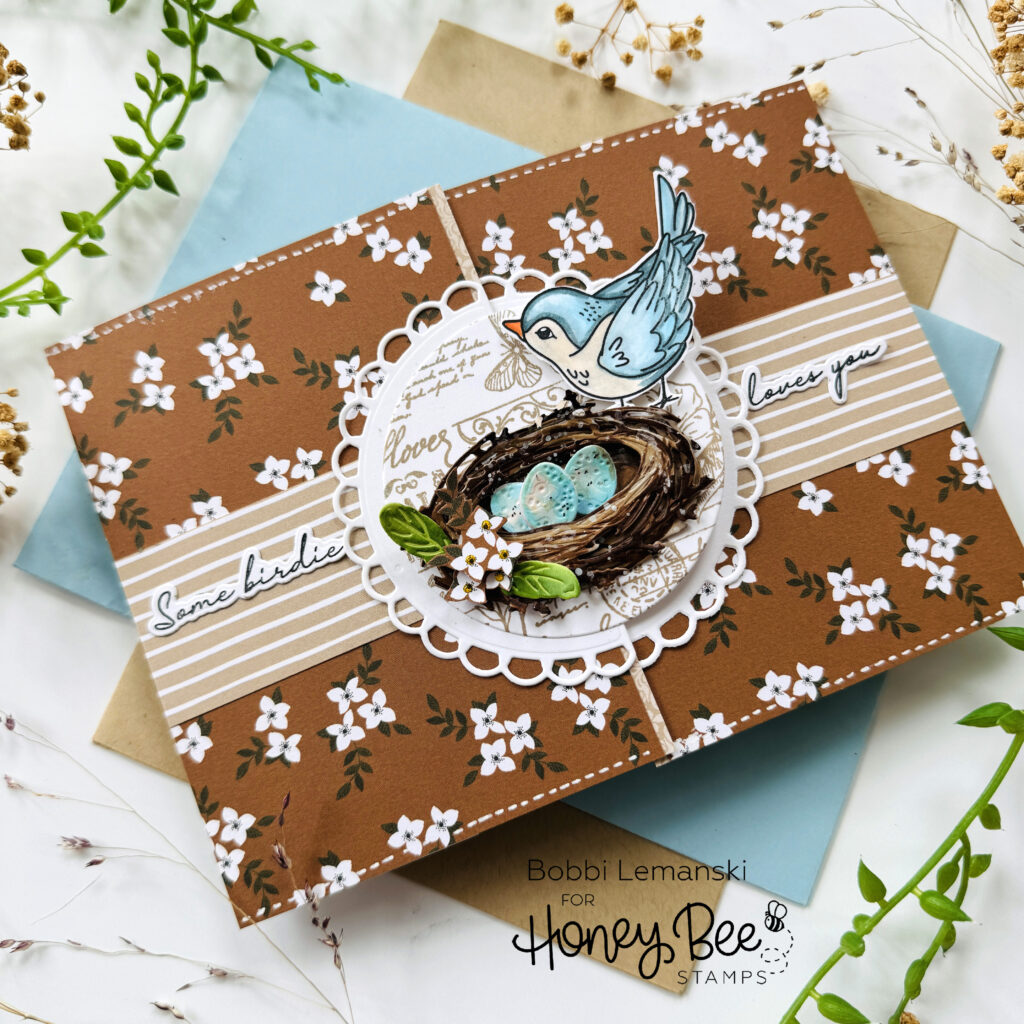
I die cut the nest layers from kraft-colored cardstock and colored the branches using Copics in E59, E57, E44, and E43. I attached the layers together and splattered white paint over the front. I die cut the eggs, layered and glued the pieces and colored them using B01, BG13, and E50. I added some black dots to each egg. I attached the eggs inside the nest, using a foam tab behind one. I die cut two leaves from green cardstock and colored them using YG67, YG25, and YG03. I cut out a few white flowers from the pattern paper and glued them in place on the nest along with the two green leaves.
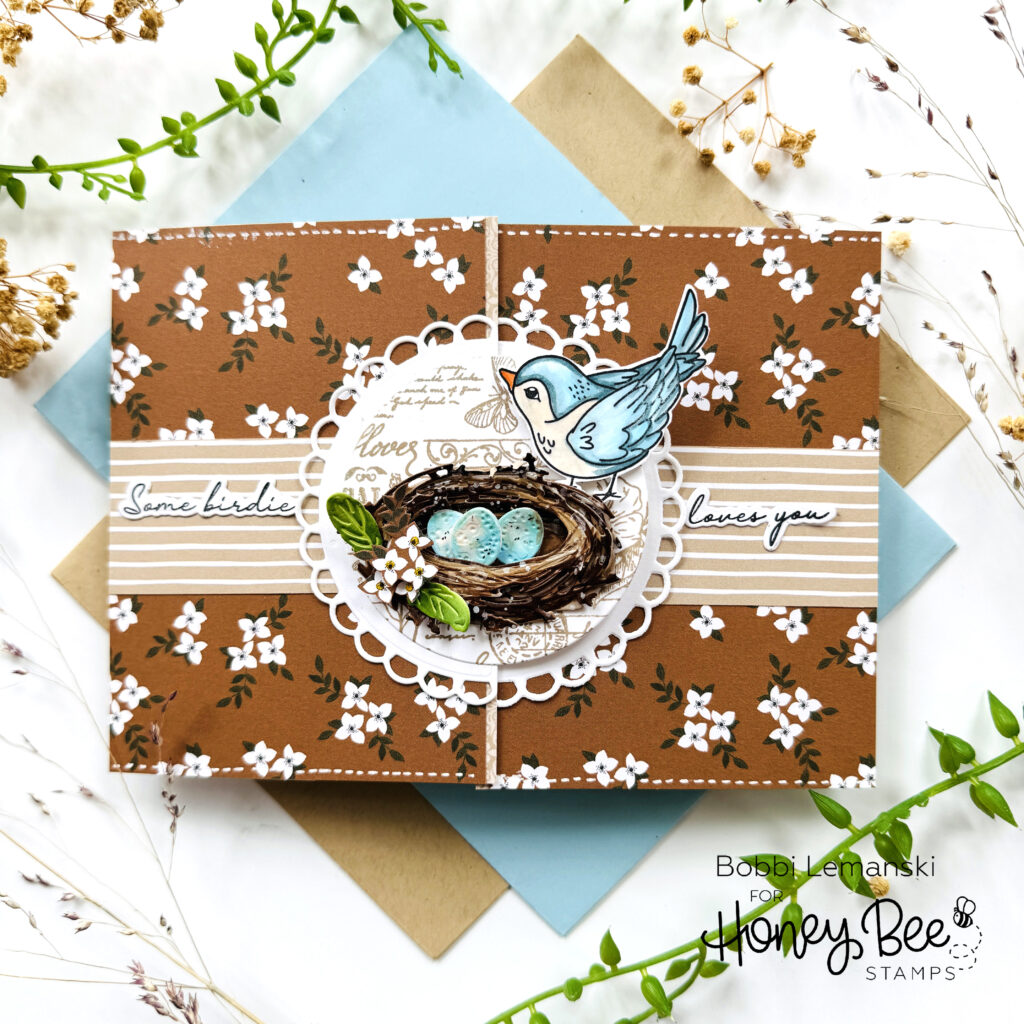
I stamped, colored, and die cut the bird using the Love is in the Air stamps and Honey Cuts dies. I colored it using BG75, BG72, B01, B00, E50, YR09 and YR68. I attached the bird to the right side using a large foam tab. I added faux white stitching at the top and bottom of the front flaps. I stamped, die cut and cut in half the sentiment strip from the By Your Side Stamps and Honey Cuts dies. I attached the pieces over the striped band, on both sides of the nest.

To keep this gatefold card closed, I adhered an adhesive-backed circular Velcro closure to the right-side flap. When closed, the closure is covered by the flora-stamped circle design. I love how the flaps inside are as pretty as on the outside. This card is ready for any sentiment and/or handwritten note inside.
You can shop the entire Honey Bee Stamps Vintage Love Release here. If you decide to place an order, please use the links in this post so that Honey Bee knows which ideas inspired you! Don’t forget about the sale! Get your items today and save! The Spring Sale is happening now! From March 15th – 17th Save 20% on our Spring Collection with the code: SPRING20!
Thanks for stopping by today. If you want to see more ideas and inspiration from me, subscribe to my blog, BobbiHartDesign.com. I’ll send you updates on new posts! You can also find me on Instagram as @BobbiHartDesign and on Facebook as BobbiHartDesign.