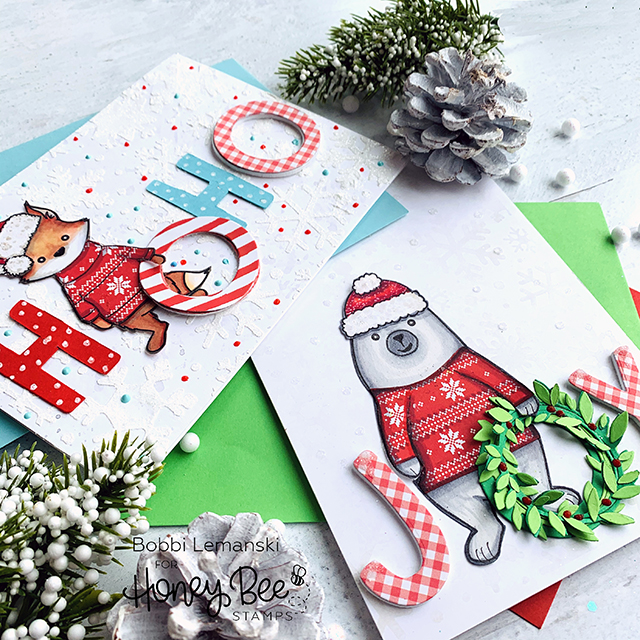
Hello! It’s Bobbi Lemanski and I’m sharing two snow-covered greeting cards for the holidays. I’m using some new release products from the Season to Sparkle holiday release paired with prior release products from Honey Bee Stamps:
– Bill the Bear stamp and die sets (for the bear, only)
– Warm Wishes stamp and die sets (for the fox, only)
– Snow Buddies stamp set (for the hats, only)
– Holiday Traditions 6″ X 6″ paper pad
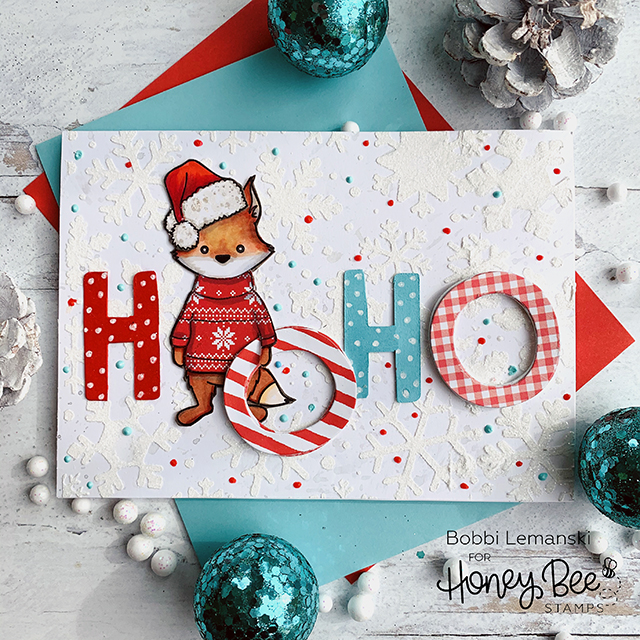
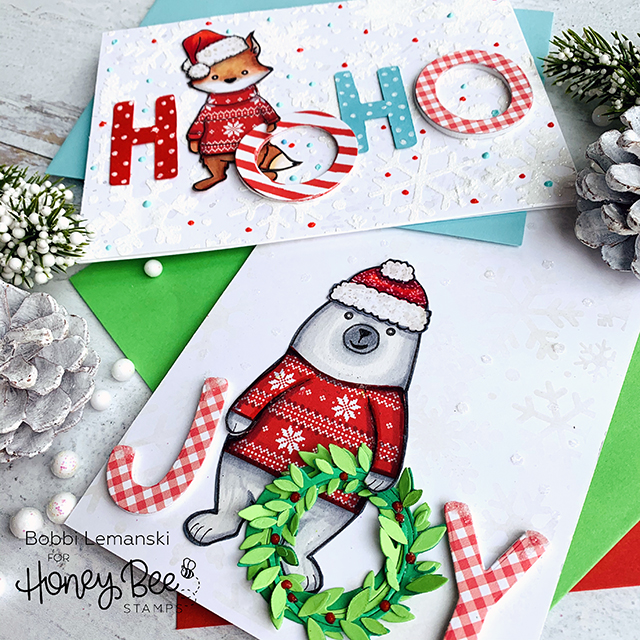
Red Fox HO-HO Card
This 5″ X 7″ holiday card uses the cute fox from the Warm Wishes set. I used Copic Sketch markers to turn the fox into a red fox for the holidays. I stamped and colored the Santa hat from Snow Buddies stamp set and adhered it over one ear of the fox.
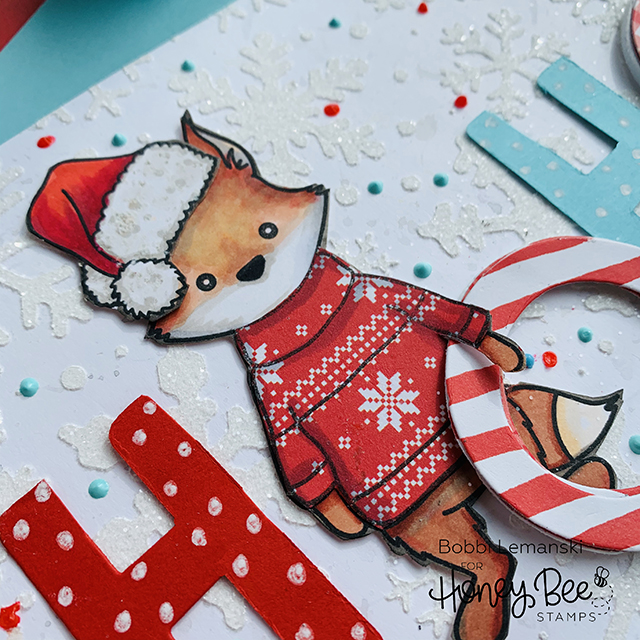
I also added a sweater to the fox by stamping the fox image on the sweater pattern paper and fussy cutting it out, close to the stamped lines. I glued the sweater to the fox and added shading with my Copics for more dimension. I also cut the line between the left arm and body of the fox so he could hold the O letter.
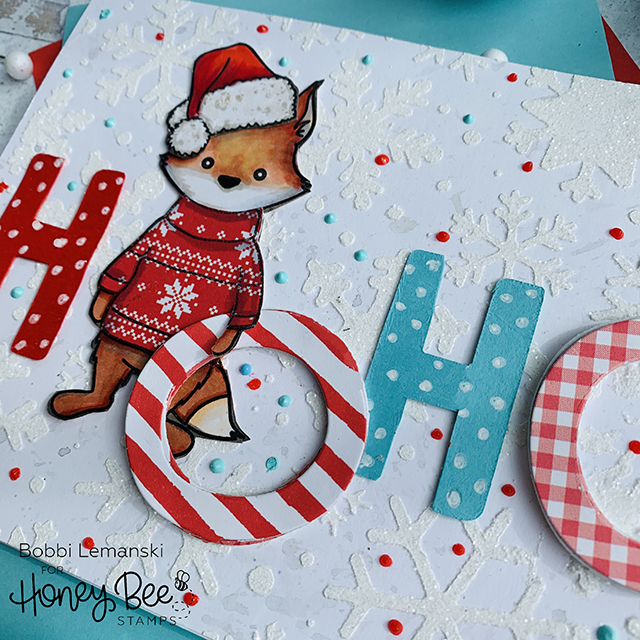
I created HOHO by using the letters from the Joy Noel Wreath Die set. To make the H letter, I used the L and E from the Noel word. I added white polka dots to the letters. The Os were cut from the red/white gingham check and the striped patterned papers from the paper pad. I also backed the Os with craft foam to make them stand out more than the H letters and to make them more sturdy, too.
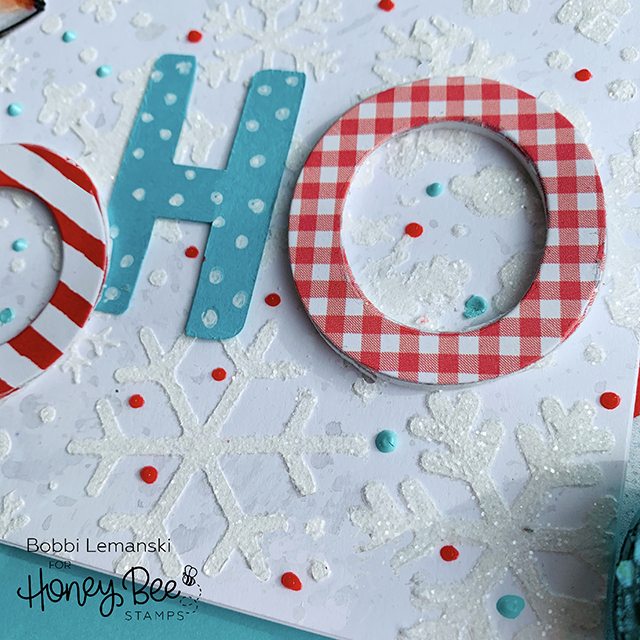
Now that my letters and fox were done, it was time to create my background. I started by flicking gray watercolor on the cardstock to make random splotches. I used the Snowfall Background Stencil, Ranger white embossing paste and Ranger Distressed Glitter to create the sparkly snowflake background. I added random dots of color in read and aqua using Pearl Pen around the flakes. Once everything was dry, I attached the letters and the fox to the front. The finished card front was attached to a 5″ X 7″ landscape-oriented card base to complete this greeting card.
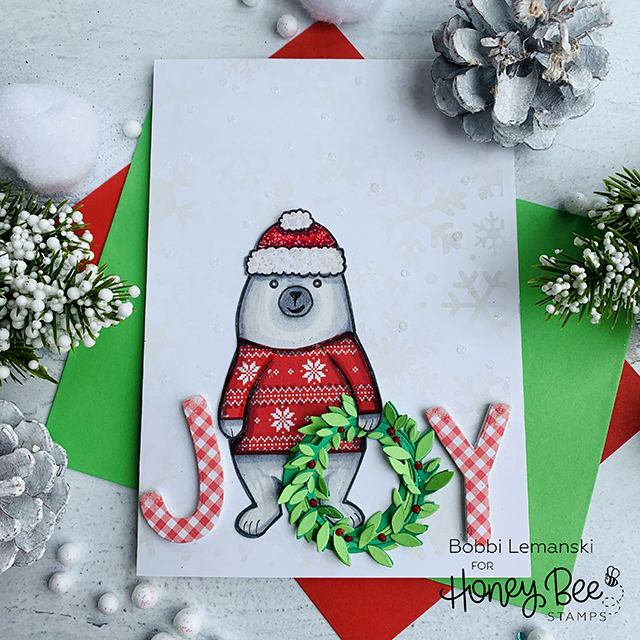
Polar Bear JOY Card
To create the second 5″ X 7″ polar bear card, I stamped, colored and cut the Polar Bear image. I stamped the bear again on the red/white pattern paper and cut out his sweater shape and adhered it to the polar bear. I also cut on the black line, between the bear’s body and left arm so that his arm/hand can “hold” the wreath
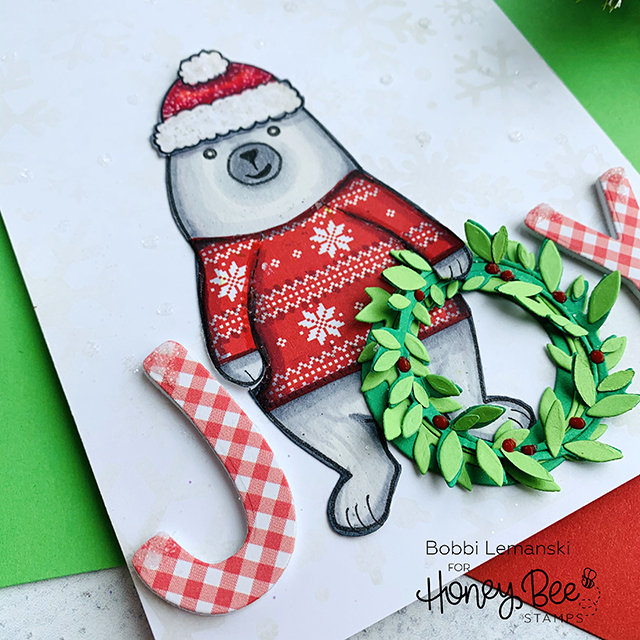
The J and Y letters were also cut out of the red/white gingham check pattern paper. Both letters were backed with white craft foam to make them stand out. I also added Magic Transparent and glitter to the tops to make icicles.
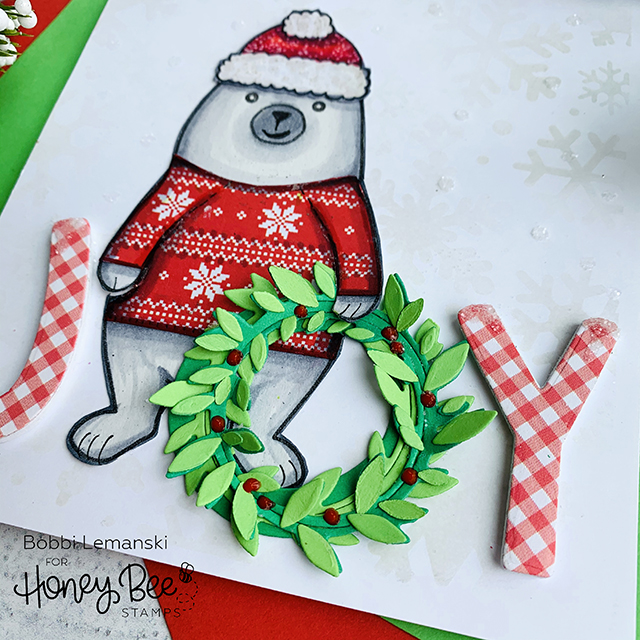
The wreath was die cut out of two colors of green cardstock. I glued on the individual leaves on the darker green wreath and then stacked/glued the two wreaths together to create one fuller wreath. Small red berries were added using Pearl Pen in red.
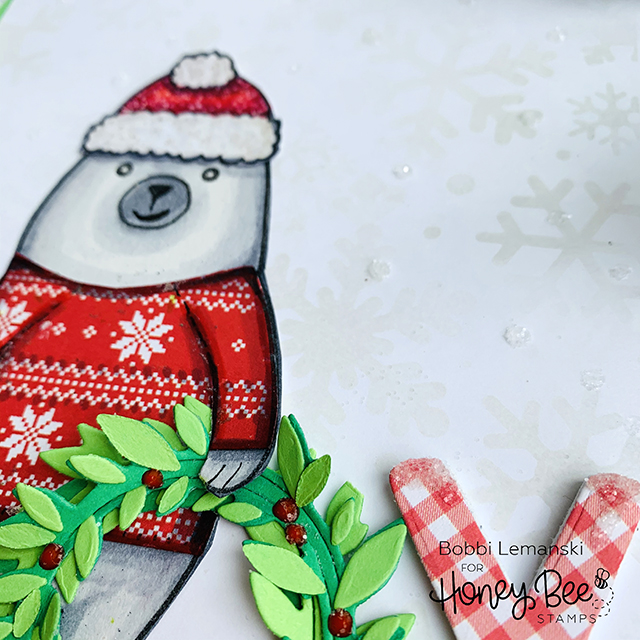
To make the background for this card, I stenciled snowflakes using a very light beige stamp pad ink, my blender brushes and the Snowfall Background Stencil. I also added Magic Transparent dots to the front and sprinkled a little glitter on them, too. The letters and polar bear were adhered to the card front and the card front was attached to a white card base.
Thanks for visiting today! I’m glad you did! I hope these cute animals get you in a festive, holiday mood!
You can find me on Instagram as @BobbiHartDesign and on Facebook as BobbiHartDesign. Bobbi Hartmann Lemanski, Bobbi Hart♥ Design, Adding h♥art into every design