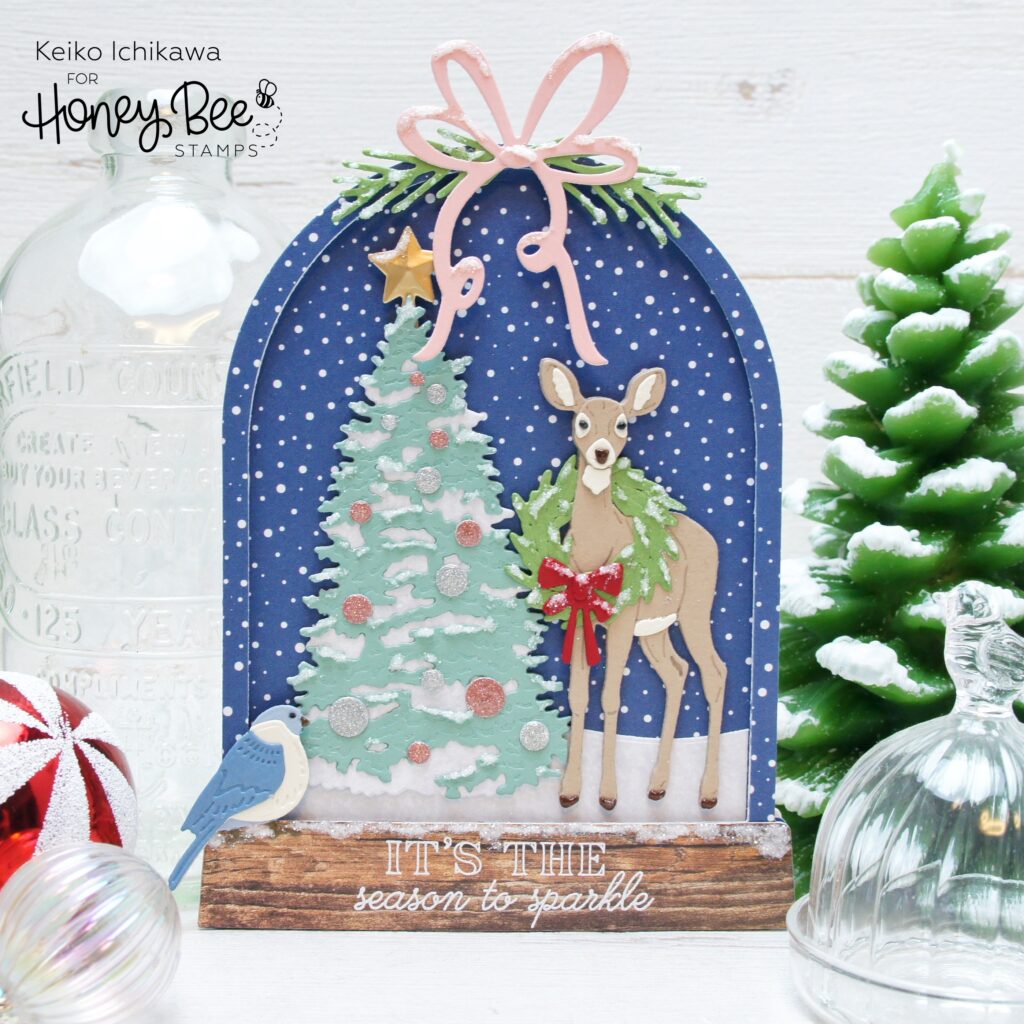
Happy new week friends! It’s Keiko from Happy Tree Studio today and I am sharing a snow globe shaped card with super adorable deer. You can easily turn this into a shaker card if you want to. Just add a piece of clear acetate underneath the frame and add shaker bits of your choice!
For the snow globe, I used one of my most used die set Snow Globe A2 Shaker. I added a big bow on top and the little bird is sticking out on the side so this card will not fit into a standard A2 sized envelop, however it will fit perfectly if you use a smaller bow and move the birdie a little (and shy away from layers of foam tapes of course). I die cut both the base (background) and the frame from a pretty snow pattern paper from the new Winter Wonder paper pad and the wooden base from Grain & Grunge paper pad. I also used the white ice/snow pattern paper from the same Winter Wonder pad for the snowy ground and the base layer of the tree.
The sentiment is from the new Let It Snow stamp set and I white heat embossed it on the wooden base before adhering it on the frame. I then die cut all the elements I selected and put them all together. Here are the list of the die sets I used:
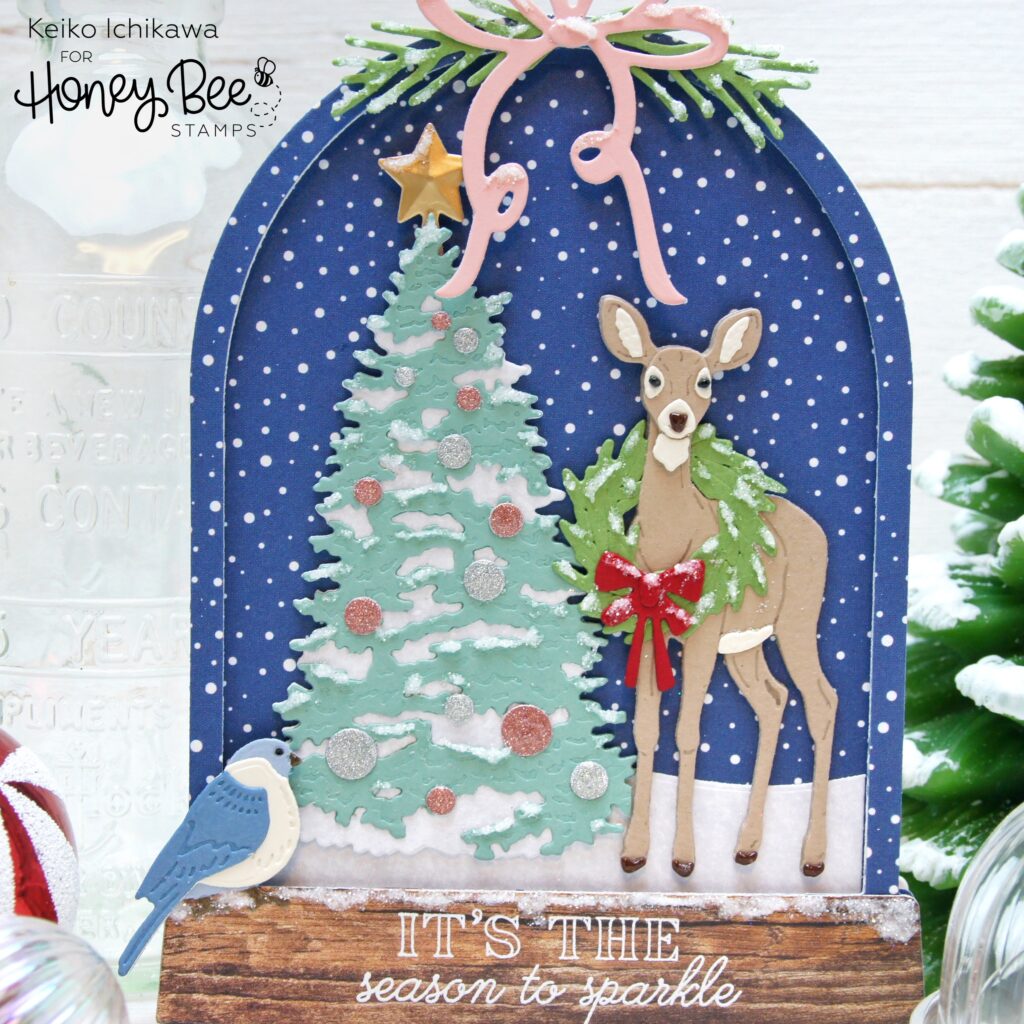
Lovely Layers: Deer
Lovely Layers: Trees
Lovely Layers: Seasonal Frame (bird)
Christmas Market Cart Add-On (wreath and bow on the deer, ornaments)
Lovely Layers: Candy Canes (Bow and pine branches on top)
Grandma’s Christmas Tree die & 3D embossing folder (star)
Horizon Slimline Borders (hill)
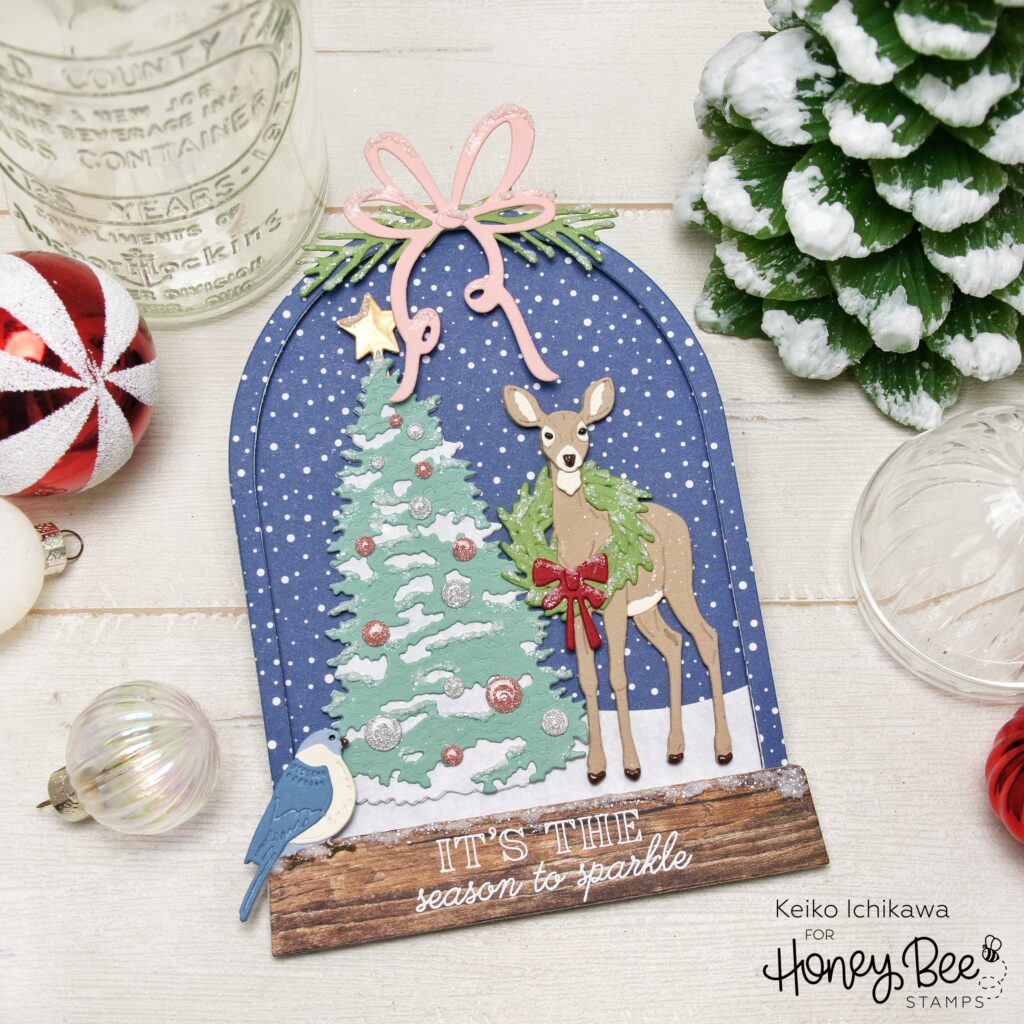
TIP 1: For the deer, I die cut three bodies and layered them to add dimension. This is easier and sturdier than using foam tapes. I also layered an extra frame die cut from heavy weight card stock before adding a layer of foam adhesives since pattern papers are little thinner than the regular card stock.
TIP 2: I felt the wreath was little too big for the deer so I cut it in half and layered the one on top of the other behind her neck and the front (under the bow).
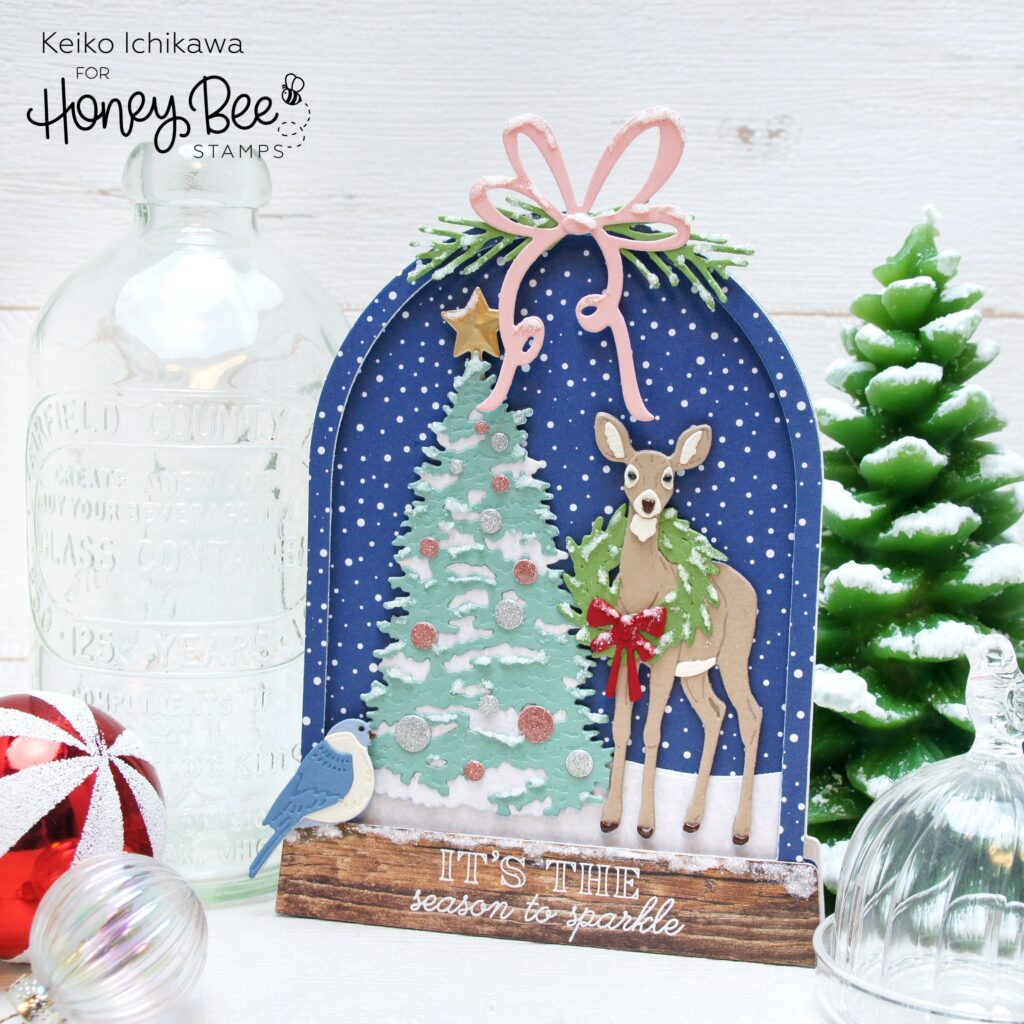
After putting together the scene, I added some clear glitter to all the greenery pieces, bows, star, and the snow globe base. I also added some Glossy Accents to some places including the ornaments, and eyes & nose of the deer.
Thank you so much for stopping by today. Have a wonderful week!
