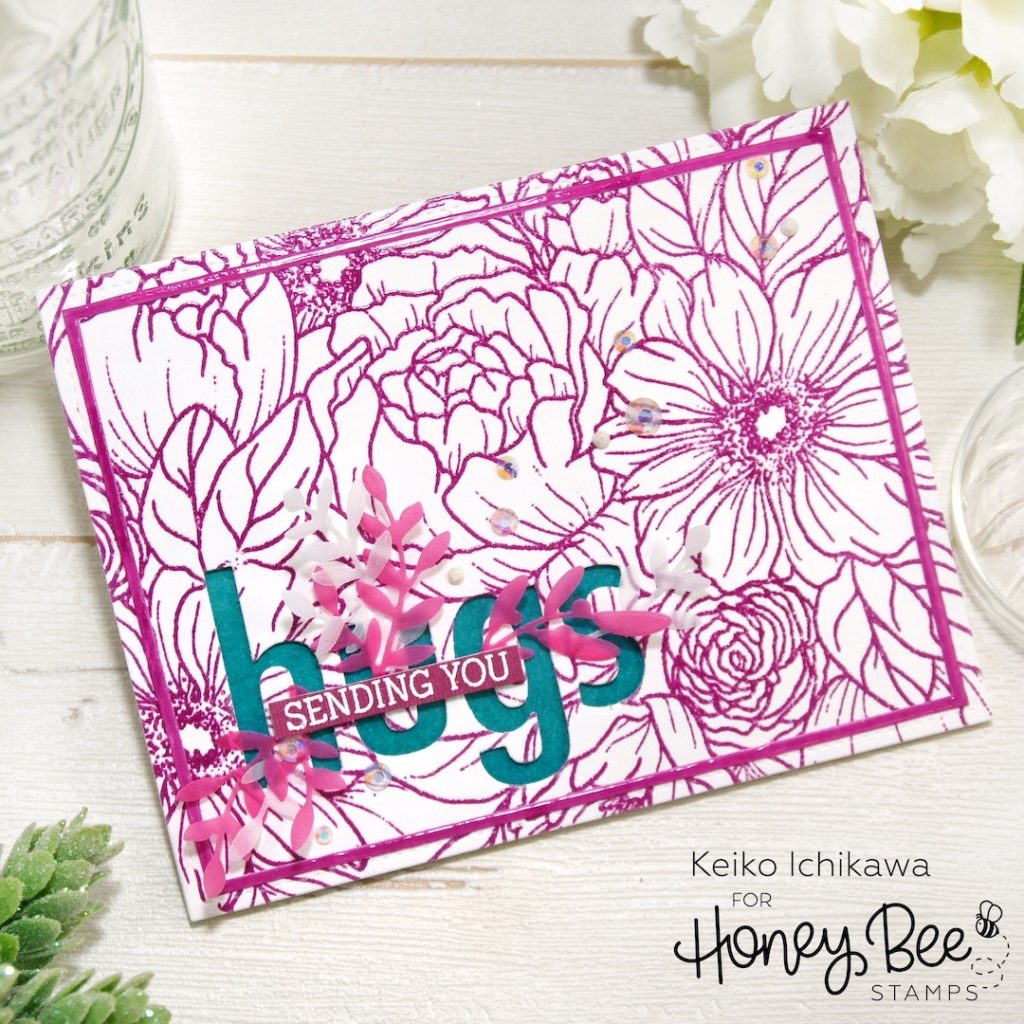
Happy new week crafters! It’s Keiko here today from Happy Tree Studio sharing this super simple yet pretty card. This card must be the simplest and quickest card I ever made but thanks to the gorgeous background stamp, it is still pretty! It doesn’t even require any coloring!
On a piece of A2 sized white card stock, I stamped the new Spring Blooms Background with dark pink ink (I used Memento ink in Lilac Posies color) using my Misti. I cleaned the ink from the stamp and stamp again with embossing ink and heat embossed the image with the clear embossing powder. This is totally optional, but I love the slightly raised and shiny stamp line especially for a simple card like this.
Using Bee Bold Lowercase alphabet dies, I cut out the word ‘HUGS’ from the panel (make sure to save the inner part of ‘g’!). You can do ‘THANKS’ or ‘LOVE’ or whatever you like! You can also use a word die instead of spelling out a word with alpha dies. ‘SENDING YOU’ sentiment is from Latte stamp set and I white heat embossed it on dark pink card stock. I trimmed the sentiment into strip and layered two more pieces underneath to make it more sturdy.
The card base is made from heavy weight white card stock and I blended dark teal ink on the area that show through the die cut HUGS (I used Peacock Feathers Distress Ink). I covered the back of the HUGS window with clear acetate and glued the inner part of ‘g’ on top. I then covered the entire card base with foam tapes except the ink blended area and adhered the stamped card panel. You can make this into fun shaker card by putting some pretty sequins or gems inside but I decided to make this one as simple as possible.
To add a little decoration, I die cut bunch of leaves from heavy weight velum (both pink and white) using Country Christmas Wreath die. This little leaf die is one of the most used dies in my recent cards! I arranged the leaf die cuts around the HUGS window and adhered the sentiment strip with foam tape on top (this will secure the leaf die cuts as well).
I felt the card was little too simple for my taste, so I decided to add a thin frame. To make this super thin frame, I die cut an A2 white card stock with the largest die from A2 Double Stitched Frames die (make sure you place the die in the center). This will give you a A2 frame. Then, I cut off around the edge of the frame to make it thinner. Since this die leaves a stitched line all around, I simply trim on the stitched line with my scissors. I then inked the frame with the same ink as the background and adhered it with Precision Tip Glue. I then applied a layer of Glossy Accents over the thin frame and added some gem stones to finish off the card.

Thank you so much for stopping by today. Have a wonderful week!!
