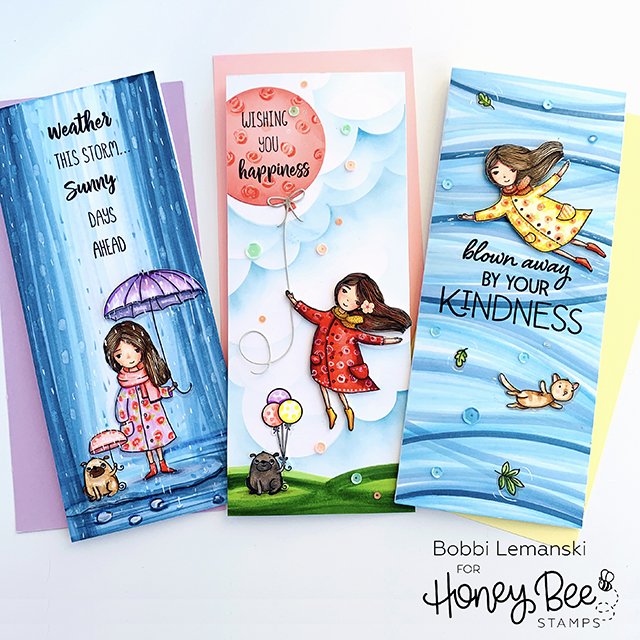
Hi there! It’s Bobbi Lemanski from BobbiHartDesign.com. I’m sharing three cards featuring the beautifully illustrated girls from the Seasonal Sweeties stamp set. I’ve used these gals in three distinct scene settings. I’m using the following Honey Bee Stamps products:
Seasonal Sweeties stamp and die sets
Balloon Bunch XL Honey Cut dies for the Cloudy Day card
Mountain Z Stencils and Masks Kit for the Cloudy Day card
Blown Away stamp set for the Windy Day card
Treats Shop Add-On stamp set for the Cloudy Day card
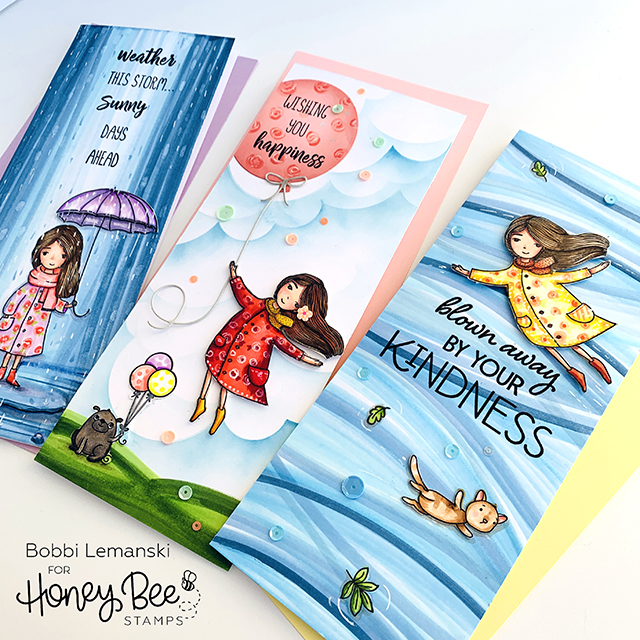
Play the video below to see the details of each of the three 3-1/2″ wide X 8-1/2″ tall slimline cards. These cards will fit inside a business envelope or you could create a custom envelope using an envelope maker.
Rainy Day
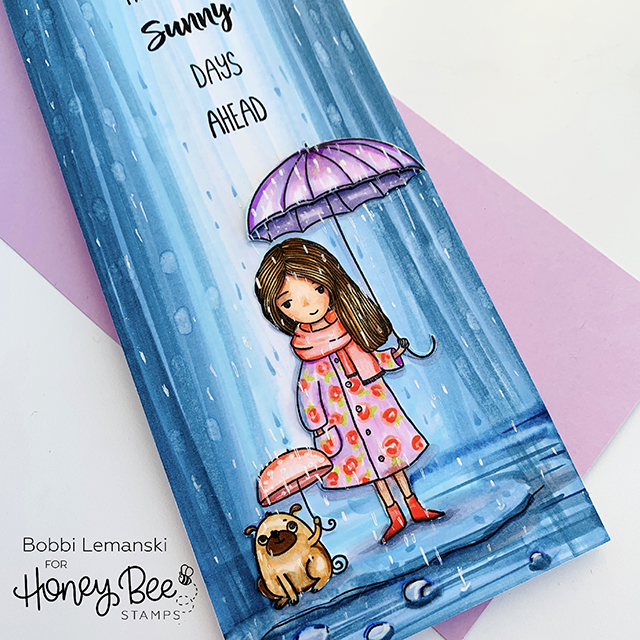
For a rainy day, I used a mix of Copic blue shades to create the rainy scene including B00, B21, B32, B41, B45, B95, B97, B99, BG01. To make the individual raindrops, I used my Copic Colorless Blender to pull color off to create the drops in the darker areas. For the lighter areas, I applied a darker blue marker color. Lastly, my white gel pen was used to create the brightest (i.e., white) drops. I stamped and cut out the front of the umbrella front and popped it up in front for highlighted dimension. Little flowers were added to the raincoat using small swooshes of color and bits of leaves.
Cloudy Day
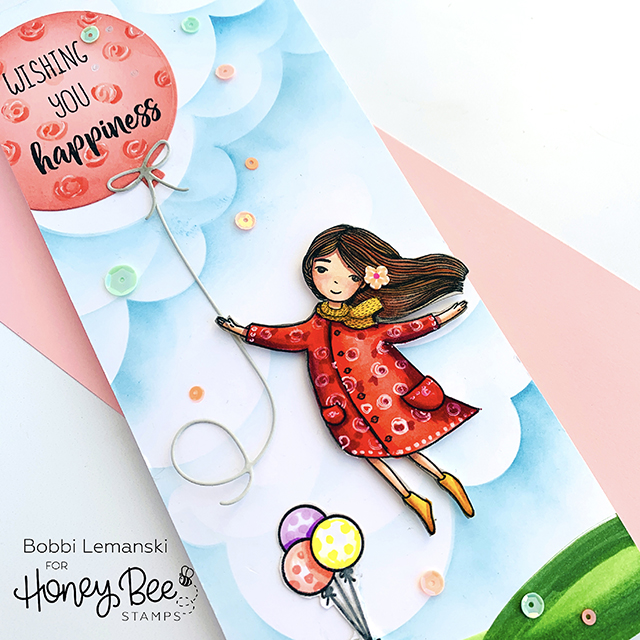
To create this cloudy, but oh-so happy day scene, I used Distressed Oxide in Salty Ocean, my blender brushes and the edges of the cloud masks to create the bold clouds in the background, leaving large open areas of white. By turning the girl to a new, upright position, I could achieve this motion idea of the large balloon raising her up into the sky (think the movie, “Up” :)). I used the dog from the umbrella girl image and gave him a balloon bouquet, too. 🙂 Sweet of You sequins were added for a little extra whimsy.
Windy Day
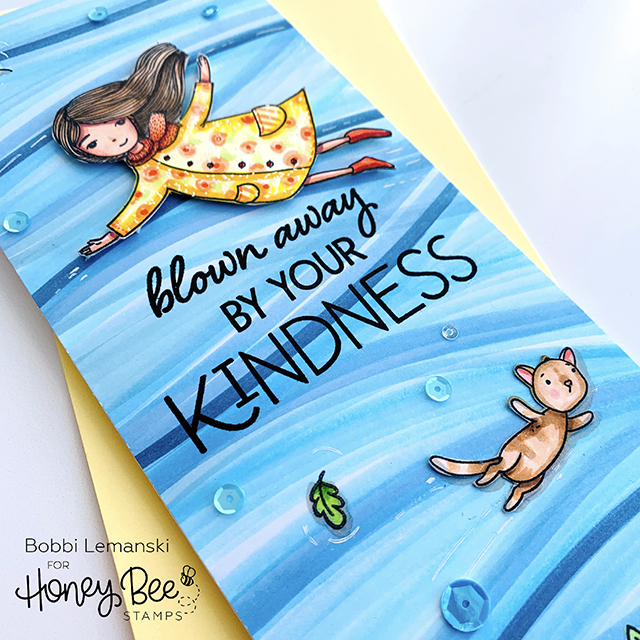
To create the look of wind, I used my Copics in the sames shades as the rainy day card scene above and drew soft rounded, horizontal lines across the background, allowing them to blend in some areas. Tip: For this technique, cut your cardstock slightly wider, say 4″ and trim off the sides after coloring to avoid ink puddling on the edges. Leaves and the cute animal were added as well as the Blue Jean Baby sequins and some white movement highlights on the background. The girl is popped up with foam tape for added dimension.
Three cards, one stamp set… Placing your images into different scenes can totally change the look of your projects. Give it a try. Challenge yourself to take an image or set and apply it in different scenes for new looks! Thanks for visiting today!
Want to see more ideas and inspiration from me? Subscribe to my blog, BobbiHartDesign.com. I’ll send you updates on new posts! You can also find me on Instagram as @BobbiHartDesign and on Facebook as BobbiHartDesign. Bobbi Hartmann Lemanski, Bobbi Hart♥ Design, Adding h♥art into every design