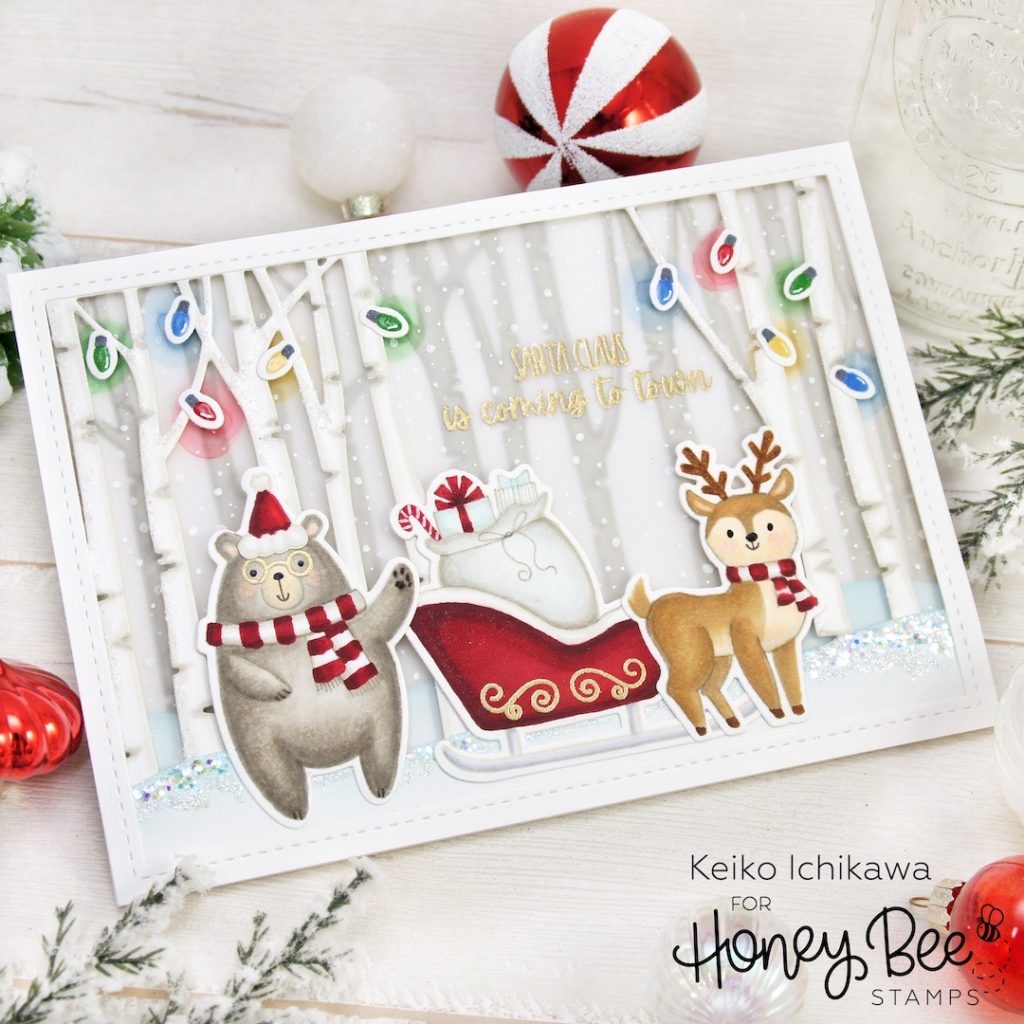
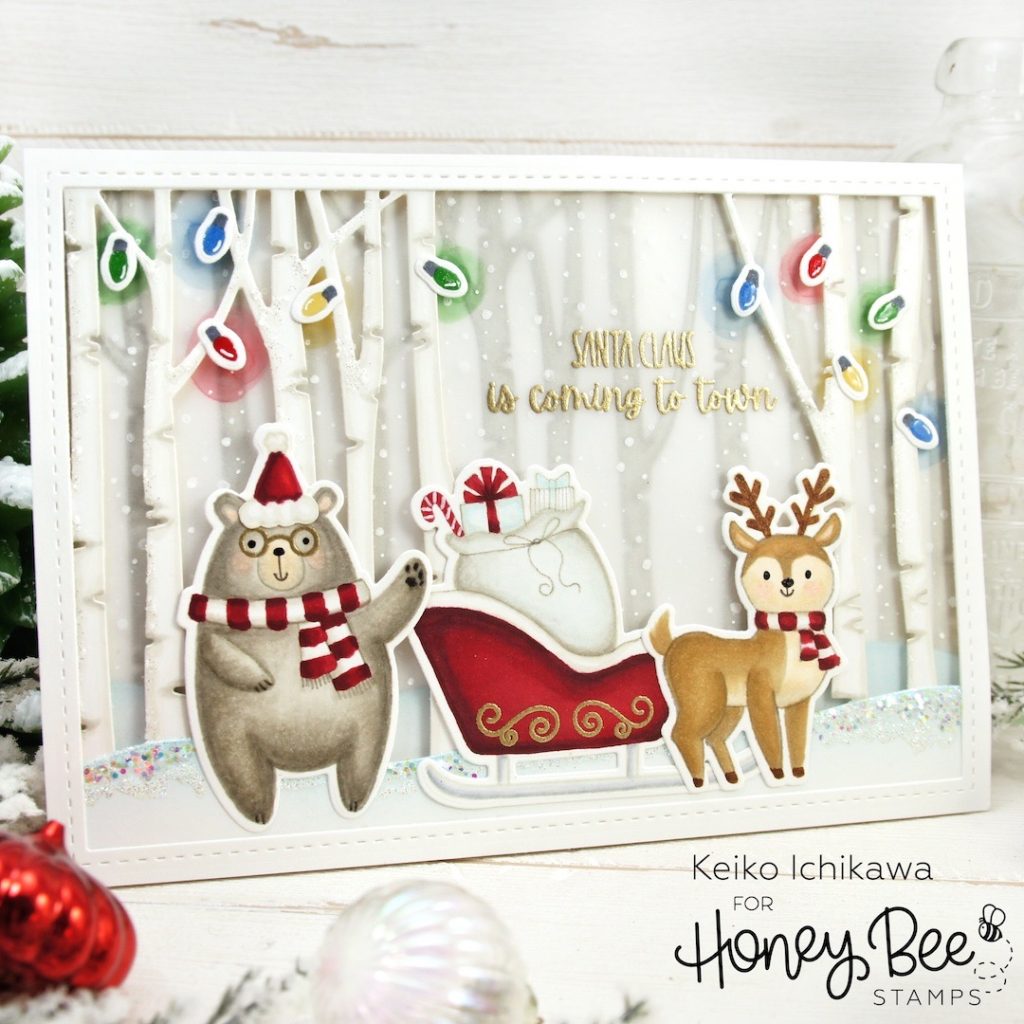
Happy new week friends! It’s Keiko from Happy Tree Studio and I have this snowy forest scene card with Santa bear and his trusty reindeer to share with you! This is 5″ x 7″ card with all the fun layers to add some depth and dimension to the scene.
<Product List>
Woodland Winter Animals (stamp and die): Bear and his Santa hat, Reindeer, and Christmas lights
Santa’s Village (stamp and die): Sleigh and sentiment
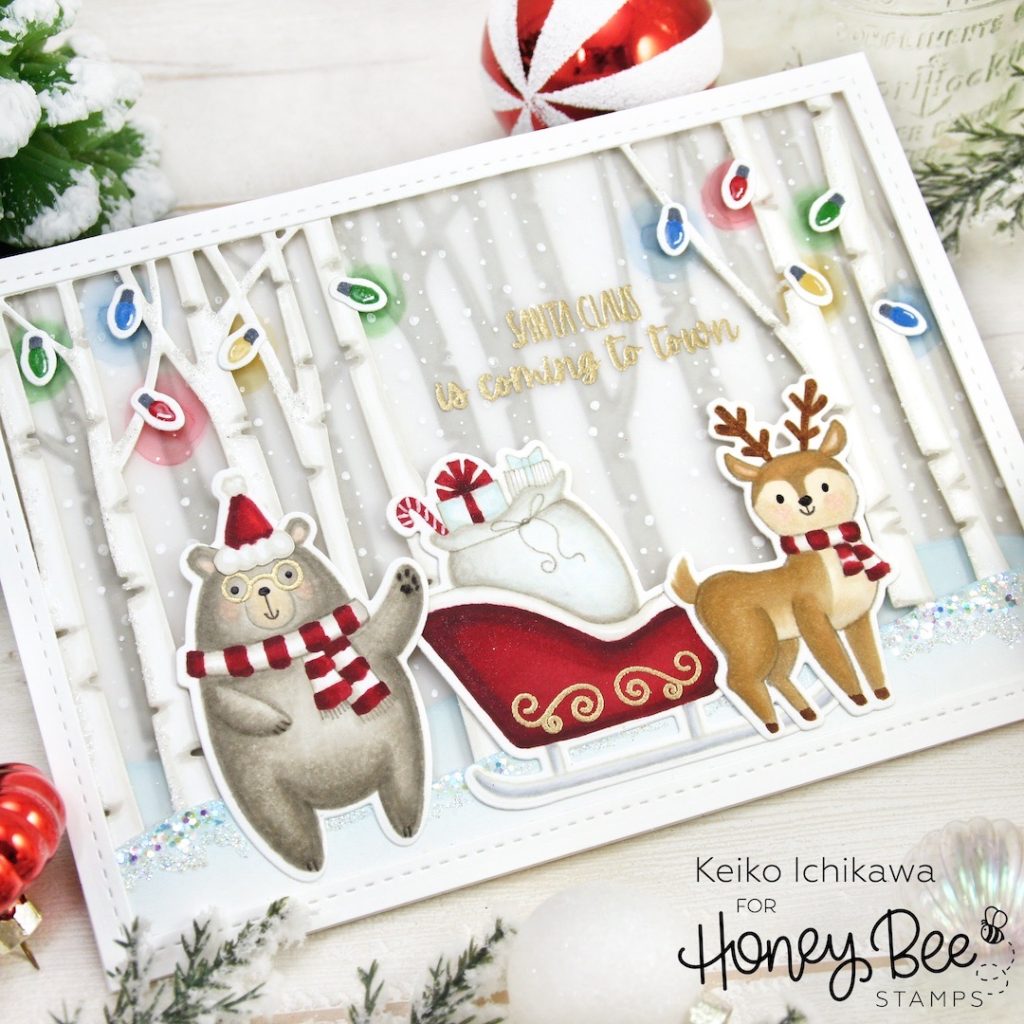
Birch A2 Layering Coverplate dies (Base and Top): Birch trees
Horizon Slimline Borders die: Snowy hills
A7 Double Stitched Frames die: White frame with stitching
Gingerbread House Add On (stamp): Pattern on the sleigh
<How To: Layer by Layer>
Here are the layer by layer instruction of what I did (from the bottom layer).
① 5″ x 7″ white card stock
② Die cut birch trees (I die cut gray card stock with the Base die. Since they are sized for A2 card, I die cut some extra to fill the entire space)
③ Snowy hill (To fill the bottom of the A2 sized trees, I die cut a hill from white card stock and lightly blended blue ink)
④ 5″ x 7″ velum (I gold heat embossed the sentiment and added falling snow with my white gel pen. Also, I added some colors for the Christmas lights on the BACK of this velum with same Copic markers I used to color the lights)
⑤ Another layer of birch trees cut from white card stock (I used the Top die. Because I didn’t want the trees to cover the sentiment, I cut the die cuts into two, added some texture with Copics, adhered the stamped and colored Christmas lights, and then cover the back with foam tapes)
⑥ Another snowy hill (slightly lower than the one on the back)
⑦ Stamped and colored images (I stamped them with light gray ink and colored them with Copics. I gold heat embossed the pattern on the sleigh and Santa bear’s glasses)
⑧ White frame with stitching
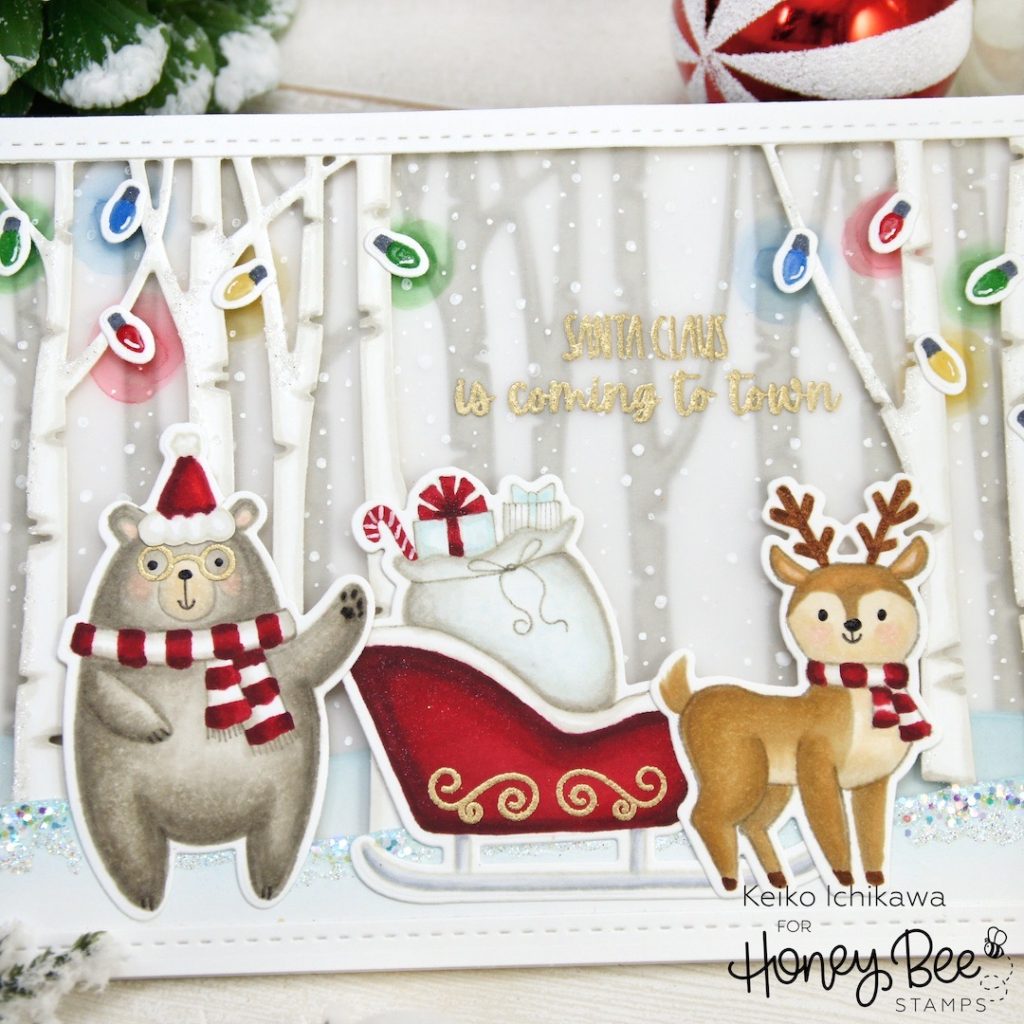
To add some sparkle, I applied Glossy Accents to the lights and some glitters to the trees. I also added thin layer of Glossy Accents to the top of the hill and covered it with glitters.
Well. that’s it for today! Thank you so much for stopping by today.
Have a wonderful week!!
