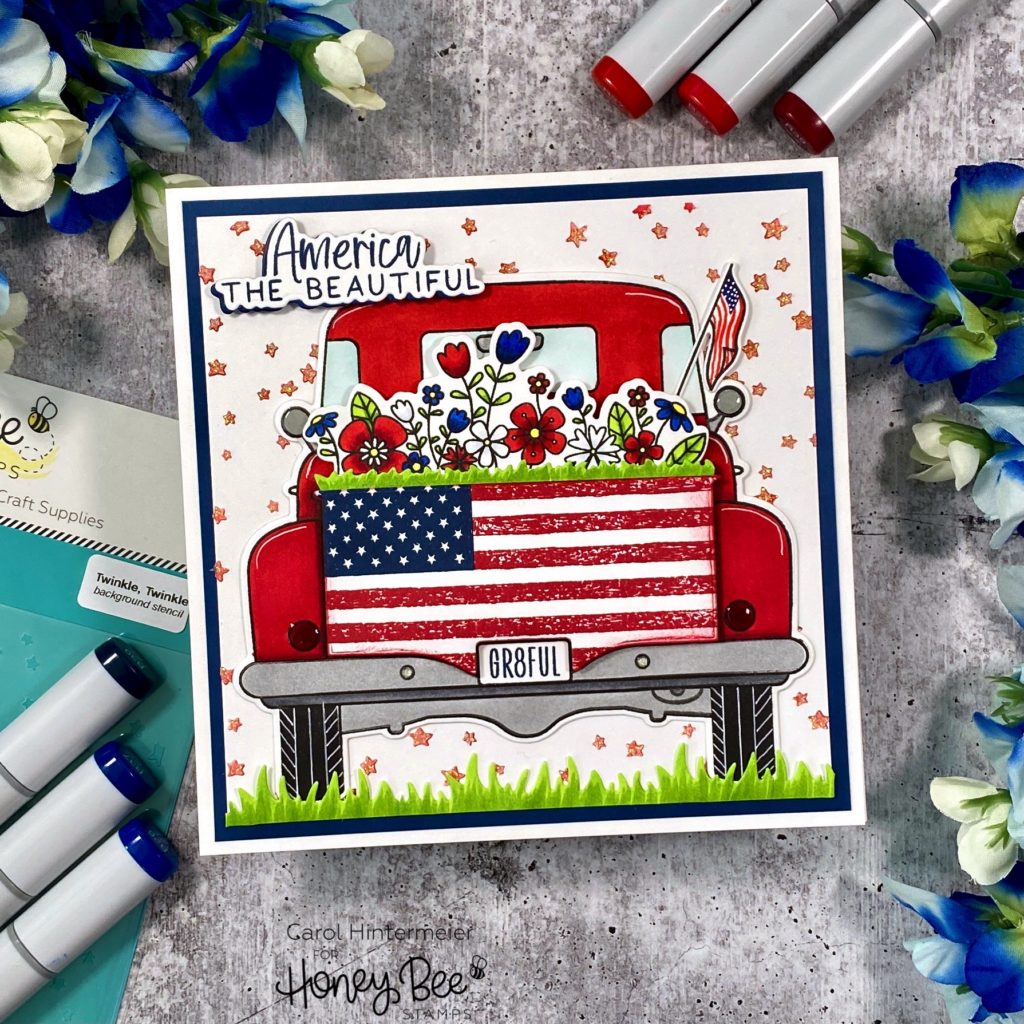
Happy Wednesday Honey Bee friends! With Memorial Day just past and the 4th of July coming up, I wanted to get the Big Pickup Tailgate truck all ready for the day! We have an annual July 4th parade where I live that’s one of the largest in our state and this pickup would fit right in! Want to go ride with me? Let go!!!
Do you like bullet points for the card directions, or do you prefer paragraph form directions? Let me know in the comments!
- First I created the background. Using a Background Blender brush, I added red ink through the Twinkle, Twinkle stencil onto white 80# Neenah.
- Leaving the stencil in place, I then added some Nuvo Moonstone Glimmer Paste through the stencil. I like the subtle sparkle it adds and how it somewhat mutes the brightness of the red ink!
- I removed the stencil and set the panel aside to dry. Be sure to clean up your tools and stencil right away!
- Next stamp the Big Pickup Tailgate stamp with black Copic safe ink. I colored it with a few red Copic markers: R39, R29, and R27. Then I die cut it with the Big Pickup Tailgate Honey Cut.
- Next I used the Big Pickup Cab & Tailgate stencil set and Blender Brushes to add color to the bumper, side and center mirrors with metallic silver ink, and black ink for the tires.
- Then I stamped the license plate sentiment with dark blue ink.
- I used a white gel pen to add the details to the tires and highlights on the pickup.
- Add Glossy Accents to the tail lights and side mirrors and set it aside to dry.
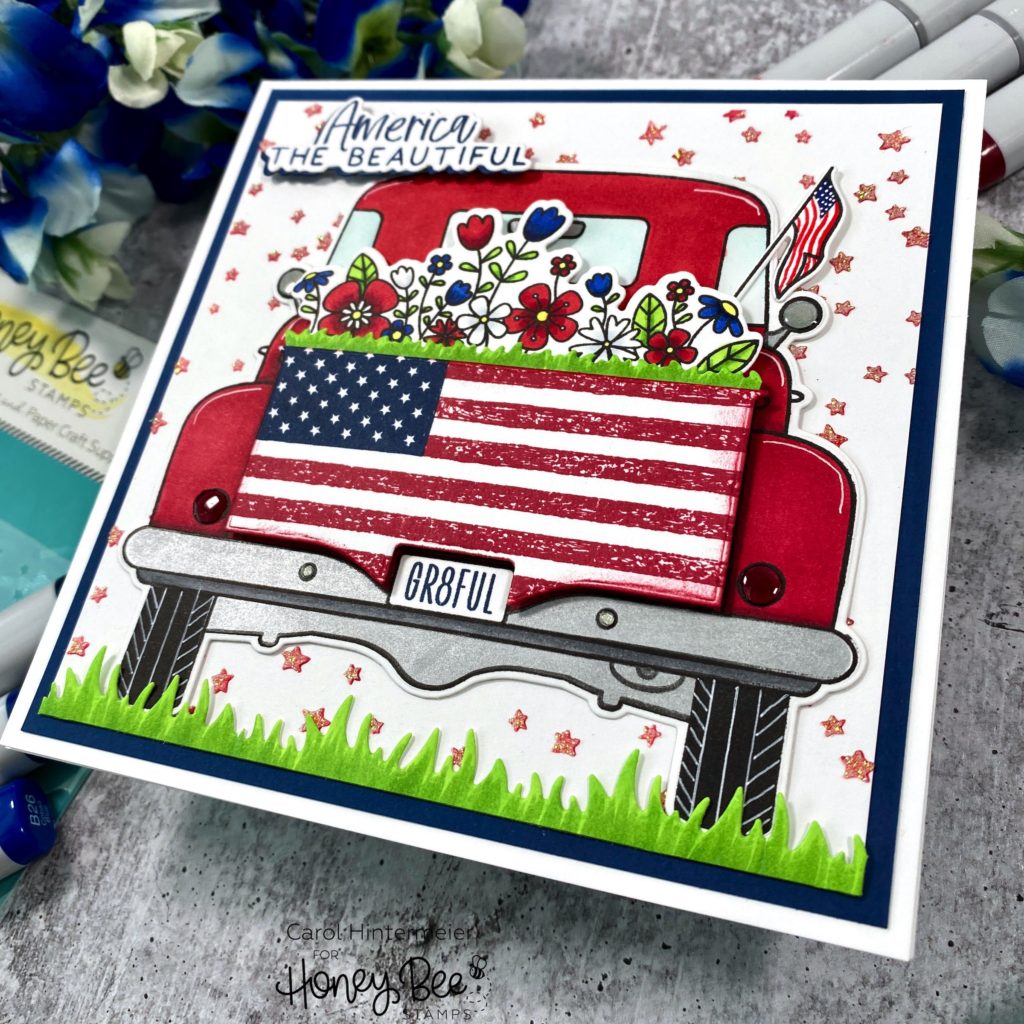
- Next I used the flag that’s from the United We Stand stamp set and stamped it in some red and dark blue ink from my stash.
- Then I took the die in the Big Pickup Tailgate Honey Cuts that’s for the tailgate and positioned over the flag. I placed it so that more of the blue portion showed and ran it through my die cutting machine.
- Then I stamped, colored and die cut the flowers and grass from the Loads of Spring stamp set with the coordinating Honey Cuts.
- I adhered the grass edge and flowers to the top of the flag tailgate with Bee Creative Glue. Then I added foam tape to the back and adhered it to the truck.
- The small flag is in the Farmhouse Add-on stamp set. It is a blank flag and after I stamped it, I used a red and blue gel pen to add in the details.
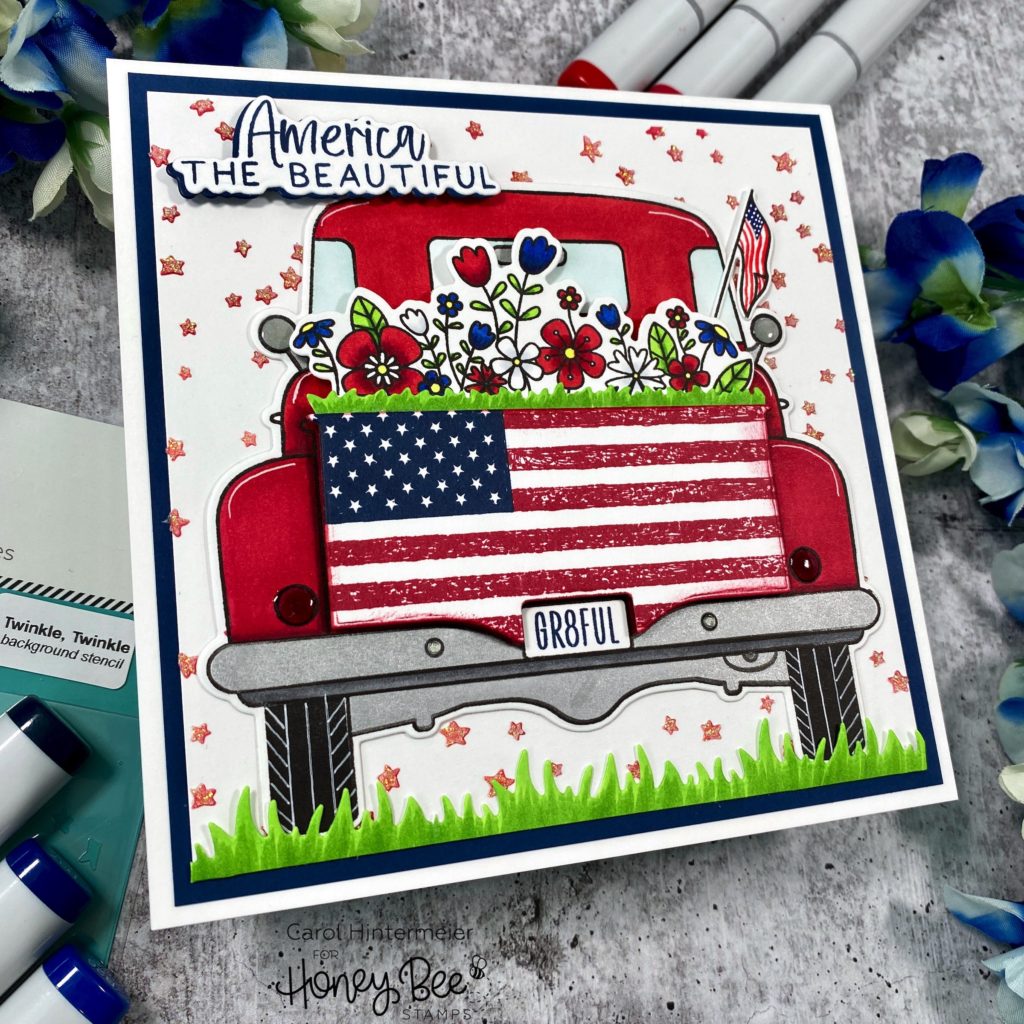
- Next I trimmed the stenciled panel to 5″ x 5″ and adhered it to a dark blue layer that I cut to 5-¼” square. These were adhered to a 5-½” square card base.
- I adhered the pickup to the card base with Bee Creative glue.
- I used the Grass Border die to cut a strip of white card stock. Then I colored it with a couple of green Copic markers and glued it to the bottom of the card panel.
- Finally, I stamped the sentiment from the United We Stand stamp set in dark blue ink. Then I die cut it with the coordinating Honey Cut, and also once again from dark blue card stock. I adhered the dark blue layer, slightly offset, behind the sentiment.
- Add foam strips to the sentiment and attach it to the card.
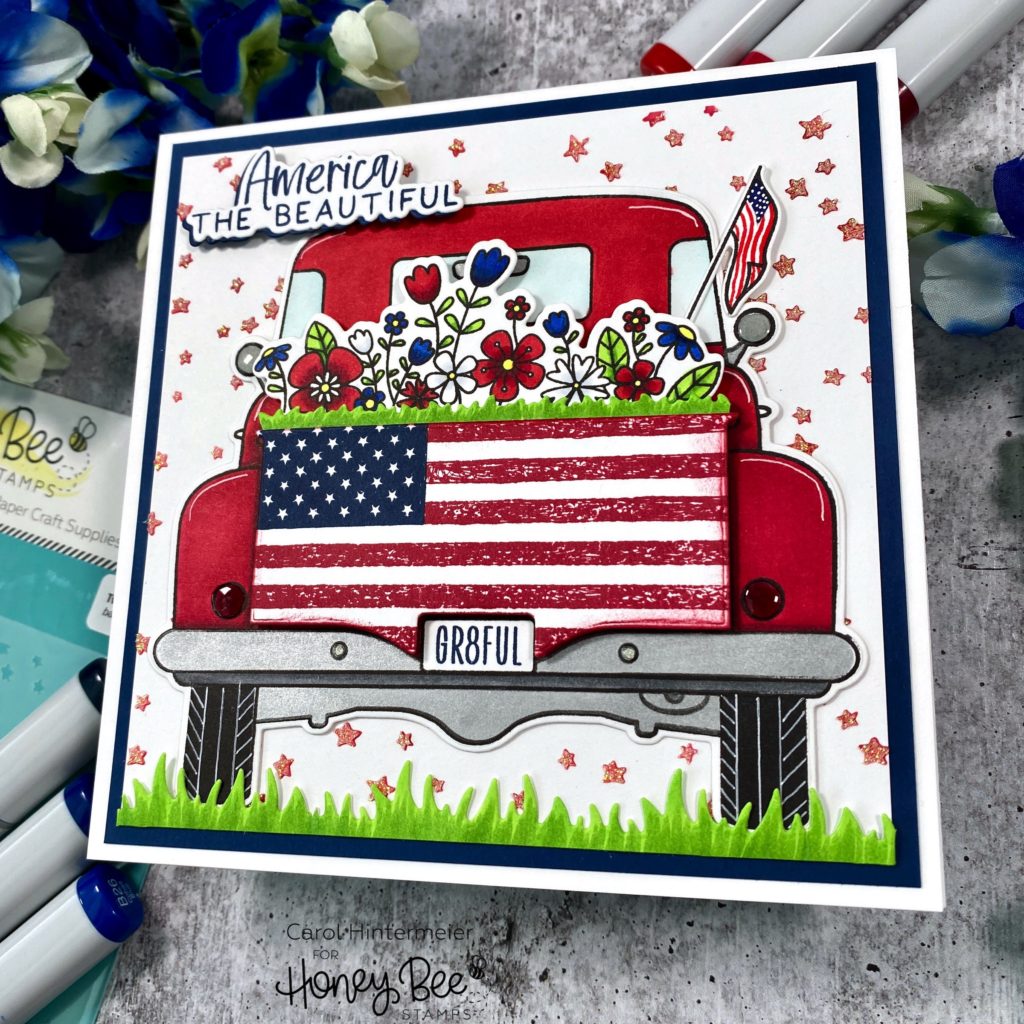
I absolutely love the Big Pickup sets and as you can see from today’s card, are so very versatile! I hope I’ve inspired you with my patriotic pickup truck! Thanks so much for stopping by!
One response to “Red, White & Blue Patriotic Pickup Truck”
Bullet points for directions!
Absolutely love the card!