Hello Honey Bee friends, and happy first day of June! Today I’m sharing a birthday card I made with some of the new Rainbow Dreams release products plus the beautiful Lovely Layers: Hydrangea! I had an idea for this card in my mind, and I’m always thrilled when I’m able to create what I envisioned!
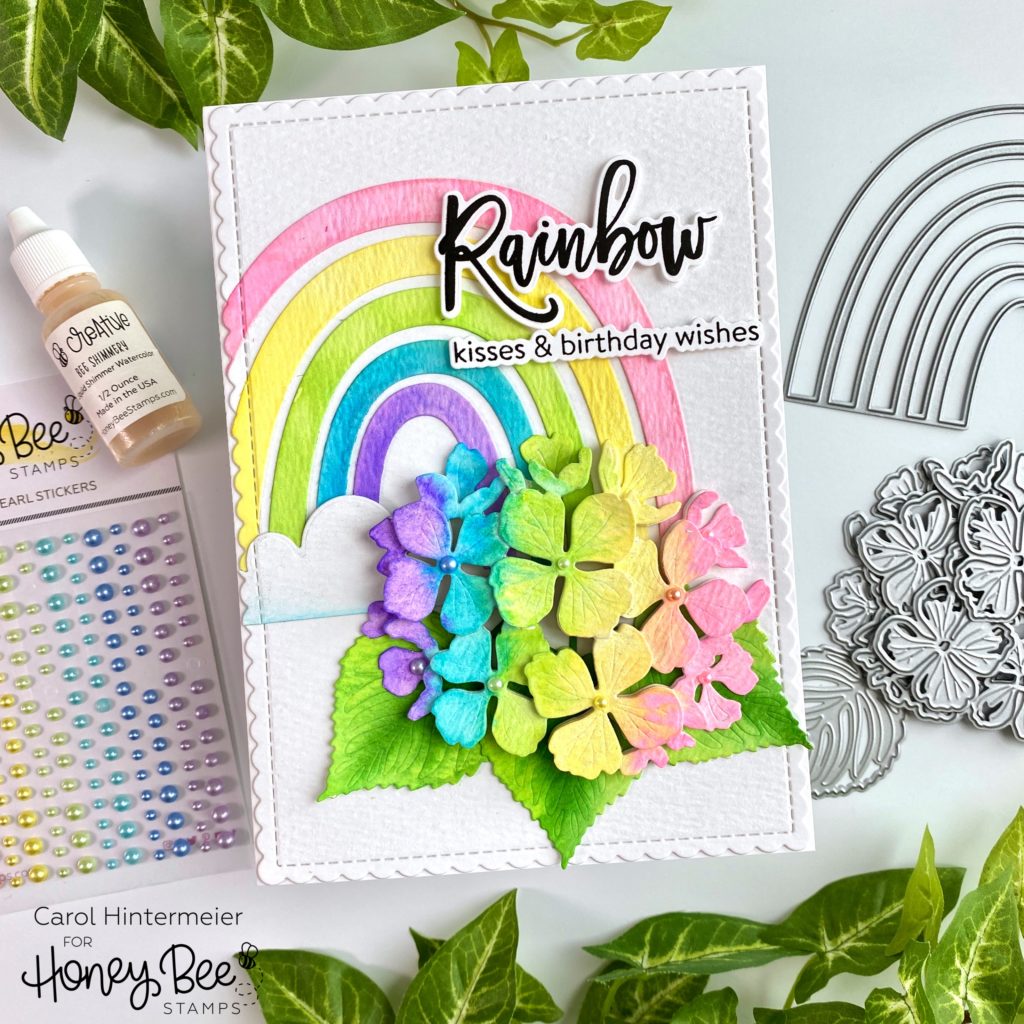
All of my layers, except the sentiments and card base, are die cut from this bright white watercolor paper. I die cut the rainbow from the Rainbow Accents Honey Cuts, the cloud from the Rainbow Builder A2 Card Base, and the flower from the Lovely Layers: Hydrangea.
Then I used several Distress Ink re-inkers to color the rainbow and hydrangea. My colors are inspired by the gorgeous new Spring Pearls stickers! The colors I used are Kitsch Flamingo, Squeezed Lemonade, Twisted Citron, Mowed Lawn, and Wilted Violet. I put drops of each re-inker onto my mat and used my paint brush with water to pick up the colors. As I colored the pieces, I found that with this watercolor paper it helped to dampen the paper with a bit of plain water first, then add the color.
Before I started to color the hydrangea, I adhered all of the layers with some repositionable adhesive. Then I was able to just add the color to the pieces that were on top.
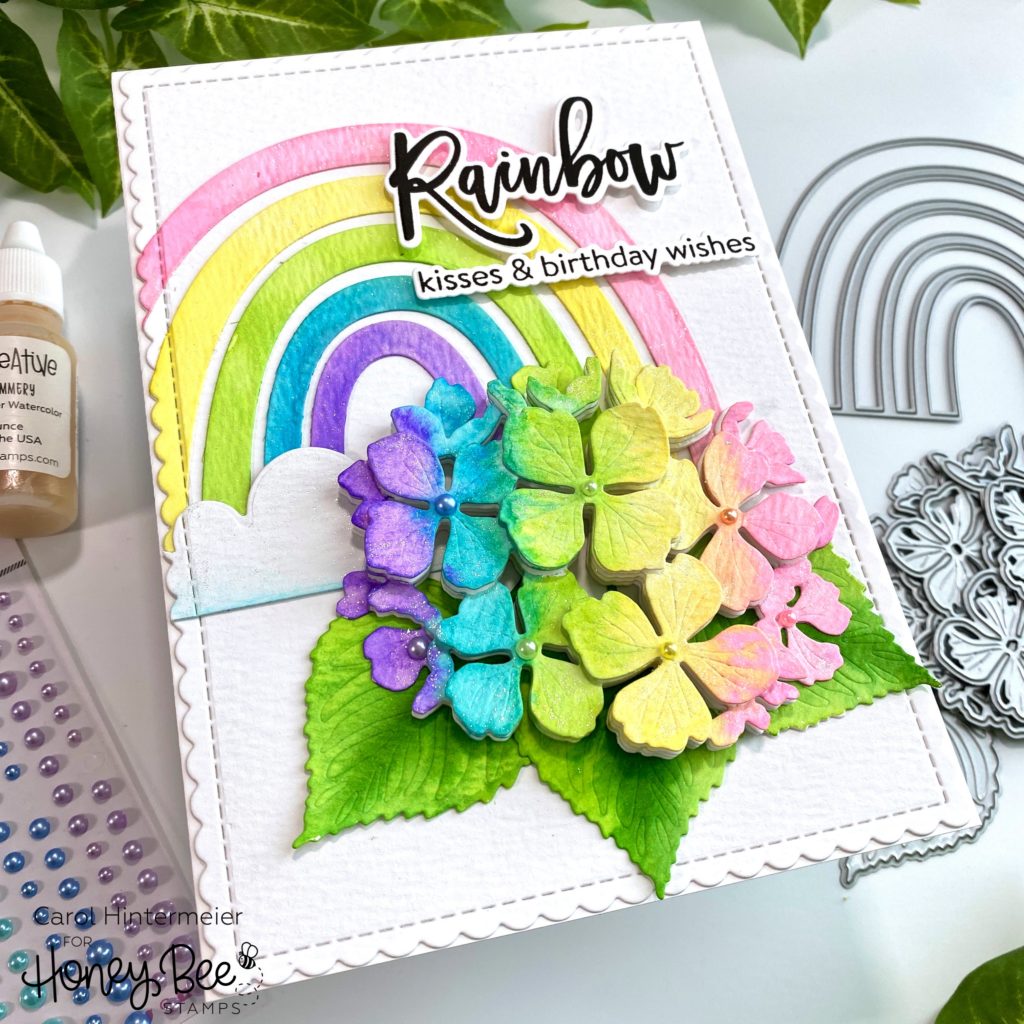
For all of the rainbow and hydrangea pieces, I added some Bee Shimmery Liquid Shimmer Watercolor to them with my paintbrush and a drop or two of water. I wish the photos showed the beautiful sparkle!
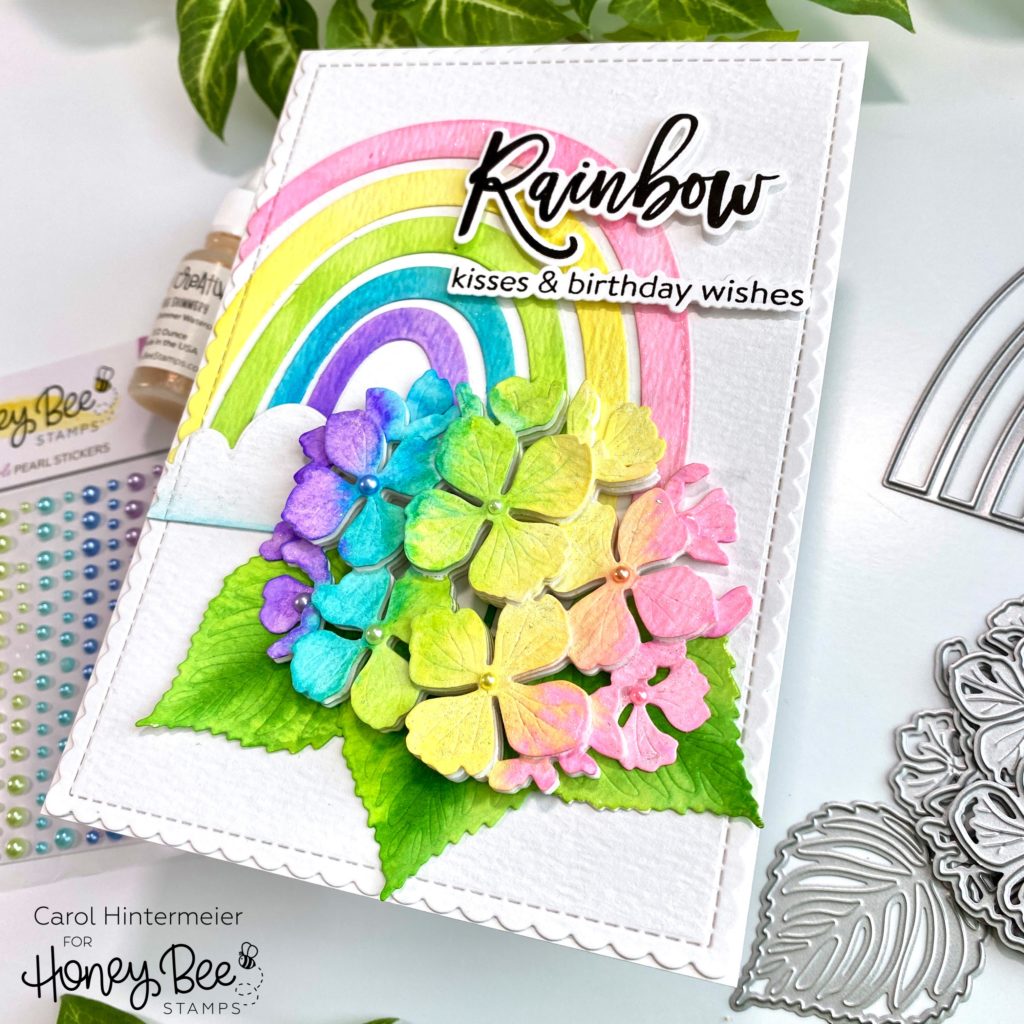
I created my 5″ x 7″ card base by scoring a 10″ x 7″ piece of Neenah at the 5″ mark. Then I die cut more watercolor paper with the largest Scallop A7 Card Frames Honey Cut. Next I adhered my rainbow pieces and the cloud with Bee Creative glue. I placed the Scallop A7 die back over the piece (secure it with temporary tape) and ran just the left edge through my die cutting machine. I like how the rainbow now has the same scallop edge!
I added foam dots between each layer of the hydrangea and adhered it and the leaves with glue. Then I stamped the sentiment from the Look For The Rainbow set with black ink. I used the coordinating Honey Cuts to die cut them and popped them up with foam tape. To finish up, I added some of those beautiful Spring Pearl stickers to the flower centers.
I absolutely love how this turned out, and hope you do too! If you are over on Instagram, check my Instagram feed later today for a reel I’m making to show some of the card making process. Thanks so much for stopping by. I hope you have a wonderful day!