Hello Beautiful Bee friends! How exciting is it to have this new Vintage Love release available now? In Honey Bee fashion, everything is designed to work together for countless looks. There are so many “vintage-inspired” treasures in this release. My card features the following new Honey Bee Stamps products:
- Love is a Rose stamp set and coordinating Honey Cuts dies.
- Blooming View Honey Cuts dies
- Vintage Flourish Stencil
- Vintage Love paper pad
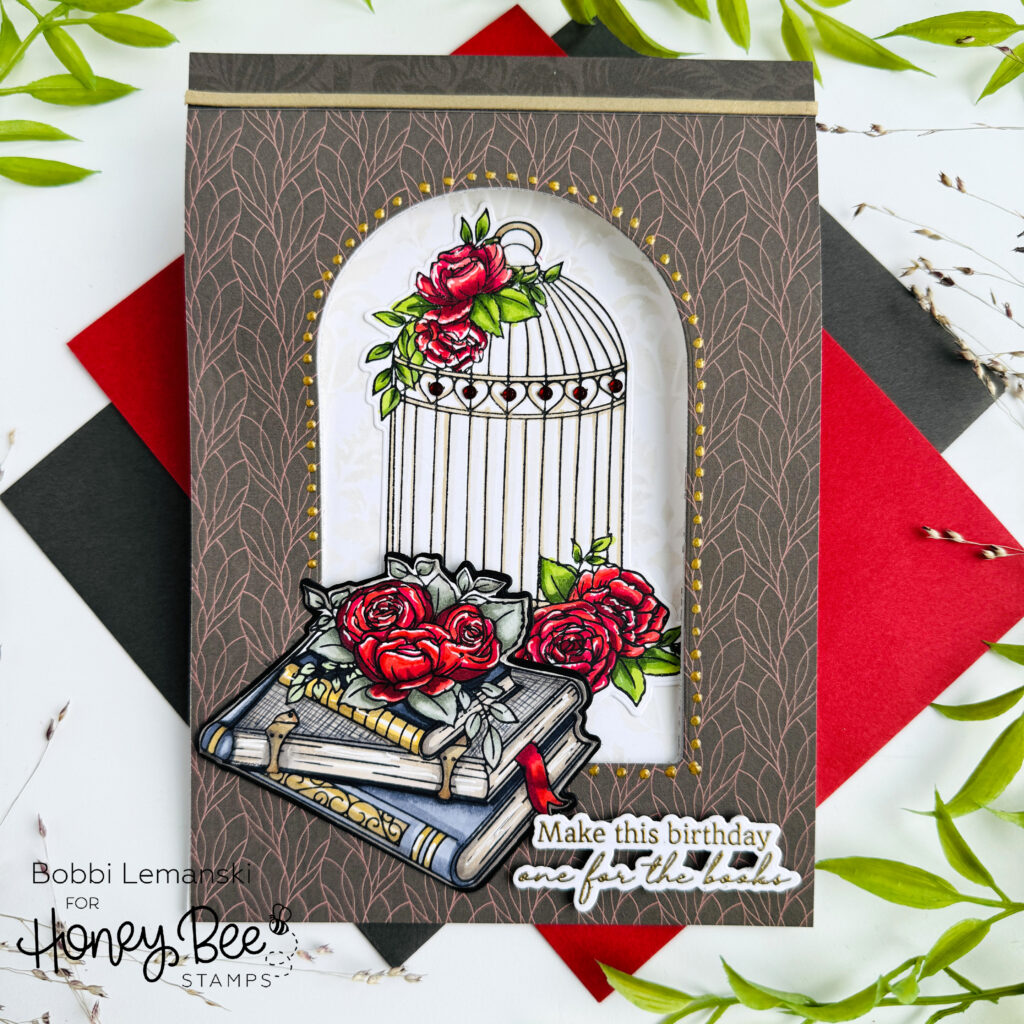
The featured project below is made from Neenah 80lb Solar White cardstock for the card base. All of the black ink stamping was done using Honey Bee’s Bee Creative Intense Black Ink. I use Honey Bee Stamps Bee Creative Precision Glue for adhering my elements together. My card is 5″ X 7″ in size unless noted. I use the Bee Creative Clear Embossing and Watermark Ink Pad for all heat embossing.
To make this 5″ X 7″ card, I used the window die from the Blooming View Honey Cuts dies to make the cutout window in my front panel. I have the large Gemini die cutting machine that can cut a 7″ wide X 10″ long cardstock piece, but if you are making a smaller-sized A2 card, a typical die cutting machine will work great. I also die cut the same arch from a piece of pattern paper from the Vintage Love paper pad. I glued the pattern paper to the white card base, trimming it to fit perfectly around the edges.
TIP: Cut both arches at the same time by layering them to ensure a perfect alignment.
I also cut a 5″ X 7″ piece of white cardstock and stenciled the Vintage Flourish Stencil background on the paper using a warm gray ink and my blender brush. I attached it to the inside of the card.
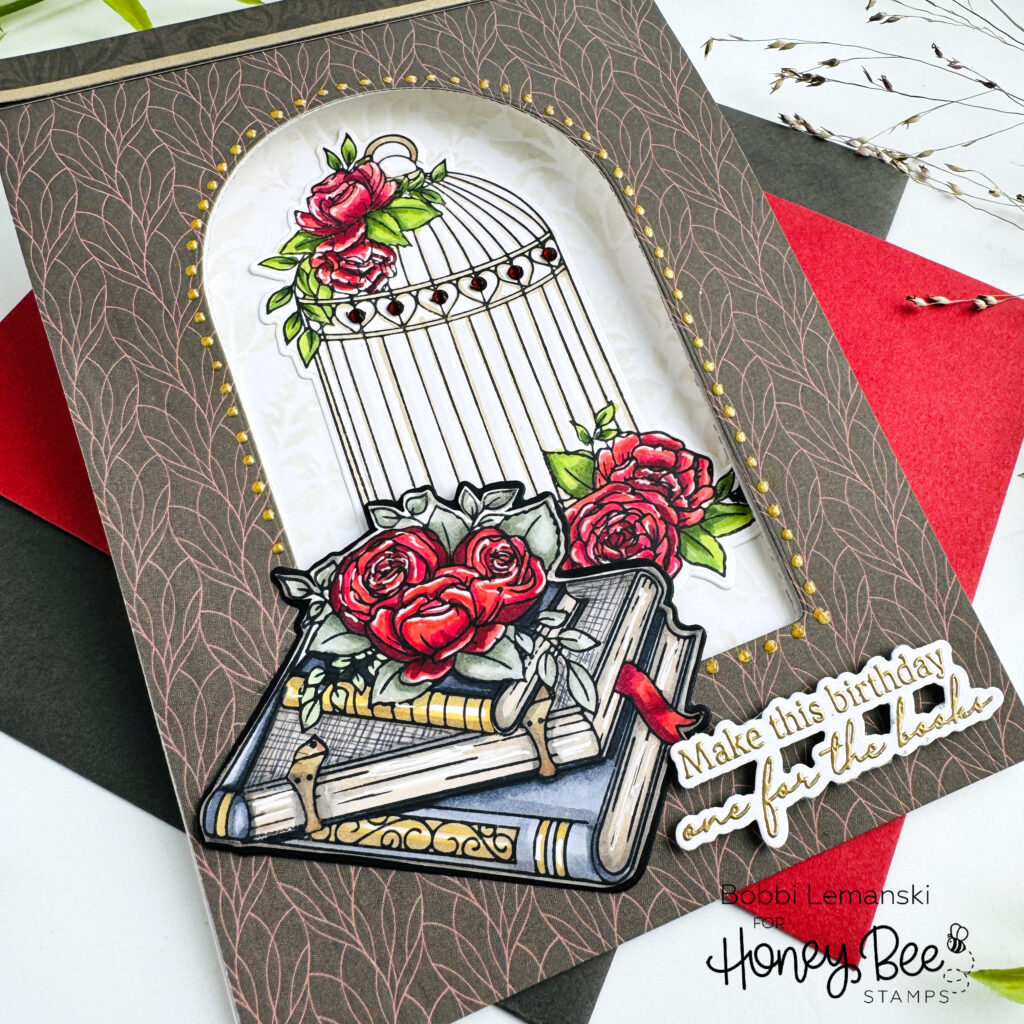
With the arch opening and card base complete, I moved on to stamping, coloring and die cutting the books, flower and bird cage from the Love is a Rose stamp set and coordinating Honey Cuts dies. I used the following Copic Marker colors:
- Reds: R89, R29, R17, R14, R22
- Grays: C5, C3, C1, w4, W3, W2, W1
- Golds: Y28, Y26, Y21
- Greens: YG67, YG17, YG03,
- Blues: B39, B26
- Blue-Greens: BG93, BG91
- White Gelly Roll Pen
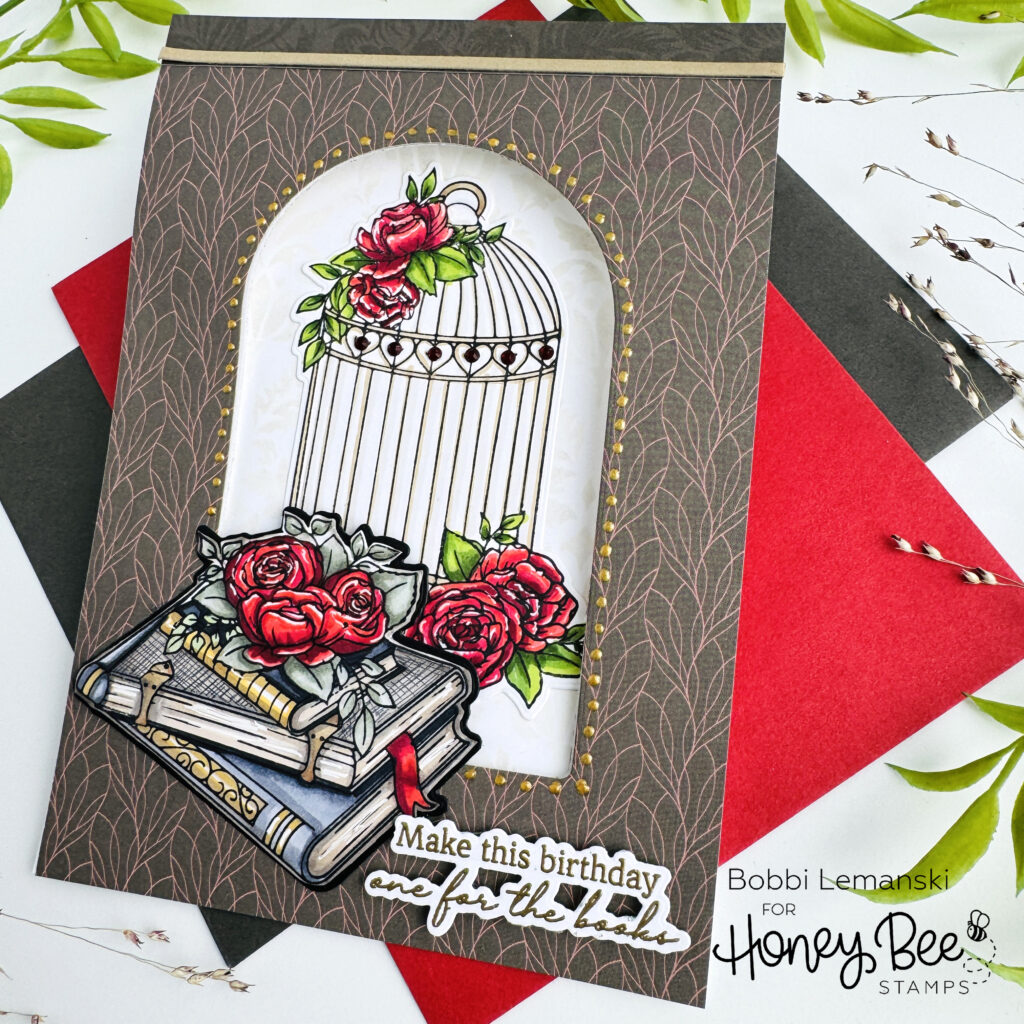
I attached all the elements to the card front. For the items that extend beyond the arch opening (i.e., stack of books with roses), I added a die cut white backing to them for a clean finish inside. The birdcage with roses was attached to the inside of the card and the book stack and sentiment were attached to the card front for a layered look. The sentiment was embossed in gold. To finish the card, I added Nuvo Drops in gold around the arch window, red gem stickers around the bird cage heart detail and a metallic gold 1/8′ strip at the top (to look like a book binding) to finish the card.
You can shop the entire Honey Bee Stamps Vintage Love Release here. If you decide to place an order, please use the links in this post so that Honey Bee knows which ideas inspired you!
Thanks for stopping by today. If you want to see more ideas and inspiration from me, subscribe to my blog, BobbiHartDesign.com. I’ll send you updates on new posts! You can also find me on Instagram as @BobbiHartDesign and on Facebook as BobbiHartDesign.