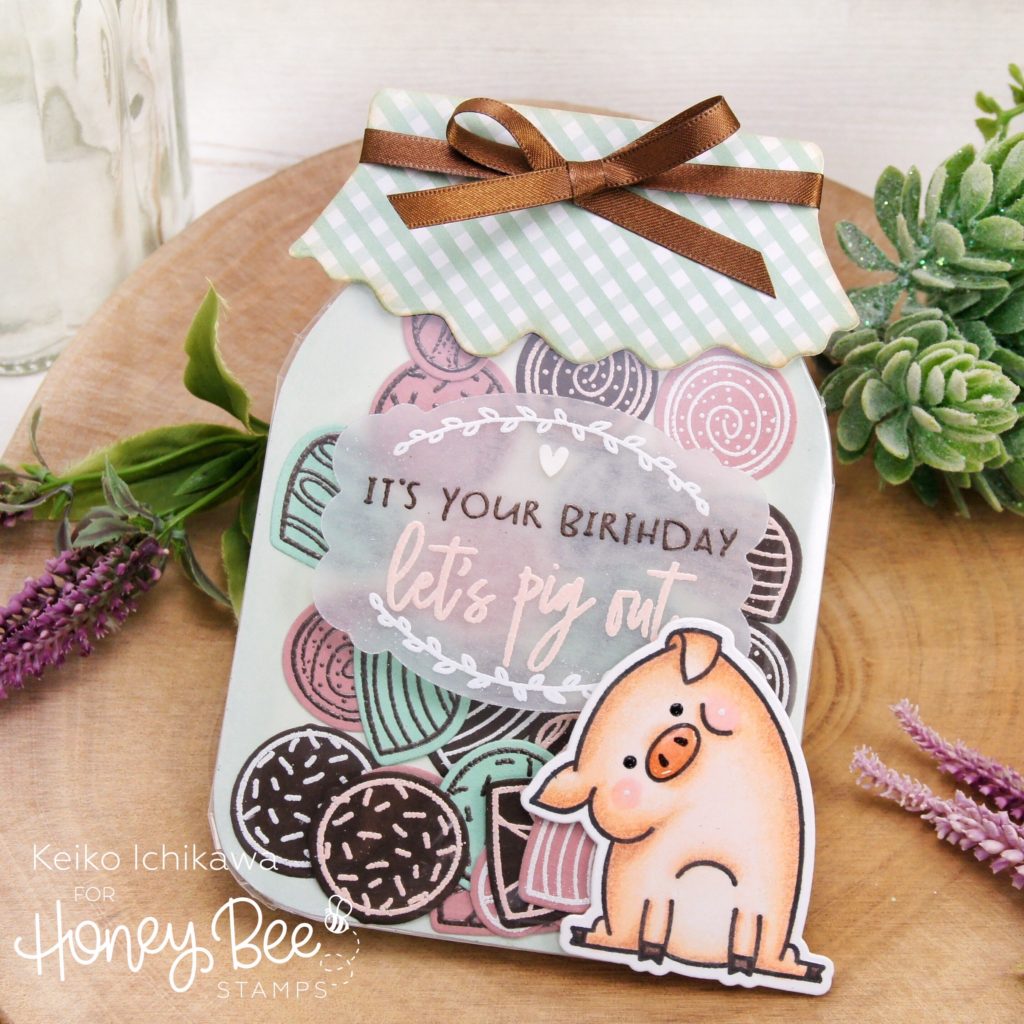
Hi crafty friends! It’s Keiko from Happy Tree Studio today! I have a very sweet birthday mason jar card for you. It’s a relatively flat shaker, so great for mailing!
I started off with die cutting all the components using Mason Jar Card die. Here are what I used:
1 mason jar card base
1/2 of the mason jar card base (to use as the front panel)
Fabric top piece (one from white card stock and another from a pattern paper from Sweet On You paper pad)
1 label cut from a heavy weight velum (I added Stick It adhesives on the back)
I inked the front panel piece (1/2 piece of the jar card base) with mint colored ink to match the pattern paper. The fabric top cut from the pattern paper was inked with brown ink and adhered to the one cut from white card stock to make it a little thicker.
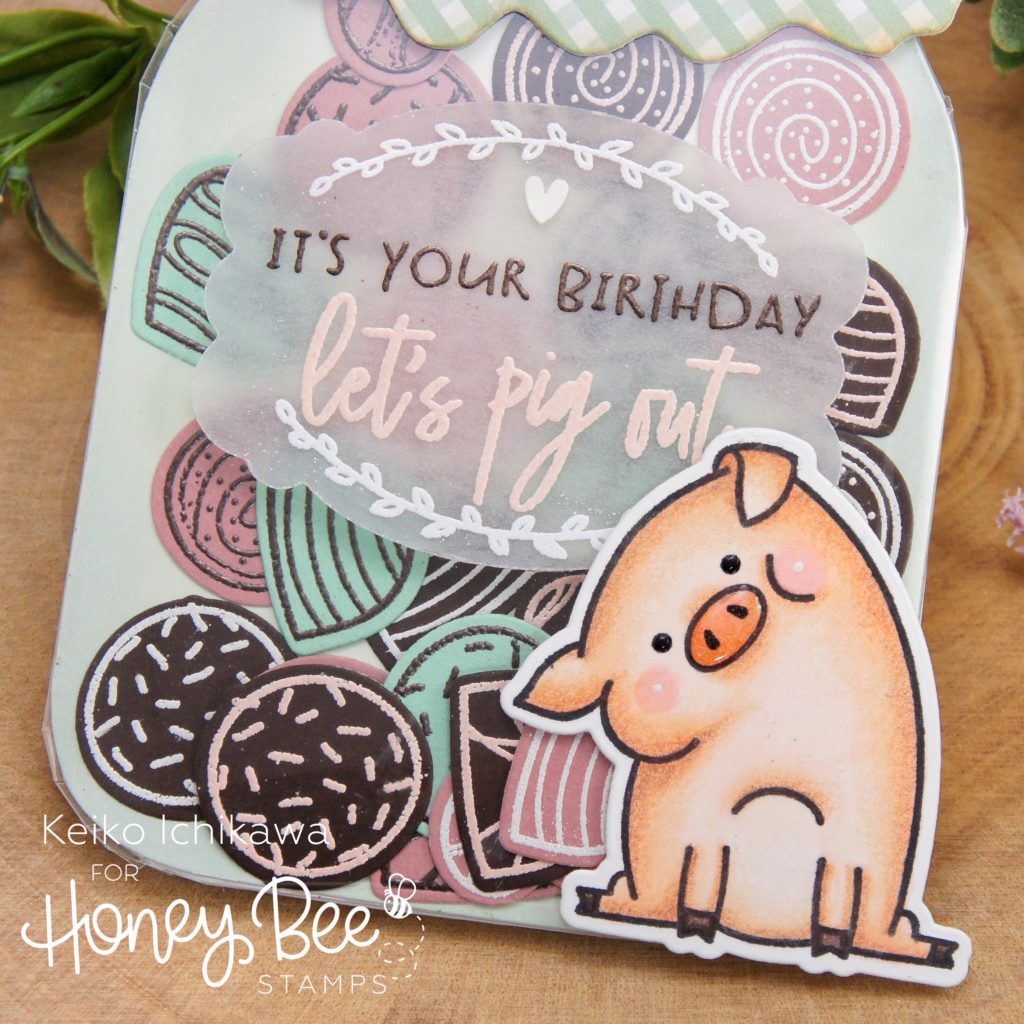
The chocolates from Sweet Treats set were stamped and heat embossed on colored card stocks. TIP: I used tree different colors of embossing powders and card stocks for variations. I then die cut them with the coordinating dies and glued some of them to the front panel (so the jar looks full even when all the chocolate fell to the bottom). For the “glass” I cut a piece of acetate roughly 1/4″ larger than the front panel. TIP: It doesn’t have to be perfect. I placed the die on acetate and used it as a guide to drew the shape with a pen then cut out. Now layer the acetate on top of the front panel and make a score line around the shape using a scoring tool. Then place the rest of the chocolate on the front panel and place the scored acetate on top. Fold the edges over and adhere on the back. TIP: Making small V cuts every 1/4″ or so will help folding the round corners. To close the top of the jar, you just need to tape it shut as this part will be covered by the fabric top.
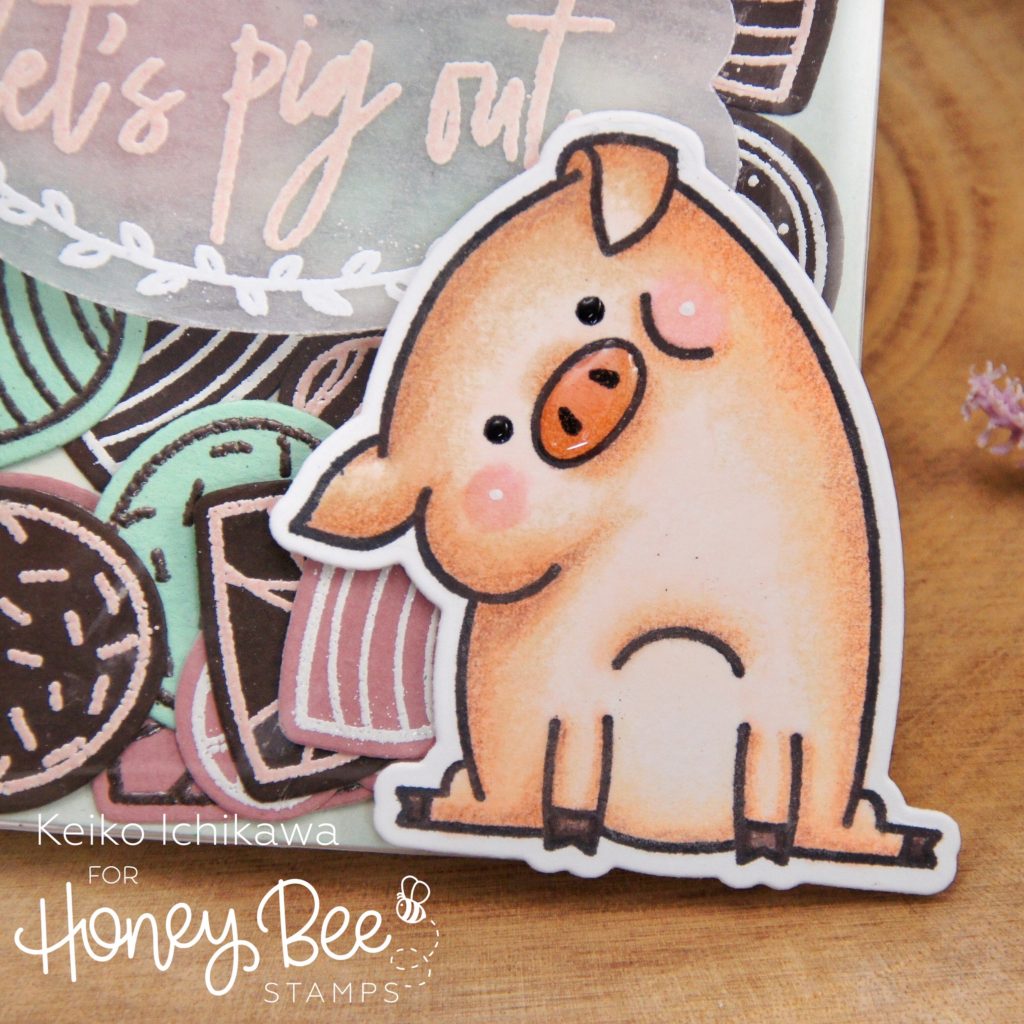
Now adhere the front panel to the card base and add the fabric top. On the label, I stamped and heat embossed a sentiment from Bad Influence set and a vine image from Sweet Treats set and added it to the jar. I also stamped, colored (Copic+colored pencils), and die cut the cute piggy from Bad Influence set and adhered it on top.
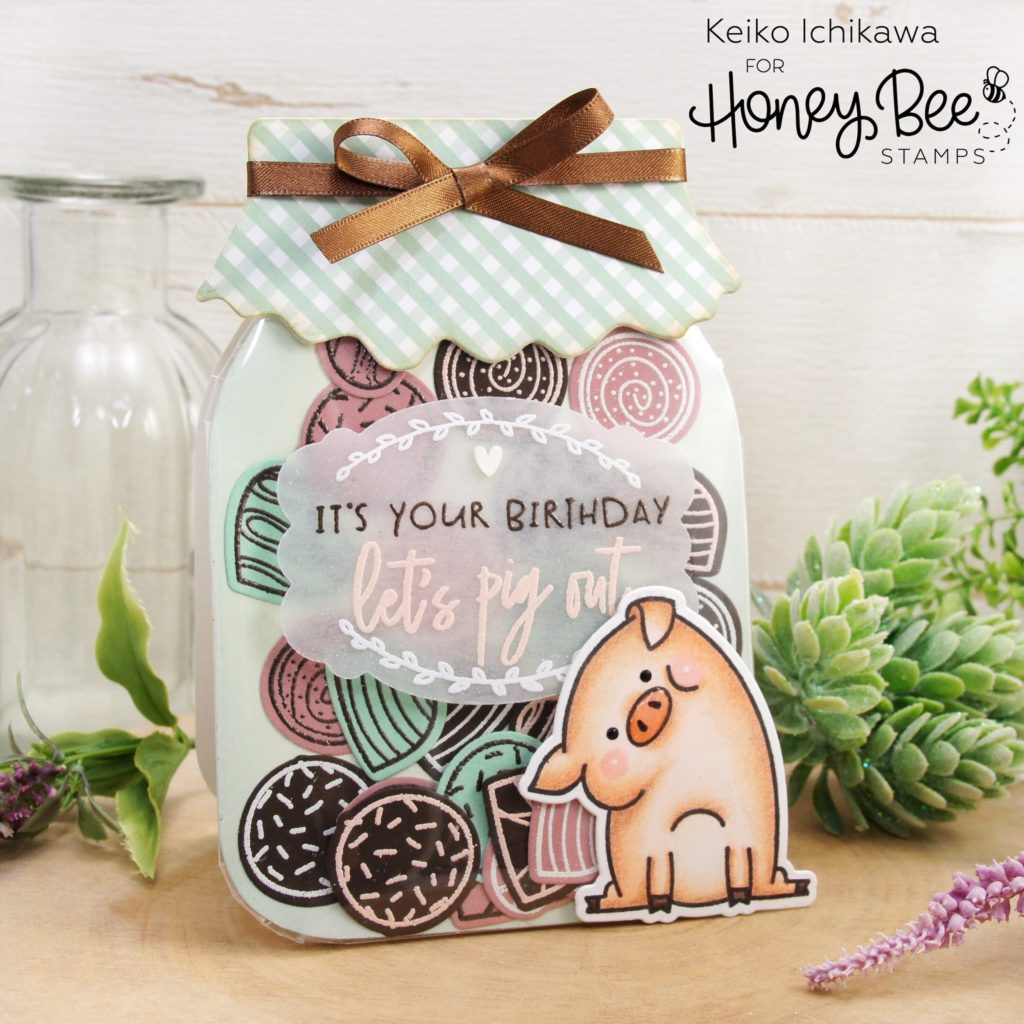
For the finishing touches, I added a Be Mine Candy Hearts to the label and glossy accents on the piggy’s nose. Also tied a piece of brown ribbon to finish off the card.
Thank you so much for stopping by today!
Have a wonderful week!!
