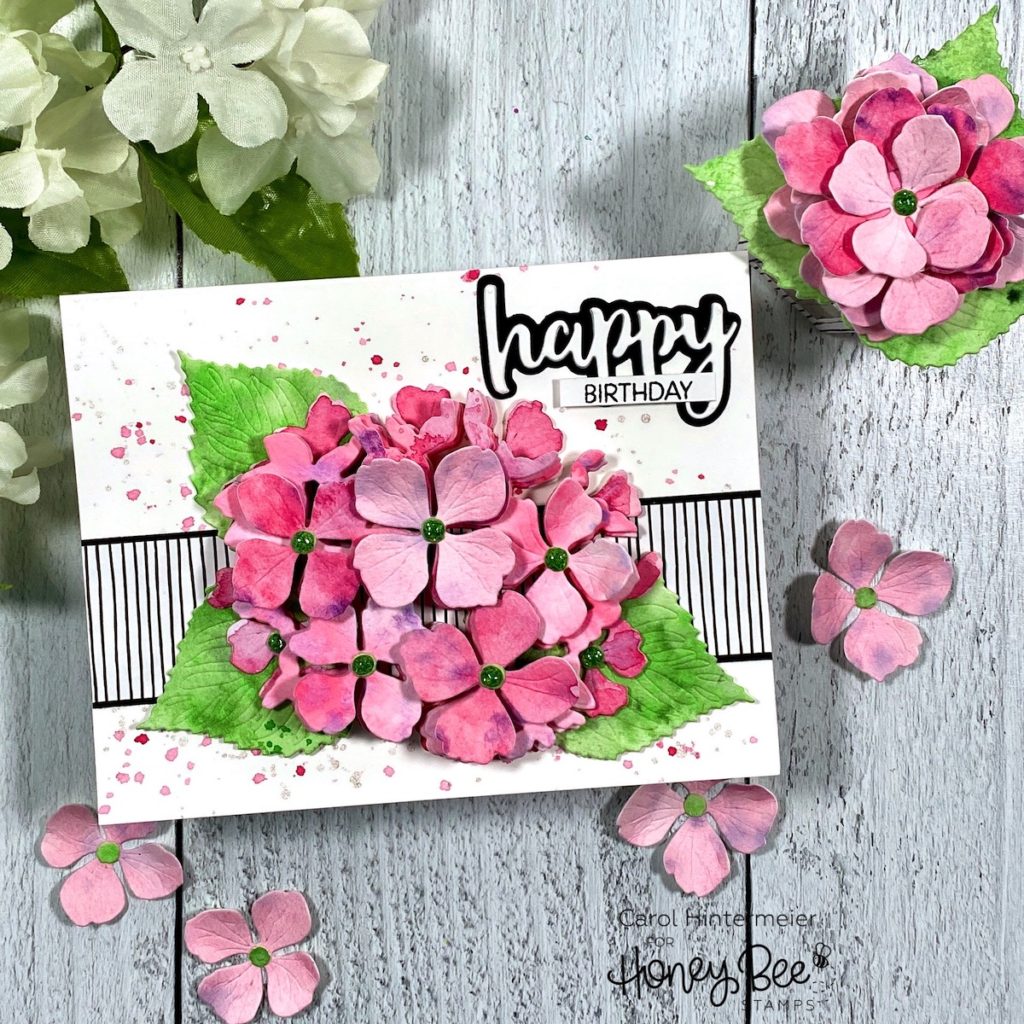
Happy Wednesday Honey Bee friends! Today I’m sharing a sweet birthday card I made with some of the new Let’s Celebrate release. I’ve used my newest favorite in the Lovely Layers line called Lovely Layers: Hydrangea. If you missed seeing all of the wonderful new products, be sure to check it out! I have LOTS of photos along with my tutorial, so let’s get started!

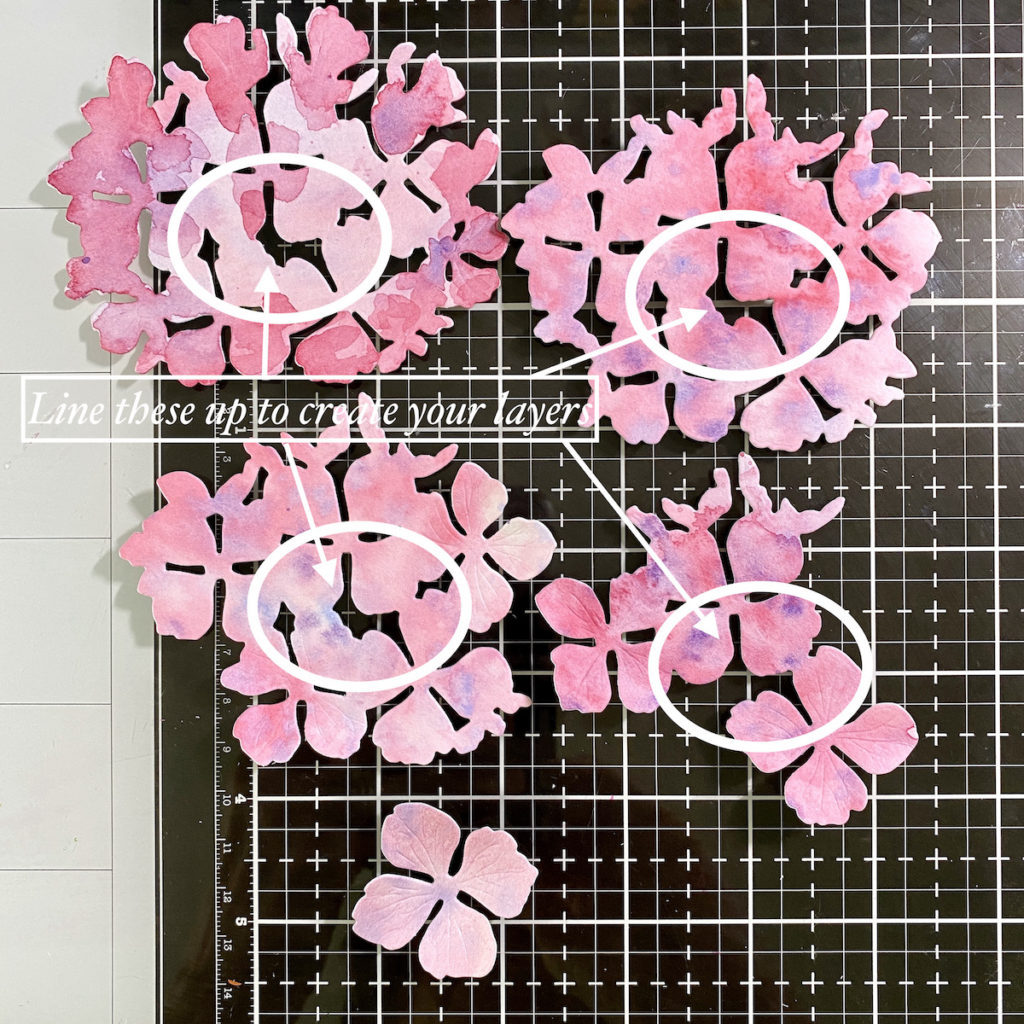
To begin, I created some inky watercolor backgrounds. I used watercolors from my stash in shades of a pinky red, purple, and lavender on two pieces of watercolor card stock. On a third piece, I watercolored two shades of green. On all of the backgrounds, first I added water over the card stock, then swiped the colors on in random patterns, and added spatters of the colors too. I set these aside to dry.
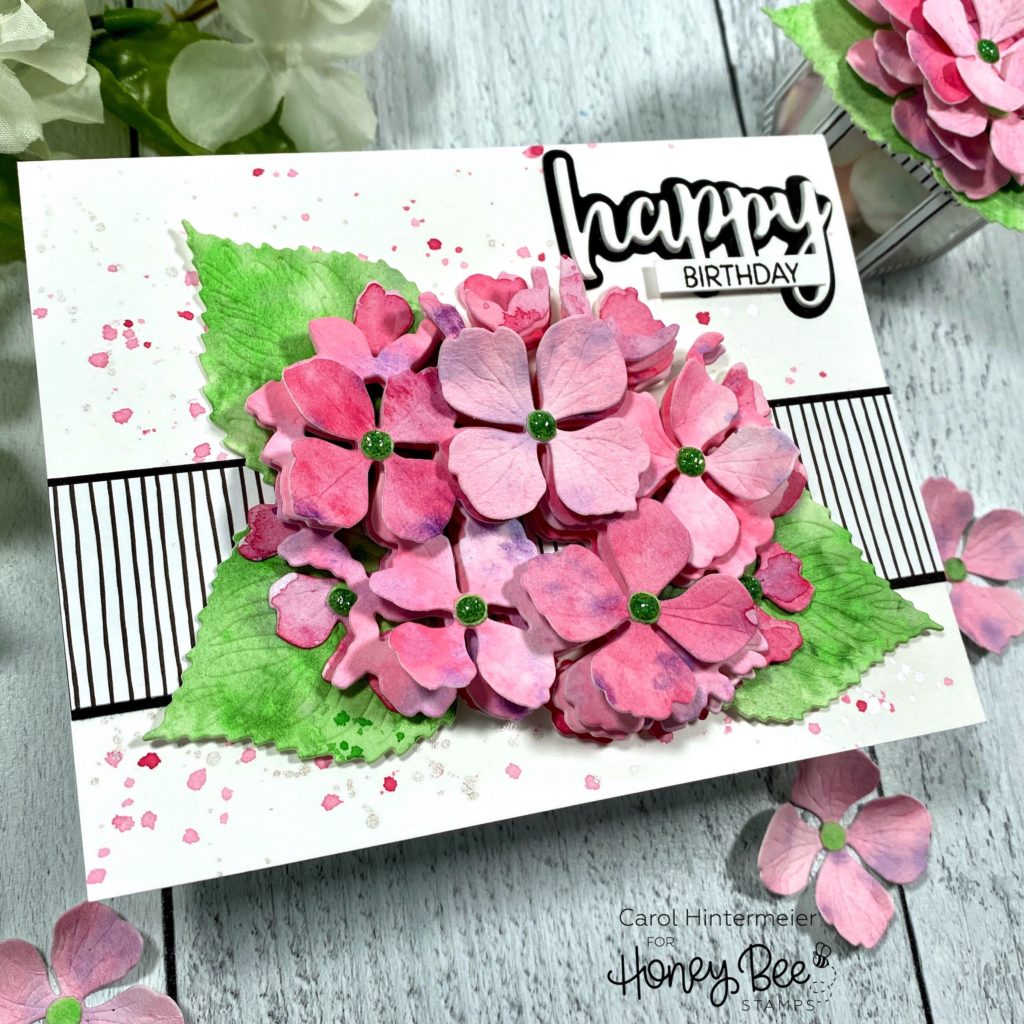
Then I used the same pinky red watercolor and added droplets to my card front. While that was drying, I cut a strip of black striped paper from the new Funfetti Birthday 6×6 paper pad and added it to a black layer. Then I adhered that to my card front with Bee Creative glue.
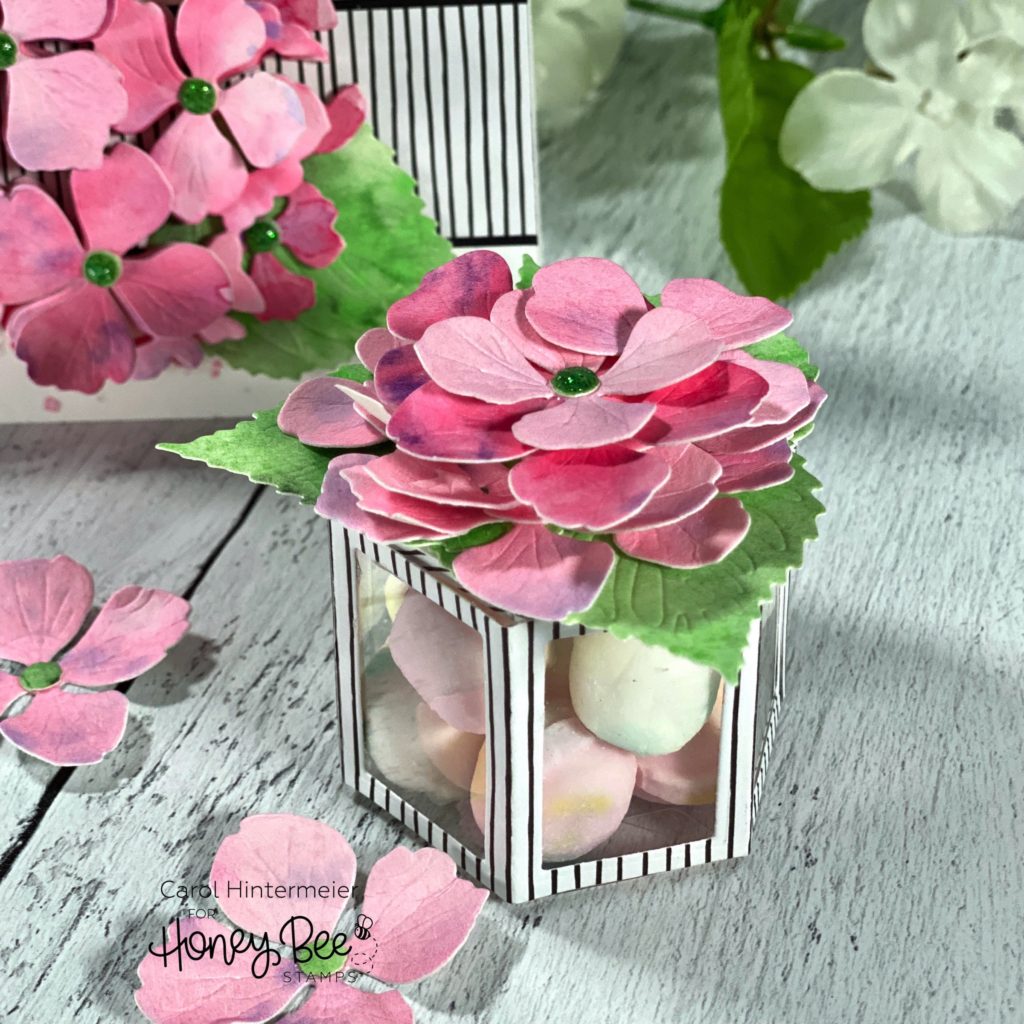
Next I die cut the same black striped paper with the Hexagon Box Cover Honey Cuts. I centered and taped the included window dies in place before die cutting the paper. Then I trimmed the tabs so they wouldn’t show in the windows and folded along the score lines created by the die. Instead of adding acetate to each window, I used a clear Small Hexagon Box now carried in Honey Bee’s shop. These are very sturdy and also food safe! After I folded the hexagon box, I added the Hexagon Box Cover piece over it with small dots of glue at the top edge to hold it on.
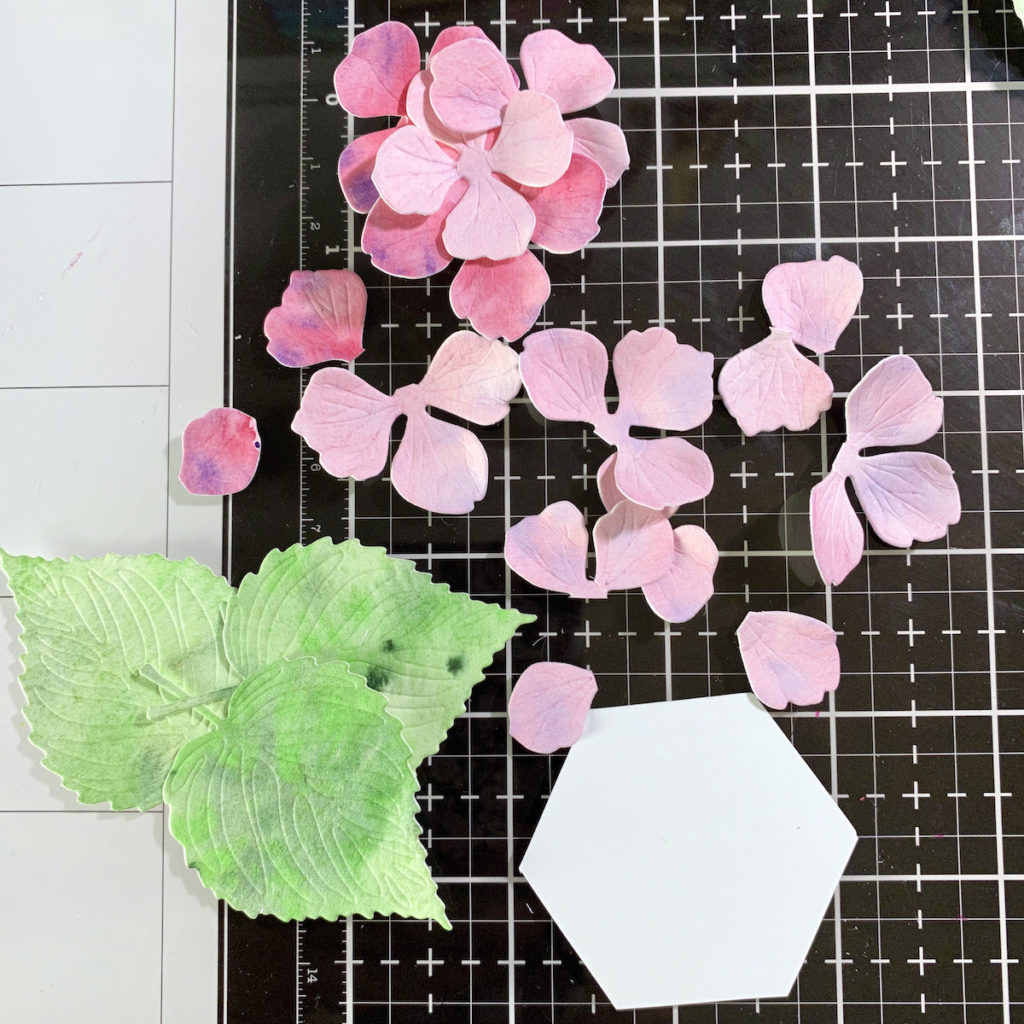
Now it’s time to have fun creating the hydrangeas! There are four main die layers in the Lovely Layers: Hydrangea plus a leaf and some extra petals. I die cut each of the four layers and extra petals from the pink watercolor backgrounds. Here is a photo I took to show you how easy it is to line up these layers:
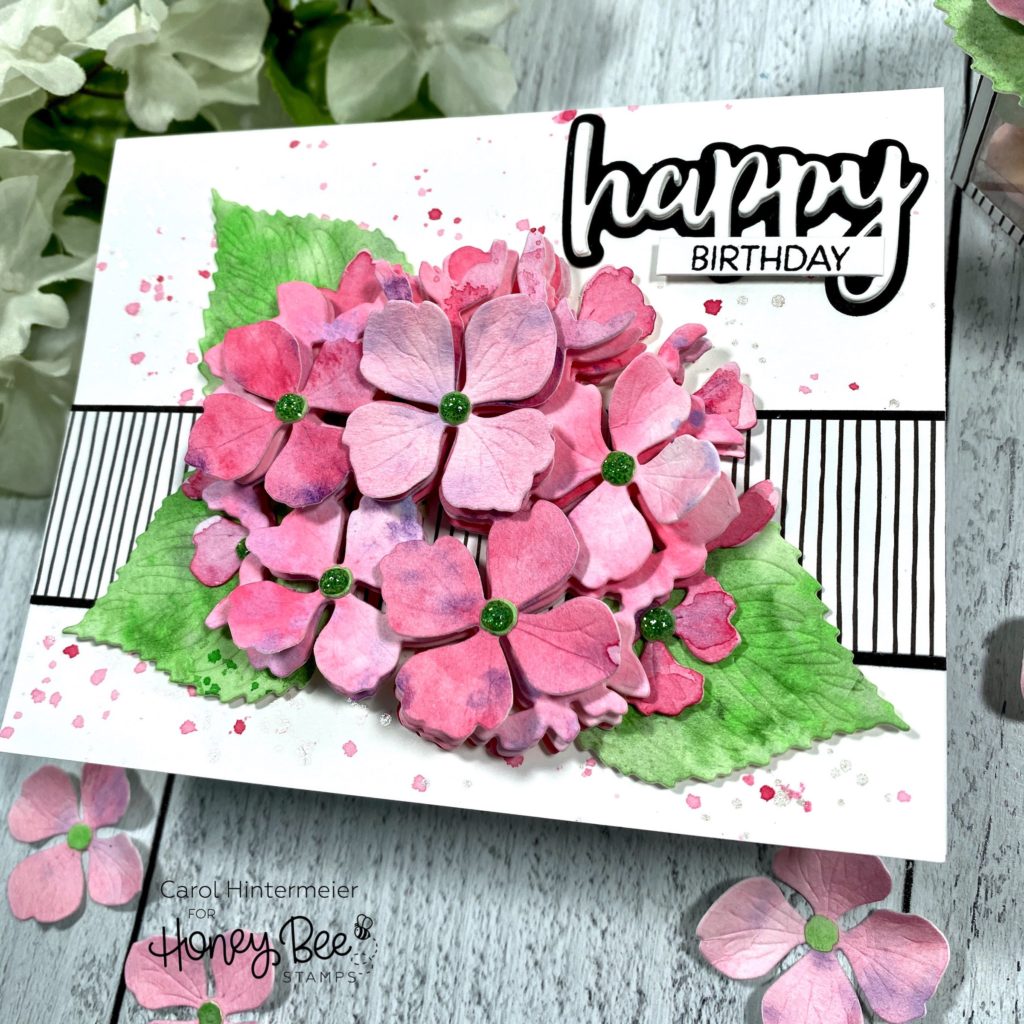
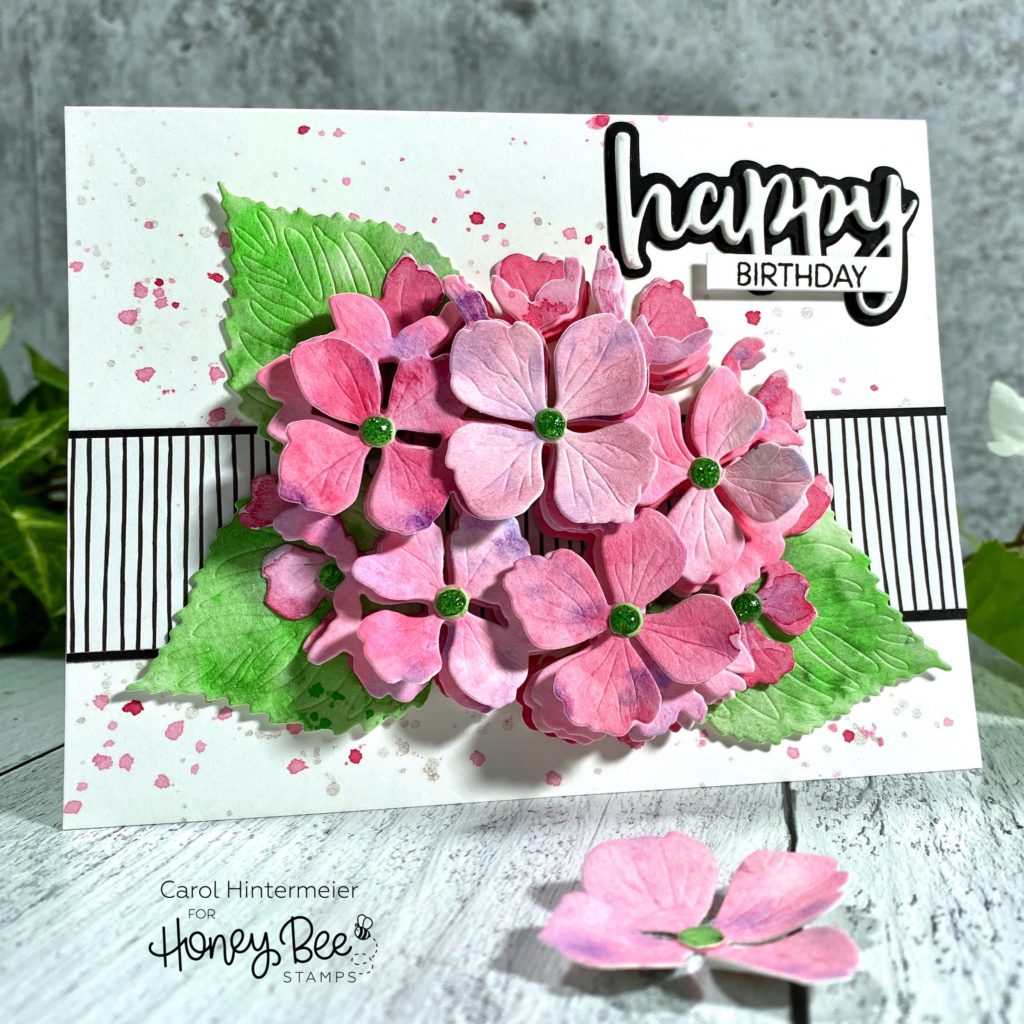
I added foam squares between each layer to give it lots of beautiful dimension! I adhered the hydrangea and the leaves to my card from with Bee Creative glue. I glued the little flower centers on and added a drop of Nuvo Sunlit Meadows Glitter drops on each center.
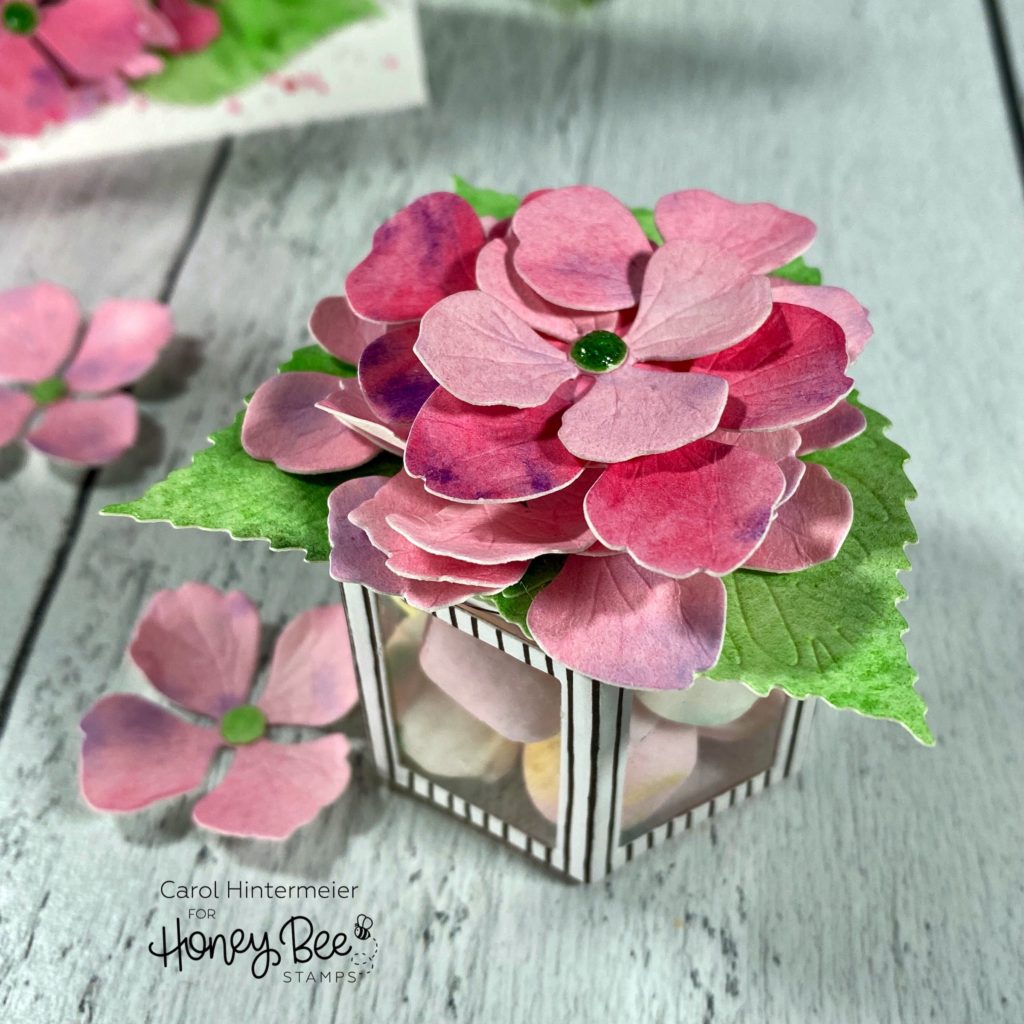
Next I created the little floral topper for my treat box. I used the single flowers and snipped a few apart. For the base I die cut the top piece of the Hexagon Box Cover Honey Cut from white card stock. Next I snipped off the tabs. Then I intertwined a few of the petals and glued them together. I adhered these to a 1″ circle of white card stock, added a thick white foam circle to the bottom and adhered it to the hexagon. I arranged the remaining flowers, snipping some apart, and gluing them around the top piece until I was happy with the look. Here’s a look at my pieces and the top flower cluster.
Then I adhered this to the top of the treat box.
Next I used the awesome new Bitty Buzzwords stamp set and Honey Cuts for my sentiment. I die cut the top layer four times, stacked them together with Bee Creative glue, and adhered them to the black card stock base layer. I love the smaller size of Honey Bee’s Buzzwords!
I think I say this about every Lovely Layer set, but this one may be my most favorite yet!
If you haven’t checked out the entire Let’s Celebrate release, you can click here and see all of the awesome new stamps, dies, and stencils! Thank you so much for stopping by!!
One response to “Lovely Layers: Hydrangea Birthday Card & Treat Box”
This is so beautiful! I like the contrast of the flowers and the black and white.