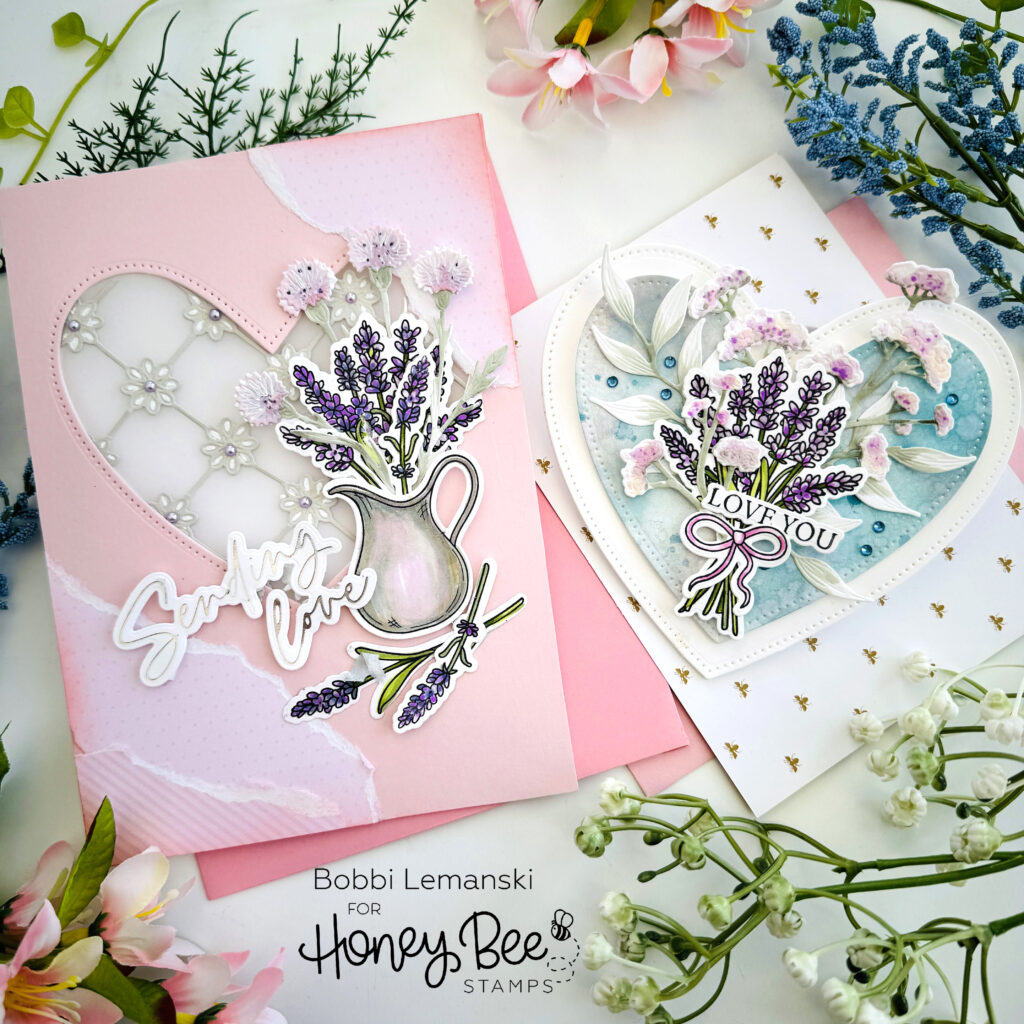
Hello friends. It’s Bobbi Lemanski with two inspiration cards filled with lavender and love! I’m using the following products from Honey Bee Stamps:
Country Lavender stamp set and coordinating Honey Cuts dies
Delicate Daisy A2 Cover Plate Top Honey Cuts die
Lovely Layers: Autumn Bouquet Honey Cuts dies
Pierced XOXO Hearts Honey Cuts dies
Pinstripes & Polka Dots: Holiday paper pad
Foil Script: Wishes – Hot Foil Plate & Honey Cuts (“sending love” sentiment)
The featured project below is made from Neenah 80lb Solar White cardstock for the card bases and card front panels. All of the black ink stamping was done using Honey Bee’s Bee Creative Intense Black Ink. I use Honey Bee Stamps Bee Creative Precision Glue and for when I want more dimension, Bee Creative Foam Dots With Tab for adhering my elements together. My card is 5″ X 7″ in size.
Heart-Shaped Valentine
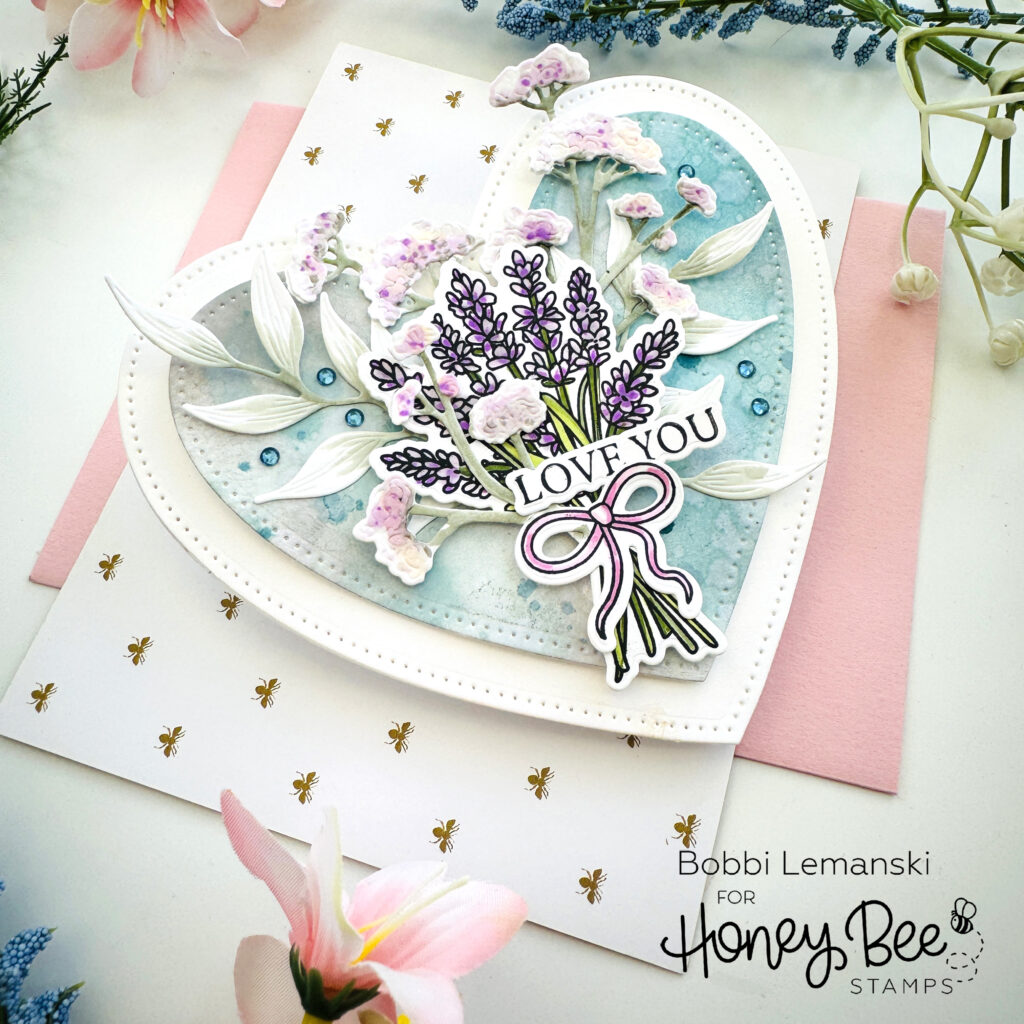
For my first card, I created a heart-shaped white card base using the Pierced XOXO Hearts Honey Cuts dies by folding a piece of white cardstock, taping the largest heart to the folded paper with the top of the heart (both arched sides), falling off the folded edge and running it through my die cutting machine. Tada… a top-fold, heart-shaped card base is done! I also die cut the medium-sized heart from the same die set and white cardstock and watercolored the front using aqua blue, iridescent and gray watercolor paints. I set it aside to dry.
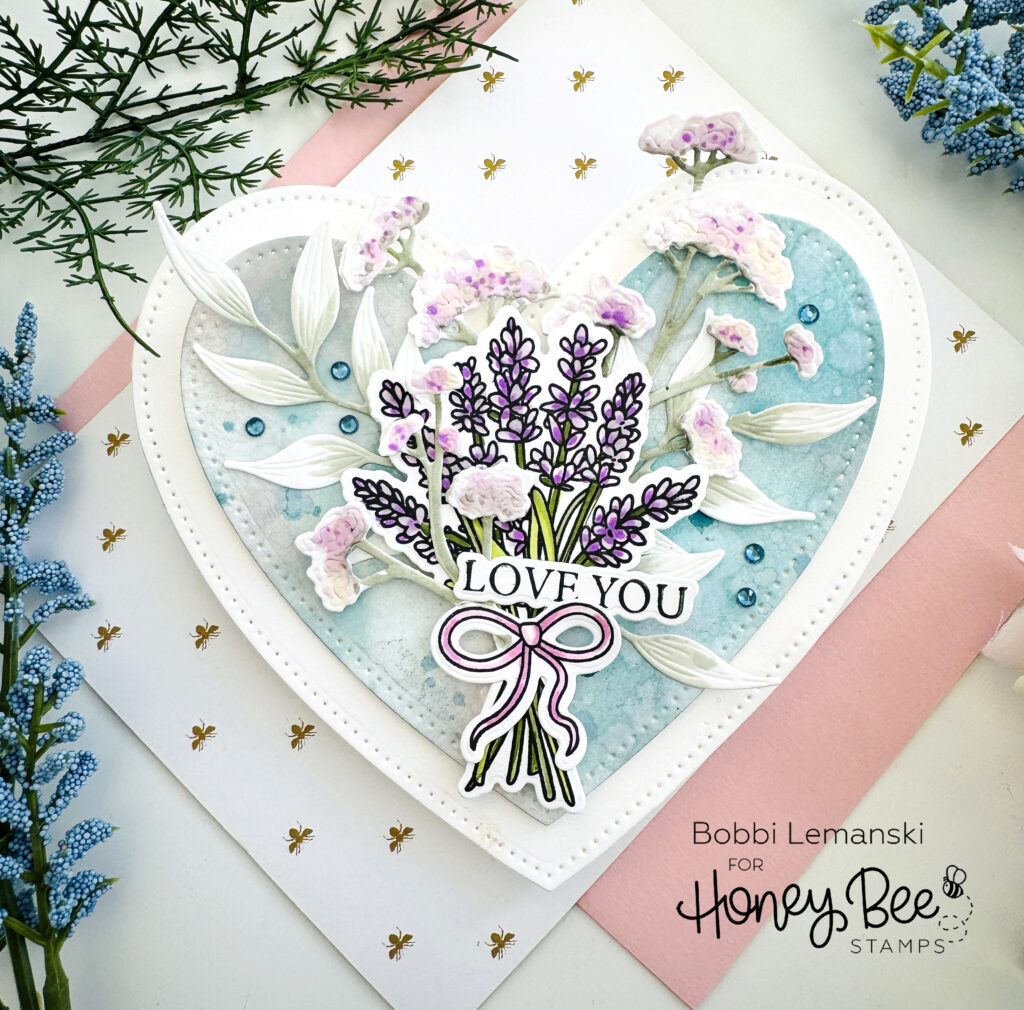
Next, I stamped and colored the Lavender bunch using Copic markers in YG67, YG63, YG03, BV04, V04, V12, and V00. I also die cut some floral stems from the Lovely Layers: Autumn Bouquet Honey Cuts dies and colored them using Copic Markers BG93, BG90, RV93, BV01, and V12. I added some specks to the blossoms using a fine tip black marker and V04. The ribbon was colored using RV00 and RV02. The bunch, stems, sentiment and bow were all attached together for a beautiful lavender bouquet. I attached the layers together and added some blue gem stones to complete this valentine. I did use a Bee Creative Foam Dots With Tab to attach the entire bouquet to the heart.
Lavender Love Greeting
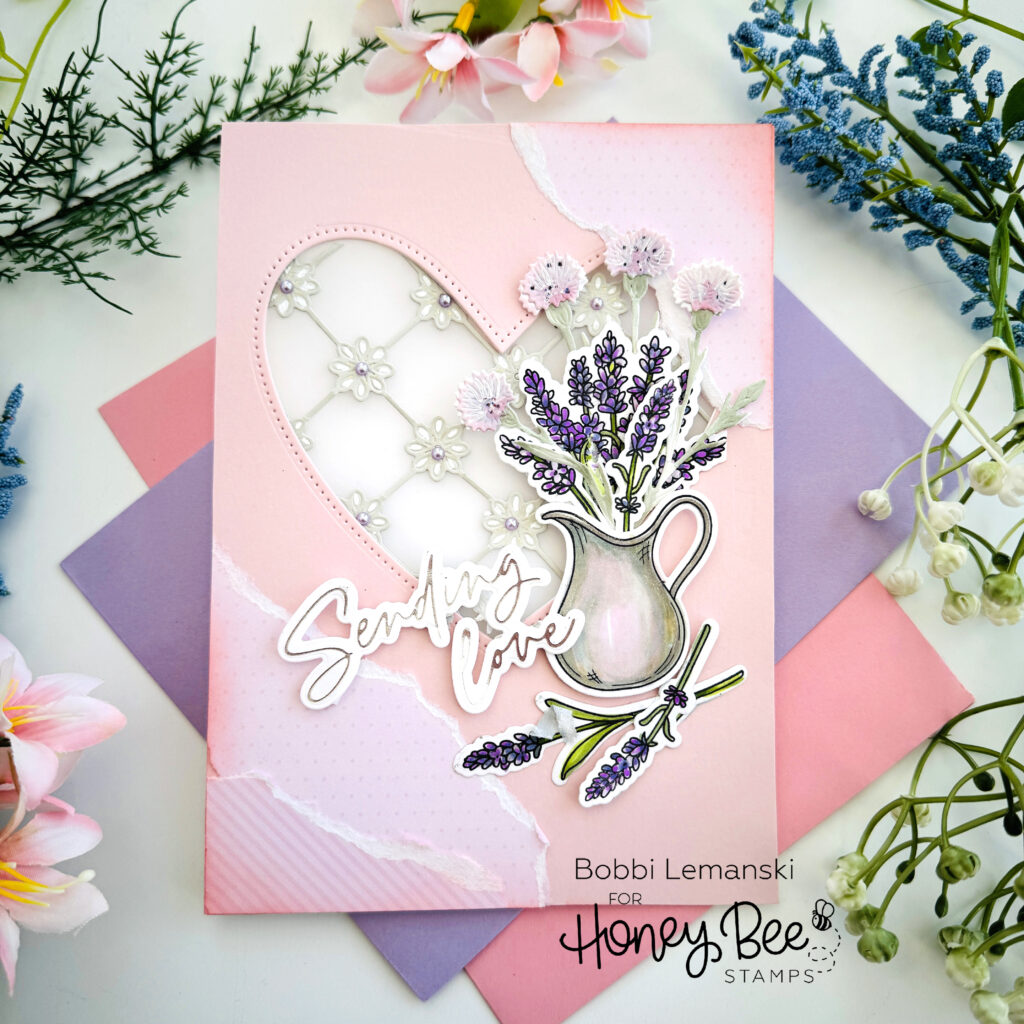
For this 5″ X 7″ greeting, I used the middle-sized heart die from the Pierced XOXO Hearts Honey Cuts dies to create a window in my white card base. At the same time, I cut a window from a 5″ X 7″ piece of pink cardstock to have a matching card front. Between the card base and card front panel, I glued (on the outer hidden edges) a piece of semi see-through vellum and a warm gray daisy lattice piece cut using the Delicate Daisy A2 Cover Plate Top Honey Cuts die. I enhanced the lattice work with my white Gelly Roll pen and some lavender Spring Pearl Stickers.
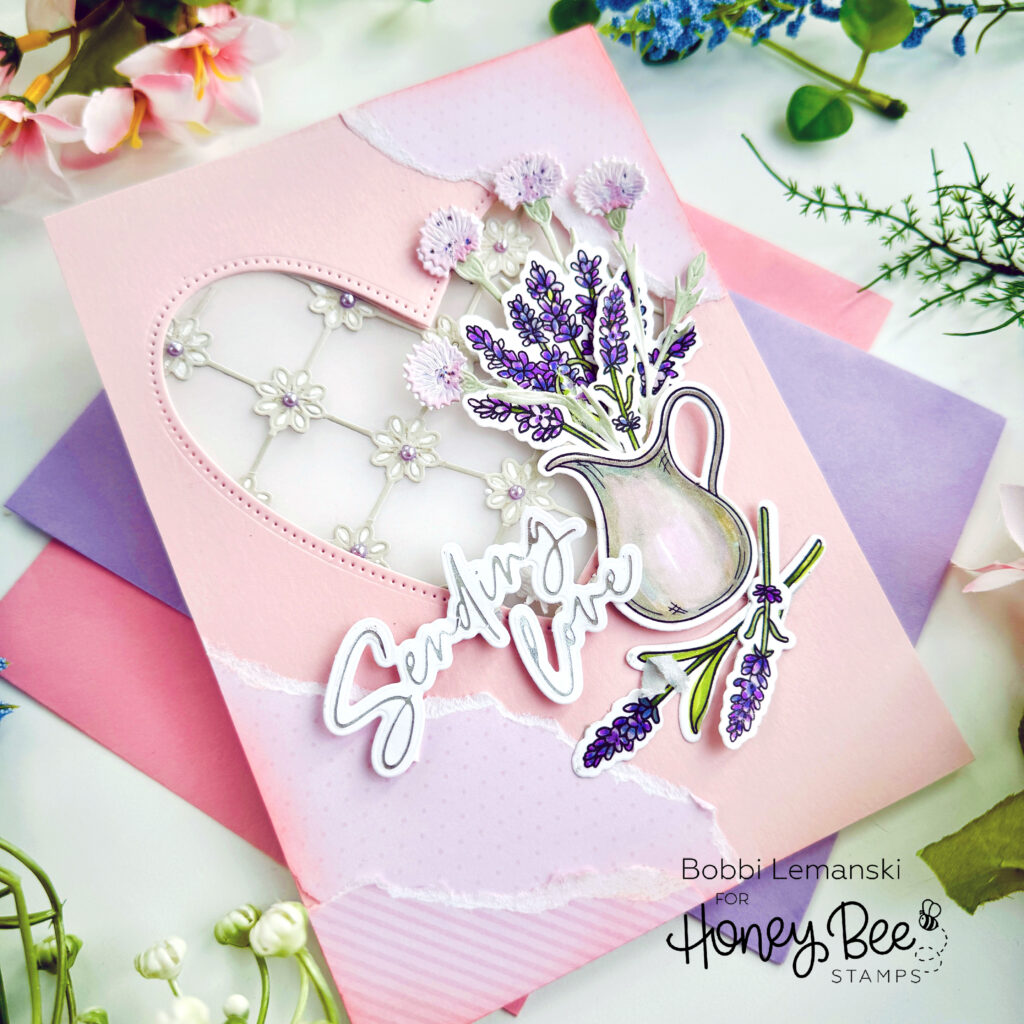
Next, I stamped, colored and cut the Lavender bunch and four individual stems using Copic markers in YG67, YG63, YG03, BV04, V04, V12, and V00. I did the same with the pitcher and colored it using BG93, BG91, RV93, B000, W5, W3 and W1. I also die cut some floral stems from the Lovely Layers: Autumn Bouquet Honey Cuts dies and colored them using Copic Markers BG93, BG90, RV93, BV01, and V12. Everything was assembled together to make the bouquet and two stems at the base. I attached it to the card front. I also used added some torn pattern paper the to the two corners using the pink paper from the Pinstripes & Polka Dots: Holiday paper pad. I added some darker pink ink to the edges. Finally, I attached the foiled “sending love” sentiment from the Foil Script: Wishes – Hot Foil Plate & Honey Cuts
You can shop the entire Honey Bee Stamps store here. If you decide to place an order, please use the links in this post so that Honey Bee knows which ideas inspired you!
Thanks for stopping by today. If you want to see more ideas and inspiration from me, subscribe to my blog, BobbiHartDesign.com. I’ll send you updates on new posts! You can also find me on Instagram as @BobbiHartDesign and on Facebook as BobbiHartDesign.