Hello Honey Bee friends! My card today has a spring time feel with a tiny touch of St. Patrick’s Day too. I’ve used the Lovely Layers: Sweetheart Roses and the older, but so adorable, Sweet Spring Mice stamps and Honey Cuts.
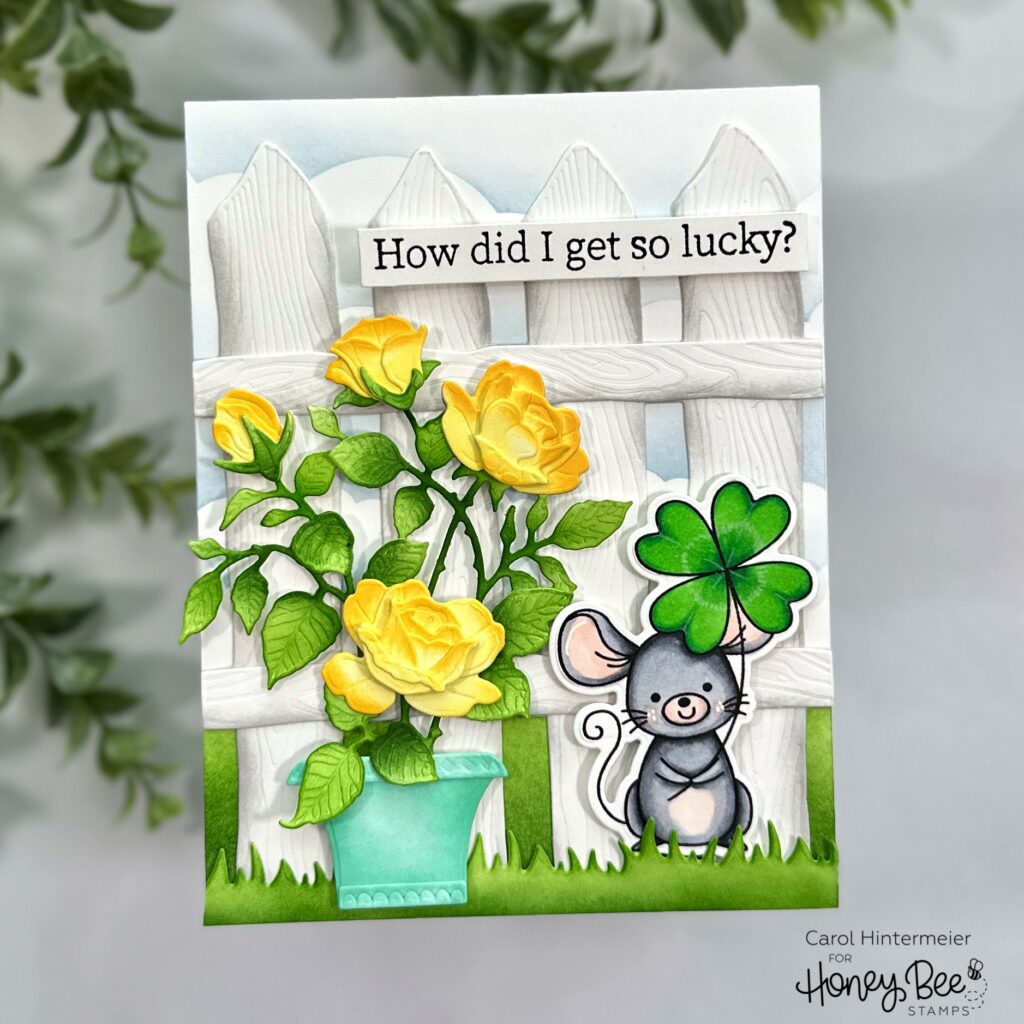
First I stamped the sweet mouse from the Sweet Spring Mice set with Copic safe ink. After I colored it with my Copic markers, I cut it out with the coordinating die. These are the markers I used: G19, G09, YG09, YG07, R30, R00, R000, C7, C5, C3, and C1. I used a Cream Prismacolor pencil to add the details to the clover.
I die cut the Lovely Layers: Barn Wood Fence dies from white cardstock and used an ink blending brush to add some Lost Shadow Distress ink for shading. I used glue to adhere the fence pieces together. Then I die cut white cardstock with the Grass Border die blended on Mowed Lawn and Rustic Wilderness Distress inks.
Next I created a hill and cloud background by inking up a 4-¼” x 5-½” white card panel using the Grassy Hill Borders stencils and the clouds stencil from the Outdoor Scene Builder Stencils. I used Mowed Lawn, Rustic Wilderness, and Tumbled Glass Distress inks.
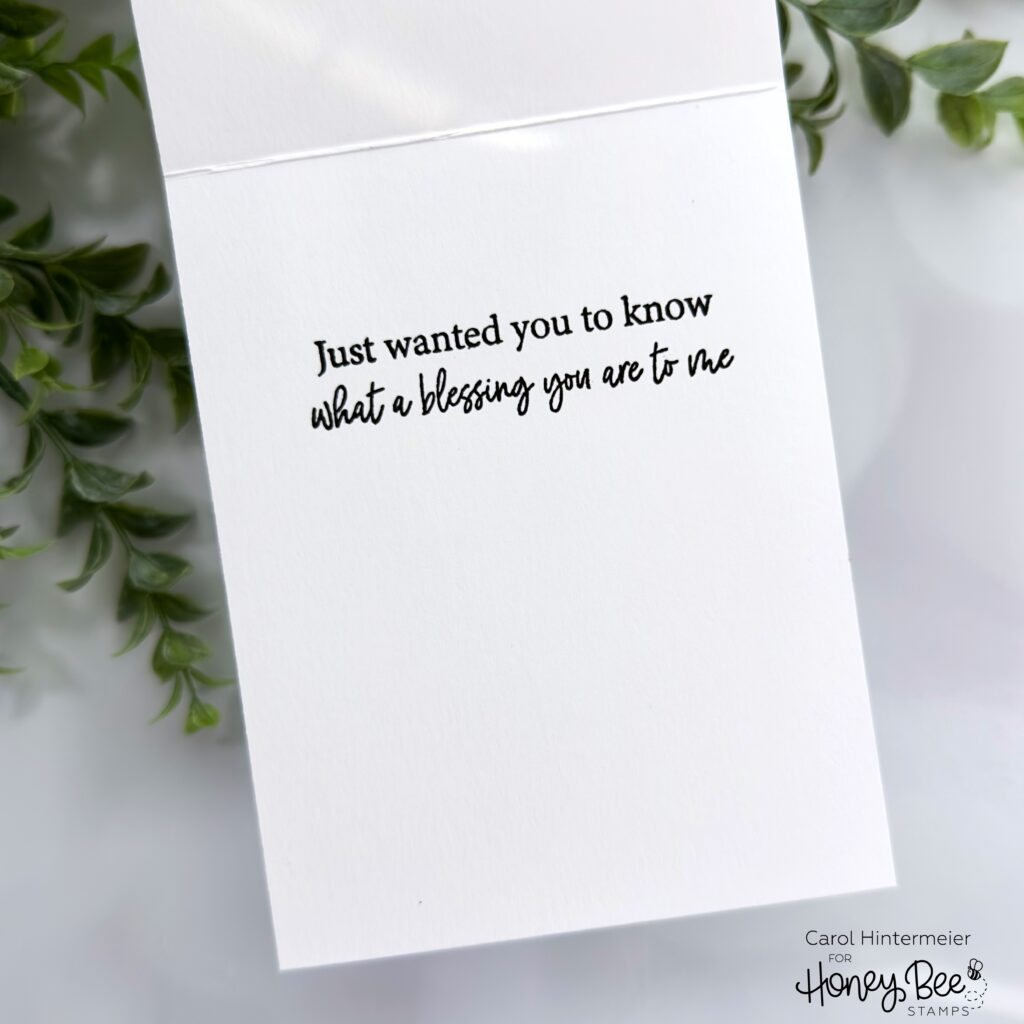
I glued the stenciled panel to an A2 card base. Before I added any more elements to the card front, I stamped a sentiment from the Inside: Kindness Sentiments stamp set on the inside of the card. I think this sentiment goes perfectly with the one I will add to the card front!
Next I glued the fence and the grass border to the front of the card.
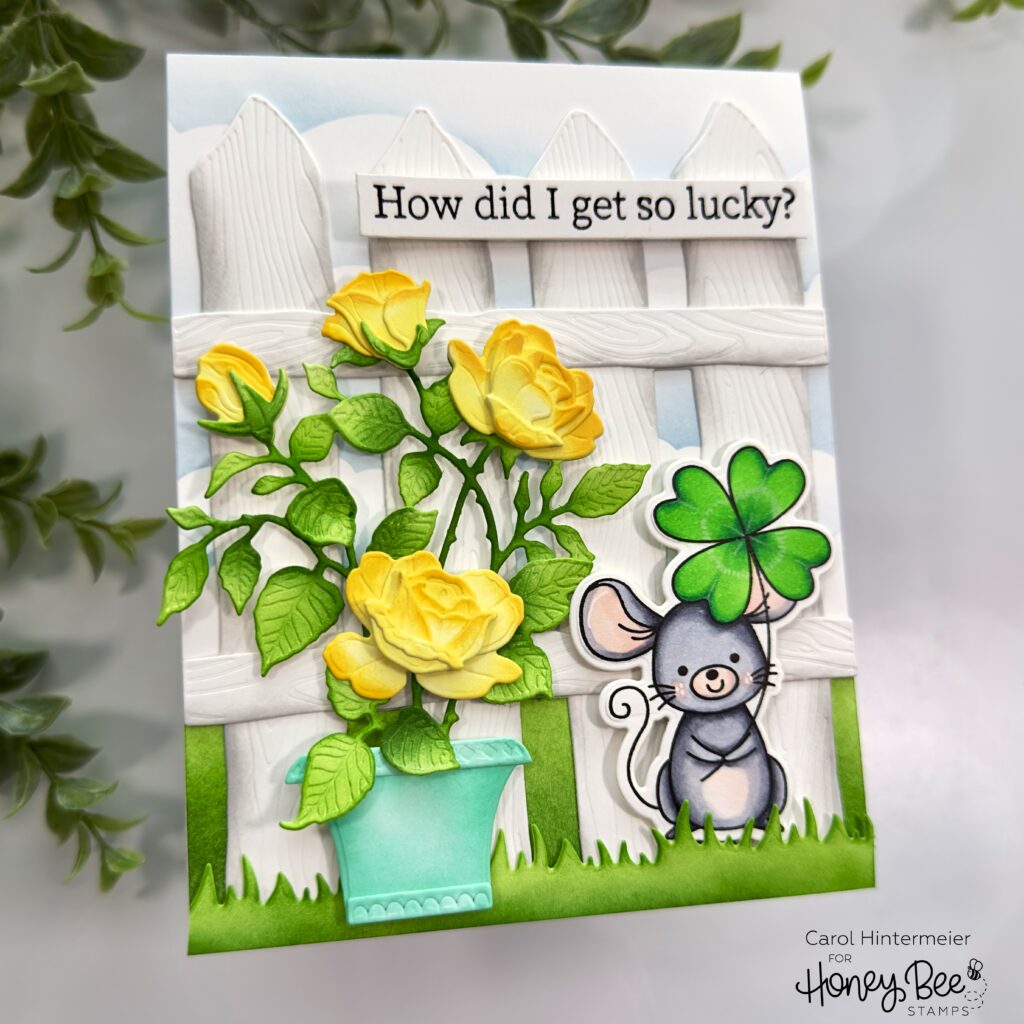
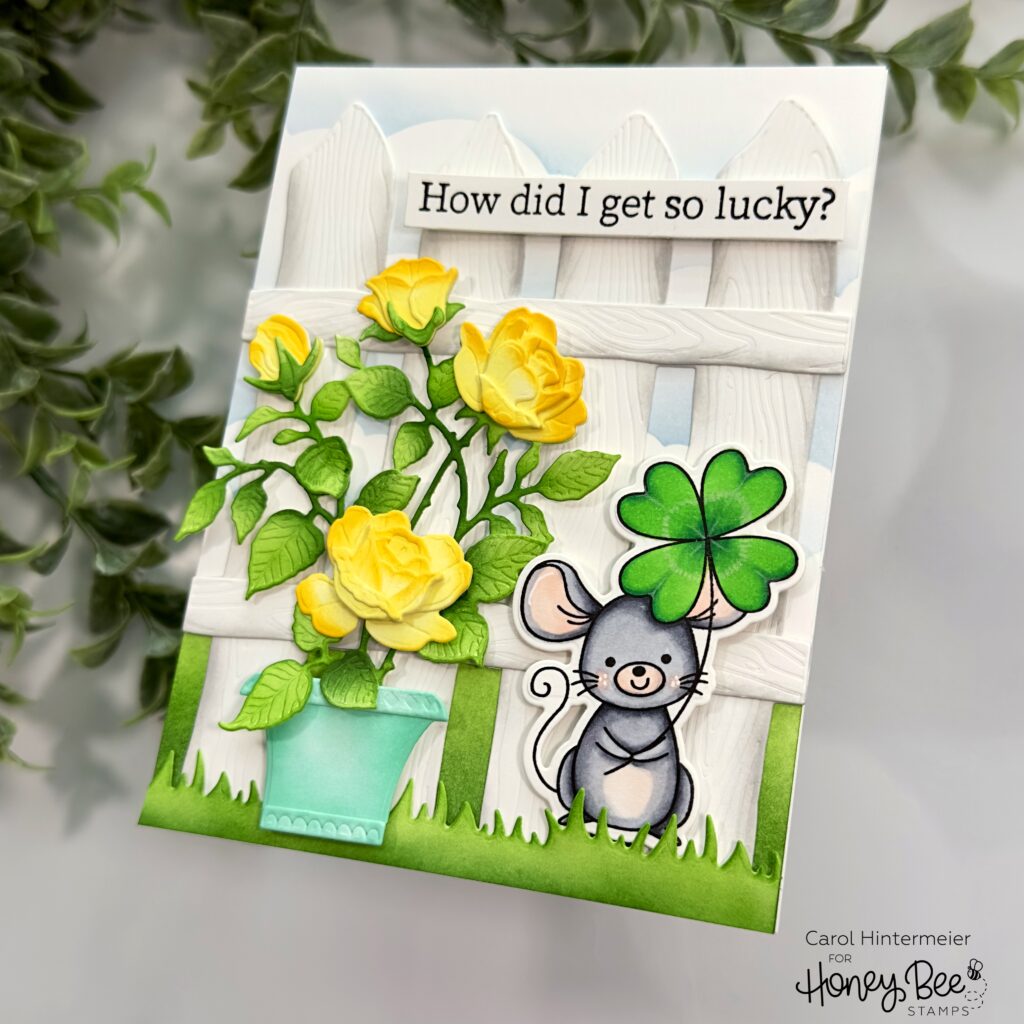
The final element is the Lovely Layers: Sweetheart Roses die set. I really do think this is one of my top favorites in the Lovely Layers line! I colored the die cuts using ink blending brushes and yellow and green inks. Then I adhered all of the layers together with glue.
Next I die cut the container in the Sweetheart Roses. Before I inked on some teal ink, I trimmed the container to make it into a more standard type of flower pot! It’s a gorgeous die as is, but it’s just a bit more formal than I wanted for this scene. After I glued the trim pieces onto the flower pot, I glued the Sweetheart Roses to the pot. Then I added foam dots to the back of the flowers, the pot and the mouse to pop them up on the card.
The sentiment on the front is from the This One’s For The Girls stamp set. I stamped it in black ink, trimmed it into a strip, and popped it up with foam strips.
I think you can tell by now how much I love the Sweetheart Roses die set! Haha! But this is just another example of how new Honey Bee products work so well with previously release sets!!! I hope you’ve found some inspiration for your card making today. Thank you so much for stopping by!