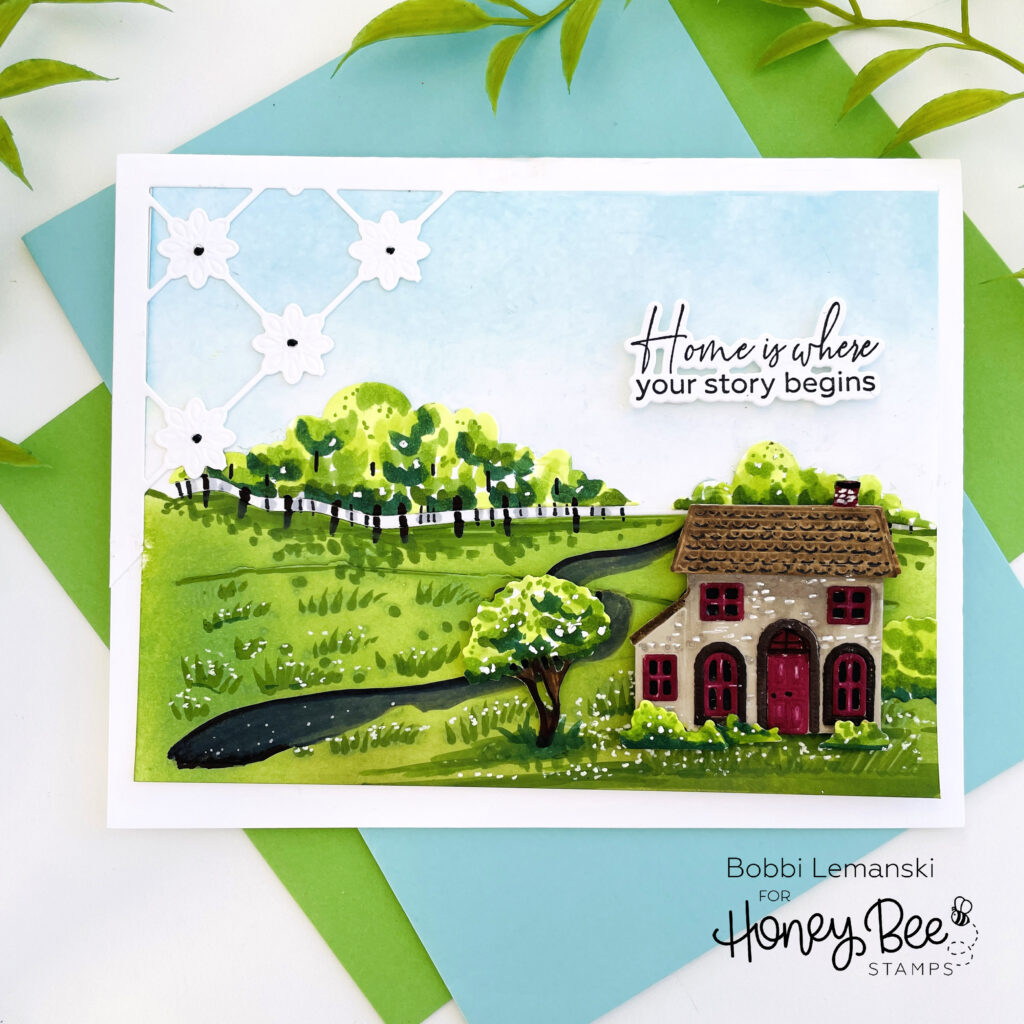
Hi all! It’s Bobbi Lemanski here with a scene card featuring products from the Honey Bee Stamps, Simply Spring release. I love creating scenes on cards and this one was really fun and easy. The scene setting is actually a Honey Bee die called, “Cottage Countryside” that makes it super easy! I’m using the following Honey Bee Stamps products:
Spring Cottage Village Honey Cuts dies
Cottage Countryside Honey Cuts
No Place Like Home stamp set and coordinating Honey Cuts
Delicate Daisy – A2 Cover Plate Honey Cuts
The featured project below is made from Neenah 80lb Solar White cardstock for the card base and card front panel. All of the black ink stamping was done using Honey Bee’s Bee Creative Intense Black Ink. I use Honey Bee Stamps Bee Creative Precision Glue for adhering my elements together.
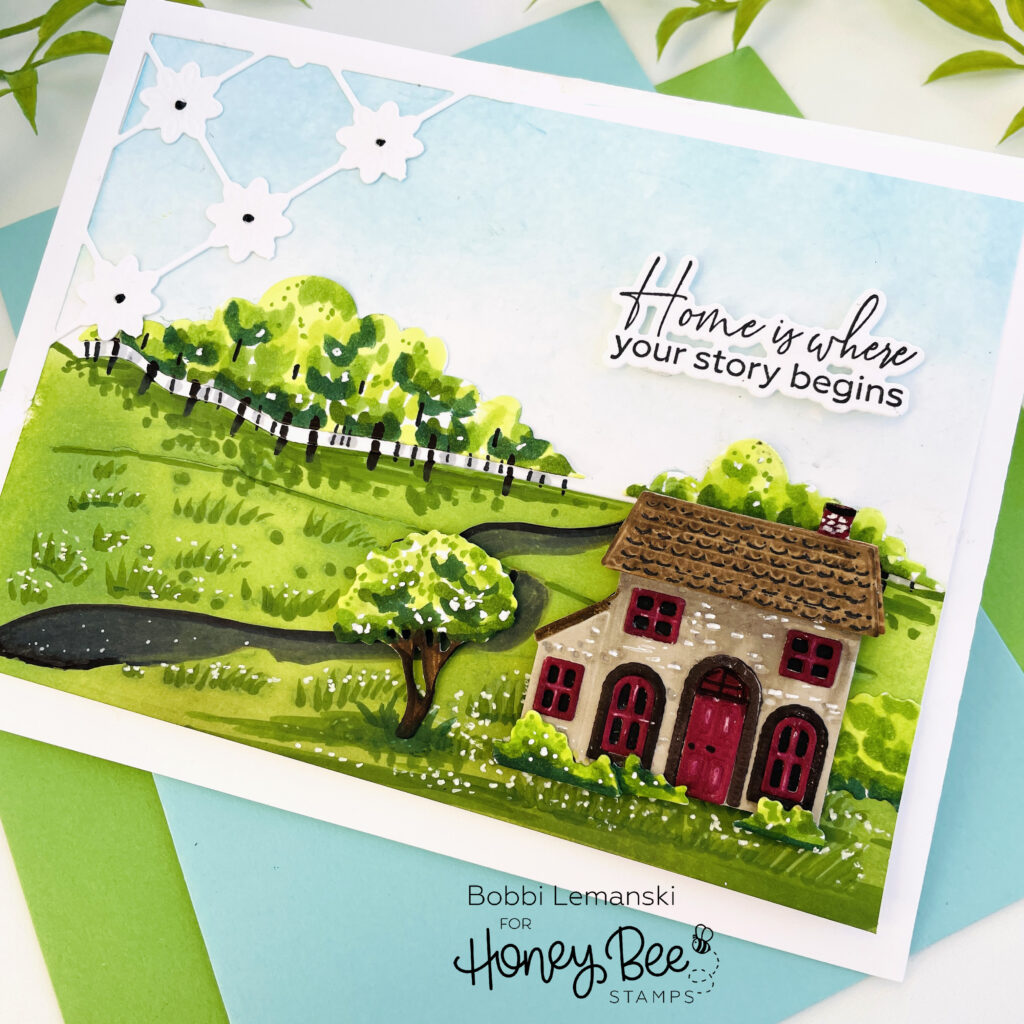
For this greeting, I used the Cottage Countryside Honey Cuts on the front panel. I blended Distress Oxide Inks on the top and bottom using Tumbled Glass for the sky and Mowed Lawn for the green, rolling hills. I used my Blender Brushes to apply the ink. I cut the elements, assembled the pieces, and enhanced the cottage with Copic Markers. I used my white gelly roll pen for highlight marks. After positioning the cottage in the countryside, I added shrubs, wildflowers, a tree and other greenery around the home.
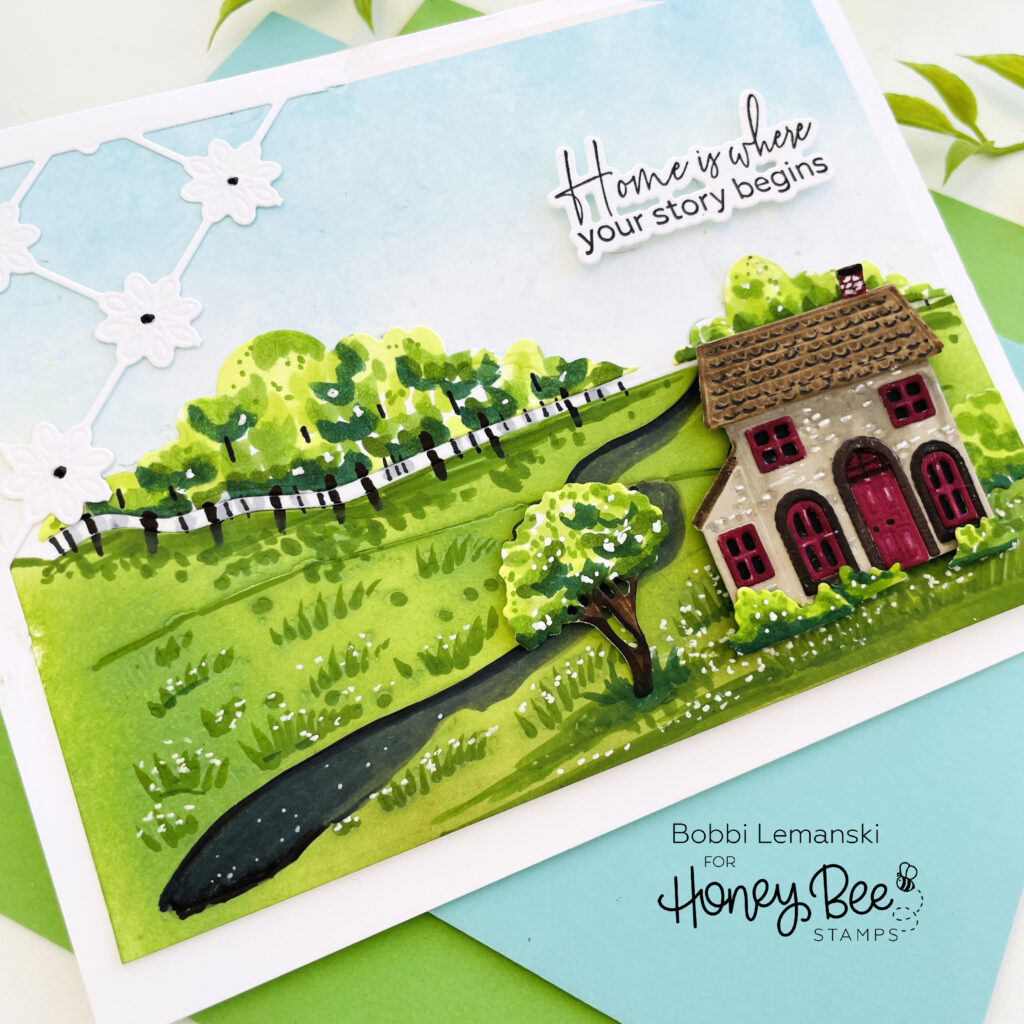
I added the road down the center and lots of grassy areas in the meadow. I wanted some trees in the background so I used the cloud dies from the set to create the tree tops. I colored them in using Copics in YG67, YG23, YG17, YG03 and YG01. I positioned the tree tops behind the cottage, over the sky and just above the ground. I hand drew tree trunks to connect the tops to the ground. I used Copics in 100, C7, C5, C3 to make the tree trunk lines.
I stamped the verse, cut it and attached it to the card front, over the cottage. I used foam dots to make it stand out. I also used a corner of the Delicate Daisy – A2 Cover Plate Honey Cuts and attached it to the upper lefthand corner of the front panel and attached it to the card base. I added small black dots for the daisy centers.
You can shop the entire Honey Bee Stamps Simply Spring release here. If you decide to place an order, please use the links in this post so that Honey Bee knows which ideas inspired you!
Thanks for stopping by today. If you want to see more ideas and inspiration from me, subscribe to my blog, BobbiHartDesign.com. I’ll send you updates on new posts! You can also find me on Instagram as @BobbiHartDesign and on Facebook as BobbiHartDesign.