Hello Honey Bee friends! Today I’m sharing a fun shaker card using the beautiful Holiday Wreath stamps, Honey Cuts, and coordinating layering stencils! I love shaker cards and gold heat embossing for the holidays and really enjoyed making this card! Of course, this set works great for one layer cards too, and I have a few other ideas and color combinations I want to try!
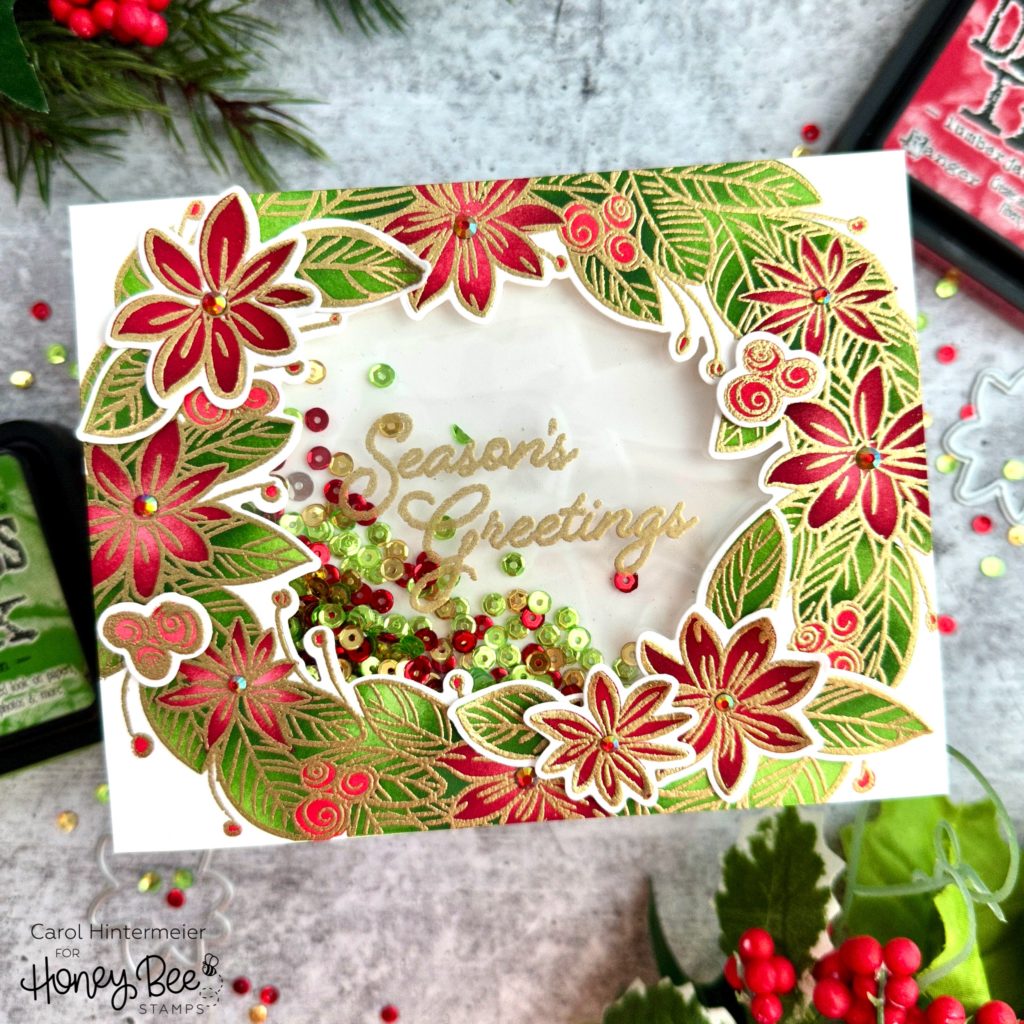
First I used the Holiday Wreath Stencils to ink on Distress Inks with my detail blender brushes. I used the new Lumberjack Plaid Distress ink (now available in the Honey Bee shop) and Aged Mahogany on the flowers–these pair beautifully together! For the berries I used Festive Berries, and the leaves are Rustic Wilderness and Mowed Lawn. I used the same colors for the individual flower, leaves, and berries stencil.
When the stencils aren’t too detailed, I like to do my stenciling first. This way I don’t have to worry about the ink on any embossed or stamped lines. Honey Bee’s stencil layers are so easy to line up because of the etched lines in them, which makes this really easy to do. When the inks were dry, I lined up the coordinating Holiday Wreath stamp, stamped it with clear embossing ink, and heat embossed it with gold embossing powder. Don’t forget to use your anti-static tool first!
Next I used the coordinating Honey Cuts to cut all the pieces out. Then I stamped the sentiment from the Holiday Wreath set onto embossable window plastic and heat set it with gold embossing powder. I used double sided adhesive to add it to the back of the wreath panel. Then I added foam tape to the back of the panel and poured in some coordinating sequins from my stash. I like to add another piece of acetate to the back to close the shaker window. This closes the shaker window and makes it much easier to line it up with my card base.
After I adhered the shaker panel to the A2 card base with Bee Creative glue, I used glue and foam dots to add on the additional flowers, leaves, and berries! For a final touch of bling, I added gem stickers from the Make it Merry gem sticker set.
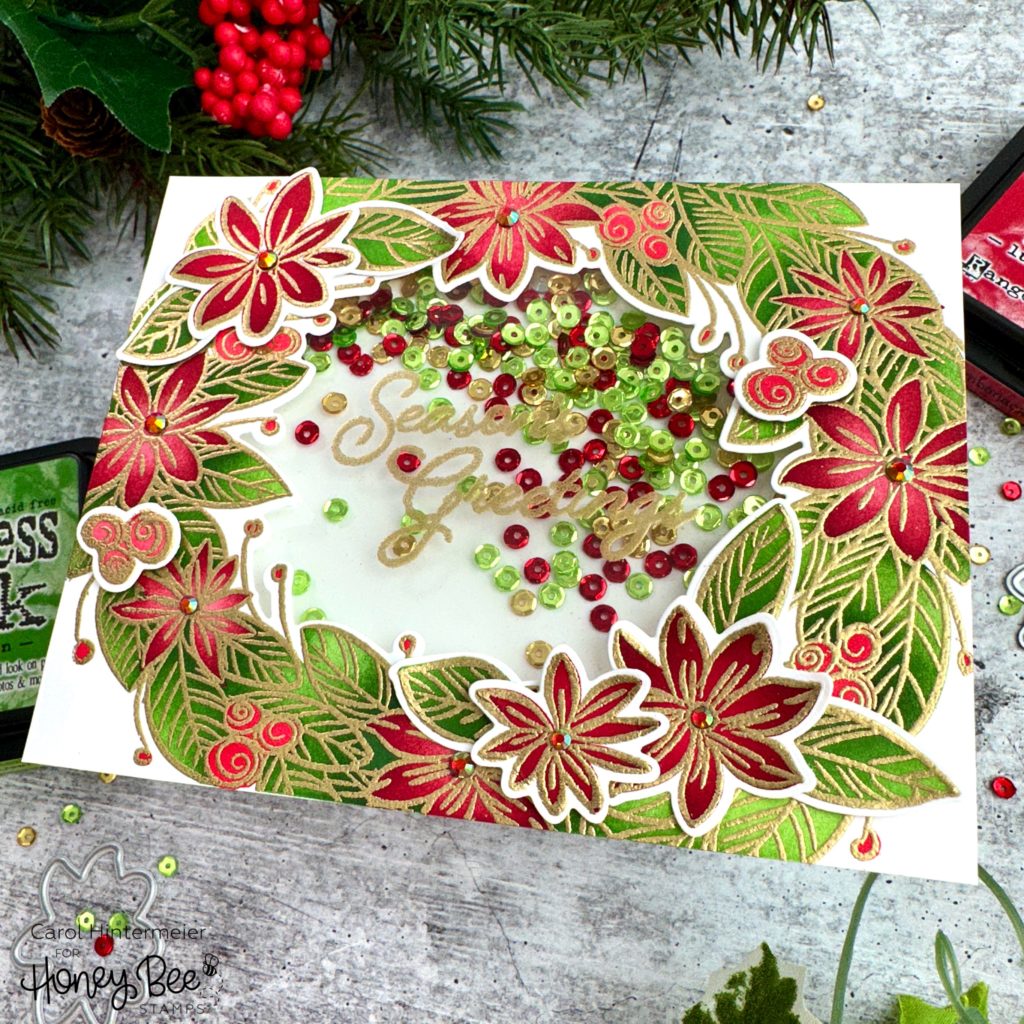
I really love having coordinating stencils to color stamped images! I think you can create beautifully colored images, just as if you colored them using another medium! I hope you’ve enjoyed my card process and are inspired to give these Holiday Wreath products a try. Thank you very much for stopping by!
One response to “Holiday Wreath Shaker Card”
Gorgeous!!! And love that its a shaker!!