Hello Bee friends! It’s Bobbi Lemanski here sharing some new items for the holidays. We have a fun week for you this week. I’m kicking off the Holiday Wishes Release Inspiration Week with a project featuring the new Lovely Layers: Deer. Oh my, these layered animals are gorgeous and so pretty for fall and winter-themed cards. In Wisconsin, our deer population is strong and I see deer almost every day out by the lake. They are beautiful creatures.
My card features the following new items from the Honey Bee Stamps Holiday Wishes release:
Lovely Layers: Deer Honey Cuts dies
Watercolor Pines stamp set and coordinating Honey Cuts dies
Seasonal Sentiments stamps and coordinating Honey Cuts dies (I used only the stamp set on this card.)
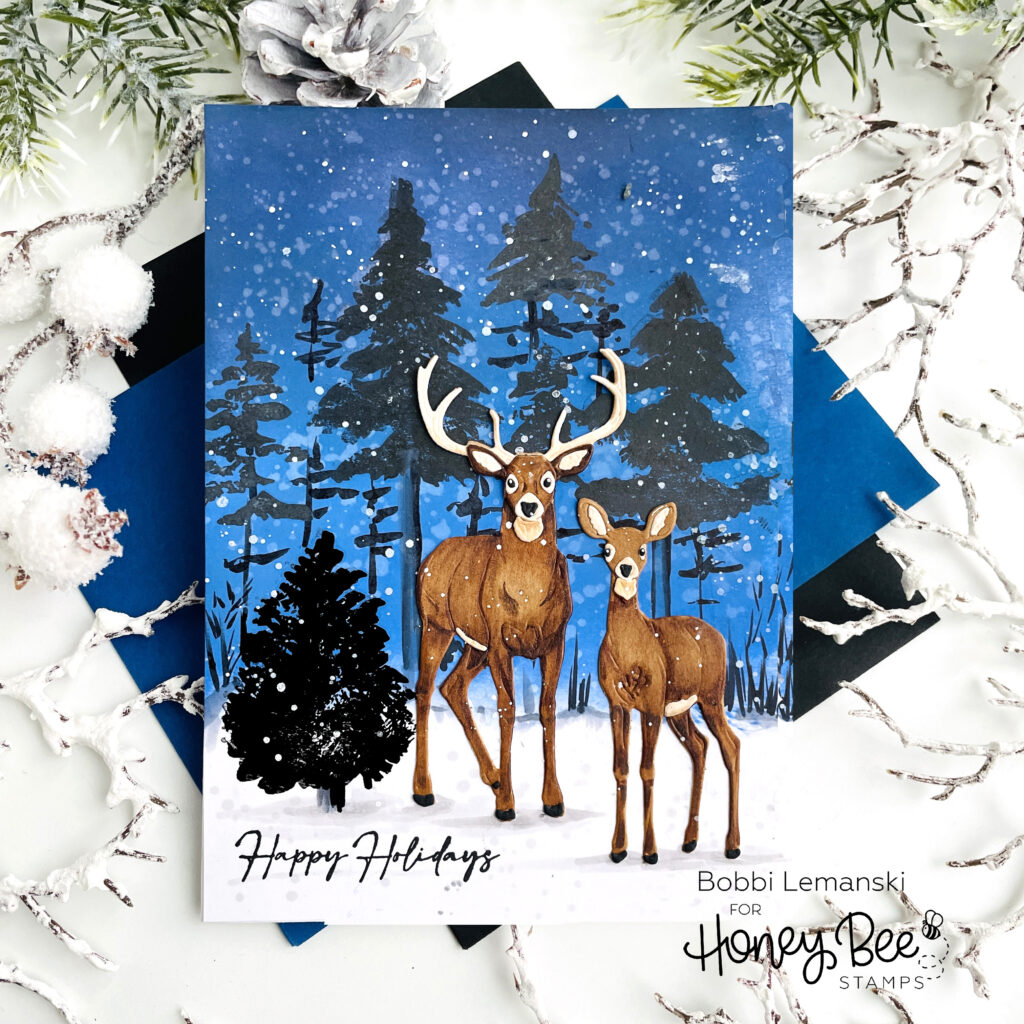
The featured project below is made from Neenah 80lb Solar White cardstock for the card base and card front panel. All of the black ink stamping was done using Honey Bee’s Bee Creative Intense Black Ink. I use Honey Bee Stamps Bee Creative Precision Glue and for when I want more dimension, Bee Creative Foam Dots With Tab for adhering my elements together. My card is 5″ X 7″ in size.
To make this 5″ X 7″ card, I started with a piece of white cardstock cut 5″ X 7″ for the front panel. I ink blended dark blues for a night time sky on the background. I used Ranger Distress Oxide Ink colors in Chipped Sapphire, Prize Ribbon, and Blueprint Sketch (in that order, top to bottom) and my blender brushes. I inked from top to bottom, leaving white space at the bottom of my card front for a snowy landscape. I splattered water over the ink and blotted it dry to lift some blue ink and create more transparent snow in the sky. This gives the background more depth. Once my background was dry, I stamped the trees over the blue ink for a forest setting. I added a bush in the foreground, stamping over the snow covered bottom. This offers depth to the setting.
I set my trees aside to dry and worked on the deer. There is a layering guide to help put the deer pieces together. It’s all about layering the elements to make the deer dimensional. Below is the guide and this can be downloaded from the Honey Bee website here.
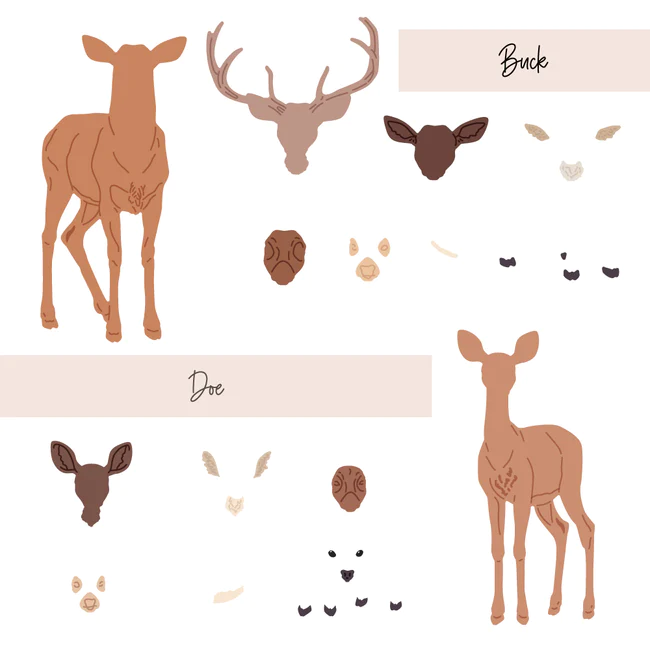
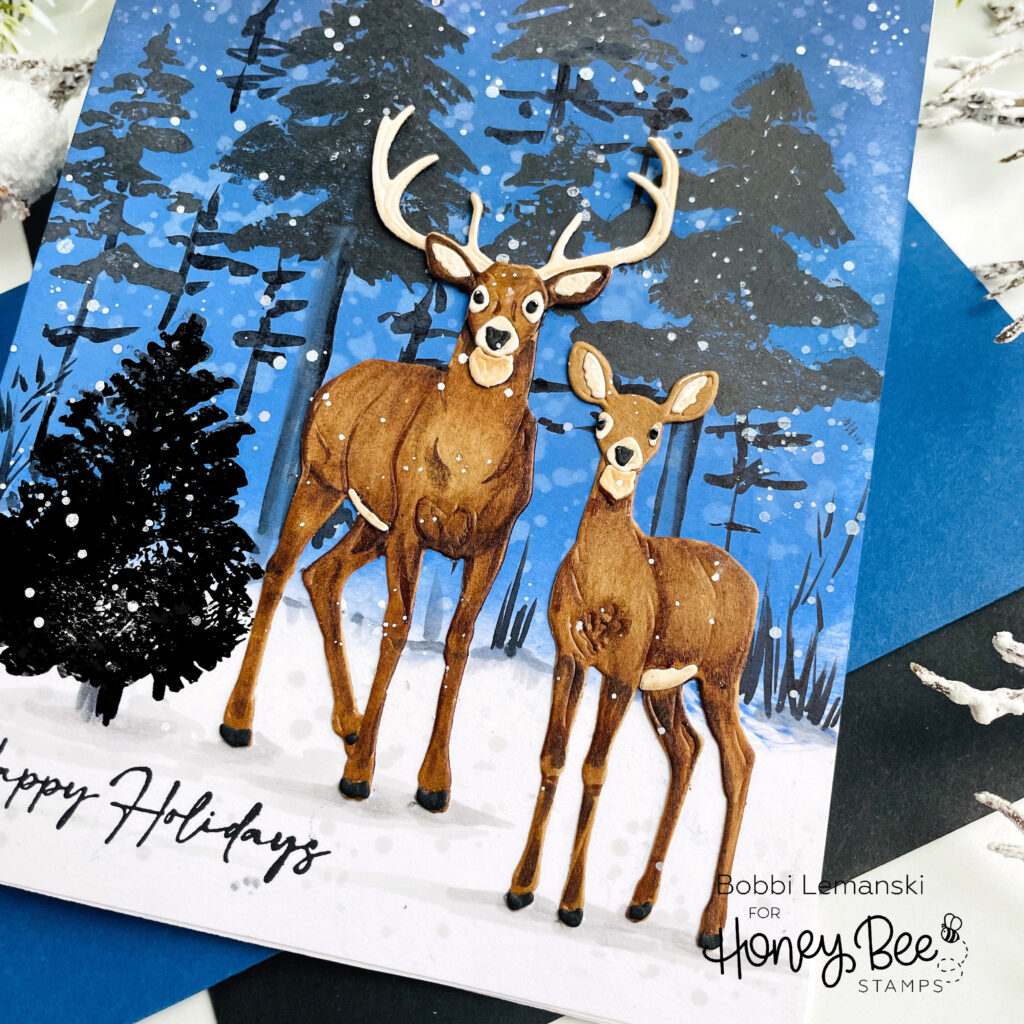
The dear were layered and glued together. I added additional detailing using my Copic Sketch Markers in color: E59, E57, E55, E44, 100, C8, C7, C5. If you don’t like to color, you don’t need to! These deer are pretty with out any coloring. Just using various shades of brown cardstock as shown in the layering guide above with produce beautiful creatures!
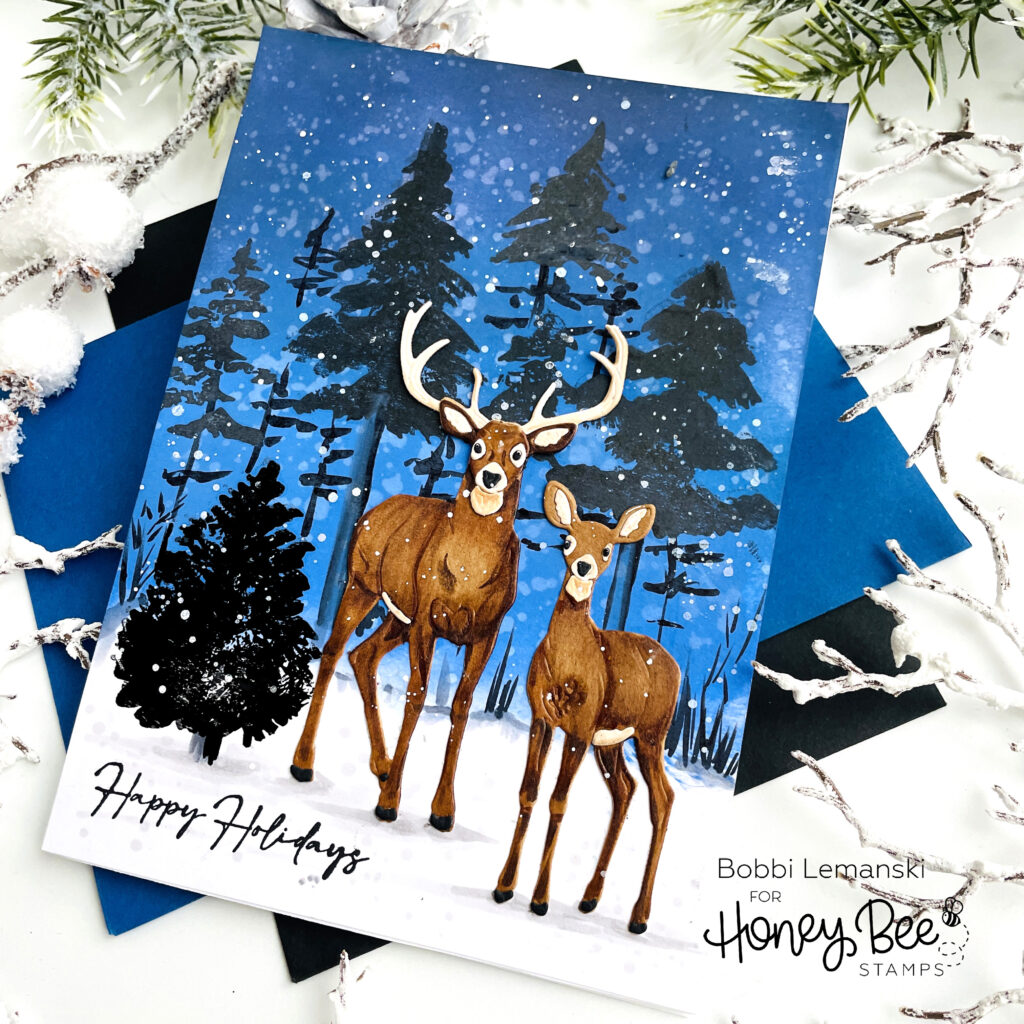
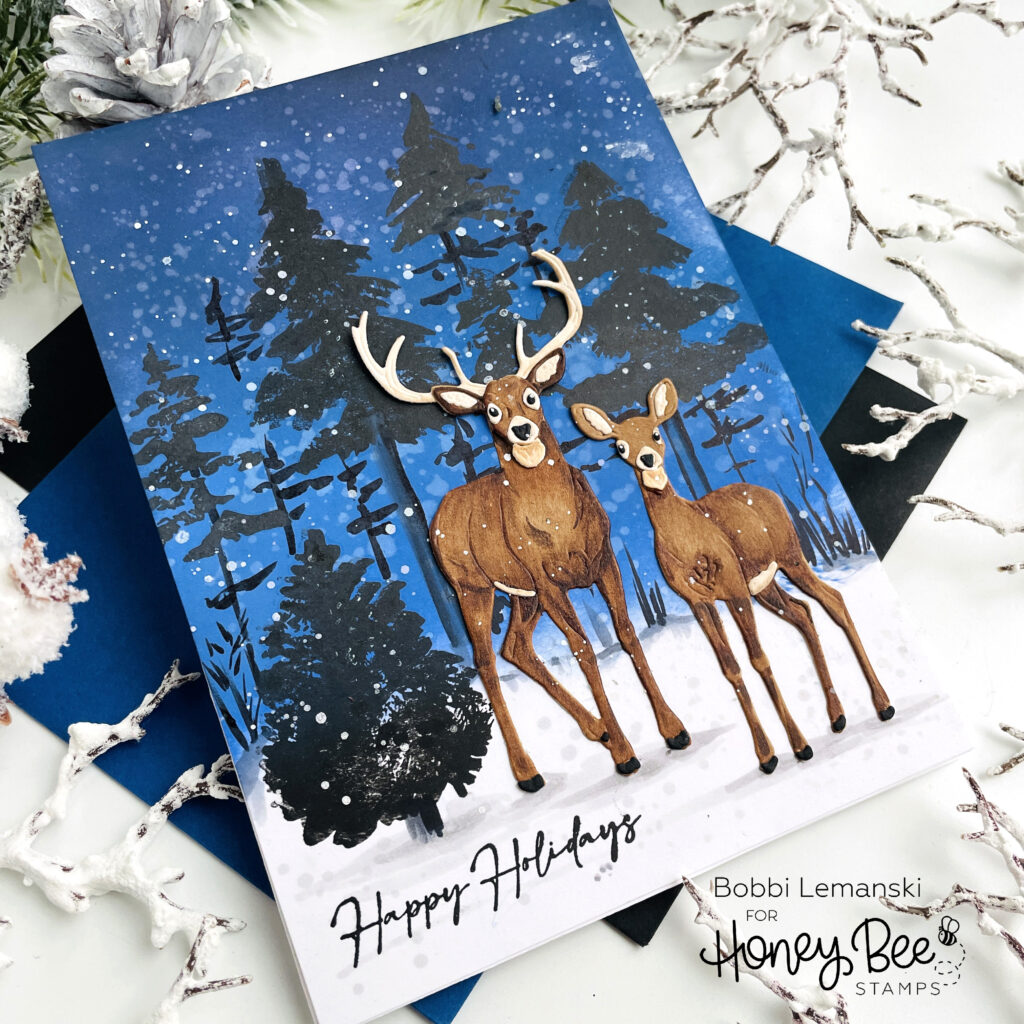
I placed my deer in the foreground and “grounded” the images by adding shading below them using Copic C5, C3 and C1 gray markers. I also shaded under the foreground bush and the snowy landscape in the background. I used a Copic 100 black marker to add a little more “brush” to the background, between the trees and a few more skinnier tree trunks. I splattered white paint over the whole scene for snow fall and added gray dots on the white snow for more snow at the bottom.
TIP: When adding falling snow to a scene, use white ink/paint on dark colors and gray tones on white backgrounds so it shows.
Lastly, I stamped the sentiment in the lower left corner. I attached the card front to a white card base to complete the holiday card.
You can shop the entire Honey Bee Stamps Holiday Wishes Release here. If you decide to place an order, please use the links in this post so that Honey Bee knows which ideas inspired you!
Thanks for stopping by today. If you want to see more ideas and inspiration from me, subscribe to my blog, BobbiHartDesign.com. I’ll send you updates on new posts! You can also find me on Instagram as @BobbiHartDesign and on Facebook as BobbiHartDesign.