Hi there! Emily Midgett here with you today, and I have some monochromatic inspiration with some bright pops of red. I seem to be obsessed with that color combination this season, and I’m not mad about it! I recently bought the Market Cart die set, and I was curious to see if I could adapt it to a holiday project. I combined it with some old and some new goodies to create this huge holiday card, so let’s get started with the details!
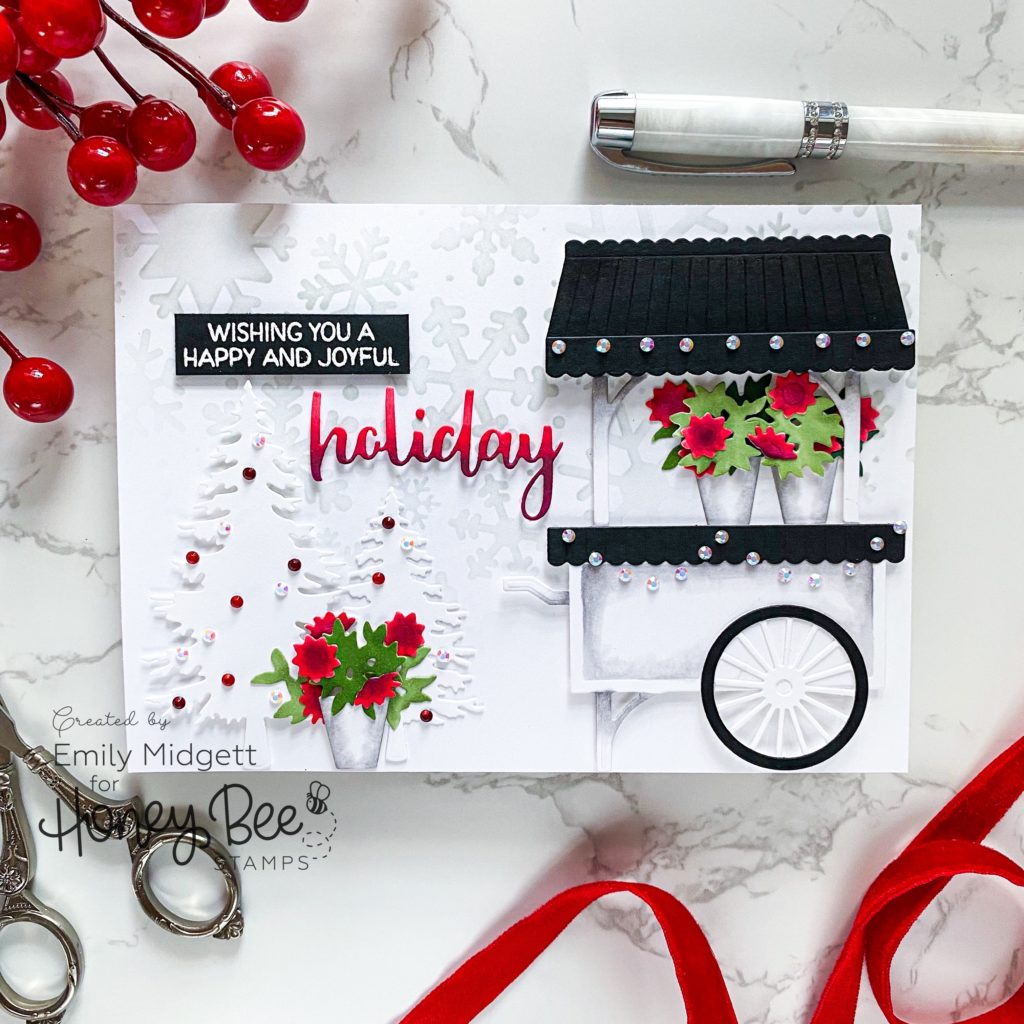
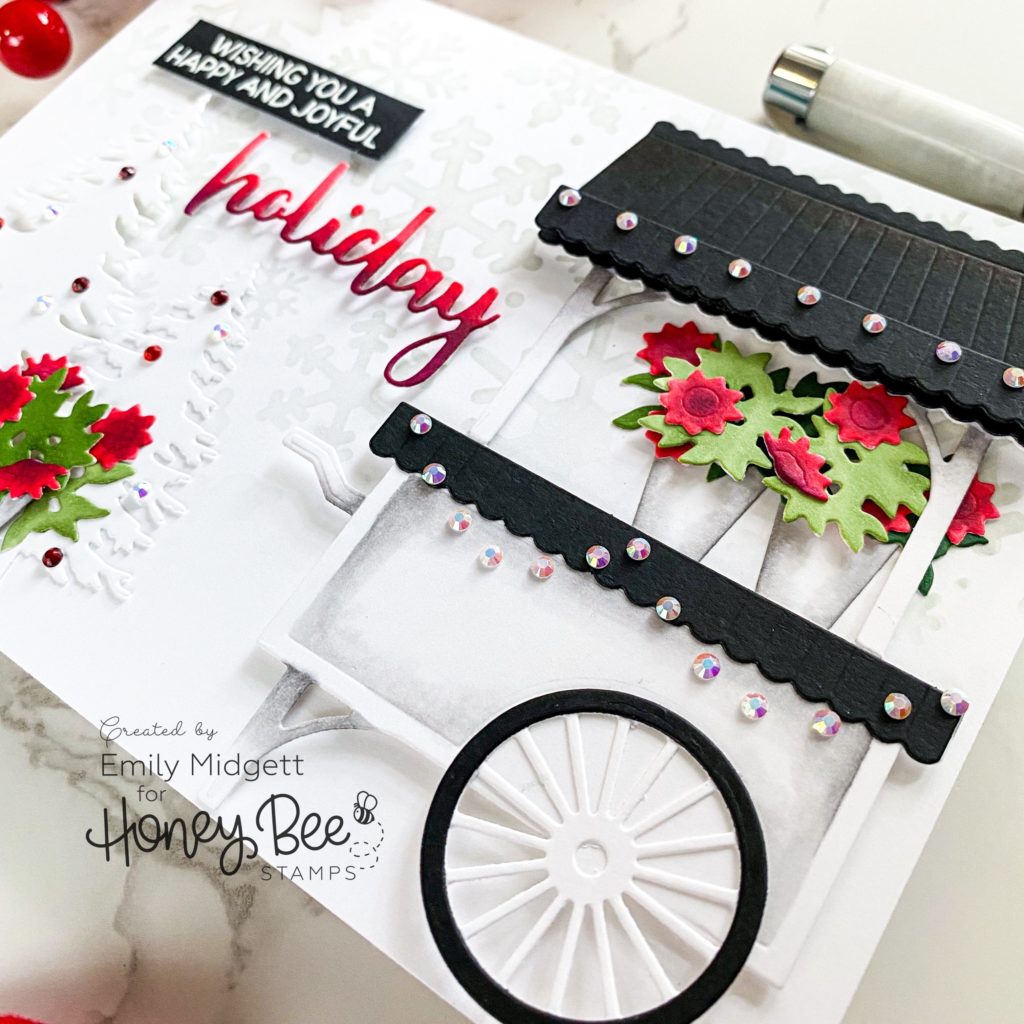
I began by die cutting the Market Cart dies from white cardstock for the main elements and the floral pieces, then cut the accent pieces, like the tire, the awning, the trim piece, from some black cardstock. I wanted to go for a farmhouse style cart. We have a flower cart here in my small town that looks very similar to this one, and I think it’s just darling! I added some shadows with my Copic markers to the cart itself and colored the flower pots, foliage, and “poinsettias” using my Copic markers. An easy way to add color to standalone die cuts if you don’t have an abundance of colored cardstock!
This card is a big one-5×7. The Market Cart dies create a fairly large focal point for your card, and I wanted to add in some other elements in addition to the holiday market cart. I used the Snowfall stencil to add some subtle, pale gray snowflakes in the background. Because this is a 5×7 card and the stencil is only 6×6, I began blending on one corner of the card base, then found the same snowflake (along the right edge of the stencil), laid the coordinating area of the stencil over the top of that snowflake, and blended towards the edge. I knew my market cart would cover up any overlap, but I also was careful to keep the blending light so that it would be as clean as possible.
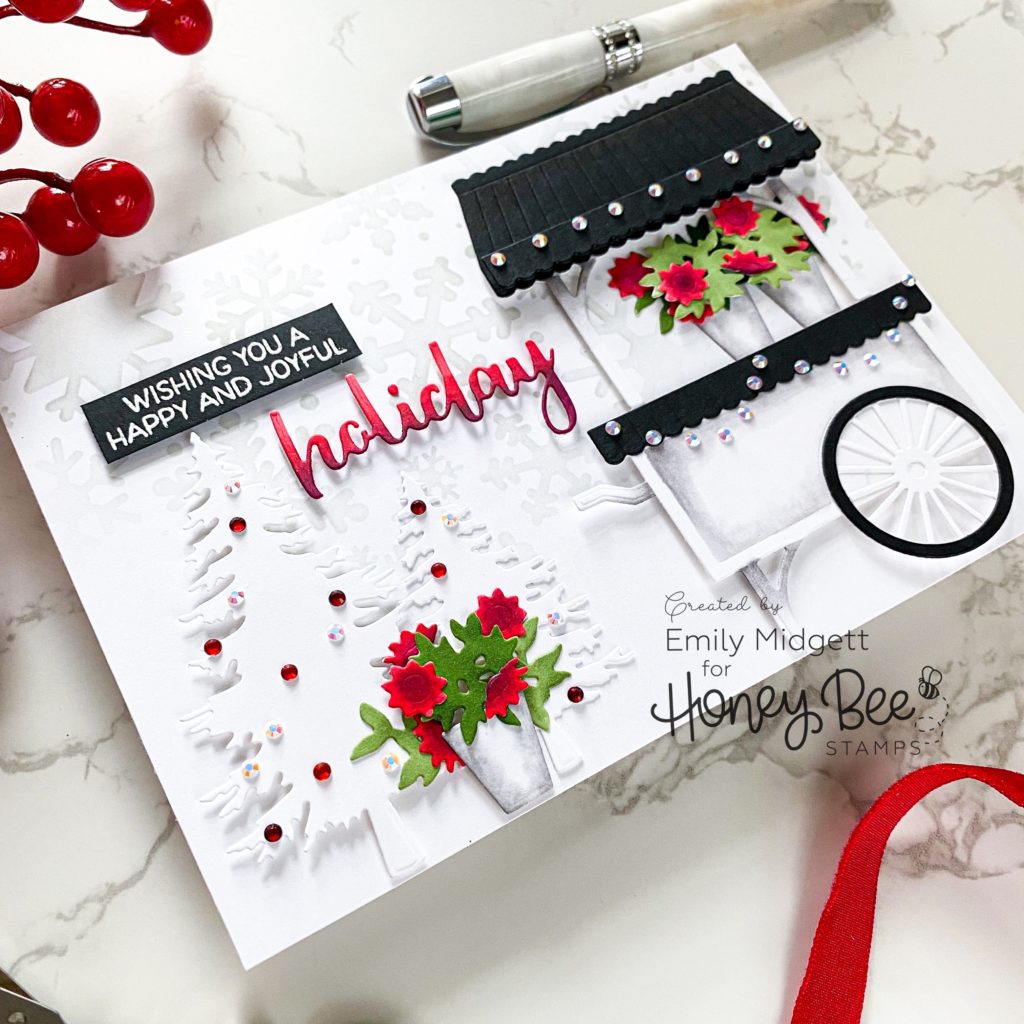
For the greeting, I wanted to create that same bright ombre red that I used on the daisy/poinsettia flowers, so I die cut the “holiday” from Bitty Buzzword: Holiday Honey Cuts from some plain white cardstock, and, leaving my die cut in it’s negative, used my Copic markers to color the die cut in a smooth ombré. I also white embossed a greeting from the Bitty Buzzwords: Holiday stamp set on some black cardstock. I adhered the Market Cart to the card front with some foam adhesive, then added some white die cut trees (cut using the Pine Trees Honey Cuts) and a poinsettia plant. I also adhered the greeting using more foam tape-lots of dimension and height on this card! The final touch was to add some sparkling gems from the Vintage Holiday Sticker Gem pack, to function as ornaments and a string of fairy lights on the Market Cart!
Well, that’s all for my project today. I love when you can adapt products to all seasons, like I’ve done here using the Market Cart dies! I can’t believe Christmas is only 3 weeks away… I’m not ready, Christmas cards or otherwise! Thankful to have a few holiday cards already built up in my stash haha. Thanks so much for stopping by today, and have a marvelous day!
One response to “Holiday Market Cart!”
Wow, your card is absolutely striking!!
I just love it!