Happy October 1 Honey Bee friends! It’s finally feeling like fall here in Texas and I was inspired to use the beautiful Darling Dahlias set and Honey Cuts to create my fall feeling card! Did you know this set, and many others, was designed for Honey Bee by the oh so talented Emily Midgett? She’s our teammate and such an amazing artist!
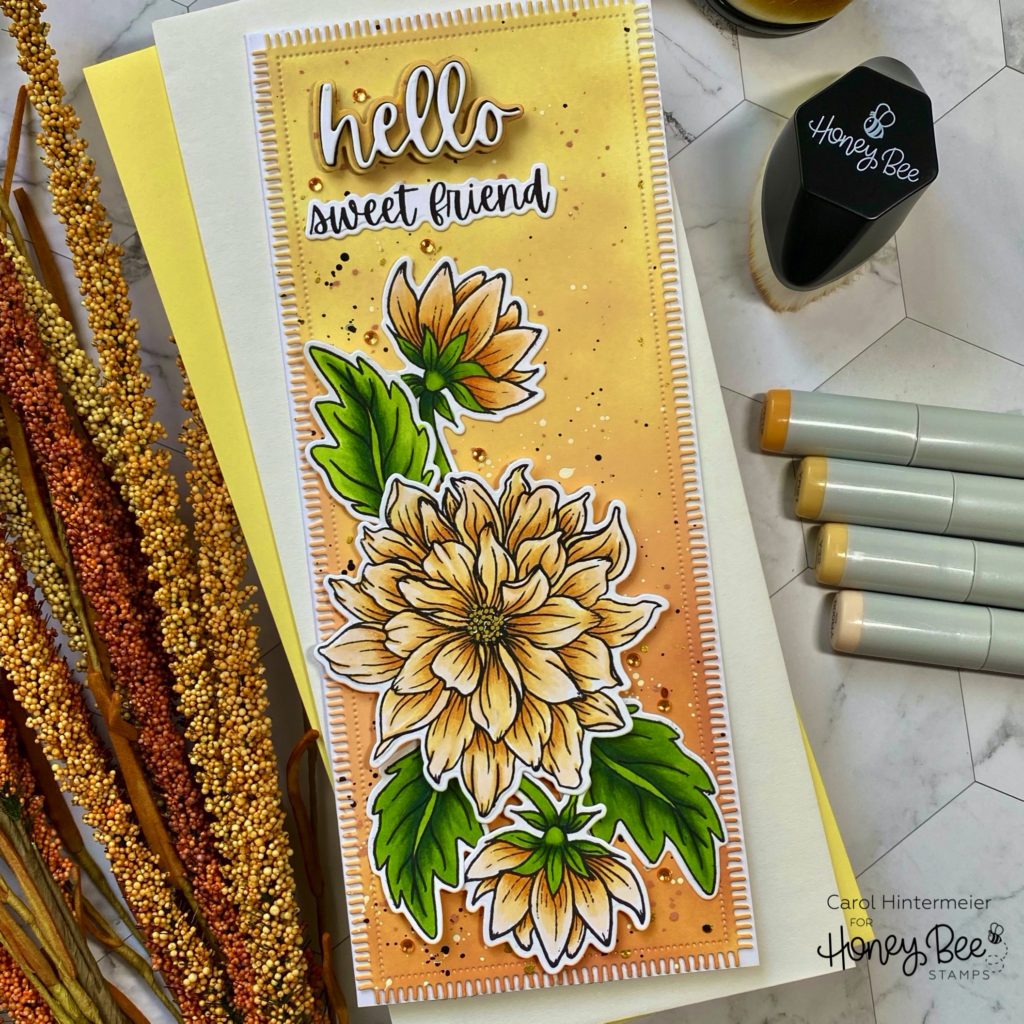
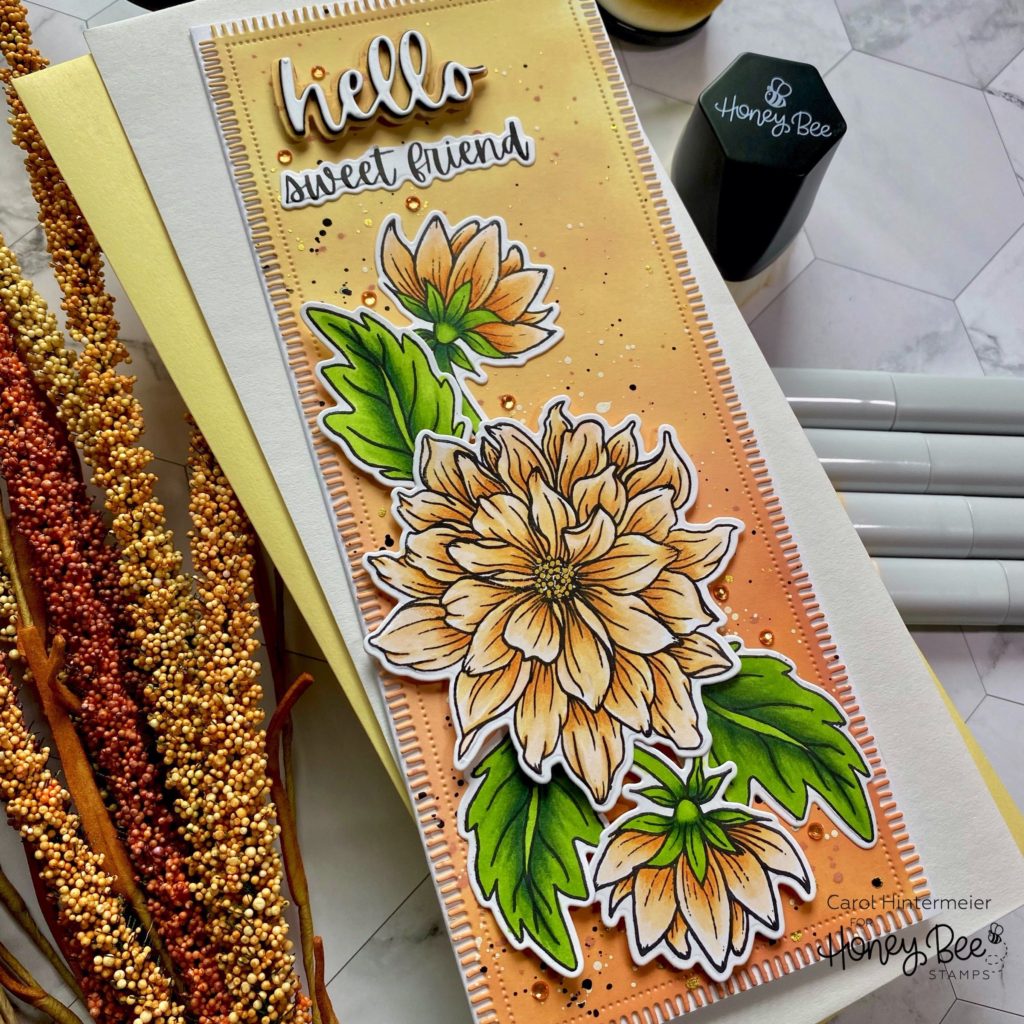
I began by creating my slimline card base and layer. I die cut the Slimline Sentiments: Blanket from 80# Neenah card stock. Now here is where I had so much fun! I love “getting inky” and used the Background Blender Brushes and the NEW Hexagon Palm Blender Brush to ink up the die cut. This was my first time to try out this blending brush and I love it! If you wipe it off onto a towel between colors, you can use it for many different colors. I used these Distress Oxide Inks: Rusty Hinge, Dried Marigold and Scattered Straw.
Next I added some fun spatters to the background. I diluted some white gouache and some black acrylic paint with water and used a #6 paint brush to splatter on the dots. I always need some sparkle so I added some Yellow Gold dot from the Gansai Tambi Starry Colors set.
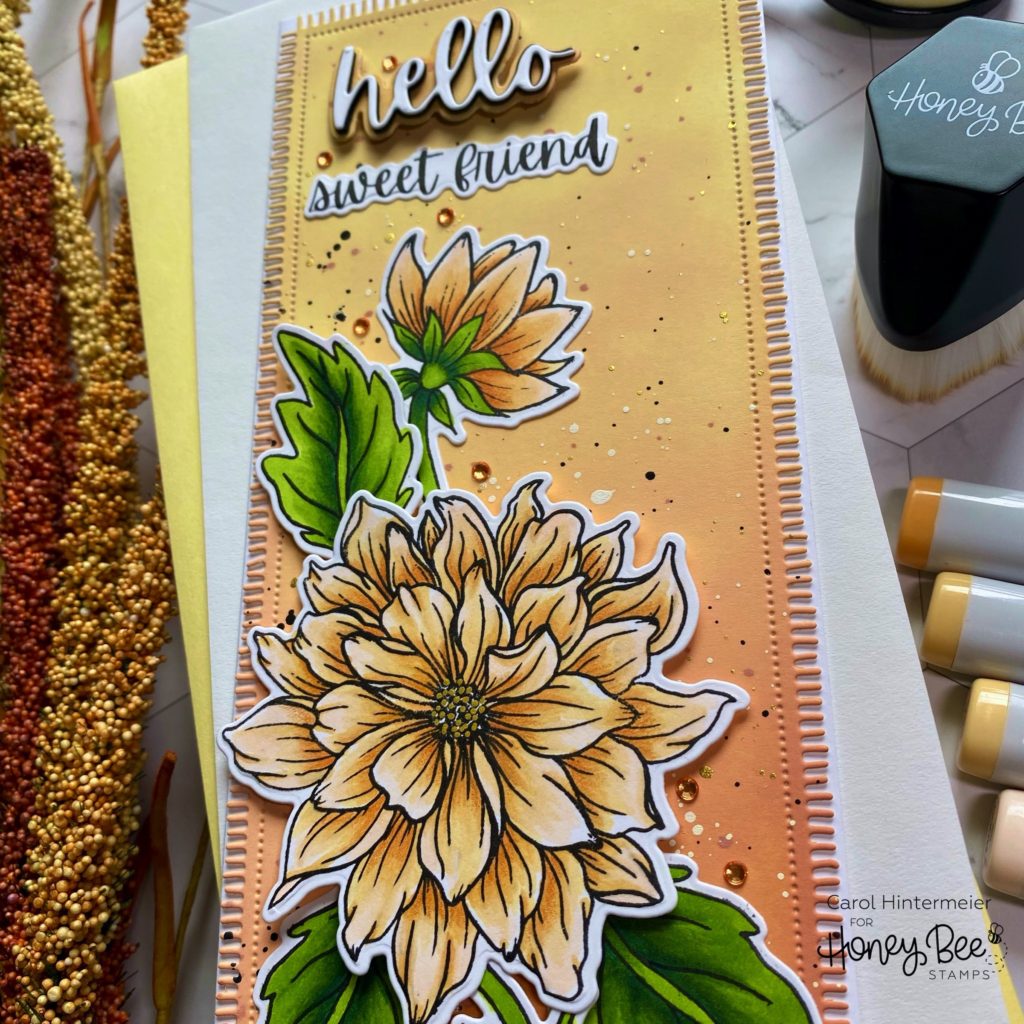
I stamped the Darling Dahlias flowers and leaves with Copic safe ink and colored them with my Copic markers. I used these Copic markers: YR12, YR21, Y32, YR000, G29, YG67, and YG25. I added more shadows in the nooks and crannies with a Mineral Orange Prismacolor pencil. I die cut them with their coordinating Honey Cuts.
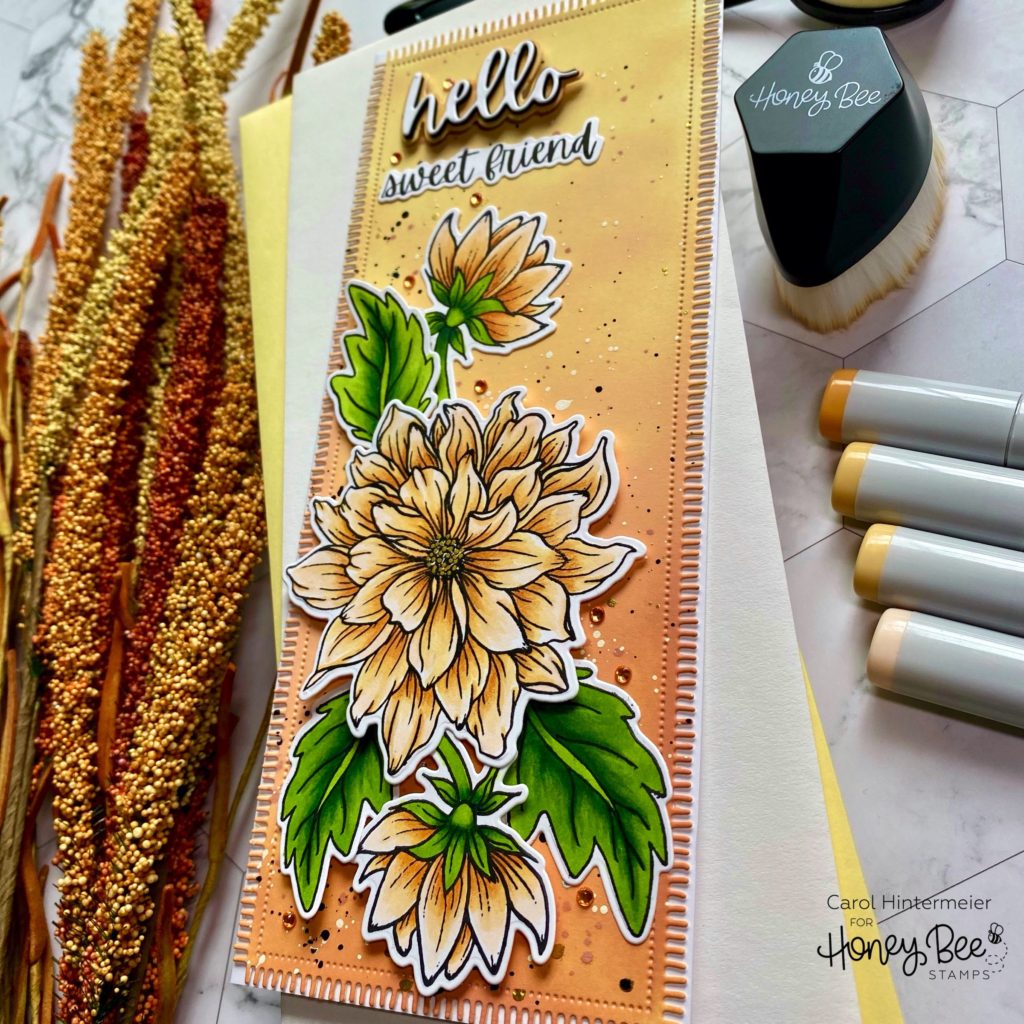
Let’s talk about the sentiment! I die cut the Hello (in the Darling Dahlias Honey Cuts) four times from black card stock. I die cut the shadow from a piece of card stock where I had tested my Distress Oxide colors. I adhered all the Hello die cuts together and then adhered it to the shadow. I did NOT like it! LOL! So I die cut a white Hello and adhered it on top. I think the black layers look great and I like it much more! Next I stamped “To my sweet friend” and die cut it with the coordinating Honey Cut. I fussy cut the “to my” from the stamped sentiment and adhered it to the card layer with the Precision Tip Glue. Because I wanted more bling, I added some matching gems from the Hot Tropics Gem Stickers pack.
I love how this turned out and can’t wait to send it to a sweet friend! I sure hope I’ve inspired you to try out this beautiful stamp set! Thank you so much for stopping by!
2 responses to “Hello Sweet Friend Slimline Card with Darling Dahlias”
Really pretty flowers. My sister, and my friend both grow many varieties of Dahlias , so I really notice them. I LOVE how you inked the background, leaving only the raised edges orange. This looks amazing!!! Also, I ADORE the new wagon die. My grandkiddos and I go on great adventures with the wagon. It is our favorite thing. So I will “need” this die for cards I make for them, inviting them on adventures 🙂
Thank you, Sharon, for your sweet words! I sure do appreciate it! I so agree that the wagon die is totally adorable and that you NEED it! Thanks again!