Hello Honey Bee friends!! I’m sure by now you’ve seen the awesome new products in the Happy Hearts release! If not, be sure to check it all out in the Honey Bee shop! My card today features the gorgeous new Lovely Layers: Pansy Honey Cuts! You can see peaks of the most gorgeous Spring Medley 3D embossing folder too! Check out the details below!
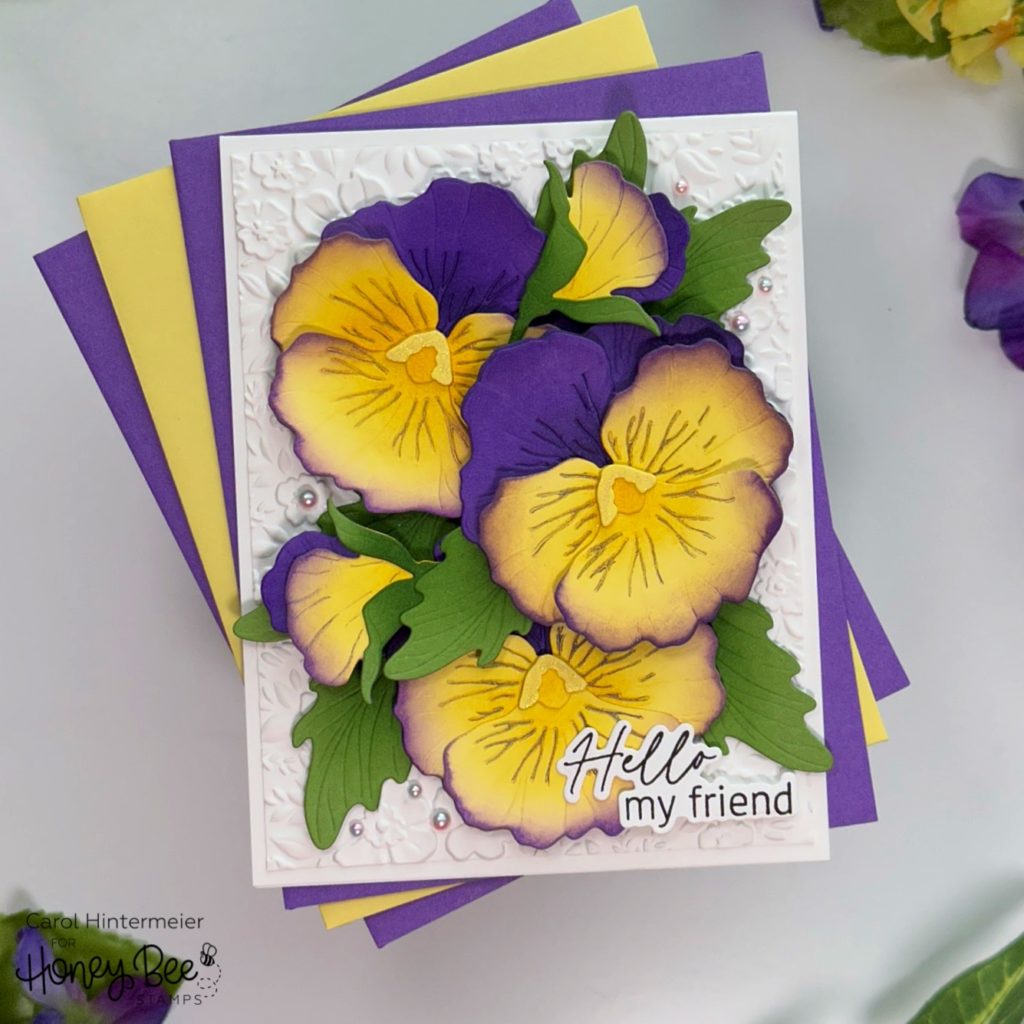
First I created my card base and layer by running the Spring Medley 3D embossing folder and a piece of 80# Neenah through my die cutting machine. The result from using this beautiful embossing folder is just stunning!!! I really did hate to cover up a lot of it with the pansies! LOL! I trimmed the embossed panel to 4″ x 5-¼” and used Bee Creative glue to adhere it to my A2 card base.
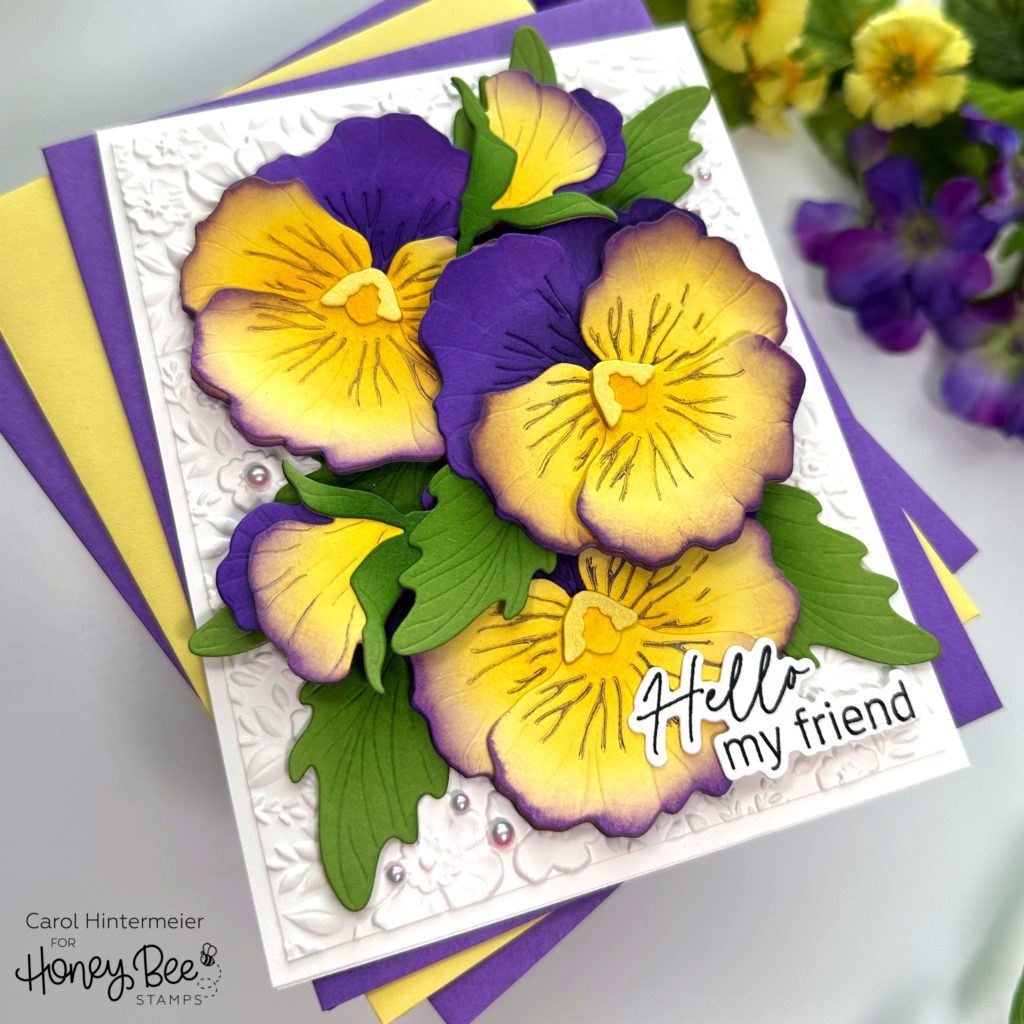
Next I die cut the layers for the pansy in the Lovely Layers: Pansy Honey Cuts. I die cut each one three times from yellow, purple, and green cardstock I have in my stash. Then I used some Distress Inks and Detail Blender Brushes to add shading to each one. I used these Distress Inks: Wilted Violet, Villainous Potion, Mustard Seed, Squeezed Lemonade, Mowed Lawn and Rustic Wilderness.
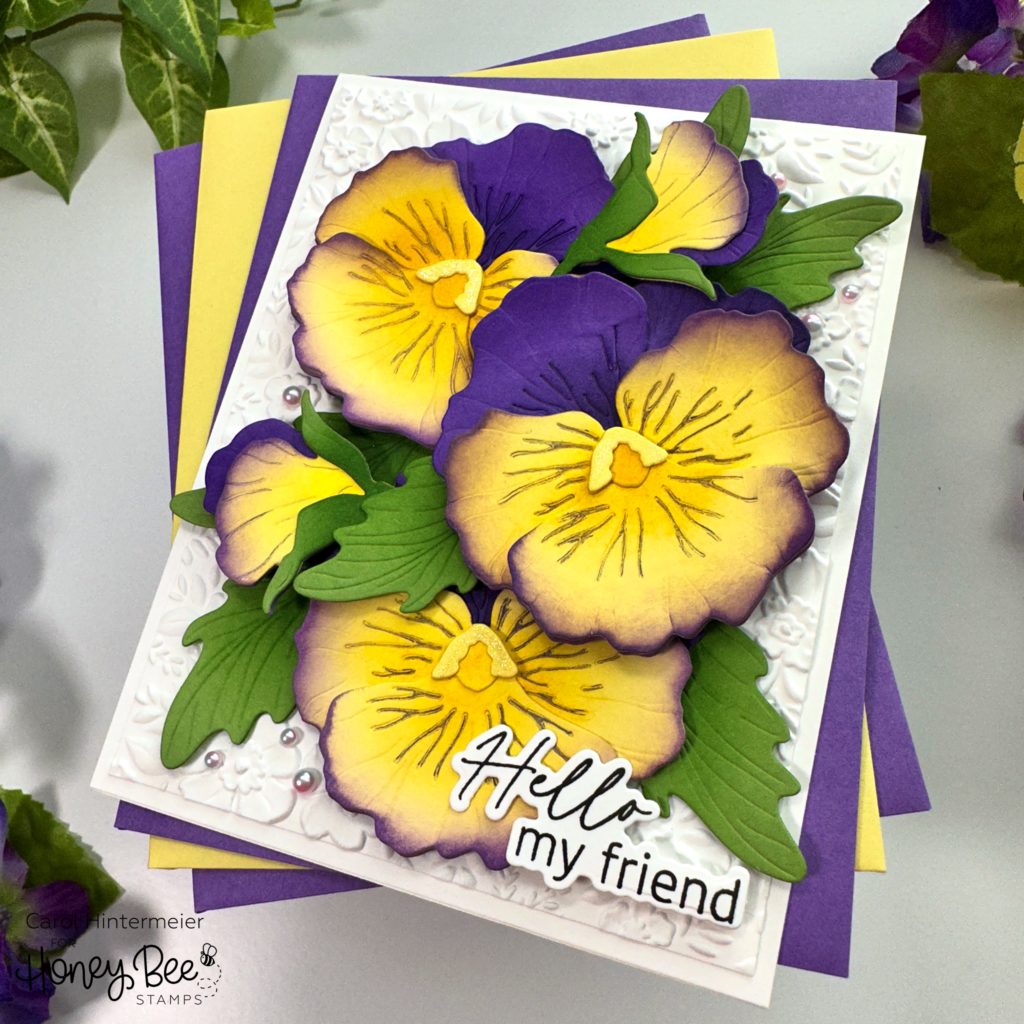
When you begin with colored cardstock, it is so easy to just add the shading you want to bring the flowers to life! Another tip is to do a web search for your inspiration. I searched pansy images and there are so many beautiful color combinations. I was inspired by the colors in some pansies I’ve grown in my flowerbed for my paper pansies. I used the blending brush for the purple ink to add just a touch of purple to the edges of the yellow petals.
Before I glued the layers together, I used a Prismacolor Imperial Violet pencil to add the purple veins on the yellow petals by following the embossed lines that are part of the die cut. I made sure my pencil stayed super sharp with a pencil sharpener to get into the lines. I curled the petal edges with my fingers and glued them all together.
The sentiment is from the Best of Everything stamp set, stamped in black ink, and die cut with the coordinating Honey Cut. I used glue and foam dots to adhere the flowers, leaves and sentiment to my card. For a touch of bling, I added a few Happy Hearts Pearl Stickers around the flowers.
Are you on Instagram? If so, I sure hope you will join me in the Instagram hop celebrating the Happy Hearts release with lots of inspiration from the team. AND, if you leave comments along the way, you will have a chance to win a $50 gift card to Honey Bee’s shop!! Find me on Instagram at: @c.ann.h where you will find the entire hop list in my post. (NOTE: January 20, 2023 is the final day for commenting for your chance to win.)
Be sure to check out all of the other awesome new products in the Happy Hearts release! I have lots of favorites! Thank you so much for stopping by today! I hope your day is awesome!