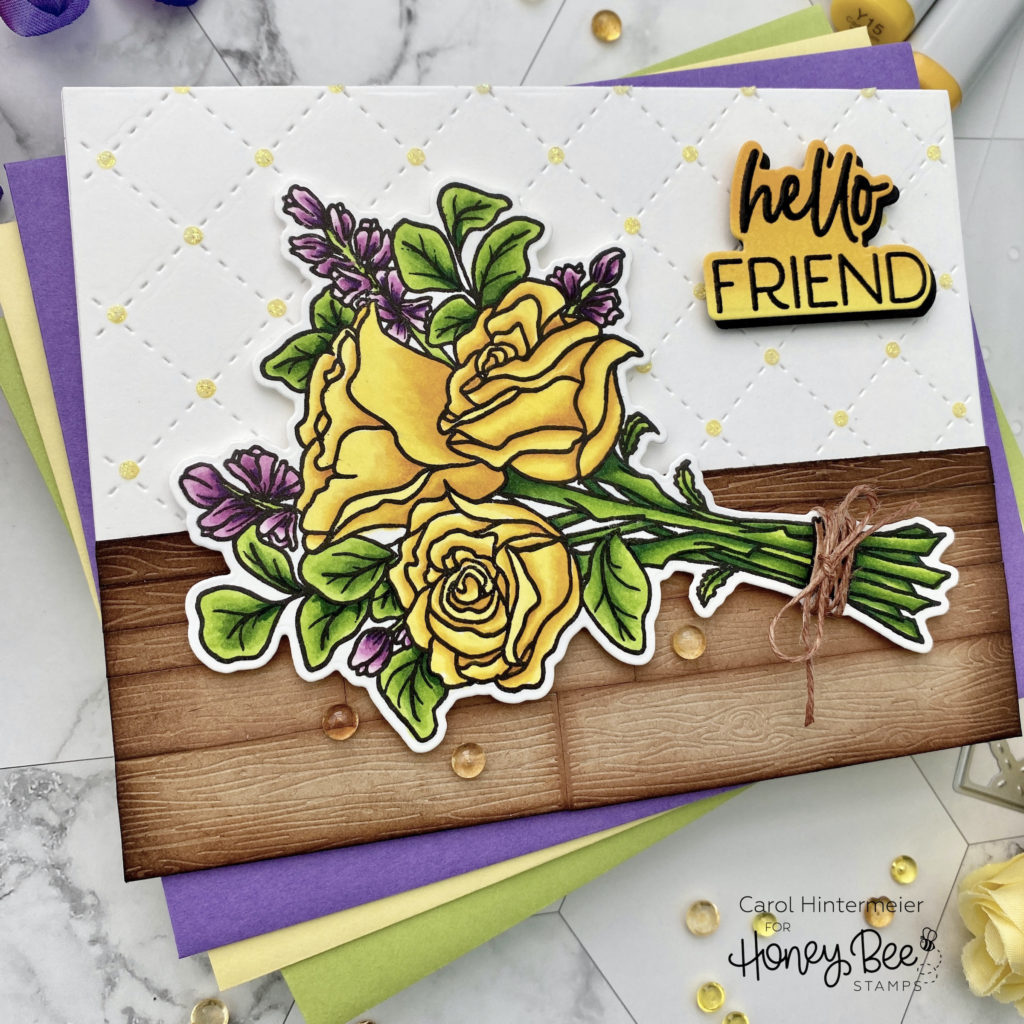
Hello Honey Bee friends! Today I’m sharing a card using the beautiful Love You Bunches stamps and coordinating Honey Cuts. The sentiment I’ve used is perfect for many occasions, and is one of 12 included in this set!! I think I will be stamping a birthday sentiment inside the card to give to my friend for her birthday! I’ve placed my yellow rose bouquet (did you know yellow roses symbolize friendship and caring?) on a wood plank table–read on for the details!

To begin, I stamped the flower bouquet from the Love You Bunches set in Copic safe ink and colored it with my Copic markers. I’ve listed the colors I used at the end. Next I die cut it with the coordinating Honey Cut and tied some twine around the stems. I added foam tape to the back and set it aside.

For the bottom layer of my card front I die cut some white card stock with the Quilted A2 Cover Plate Honey Cut. Did you know that the Quilted Hearts and Dots stencil set is made to coordinate with the cover plate perfectly? Of course, the stencils can be used on their own as well! I used the dot stencil and a Background Blender brush to ink on some Squeezed Lemonade Distress Ink. While the stencil was still in place, I spread some Nuvo Moonstone Glimmer Paste through the stencil and set it aside to dry. When it was dry, I used Bee Creative glue to add it to a top-folding card base.
Here is a list of steps for the table I made using the Barn Wood Planks Honey Cuts:
- Die cut the planks from some light color kraft card stock.
- Ink over the planks with Tea Dye Distress ink with a foam ink blending tool. Add extra ink to the edges.
- I wanted to create kind of an illusion of depth for the table so I cut the strips down to these sizes: ¾”, ½”, and ¼”. Be sure to ink the cut edges with more Tea Dye ink.
- Cut a piece of kraft card stock to 5-½ x 1-7/8″. Add some double-sided adhesive to the piece. This will be the base for adhering the planks.
- Peel off the adhesive liner and adhere the plank strips with the widest at the bottom.
- Next ink the edges with Walnut Stain Distress ink with a foam applicator. This helps to make the planks look more joined together!
- Adhere this to the bottom of the card front.
Now I can create the sentiment and assemble the card! Here’s how:
- Using my yellow Copic markers, I colored an ombré pattern on some white card stock.
- Next, using my MISTI, I stamped the sentiment a couple of times with Versamark onto the yellow ombré–be sure to use some anti-static powder!
- I sprinkled on black embossing powder and heat set it.
- I used the coordinating Honey Cut to die cut the sentiment and also some black card stock. I adhered the black die cut offset behind the sentiment for a shadow effect. I added a few foam squares to the back.
- Adhere the bouquet to the card front.
Because I don’t seem to be able to resist even a tiny bit of bling (LOL!), I added a few Bee Pollen dew drops for that touch of shine!
I know I’ve said it before, but it’s true–I absolute love how Honey Bee’s products all work so well together, no matter when they were released! Thank you so very much for stopping by!
Here are the Copic markers I used: Y19, Y15, Y02, V09, V06, V05, RV63, V000, G29, YG67, YG25, YG17, YG03