Hi there! Emily Midgett here with you today, and I have some colorful floral inspiration for you created with the new Karin Pigment Decobrush Markers that are available in the Honey Bee Stamps shop! I love playing with new mediums, so of course when I saw that these new Decobrush Pigment Markers were available in the Honey Bee Shop, I immediately purchased them all (some people collect golf clubs or antiques; I collect coloring mediums, ha.) I couldn’t wait to play with them, and my post for this week provided the perfect excuse to play around with them! I paired them with my Harvest Blooms background, because I wanted to give myself plenty of room to experiment with the medium on these larger images. Let’s get started with the details!
I began by stamping the Harvest Blooms background stamp on a panel of Canson Montval watercolor paper. I chose this watercolor paper for it’s minimal texture and the fact that it isn’t super absorbent; it’s a great paper for use with the Karin Decobrush watercolor markers, as well. I heat embossed the Harvest Blooms background with some silver embossing powder, then trimmed down the area that I wanted to color. It ended up being 5×3.5 inches.
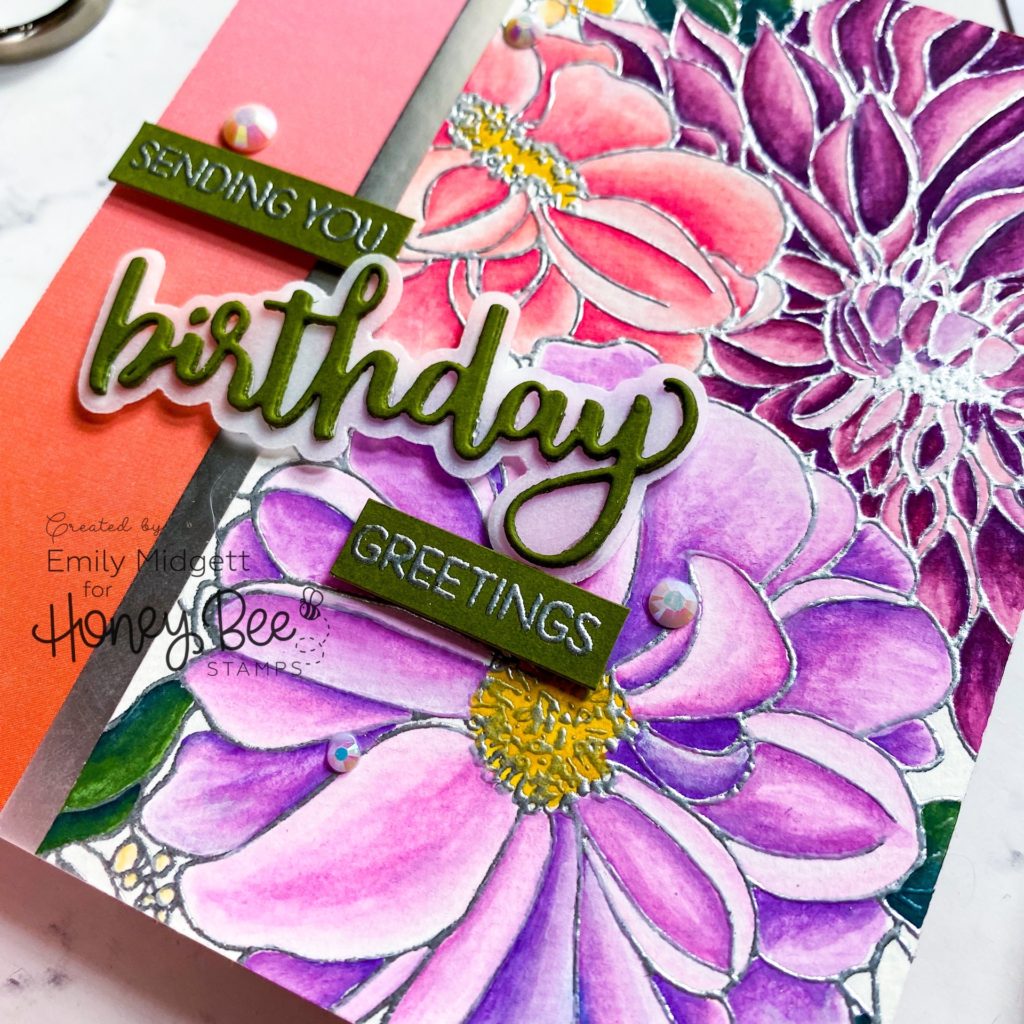
Next, I used the Decobrush Pigment Markers to add lots of vibrant color to these images. One of the fun things about these markers is that they are opaque, so they are super vibrant and play nicely with each other. When choosing colors, I chose a dark, medium, and light in a similar color family, then kept out the white marker to add highlights. They are acrylic based, so you can blend the colors together with each other (quickly, while they’re still wet) or you can layer the colors over the top of each other after they’ve dried. I chose to blend each color trio together (Light purple Dahlia: Plum, Red Lilac, Pastel Red Lilac, White; Coral Dahlia- Antique Pink, Soft Peach 2, White; Plum Dahlia-Lilac, Burgundy, Pastel Magenta) by laying each color down slightly overlapping, then using a fairly dry paintbrush to blend the colors together a bit more smoothly. You have to work quickly with the acrylic paint, but I love how beautifully vibrant and opaque the colors are! So pretty. I can’t wait to try this out on black paper.
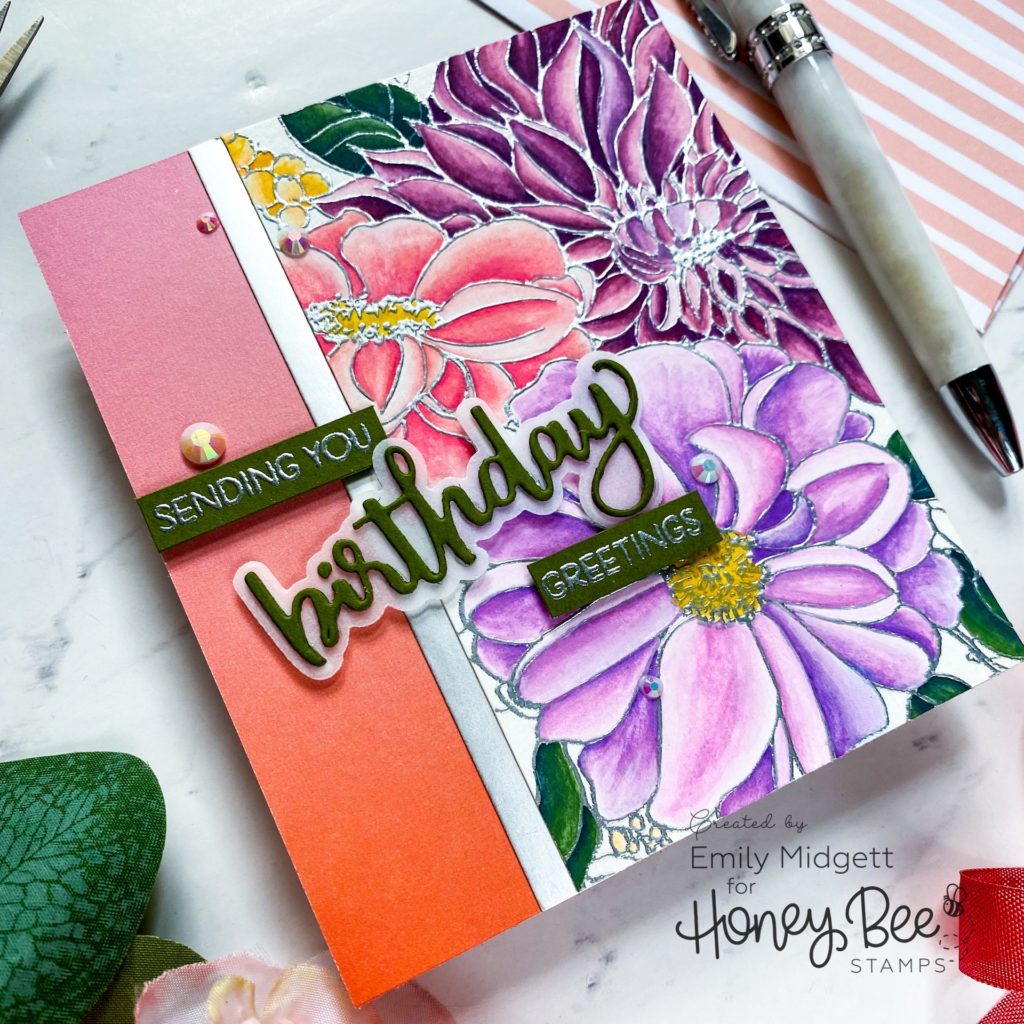
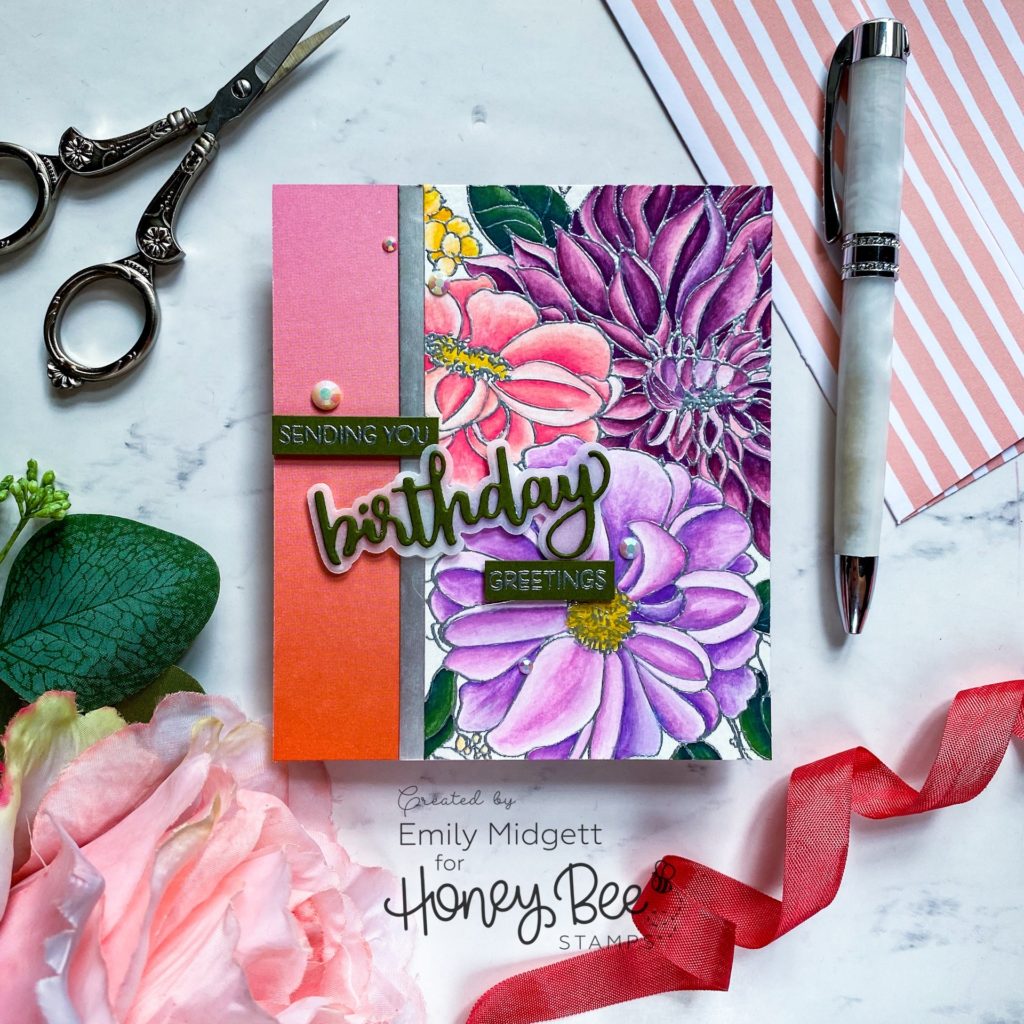
I wanted to orient this floral panel to one side of the card front, to be contrasted with some patterned paper from the Summer Stems paper pad. I added a strip of matte silver foil cardstock to the edge of the watercolored panel to add a neutral divider, helping to separate the patterned floral panel from the ombre patterned paper from the paper pad. I added a greeting from Bitty Buzzwords + the coordinating Honey Cuts, stamped and cut from some deep olive green cardstock and vellum, then mounted on the card front using foam adhesive. Finally, I added a few Moonlight gems for some sparkle.
Well, that’s all for my project today! I love playing around with new mediums, seeing what they can do and the unique looks they can create. Honey Bee has such a great variety in the store; I hope you’ll go check them out! Thanks so much for stopping by today, and have a marvelous day!