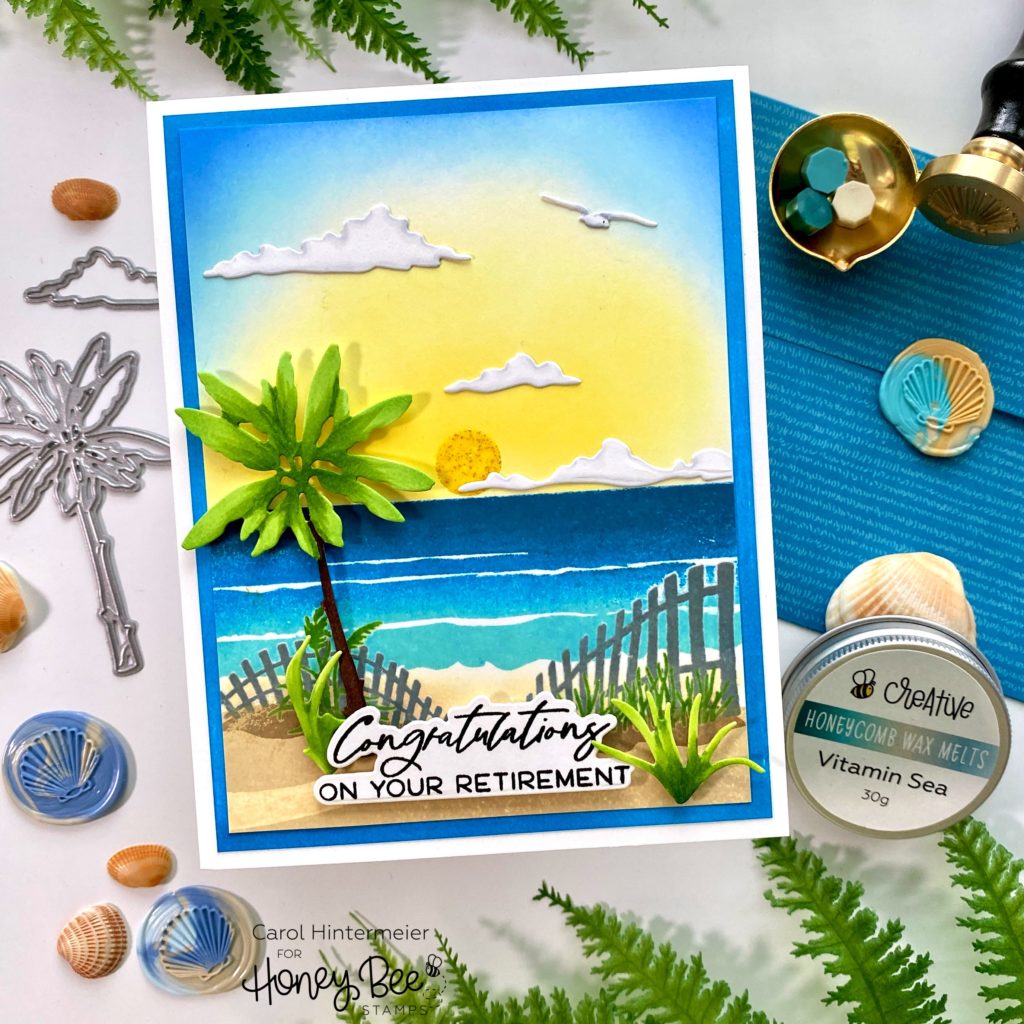
Hello Honey Bee friends!!! Today I’m sharing a dreamy retirement card using the awesome Seaside Summer stamp set along with pieces from the Shoreline Scene Builder Honey Cuts! For me, a place on the beach would be the most perfect place to retire too! Well, I can at least dream while making these cards, right? Haha! I did some masking by heat embossing clear embossing powder over the fence and plants too. I’ve got the card making steps in a list form to make it easy for you to read how to make this beautiful card!
All of the inks I used for the scene are Distress Oxide inks. I did use my MISTI for the entire stamping process to make it easy to stamp a second or third time, if needed.
Here are the steps for the scene using the Seaside Summer stamp set: (there is a guide for suggested layering over on the Honey Bee website.)
- Stamp the bottom sand dune with Antique Linen.
- I used a brayer to add Antique Linen to the middle sand dune layer to make it appear lighter.
- Stamp the top sand dune layer.
- Stamp the shadows of the top sand dunes with Brushed Corduroy.
- Use a detail blender brush or sponge dauber to color in the sand that will be between the dunes and the water.
Be sure that the ink for the sand dunes is dry before beginning the next steps. I used my heat tool to speed up the process!
- Plan where to position the grasses on the card.
- Treat the cardstock with an anti static pouch.
- Stamp the grasses with Mowed Lawn.
- Then stamp with clear embossing ink, add clear embossing powder, and heat set.
- Stamp the fences with Weathered Wood.
- Stamp with clear embossing ink, add clear embossing powder, and heat set.
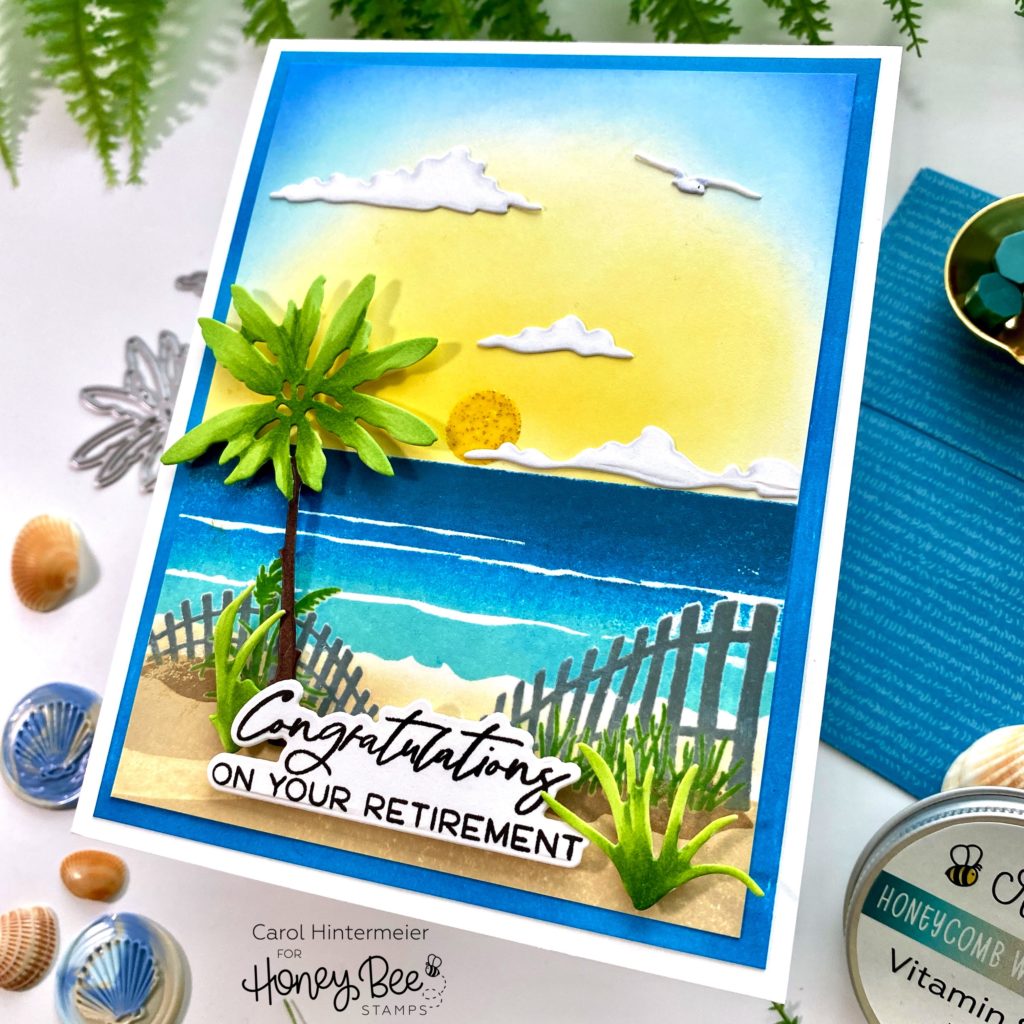
- Stamp the ocean with Uncharted Mariner, Mermaid Lagoon, and Salvaged Patine. Use a towel or ink blending brush to smooth out any hard lines between the color so the colors will blend.
- Stamp the sun with Squeezed Lemonade, and again with clear embossing ink, and heat emboss with clear embossing powder.
- Mask off the ocean with some masking tape. Use detail blender brushes to blend on Mustard Seed, Squeezed Lemonade, Tumbled Glass, and Mermaid Lagoon.
- Note: After I inked the sky, the sun didn’t show up anymore! So I stamped the sun again with clear embossing ink and heat embossed Bee Sweet embossing powder over it.
- Trim the panel to 3-¾” x 5″.
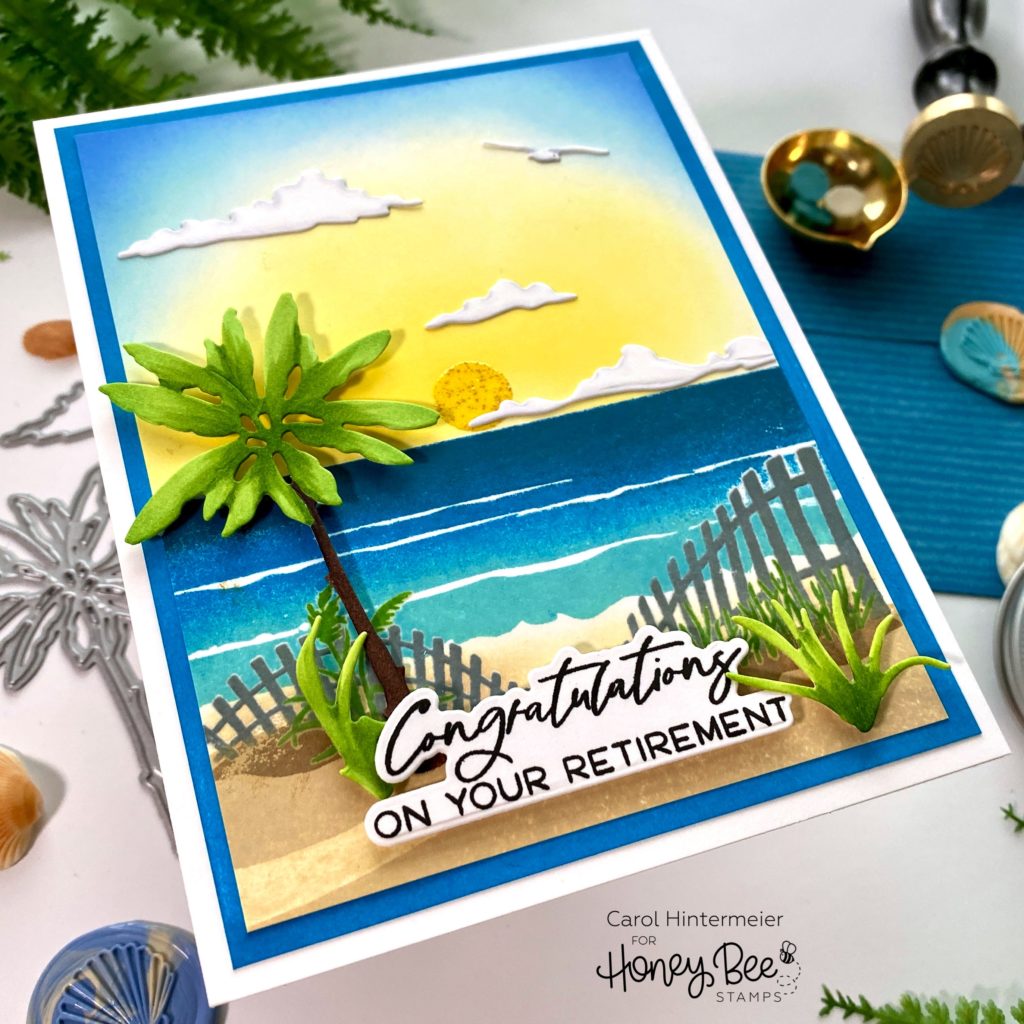
Next I die cut some of the pieces from the Shoreline Scene Builder Honey Cuts and colored them with a few Copic Markers. I adhered them with small pieces of foam tape and also Bee Creative glue. The sentiment from the Seas The Day set is stamped with black ink and die cut with the coordinating die. I popped it up with foam tape. I adhered the panel to a 4″ x 5-¼” piece of cardstock that I inked the edges of in Mermaid Lagoon. The panels are then glued to an A2 card base.
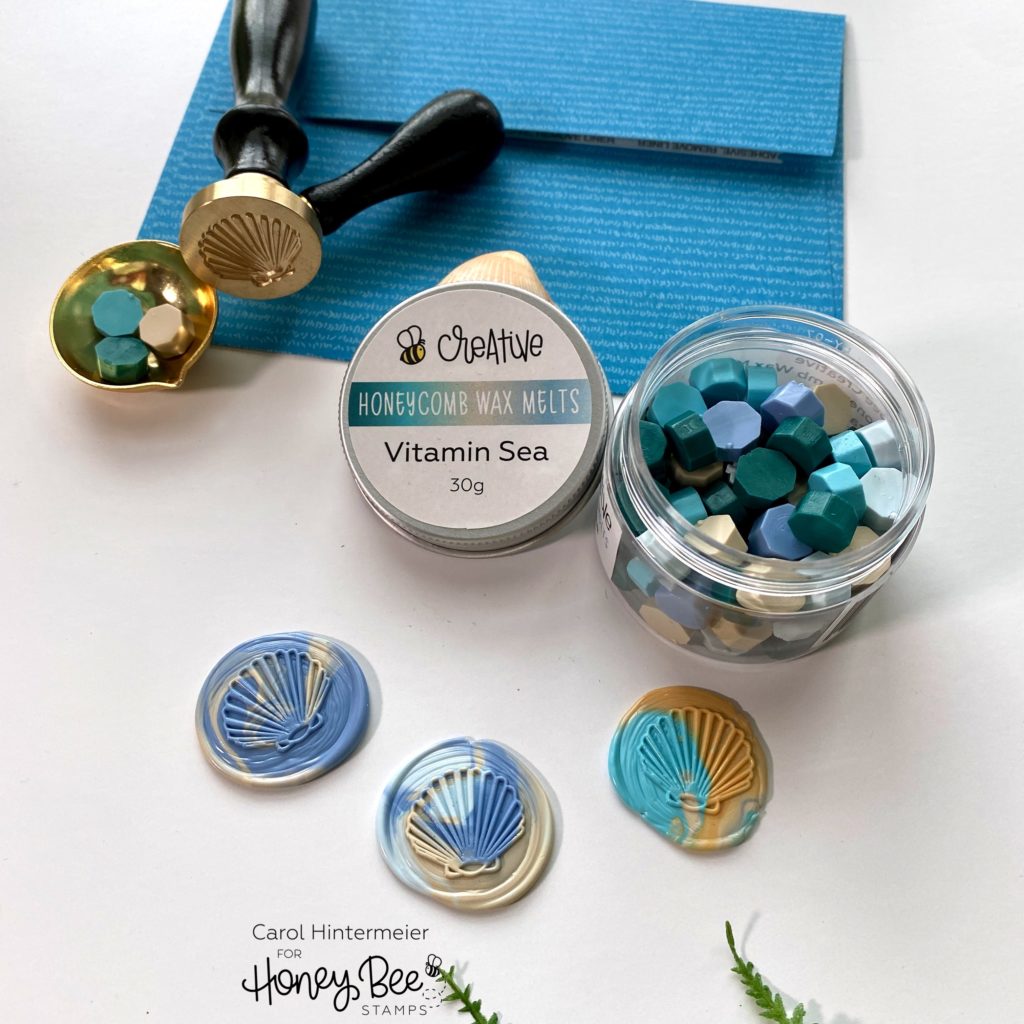
Check out the wax seals I made using the new Vitamin Sea Wax Melts and the Seashell Wax Stamper. These are so fun to make! I use my heat tool to melt the wax in the Wax Melting Spoon and pour them out onto a silicone mat. This way, if I mess it up, I won’t have ruined an envelope. I just use a very strong adhesive like glue dots to attach them when I want to use one.
I wish it would show in my photos but I used a clear glitter pen to add sparkles to the white part of the waves.
This was a fun card to make and dream about being at the beach while I did! Thank you very much for stopping by–it’s always appreciated!! Have a wonderful, crafty day!