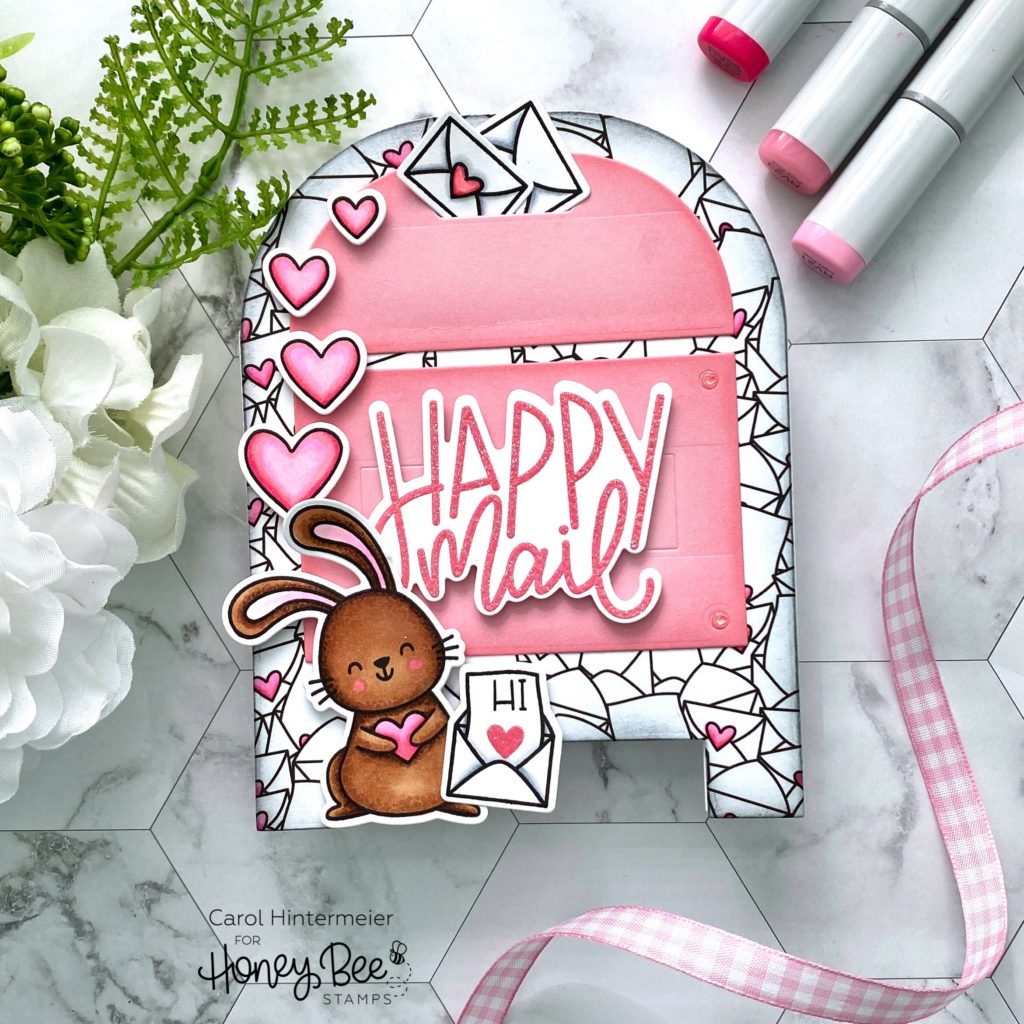
Hello Honey Bee friends! I sure hope you are having a great week so far! Today I’m sharing a fun card I made using the Post Box Card Base Honey Cuts along with some new products from the Love Letters release. I thought the Post Box was a perfect fit with the Hugs Enclosed and Honey Bunnies sets!
Here are the steps for creating the card base:
- Using the Post Box Card Base Honey Cuts, die cut two of the post card bases and one hinge from 100# Neenah Solar White card stock. Die cut one more from patterned paper in the Love Letters 6×6 paper pad.
- Add gray ink with a Background Blender brush around the edges of the patterned paper Post Box to add some dimension. Next I used a RV25 and RV21 Copic marker to color in the hearts on the patterned paper.
- Adhere the white post box pieces together with the hinge using ¼” double-sided adhesive. Glue the patterned paper post box onto the front with Bee Creative glue.
- Die cut the extra Post Box pieces from pink card stock and add shading around the edges with Spun Sugar Distress Ink with a foam ink blending tool. Adhere to the card front.
Next I created the cute elements to go on the card!
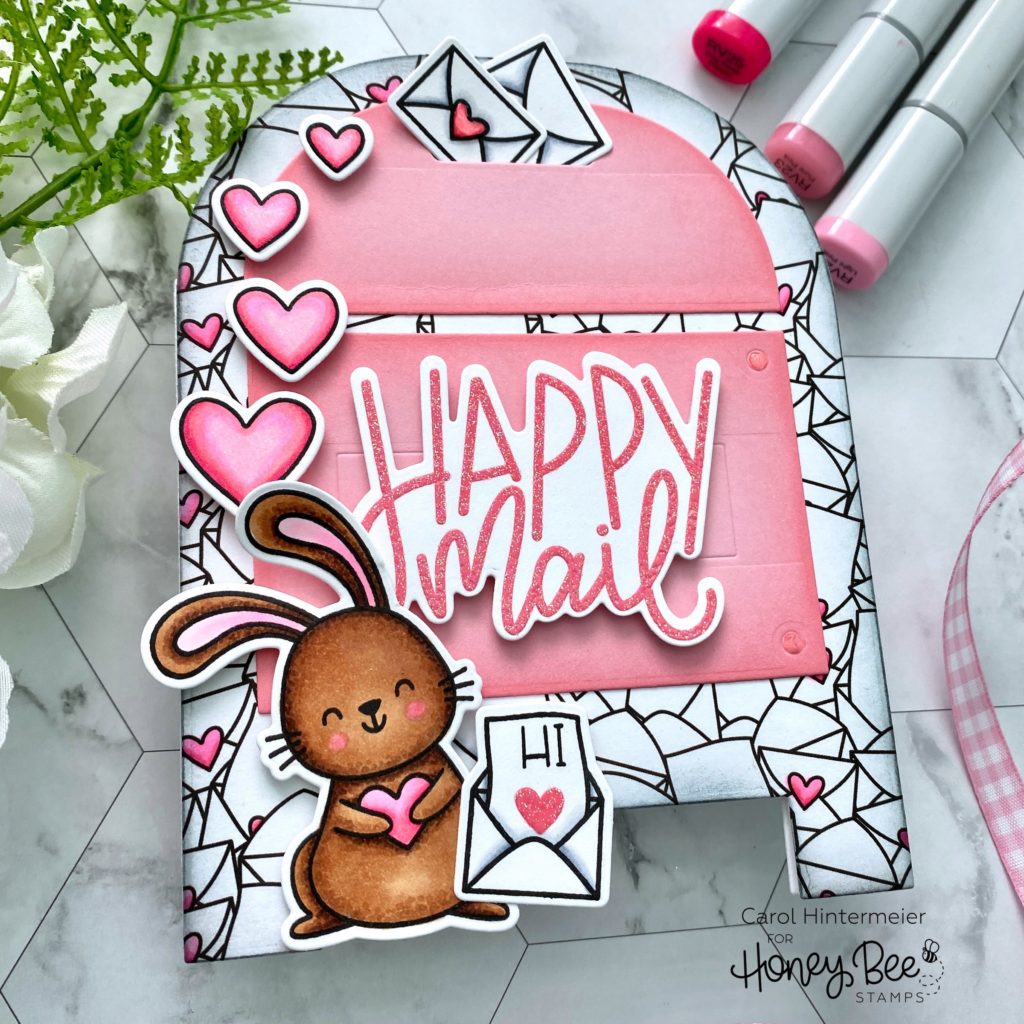
- From the Honey Bunnies stamp set, I stamped the hearts and bunny in Copic safe ink and colored them with my Copic markers. Then I die cut them all out with the coordinating Honey Cuts.
- Next I used the Hugs Enclosed stamp set. I stamped the sentiment in Worn Lipstick Distress Oxide ink and then with Versamark ink. I sprinkled on some clear sparkle embossing powder and heat set it. Then I die cut it with the coordinating Honey Cut. I added foam tape to the back and set it aside.
- I stamped the envelopes from the Hugs Enclosed set in Copic safe ink and colored them with my markers. For the open envelope I stamped “Hi” from the Honey Bunnies set onto the letter. I stamped a little heart (in the Honey Bunnies set) with Worn Lipstick just below “hi”. I used the clear sparkle embossing powder on it and heat set it.
- I added a fun bit of sparkle to the pink hearts with a clear Wink of Stella glitter pen.
- I adhered all of the elements onto the card with foam tape and Bee Creative glue, as shown in the photos.
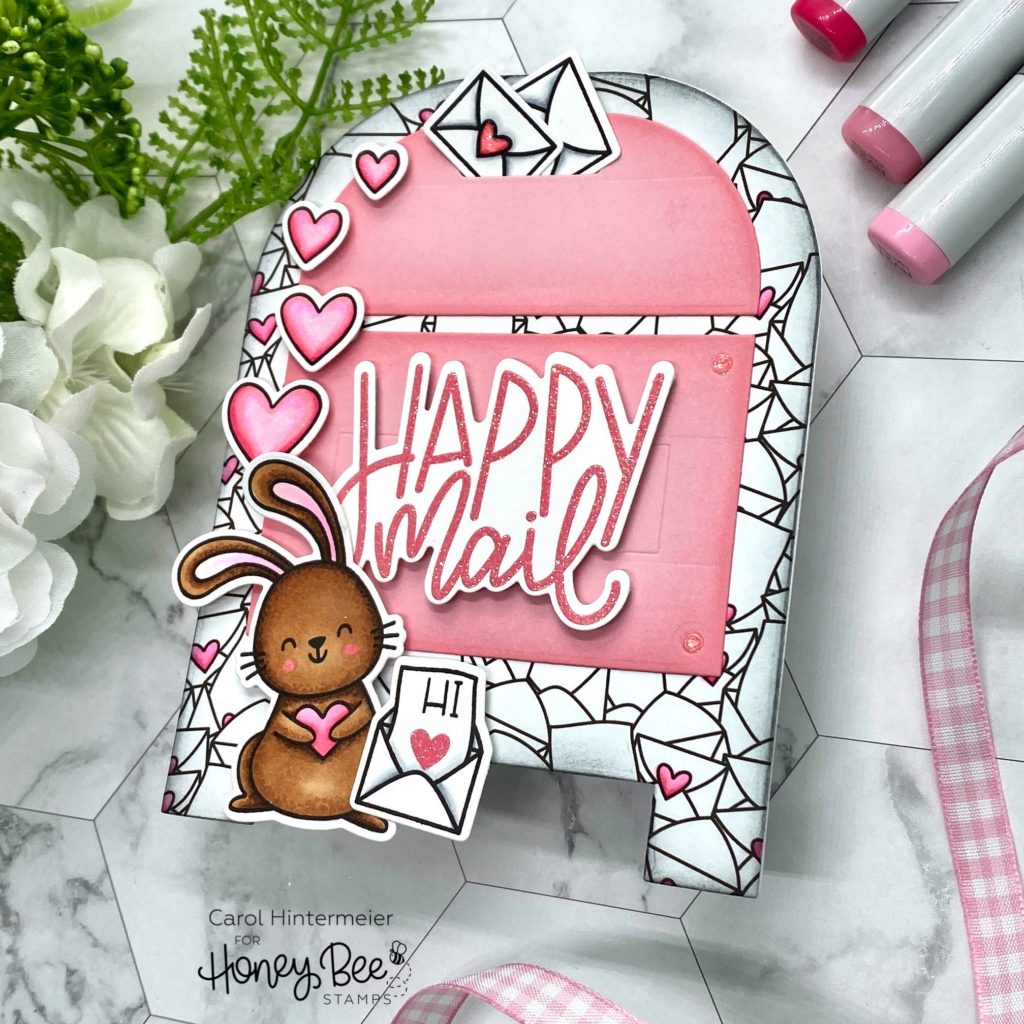
I really love cards like this that can be used for many different occasions! Just stamp a sentiment inside to reflect the occasion! Thank you so much for stopping by today!
6 responses to “Happy Mail Post Box Card”
Oh my, how stickin cute is this! And the mail box die, I think it’s a must have with the envelope stamp.
Thank you so much Debbie! I agree that the Post Box die is perfect with this!
This is the most adorable card ever! SO sweet!
Thank you so much Lana! I sure appreciate you leaving a comment to let me know you like it!
This is just adorable! I love that sweet little bunny!
Thank you so very much Ann!