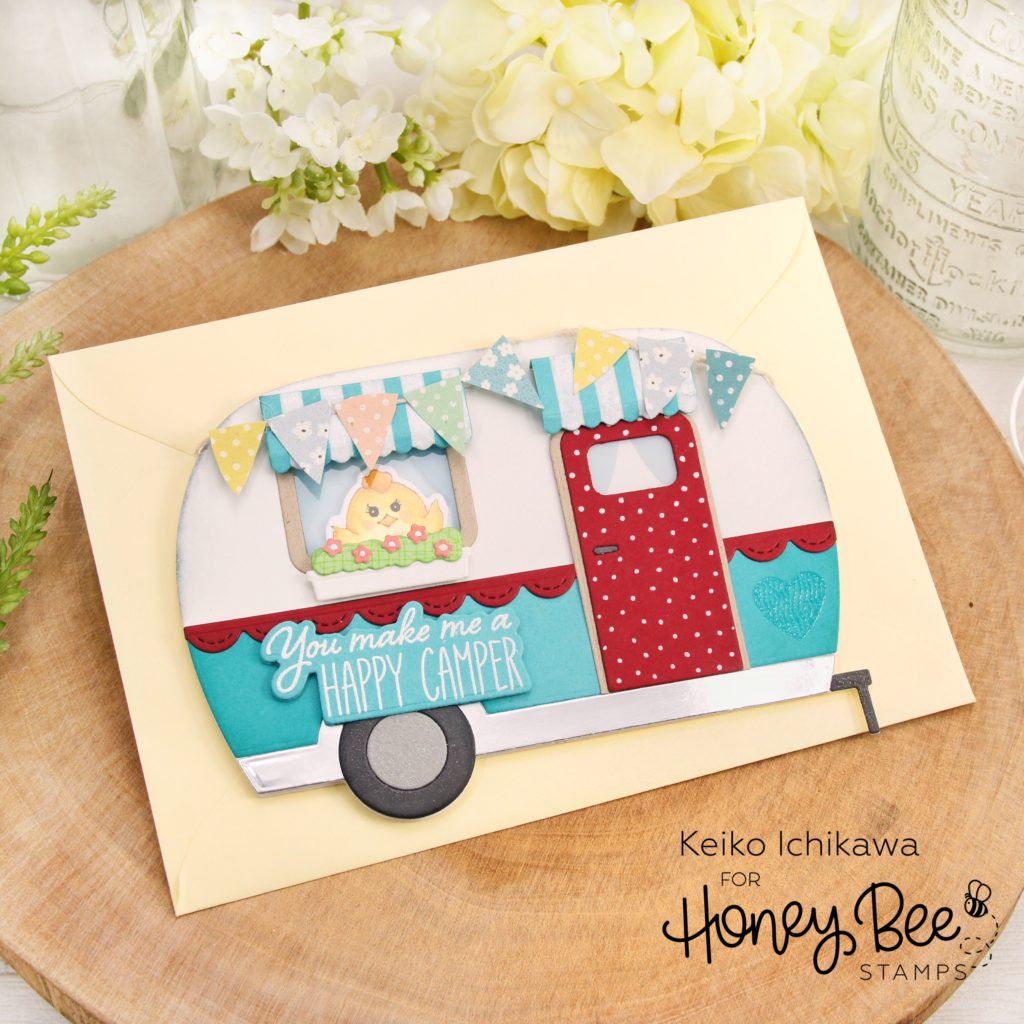
Happy new week crafty friends! It’s Keiko from Happy Tree Studio today. I am excited to share my Happy Camper shaped card with you! It’s sooo cute and really easy to put together. Plus, it fits perfectly in the standard A2 size envelop for easy mailing!
Before diving into the detail of the card, I would like to share the cards I made for the STAMPtember collaboration. The stamp set “Fall Beauty” has both stunning images and sentiments! I chose to use non-fall colors for these two cards and love how they turned out! It’s available at Simon Says Stamp store while supplies last (click HERE to check it out!).

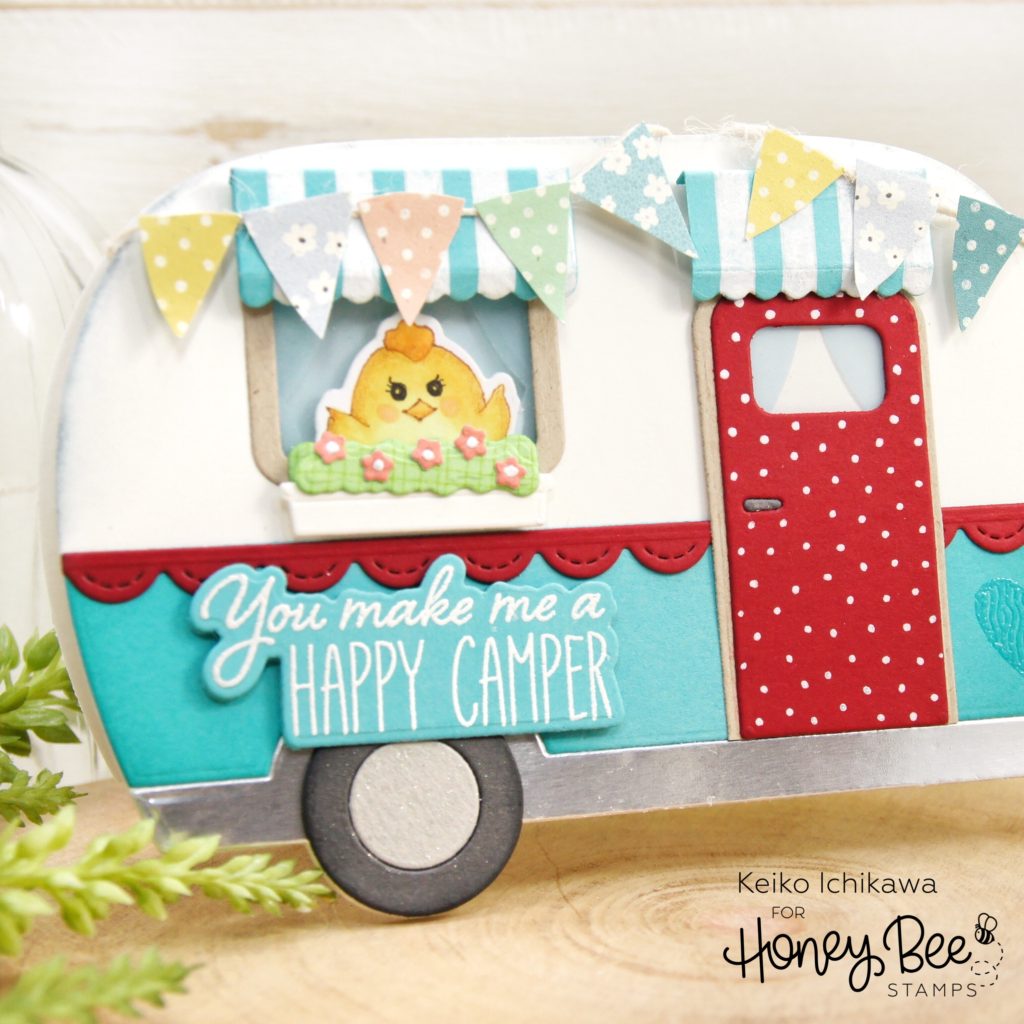
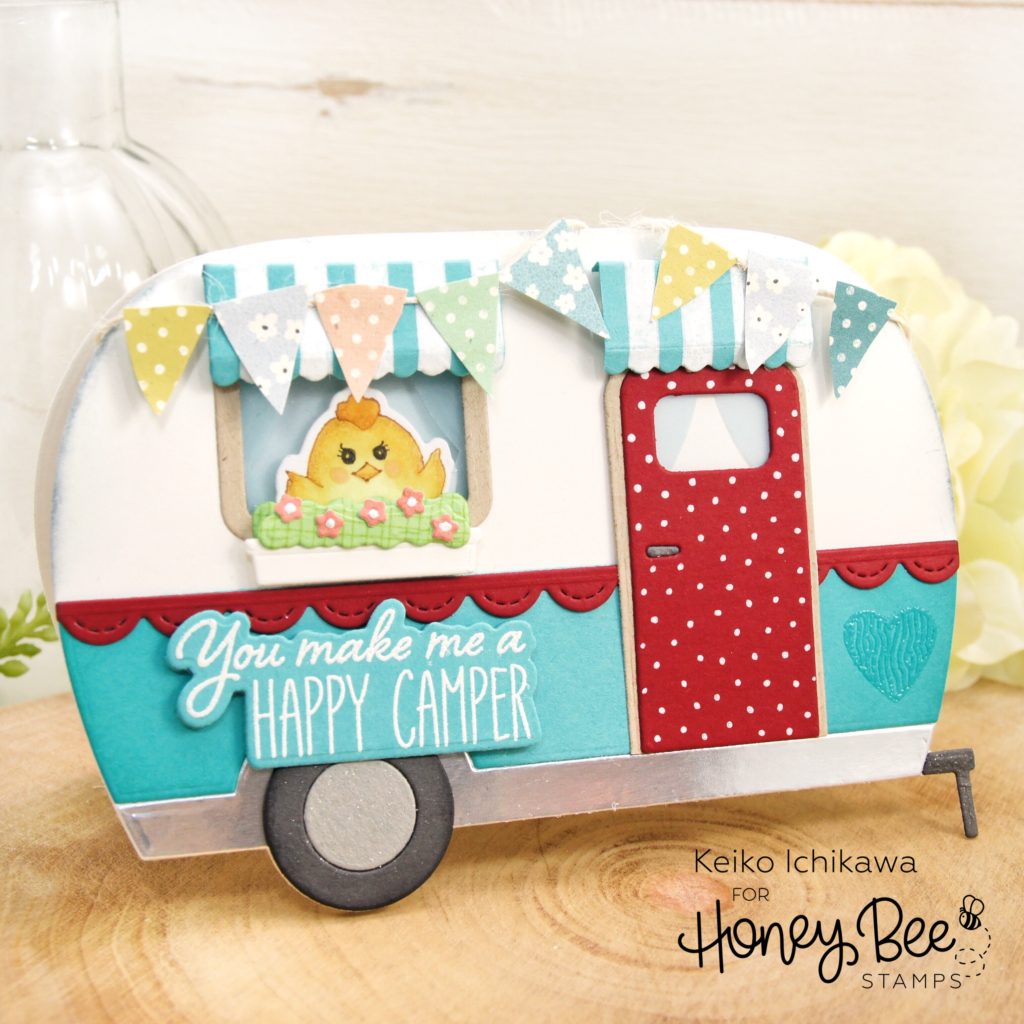
Now onto today’s card! I started off with die cutting all the components for the camper using Camp Trailer Card die set. I also die cut a flower box and some greens and flowers using also new House Builder die set. I inked the edges of some of the parts and added white gel pen details to the door and the awnings. The cute woodgrain heart stamp I clear heat embossed is from Wild And Free set.
I decided to have a chick from Spring Chicks set looking out from the window. Using the die included in the camper set, I die cut out the window from the base panel, backed with acetate, and layered the window frame on top. I colored the chick with Copics and colored pencils, die cut him with the coordinating die, and glued him inside the window along with the curtains. I also layered a piece of acetate behind the door and added the curtain pieces.
To make the camper shaped card base, I simply made a A2 size card base from heavy weight card stock (fold on the top) and die cut with the camper base die with the top of the die hanging out (so it won’t cut the top). Alternatively, you can use the hinge die included in the set to adhere the two base panels together to create a card base.
For the inside of the card, I stamped the sentiment from Adventure set using blue and red inks. The sentiment on the card front is from Wild And Free set and it was white heat embossed and die cut with the coordinating die.

To assemble the camper, I adhere the front panel to the card base with foam tapes and then start adding all the elements (some with liquid glue, and others with foam tapes). To make the cute banner, I hand cut a bunch of triangles from Spring Fling pattern paper and adhered them on top of a piece of twine glued on.
Now the little chick is off to a fun camping trip!
Thank you so much for joining me today. Have a wonderful week!!

2 responses to “Happy Camper Shaped Card”
Lovely cards. Love the floral on the striped background and the sweet little chick in the window! Nice little touches!
What a great shaped card. This is so cute and I love that it fits the A2 size. Perfect. I have a few friends that love RV-ing and would appreciate this card.