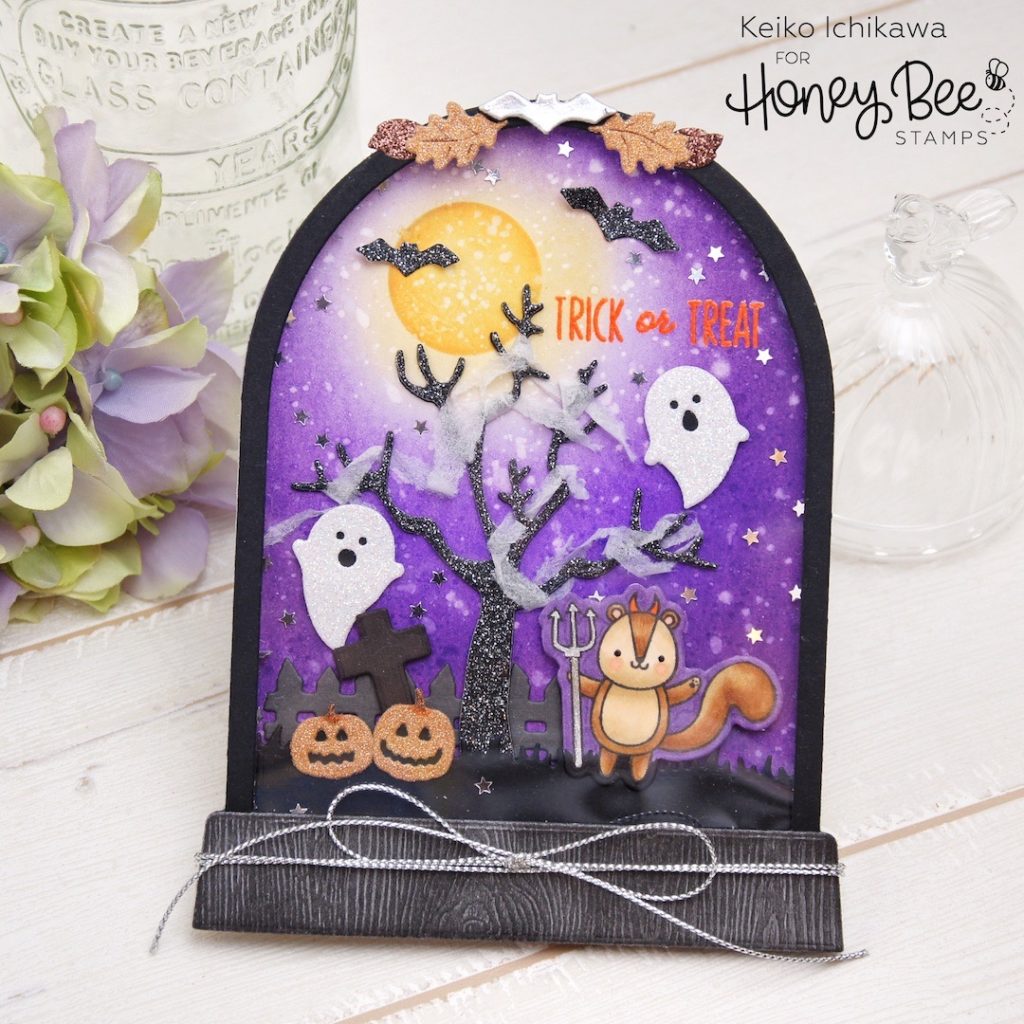
Hi friends! Happy new week! It’s Keiko from Happy Tree Studio here today and I’m sharing this cute & spooky Halloween snow globe shaker card. I added some tiny silver stars instead of snow! This is not an easiest card to make, but is super cute to display!
<Background>
Using the Snow Globe A2 Shaker die set, I die cut the base piece from some white card stock and inked it with purple and orange inks. Before inking the piece, I stamped the sentiment with orange ink and added a layer of clear heat embossing on top. I do not have orange embossing powder, so this is a way to achieve a similar look. I then inked the moon using Circle Spotlight stencil with Spiced Marmalade Distress Ink. The sky was inked with Wilted Violet and Dusty Concord Distress Inks. TIP: Leave the sky around the moon light will make the moon looks glowing. I then splatter some clean water all over this background to mimic the starry sky.
<Preparing all the components>
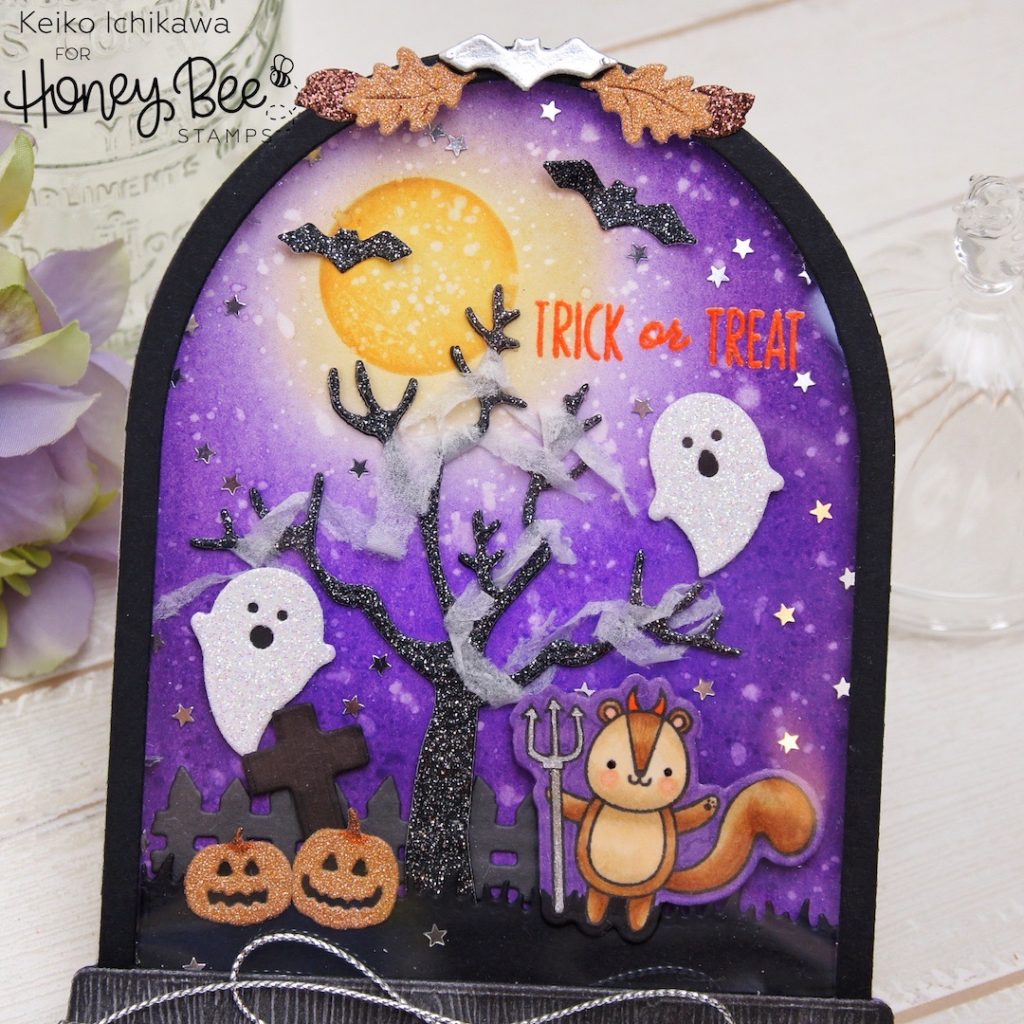
Squirrel the devil (Trick or Treat set): I Copic colored him and die cut with the coordinating die. TIP: I colored the edge of the die cut with the matching colors of Copics. I felt that the white trim will take away from the overall design. The spooky fence is also from this set.
Ghost, Bats, Tree, Pumpkins, and Cross (Haunted House Add On die set): I die cut them out from various card stocks including some glitter card stock. For the ghost and pumpkins, I layered black card stock on the back. For the spooky tree, I layered two black die cuts and adhered the black glitter one on top to make it a little dimensional. I then added some torn tissue paper to the tree for some fun decoration. These are pretty delicate, but since they are protected in the shaker (and I didn’t add much shaker bits to this one), they are safe.
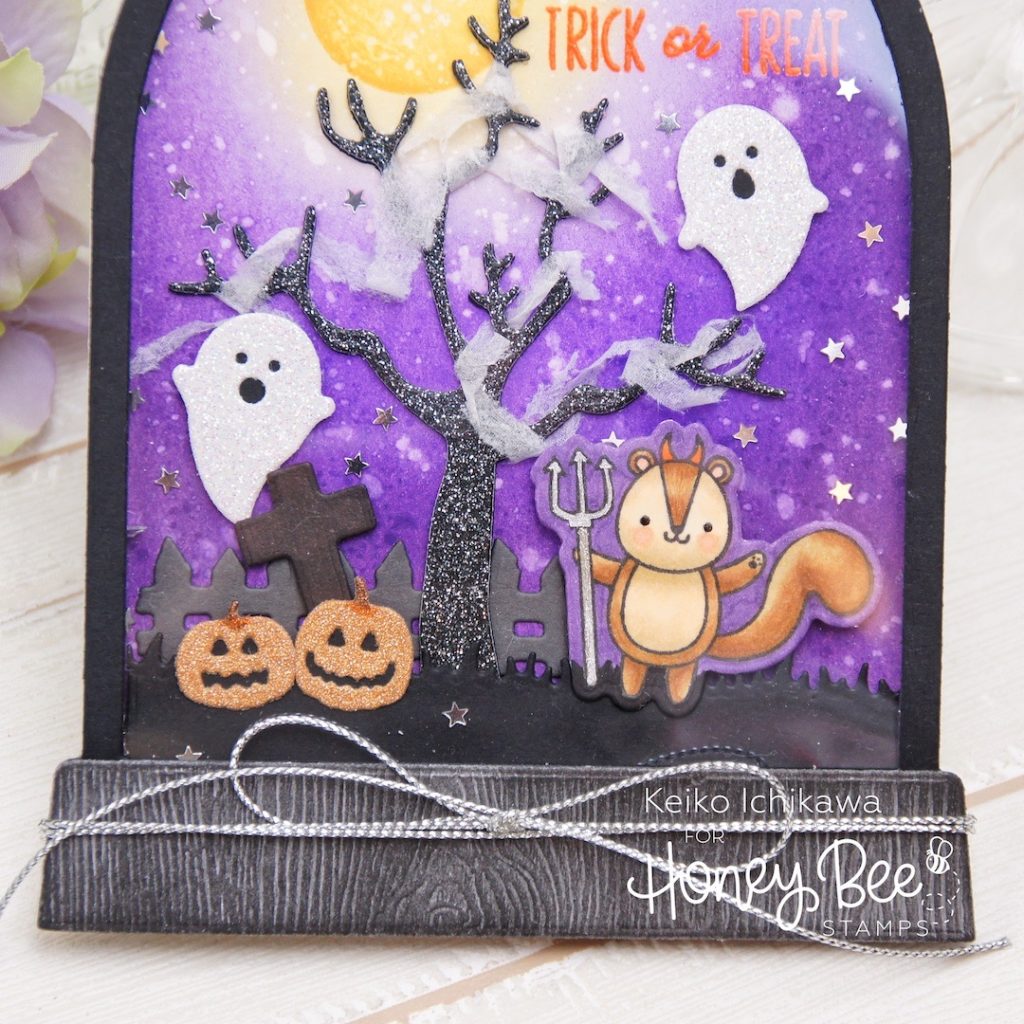
Grass: Die cut from black card stock using Horizon Slimline Borders
Frame: Die cut the frame from black card stock, and the wooden base from woodgrain card stock (I inked the base with black ink). You also need an acetate piece cut with the base die.
<Assemble the card>
On the inked base panel, adhere all the components. I used liquid glue for some of them and added foam tapes wherever needed. On the back of the black frame piece, adhere the acetate piece and add foam tapes. I added two layers because I love the dimension it adds, but you can do only one depending on how dimensional you want it to be and what you will put inside the shaker. You can also layer die cut frames instead. Before adding the frame on top, I added some silver star sequins. I actually glued some of them so not all of them are fall to the bottom.
<Finishing Touches>
After adhering the frame on top, I added the wooden base and some silver cord. I felt the top of the card needed something, so I die cut some more bats and stacked a silver one on top of the two black ones. I also added tiny leaves die cut with Itty Bitty Fall Flowers die set. I die cut a snow globe shaped card base from folded A2 white card base (you just need to strategically place the globe base die so the left side of the die is hanging off of the fold) and adhered the panel.
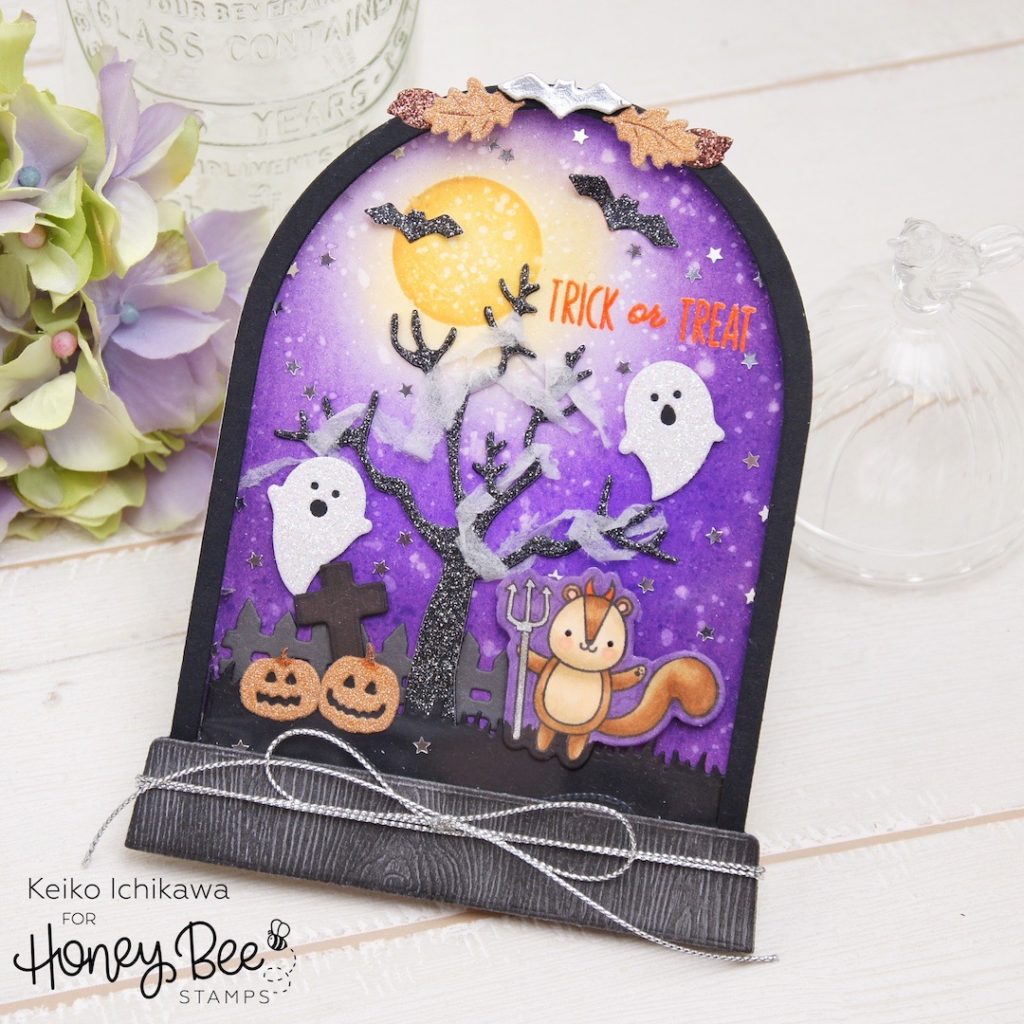
Now enjoy your creation! I am going to display mine on the shelf.
Thank you so much for stopping by today. Have a wonderful week!

2 responses to “Halloween Snow Globe Shaker Card”
Adorable card, Keiko!!
Thank you so much Jennifer!!