Hello Honeybee friends! It’s Carol here today with an elegant holiday card using the Joy Noel Wreath Honey Cuts with the Winter Bouquet Honey Cuts. I love red and gold for a classic and elegant Christmas card!
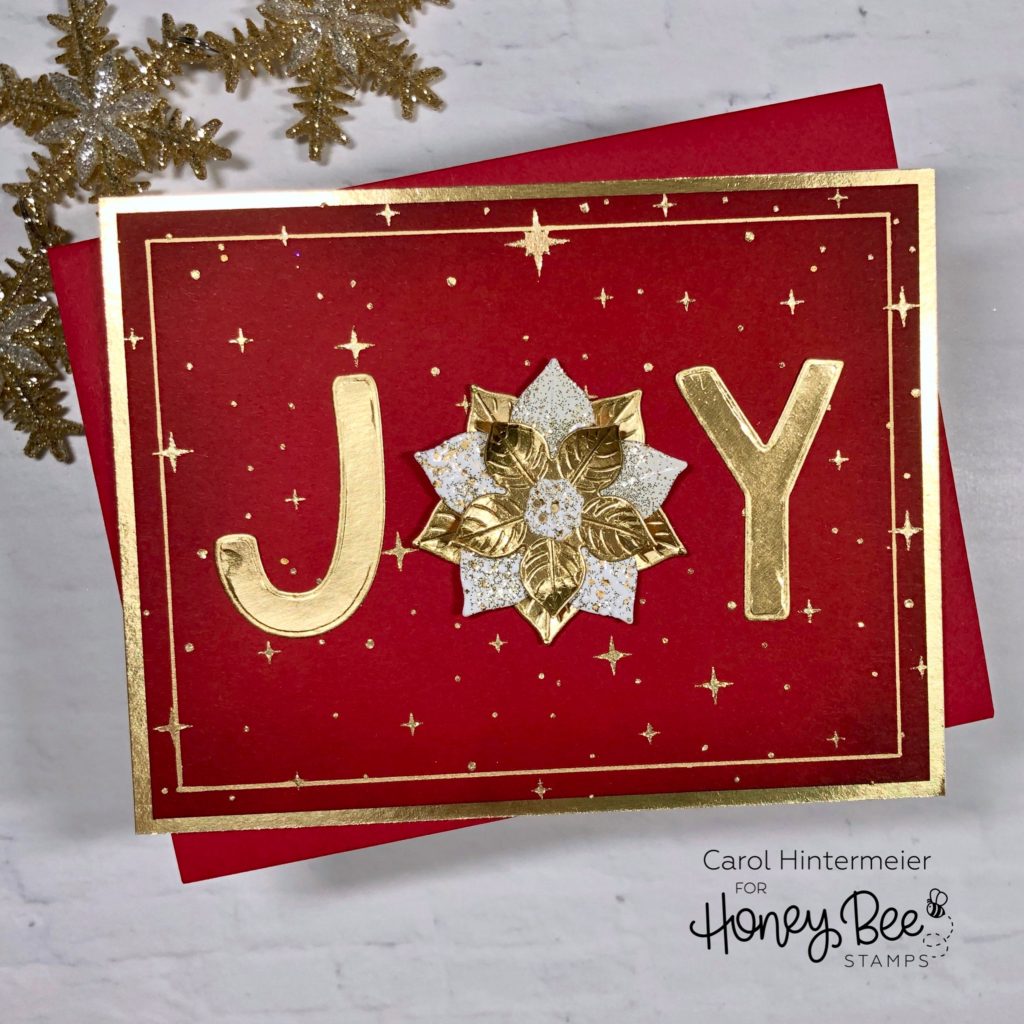
To begin, I cut some red card stock cut to 5-¼” x 4″. Then I used two of the Background Blender Brushes to ink around the edges with Fired Brick Distress Ink and then just a touch of Black Soot Distress Ink. I sprayed some Pixie Spray on the back of the Follow That Star stencil and let that dry. Then I put it on the red cardstock and applied Golden Era NUVO Glacier Paste through the stencil. This paste is so smooth and not as “gritty” as other glitter pastes with a beautiful and subtle shine. Be sure to clean your stencil immediately!
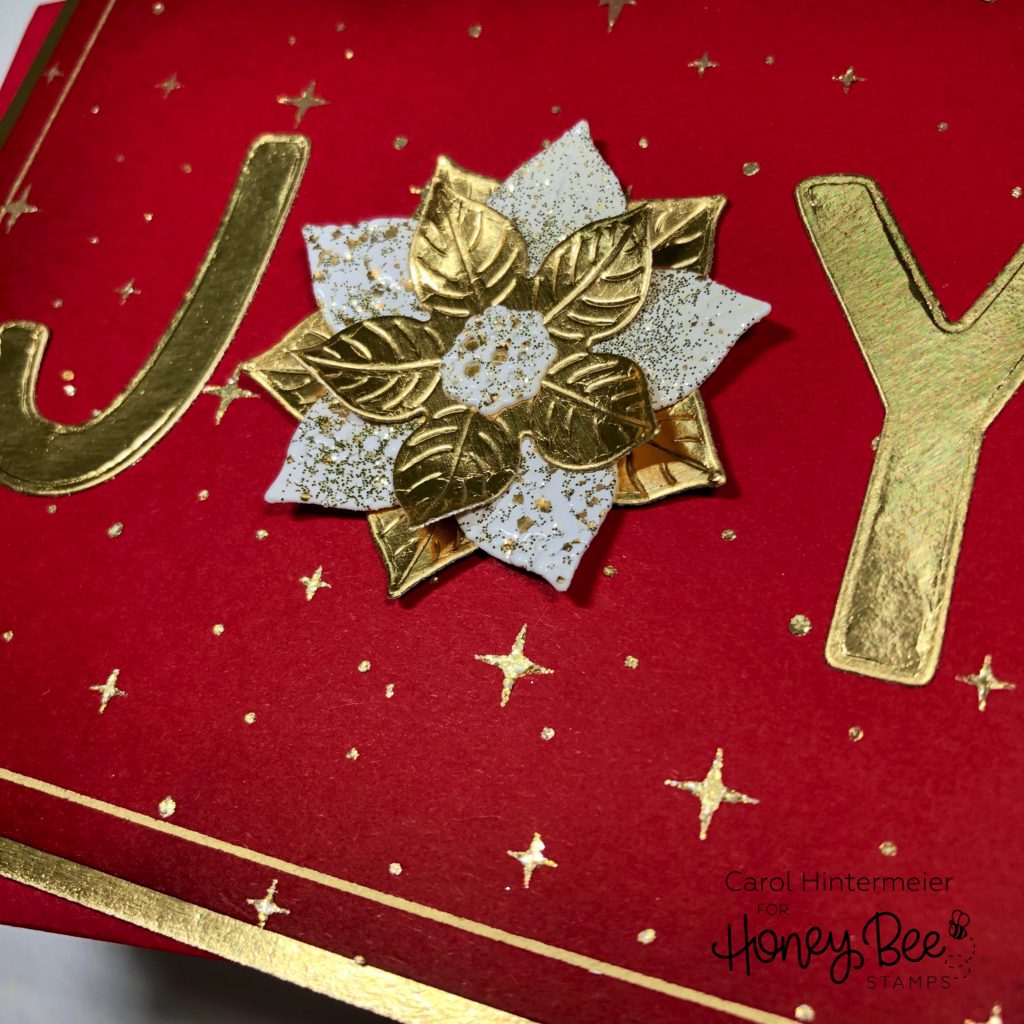
While the Glacier Paste was drying, I used the “j” and “y” from the Joy Noel Wreath Honey Cuts and die cut them from some gold mirror cardstock. I also cut the smallest and next to largest poinsettias from the Winter Bouquet Honey Cuts from the gold mirror cardstock. For the middle layer I smooshed my Versamark pad onto some 80# Neenah. I made sure I had a thick, solid layer of Versamark. I sprinkled some white/gold sparkle embossing enamel over the entire piece. (The specific brand I used is Stampendous Shabby White embossing enamel.) I let my heat tool get good and hot and heat set the enamel from the back of the paper so it didn’t blow off. Once it was totally cool, I die cut the next to largest poinsettia and the flower center from the embossed piece. I adhered the pieces together with glue dots.
After the stenciled piece was dry, I used a ruler and an extra fine point gold metallic marker to draw a frame near the edges. I layered this onto a 5-½” x 4-¼” gold mirror piece. I added these to a top-folding 80# Neenah card base.
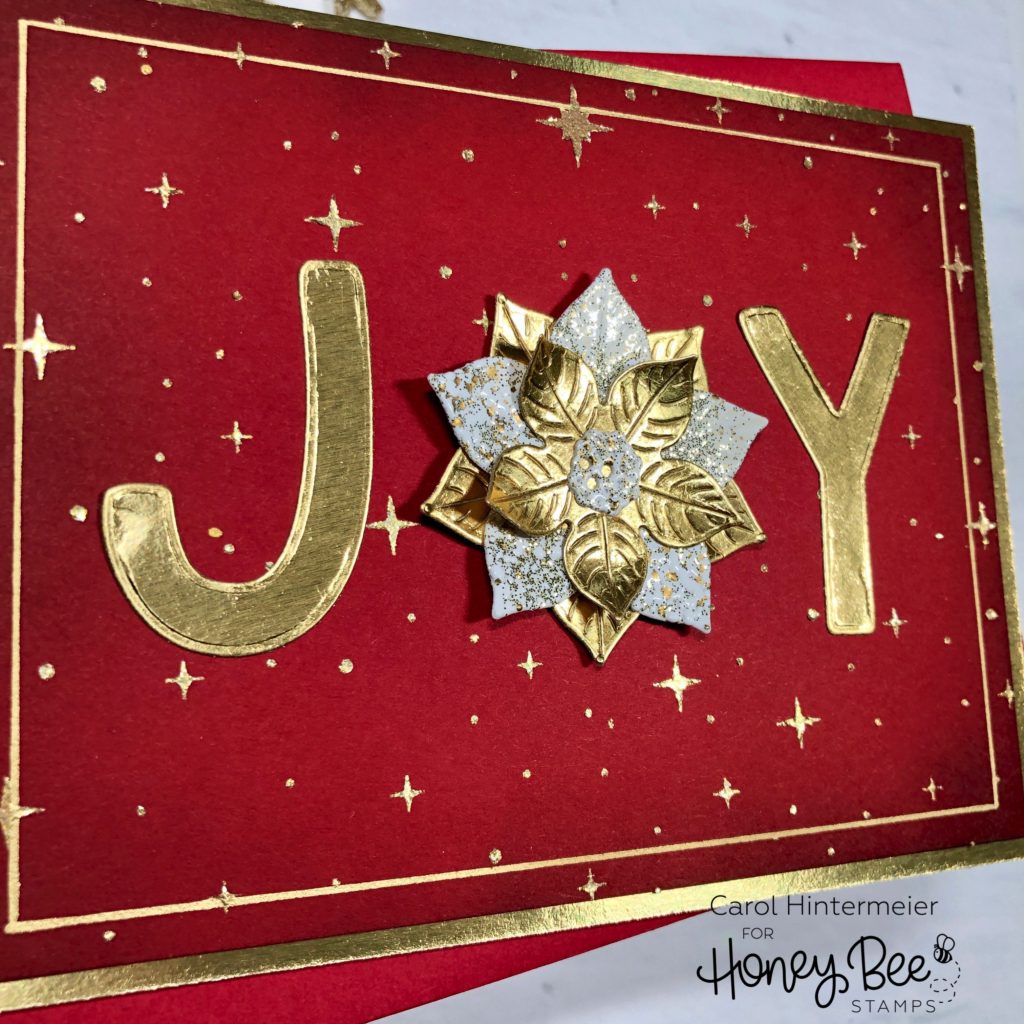
I used my t-square ruler to help align and center the J and Y. I adhered those and the poinsettia with liquid glue. I love how the poinsettia dies have lines in them that emboss for that extra dimension!
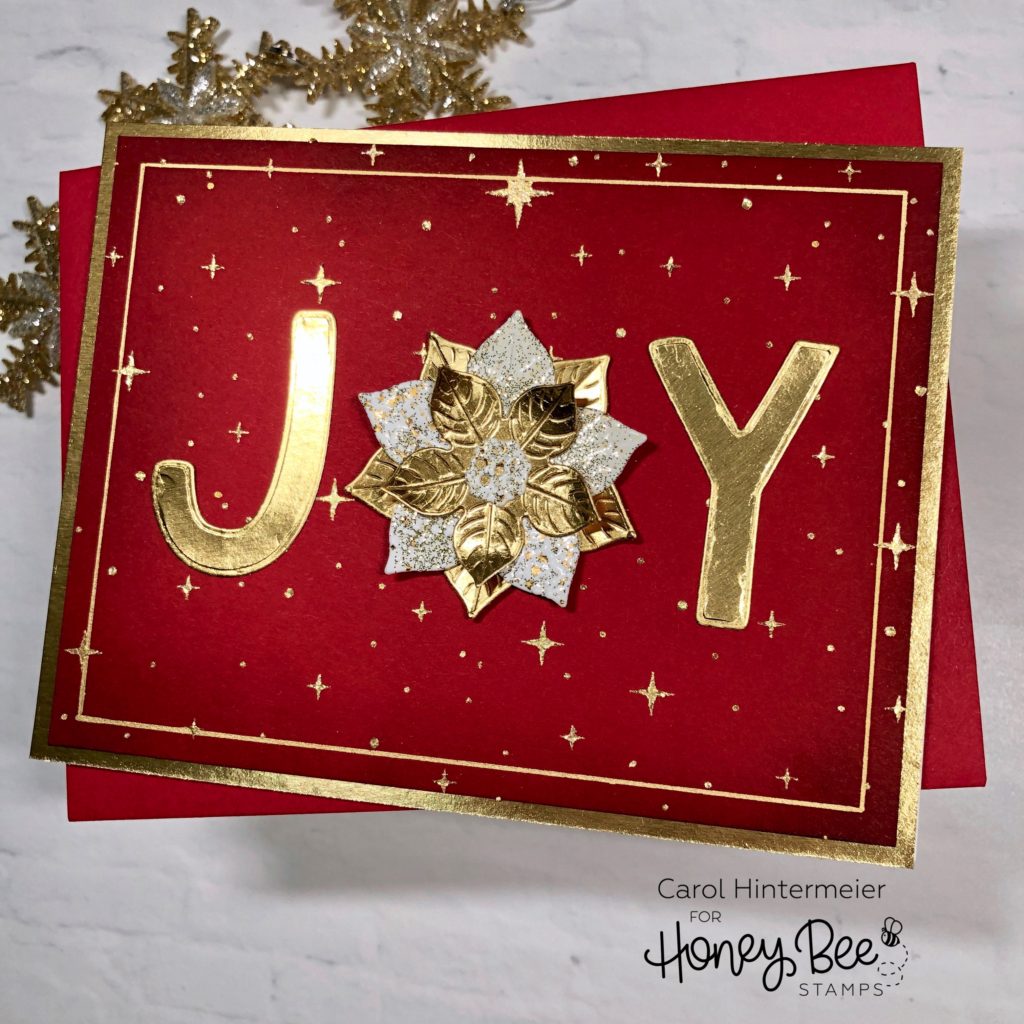
I love combining sets, and all of these that I’ve used are so versatile! Honey Bee’s stamps and dies are so interchangeable–I love that! I hope I’ve given you some more inspiration on ways to use these. Thank you so much for stopping by today!