
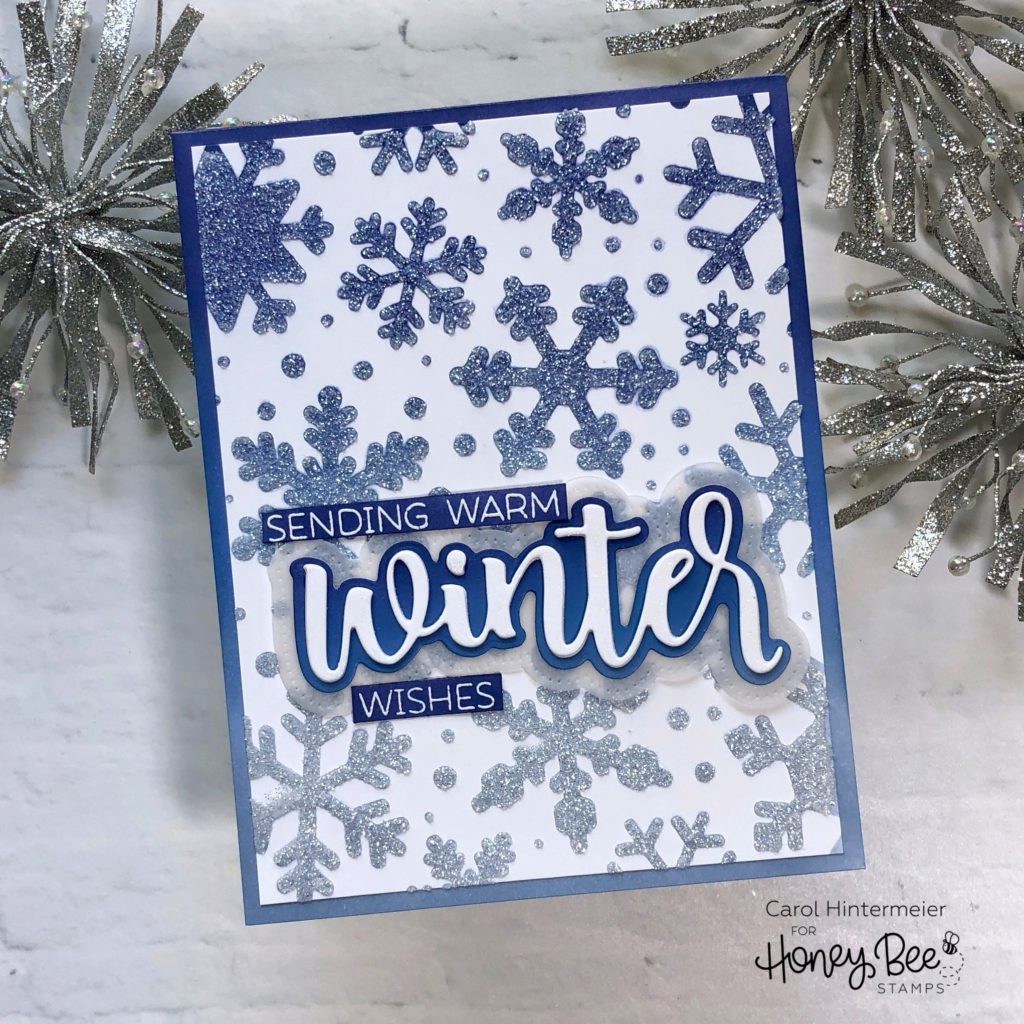
Hello Honeybee friends! It’s Carol here today, and welcome back for Day Three of the Twelve Designers Event here on the Honeybee Stamps blog! Well, it’s no secret that I love all things sparkly, especially for the holidays, and I had so much fun making this Winter card with the Snowfall Background Stencil!
To begin, I sprayed the back of the stencil with some Pixie Spray. If you are a fan of using stencils, this spray is a must have, I think. It’s a light, tacky adhesive that holds even the most delicate stencil in place and allows for easy removal when you are done. I put my stencil onto a 4″ x 5-¼” white cardstock layer and I used the Background Blender Brushes to ink an ombre background in Chipped Sapphire, Faded Jeans and Stormy Sky Distress Oxides.
An important thing I learned is to make sure the Oxide Inks have dried throughly before applying any paste or gel. The moisture will lift the colors and tint your medium (ask me how I know!) I applied some Gina K. Designs white Glitz Glitter Gel through the stencil and set it aside to dry.
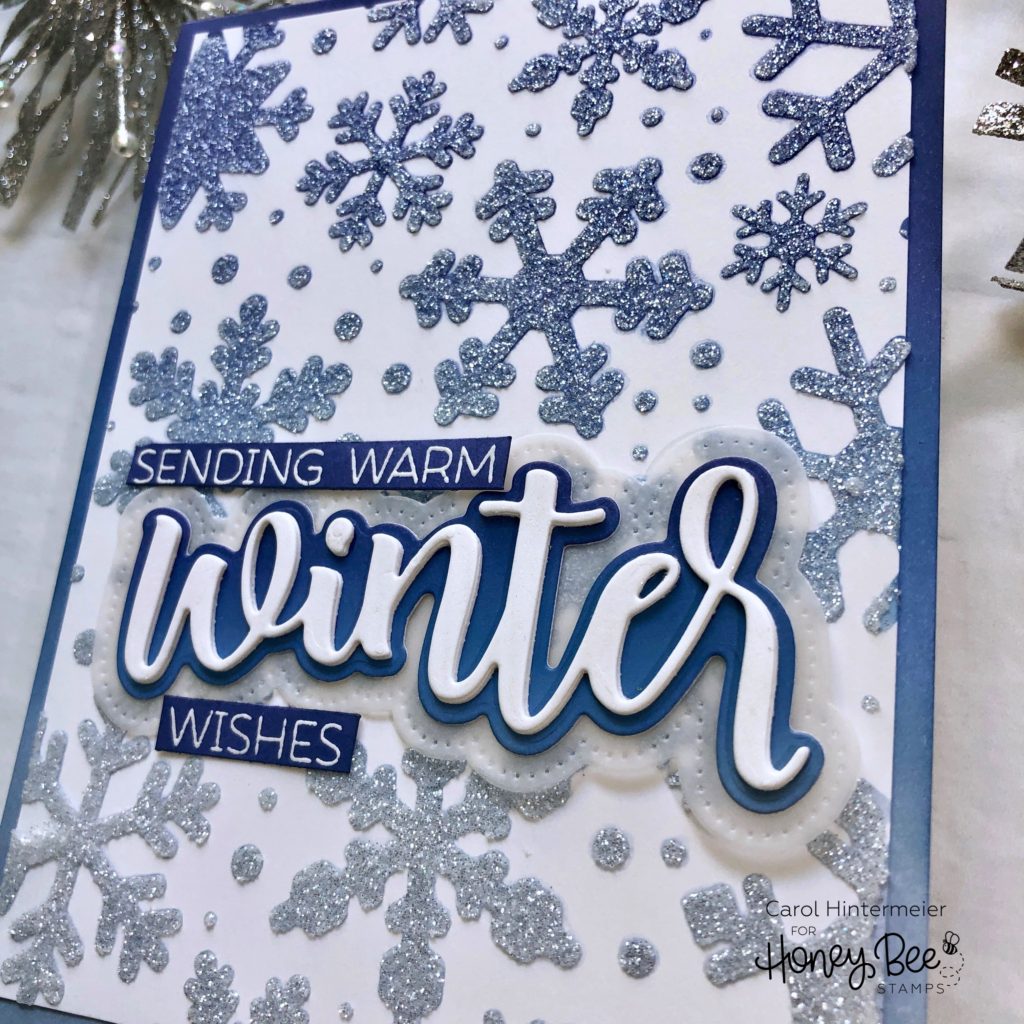
While that was drying, I worked on the sentiment. Using the Winter Honey Cuts, I die cut three of the top layer from some Neenah Solar White 80# cardstock. I adhered those layers with liquid glue. For the middle layer, I took a scrap piece of cardstock and inked the same Distress Oxides in the ombre pattern with the Blender Brushes. While I had these out, I also inked around the edges of the front of my A2 card base. Using the inked scrap piece, I die cut the middle layer of the Winter Honey Cuts. The pierced bottom layer is die cut from vellum. I adhered all the layers together with Ranger Multi Medium Matte Collage and put them under a large stamp block to hold it down while it dried. I used more of the blue inked scrap piece and stamped the other sentiments from the Winter stamp set with Versamark ink. I added white embossing powder and heat set it. I used my paper trimmer to cut them in strips and added some thin foam tape behind them. I added all of the other elements to the card base with liquid glue.
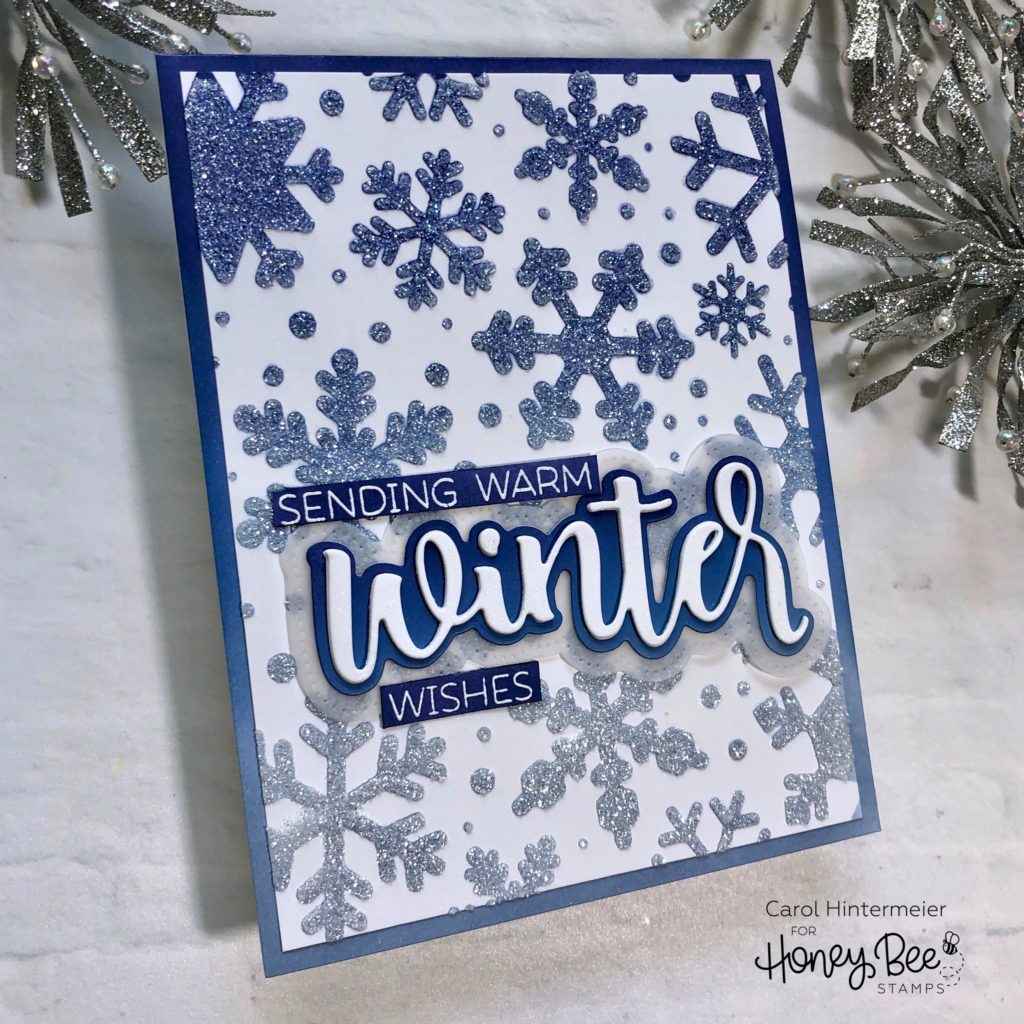
I love how easy this card was to make and I wish you could see how sparkly this is in real life! Thank you so much for stopping by today! Be sure to check back each day as there will be a lot of awesome inspiration from some super talented designers for you to see! Until next time, have a wonderful, crafty week! Carol
8 responses to “Glistening Snowflakes Winter Card”
The color changing looks cool.COOL!!! COOL!!! Can you tell I really like it? Great job.
Beautiful card! 🙂
This cool palette is just perfect for the winter season!
A lovely wintery card Carol, great ombre effect with the snowflake stencil and the added glitter gel, and gorgeous die cut sentiment.
Beautiful
Beautiful card! Fantastic snowflake background! Love, love, love your word dies … especially the ones with the shadow dies!!!
PURE MAGIC!
LOVE your SPARKLE and ELEGANT design!
THANK YOU for sharing and INSPIRING 🙂 … I have just purchased my first Distress Oxides, can’t wait to play and will be keeping your advice in mind!
So pretty with the sparkle.