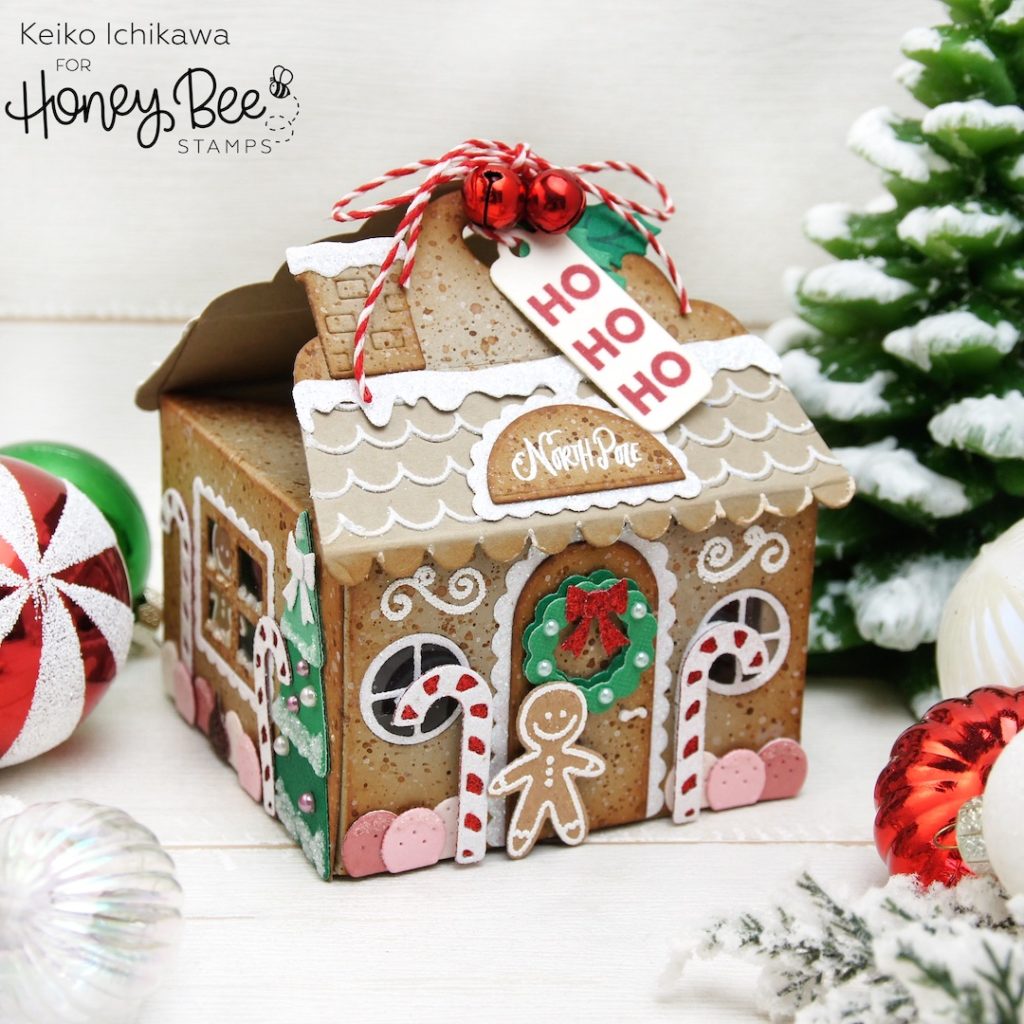
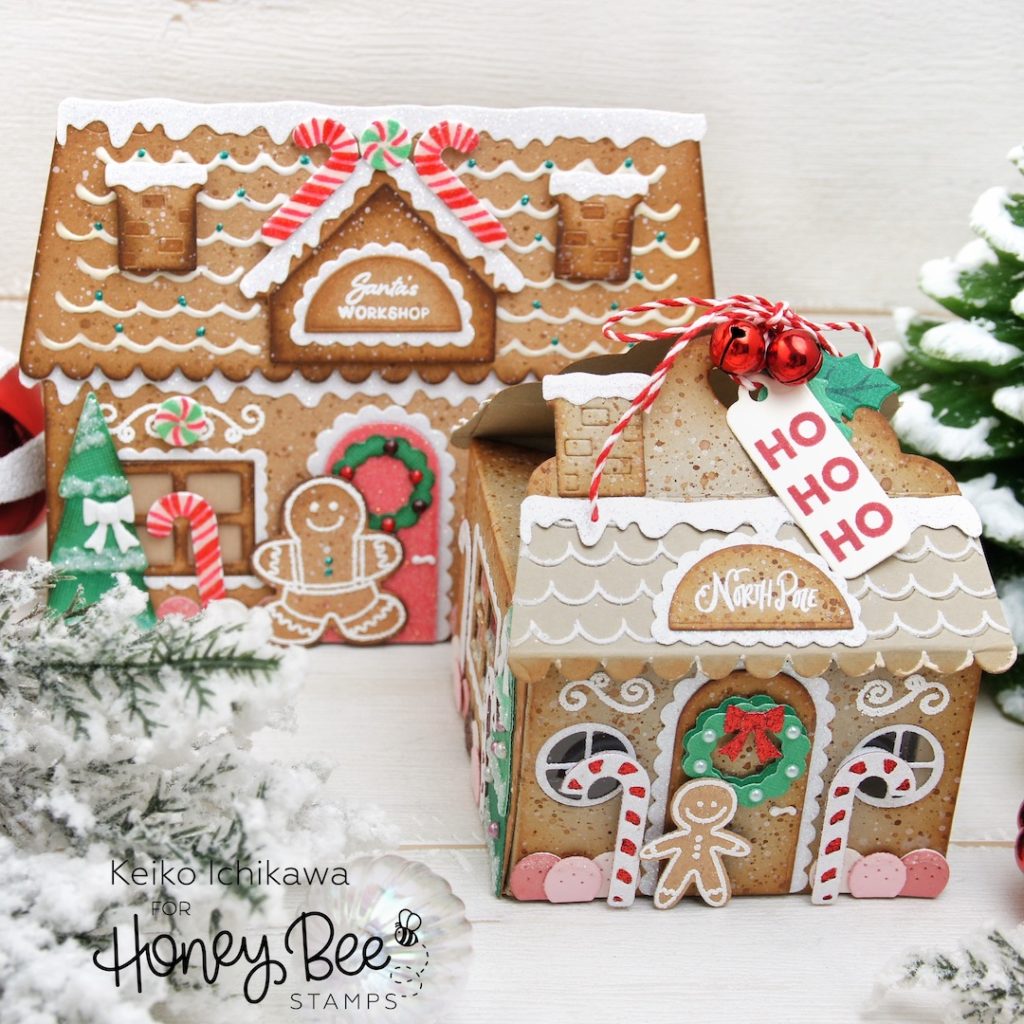
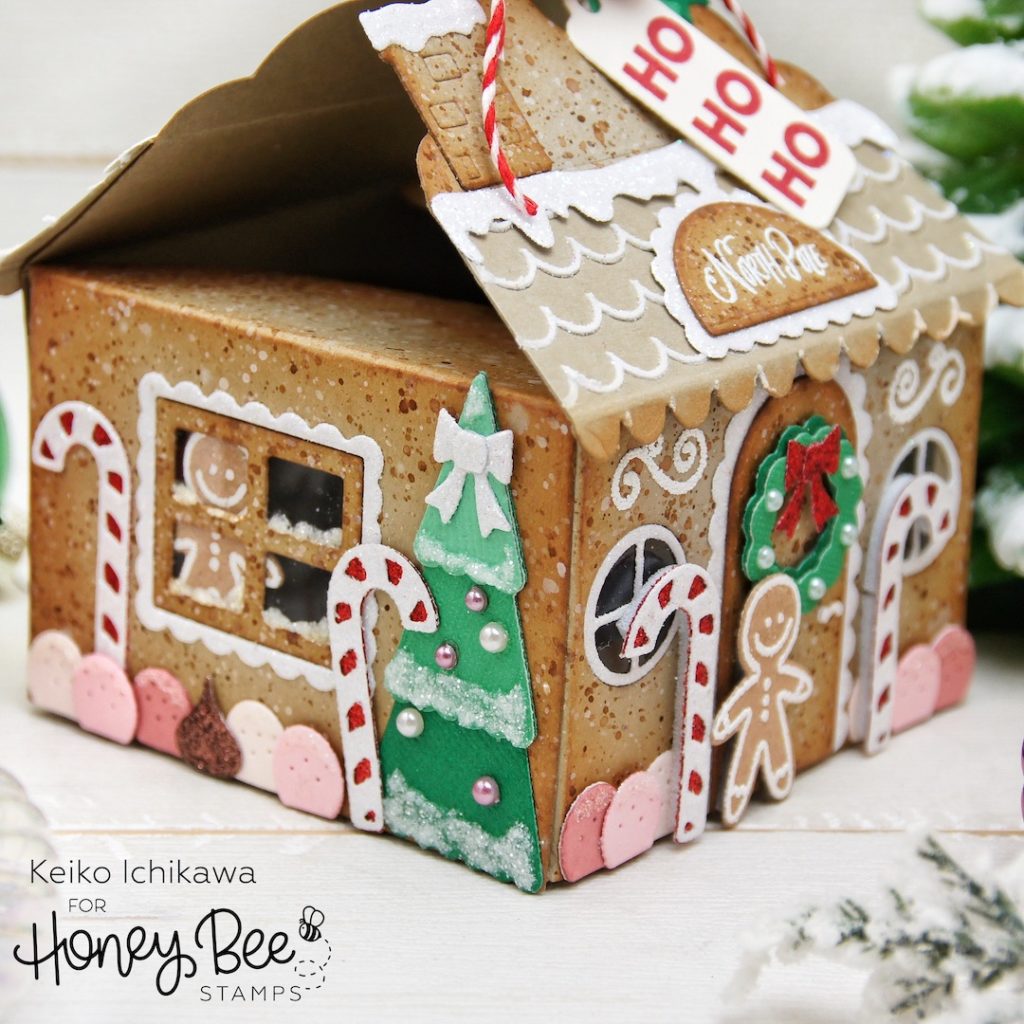
Happy new week friends! It’s Keiko from Happy Tree Studio and I have this “sweet” treat box to share with you. This is almost all die cut card except few stamping here and there. Since there is no coloring required, it is pretty quick to put together (especially if you don’t add million different elements like I did LOL). This is perfect for a small gift or treats and could be displayed with an electric tea lights in!! It also goes together with the Gingerbread House shaped card I made few years ago (see the picture below!).
<Supplies Used for this project>
Sweet Treat Box (die): Treat box
House Builder (die): Windows on the sides and door knob
Country Christmas Wreath (die): Gingerbread people and holy leaves
Mugs & Kisses (die): Candy canes
Tag, You’re It: Holidays (stamp): “HO HO HO” sentiment
Tag Builder (die): Tag
Scalloped Shingles (stencil)
Gingerbread House Add-On (stamp & die): Everything else
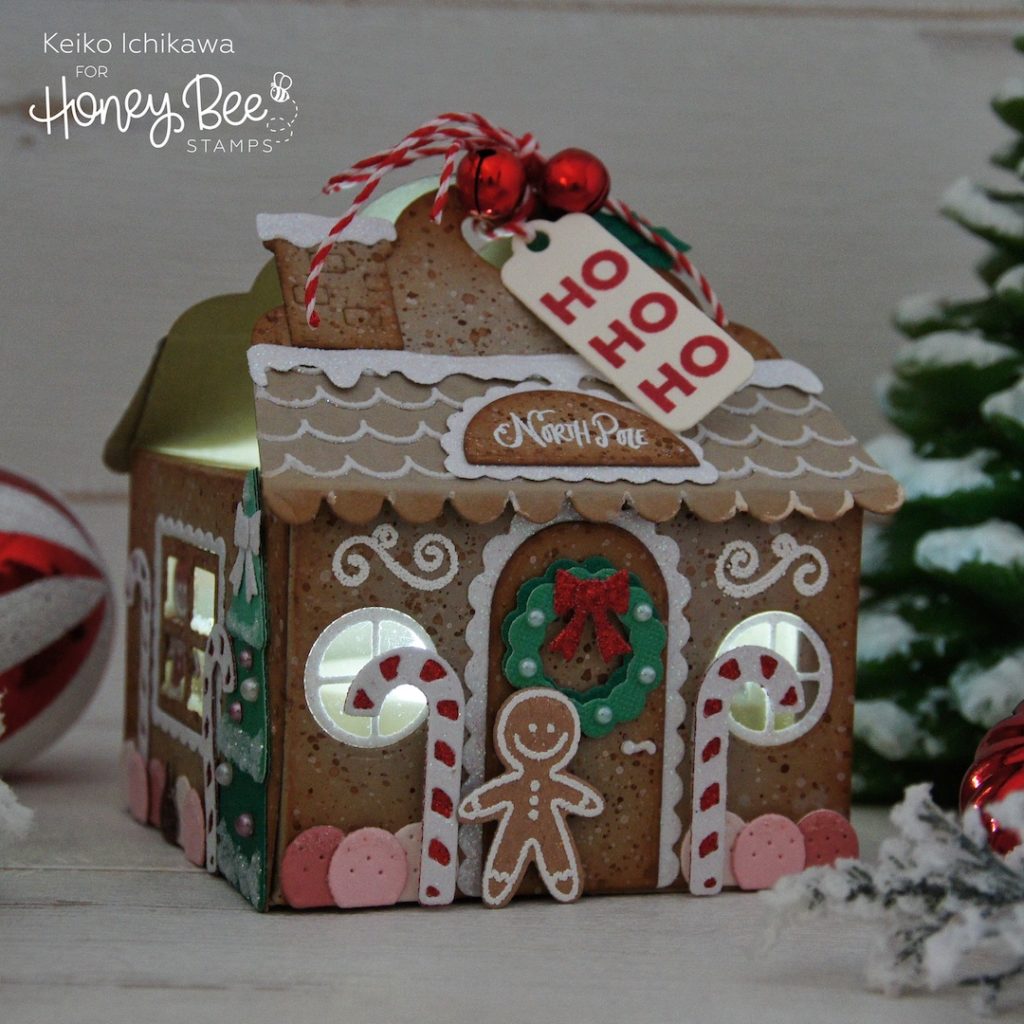
First, I cut the treat box from Kraft card stock using Sweet Treat Box dies. I also die cut the chimney, door, window frames (for the sides), and “North Pole” sign from the same Kraft card stock and laid them flat in the empty cardboard box together with all the box pieces. To add the cookie like texture, I splattered them with few shades of brown inks and white paints. The roof was die cut twice from the same Kraft card stock and I cut them down to fit on the box. To add the “icing” on the roof, I used some embossing paste with Scalloped Shingles stencil. TIP: I did not splatter these roof pieces so the embossing paste would stay bright white (embossing paste tend to reactivate the inks unless they are water proof). I also inked the edges of these “cookie” pieces with brown inks. While they are drying, I die cut the elements to decorate the house/box.
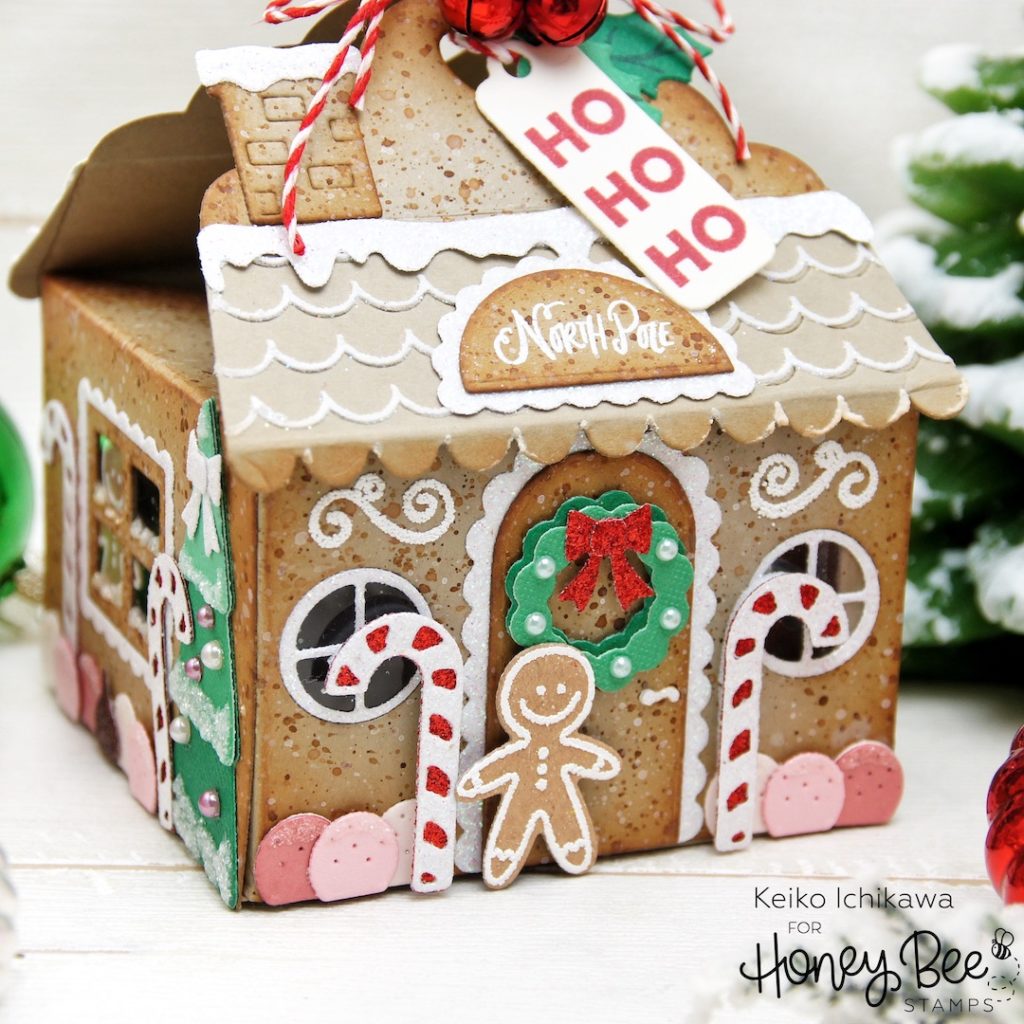
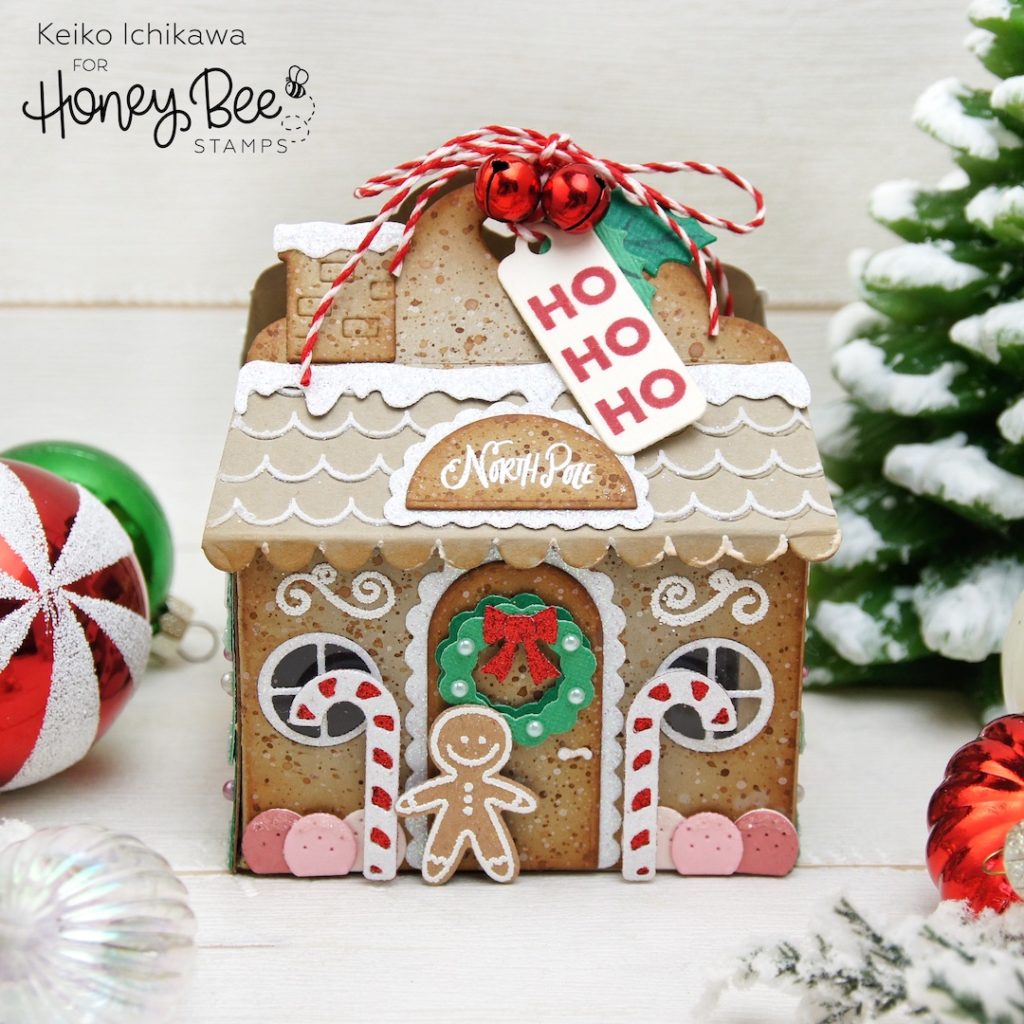
I then started decorating the house one wall at a time. TIP: I find it easier to decorate the box pieces BEFORE they are put together. For the front and the two side panels, I die cut out the window, put a piece of acetate on the back, and adhered the window frames. I heat embossed the decorative swirls on the front panel with white puff embossing powder. The two gingerbread people are also heat embossed with the same powder but I used detail powder for the “North Pole” sign since it was pretty delicate. I glued most of the elements flat, but used foam tapes to some of them to make them look dimensional. Just because I don’t know when to stop adding details, I added some clear glitter to the candies, trees, and windows, and small pearls to the trees and the wreath.
After all four panels are decorated, I put the treat box together using Precision tip glue. I then tied a piece of twine with red jingle bells and a tag to close the box and also glued some die cut holy leaves.
Thank you so much for stopping by today! If you have any questions, please leave me a comment below. Have a wonderful week!!

2 responses to “Gingerbread House Treat Box”
Wow, this is a terrific project!! Amazing!!
Thank you so much Lori!! It was super fun to put together!