Hello Honey Bee friends! Today I’m sharing a sweet birthday card where I’ve filled the Vintage Creel from the Adventure Awaits release with flowers and greenery! All of my card elements were colored via the “ink smooshing” technique. I really enjoy this technique!
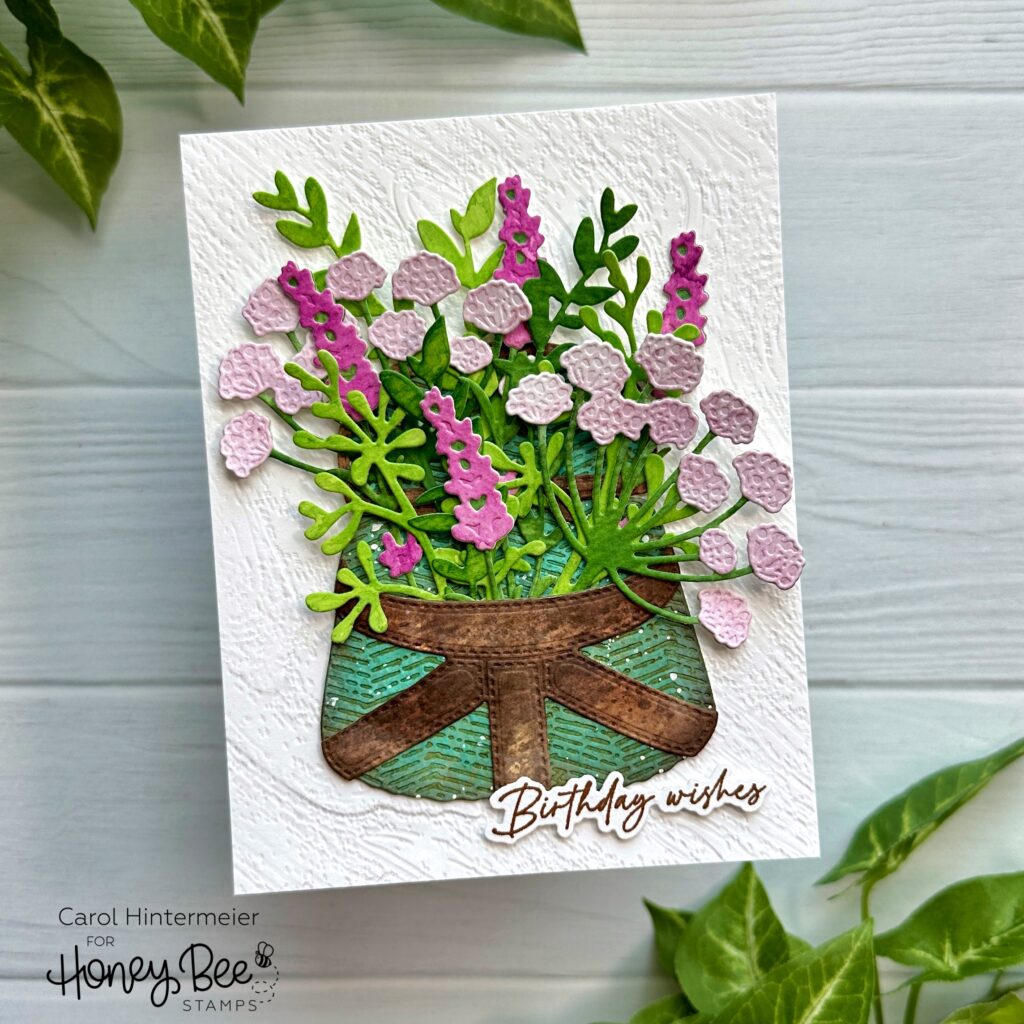
All of the elements for the Vintage Creel and the Lovely Layers: Spring Greenery were inked with Distress Inks onto Distress Watercolor Cardstock. Are you familiar with what I call “ink smooshing”? If not, the way I do this technique is to take my ink pad and “smoosh” it onto my glass craft mat. I use a Distress water sprayer to mist water onto the inks. You just want a few sprays of water so the ink is not too diluted. Then take your piece of watercolor cardstock and dip into the ink. Pick it up and use your heat tool to completely dry the piece. Next, repeat the dip and dry steps as often as desired. Add more ink to your crafting surface as needed.
These are the Distress Inks I used for the creel and flowers:
- Creel basket: Speckled Egg, Salvaged Patina, with a bit of Antique Linen and Gathered Twigs
- Creel trim: Gathered Twigs, Antique Linen
- Greenery: lighter greens: Mowed Lawn, Twisted Citron; darker greens: Mowed Lawn Rustic Wilderness
- Flowers: Milled Lavender, Seedless Preserves
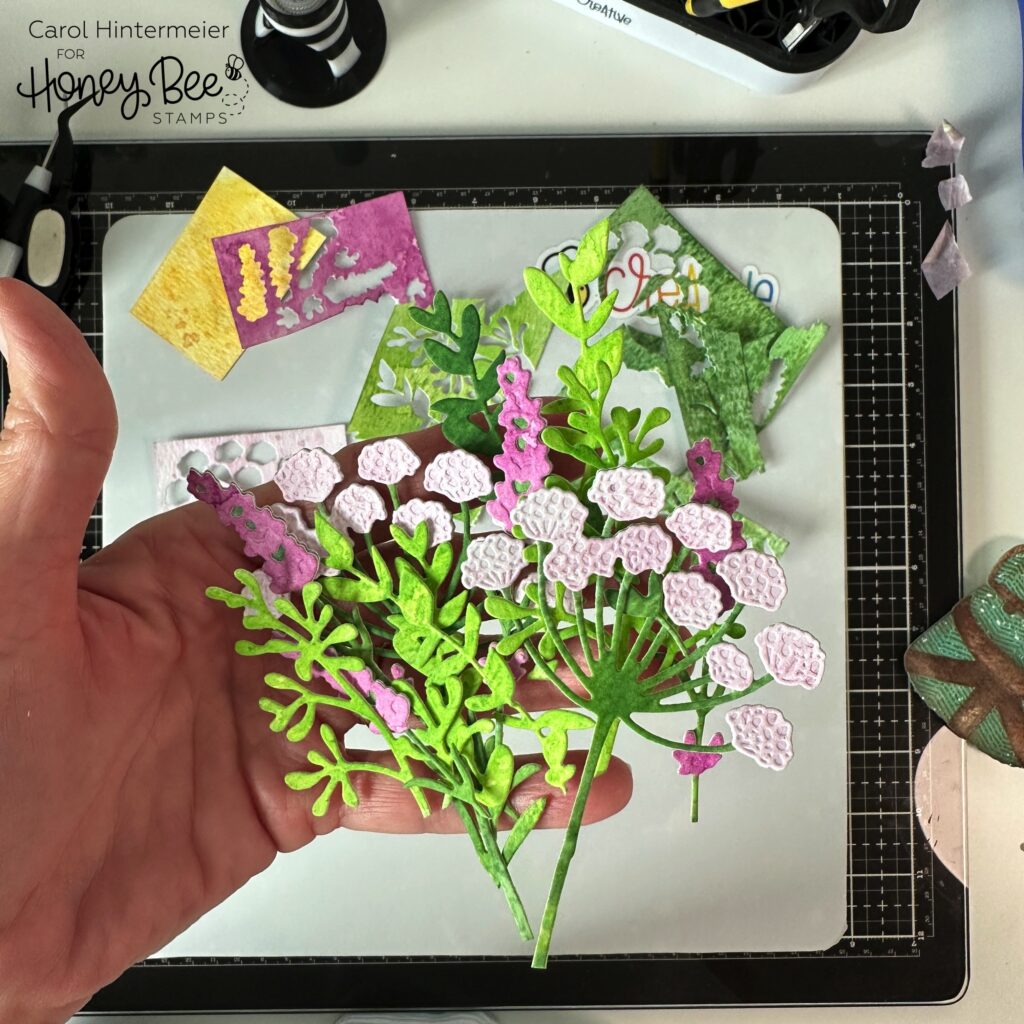
Here’s a photo of the Lovely Layers: Spring Greenery after I die cut and assembled the pieces. (Note: I created a yellow piece but decided not to use it.)
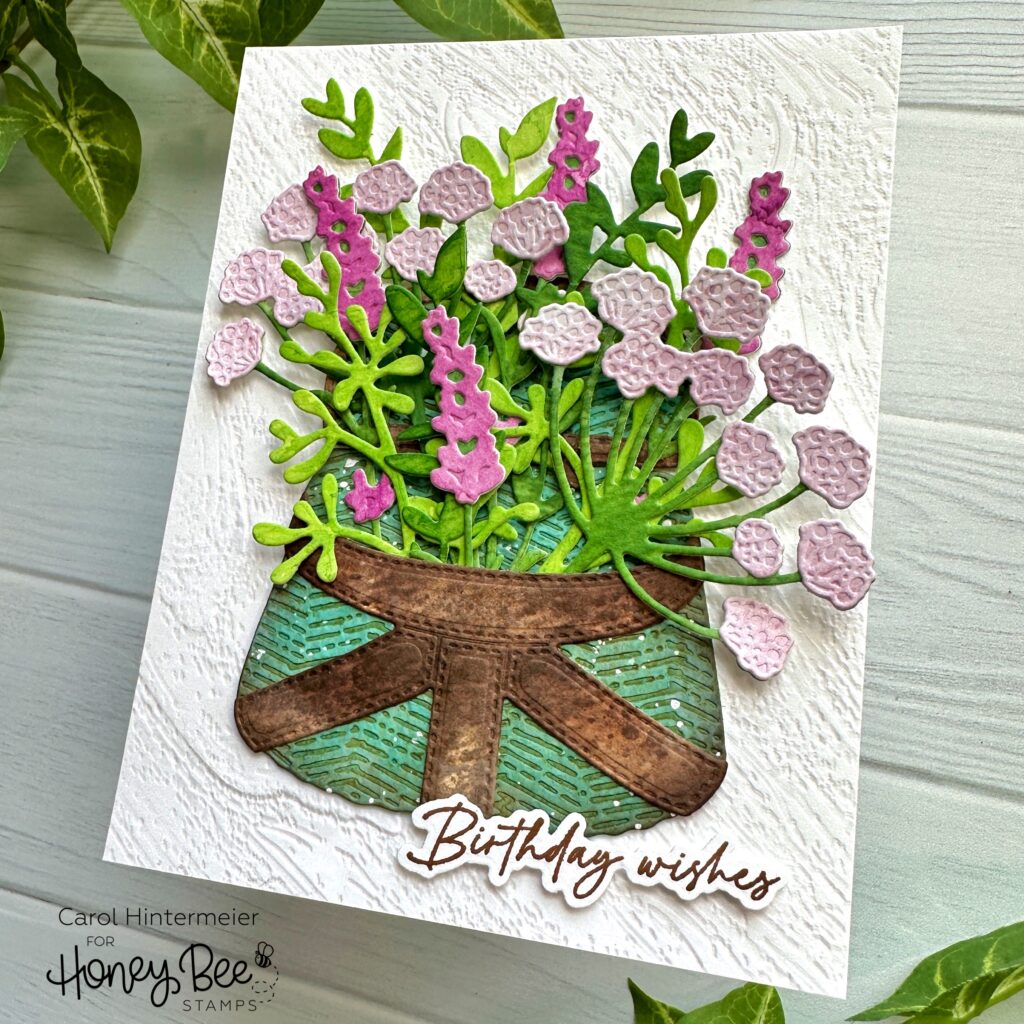
Before I used glue to assemble the Vintage Creel, I sprayed the inked watercolor cardstock with water and used a paper towel to blot up the drops. Then I added white acrylic paint splatters.
I used dots of Bee Creative glue to tuck the Spring Greenery pieces into the Vintage Creel. Trim off the stems to shorten them as needed. I used very little glue as I wanted to have the dimension of the pieces naturally floating above the card.
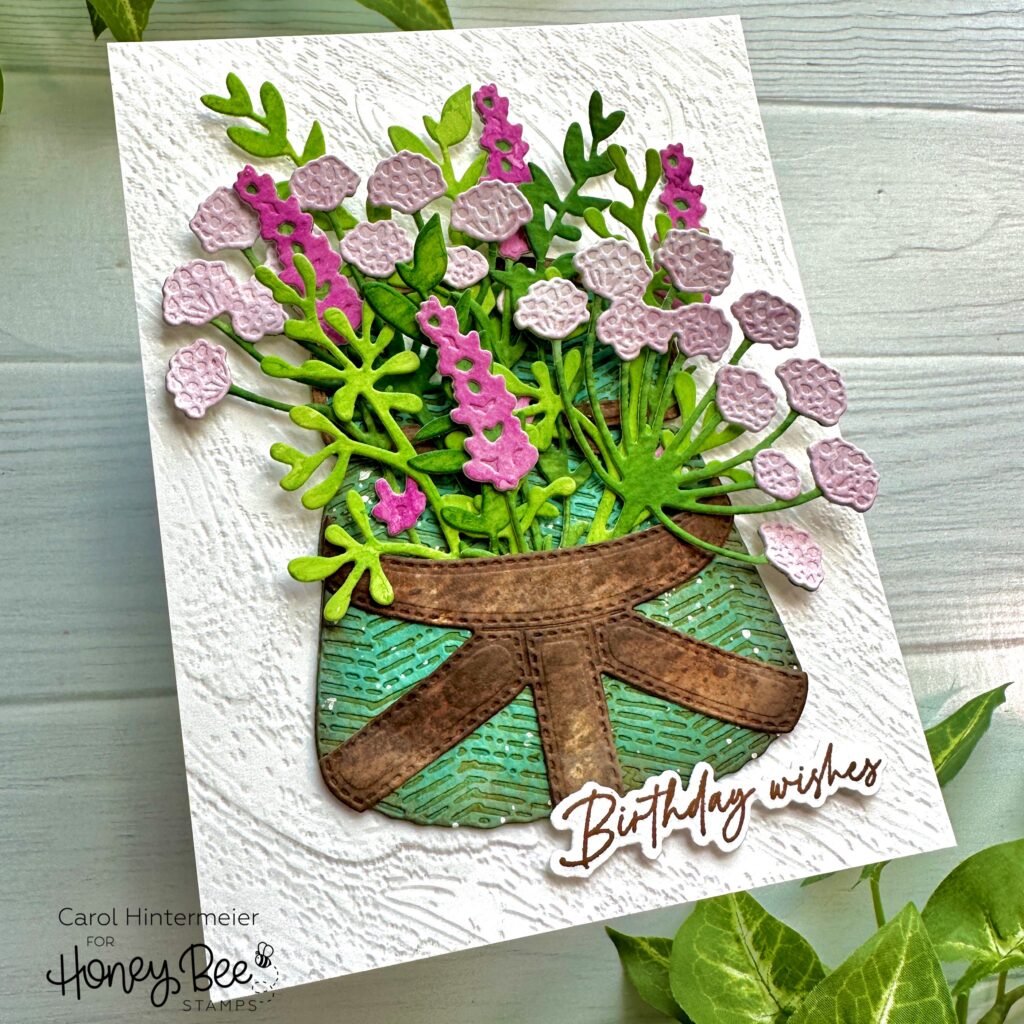
For the card base I ran a piece of 80# Neenah through my die cutting machine with the Woodgrain 3D embossing folder. I glued the embossed piece to an A2 card base. Next I added glue to the back of the Vintage Creel and to a few of the flowers and adhered it to the card.
I stamped the sentiment from the Be Still stamp set in brown ink and cut it out with the coordinating Honey Cut. I added a narrow strip of foam tape to the back to pop it up on the card.
If you need to add birthday cards to your stash, this is a fun one to make and did not take me very long either! Thanks so much for stopping by today! I hope the rest of your week is good and filled with lots of crafting!