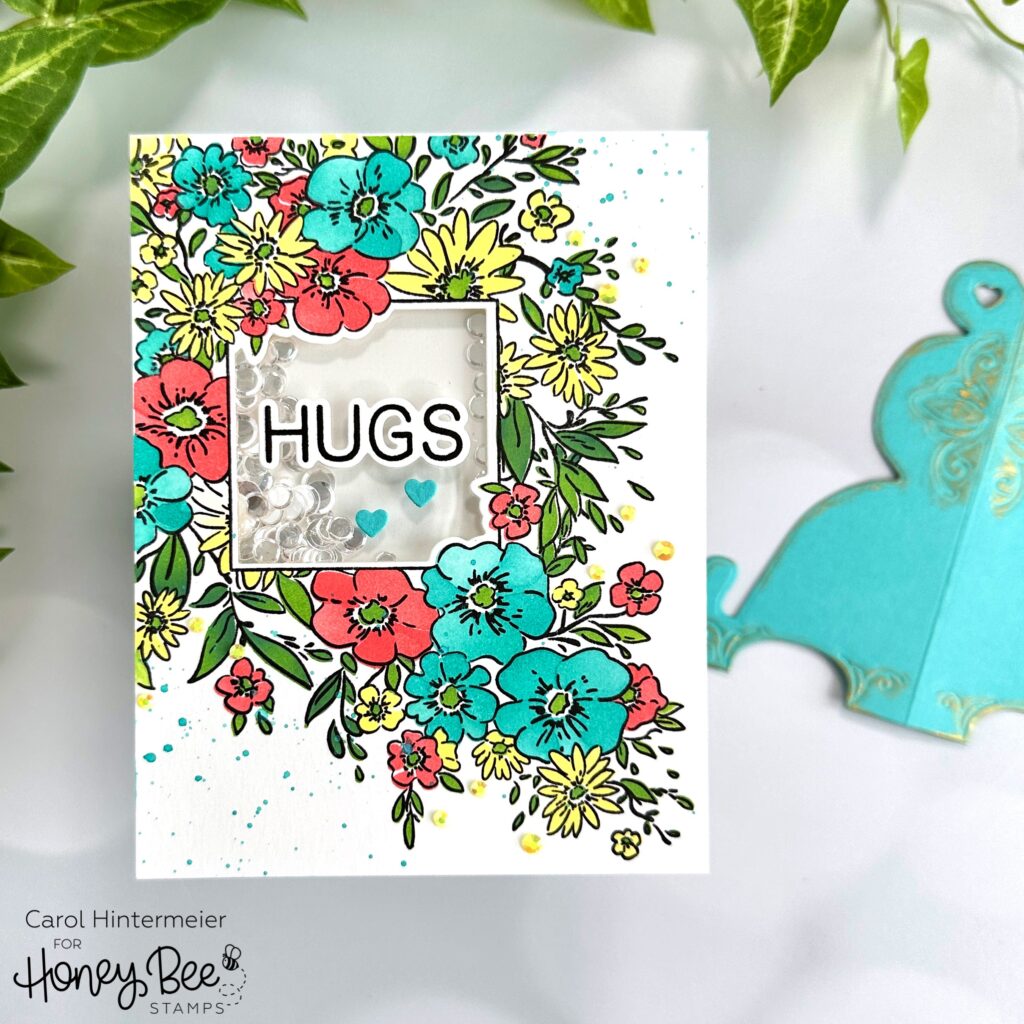
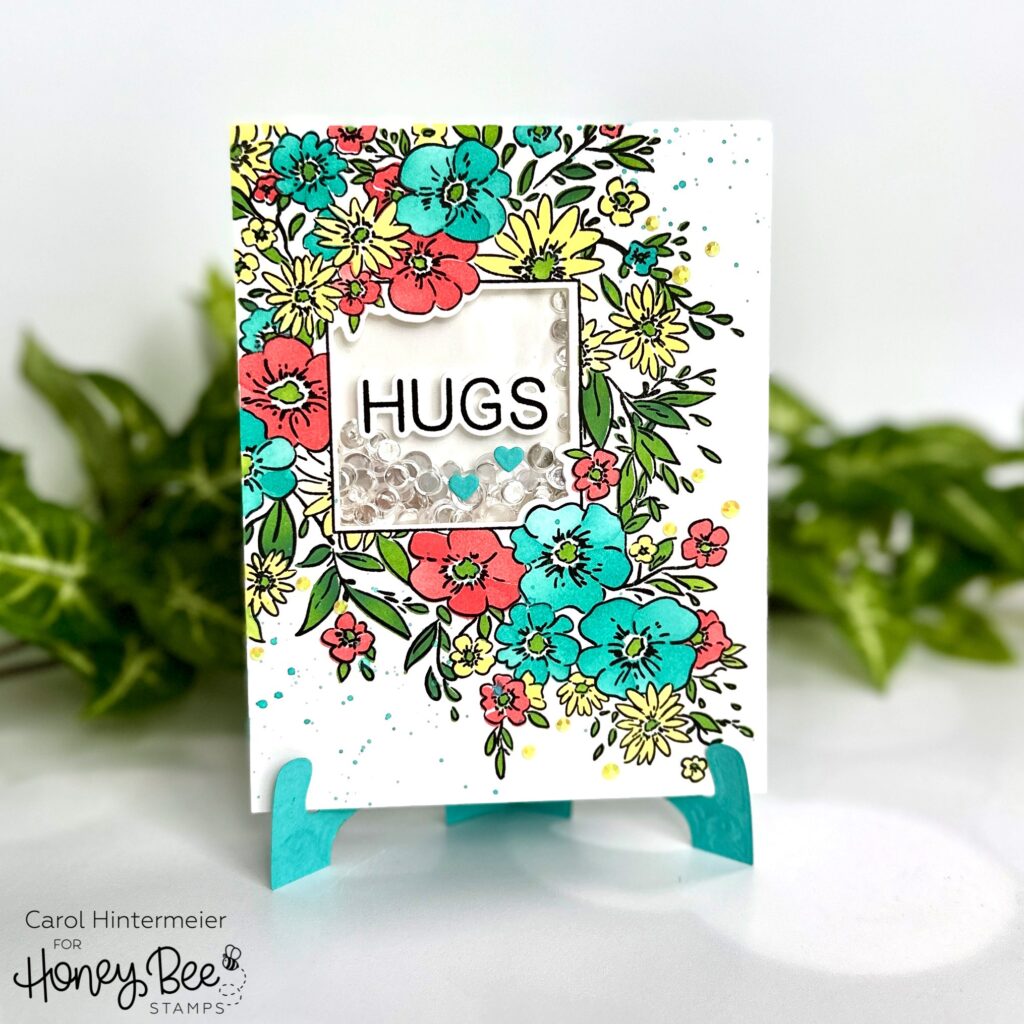
Hello Honey Bee friends! Today I’m sharing my shaker card that features the new Squared Spring Florals stamps, Honey Cuts, and coordinating coloring stencils. I love the design of this stamp with the flowers spilling from the upper left corner! I’ve also made a card stand with the new Ornate Card Stand Honey Cut that can be mailed with the card! How fun it would be to receive a card with a matching stand to display it? Read on for all of the details.
First I used the Squared Spring Florals stencil set and blender brushes to color the image. I used Distress Oxide inks in the colors of Abandoned Coral, Peacock Feathers, Squeezed Lemonade, Mowed Lawn, and Rustic Wilderness. Then I placed the piece into my MISTI and centered the Squared Spring Florals stamp over the image. I stamped it with Intense Black ink.
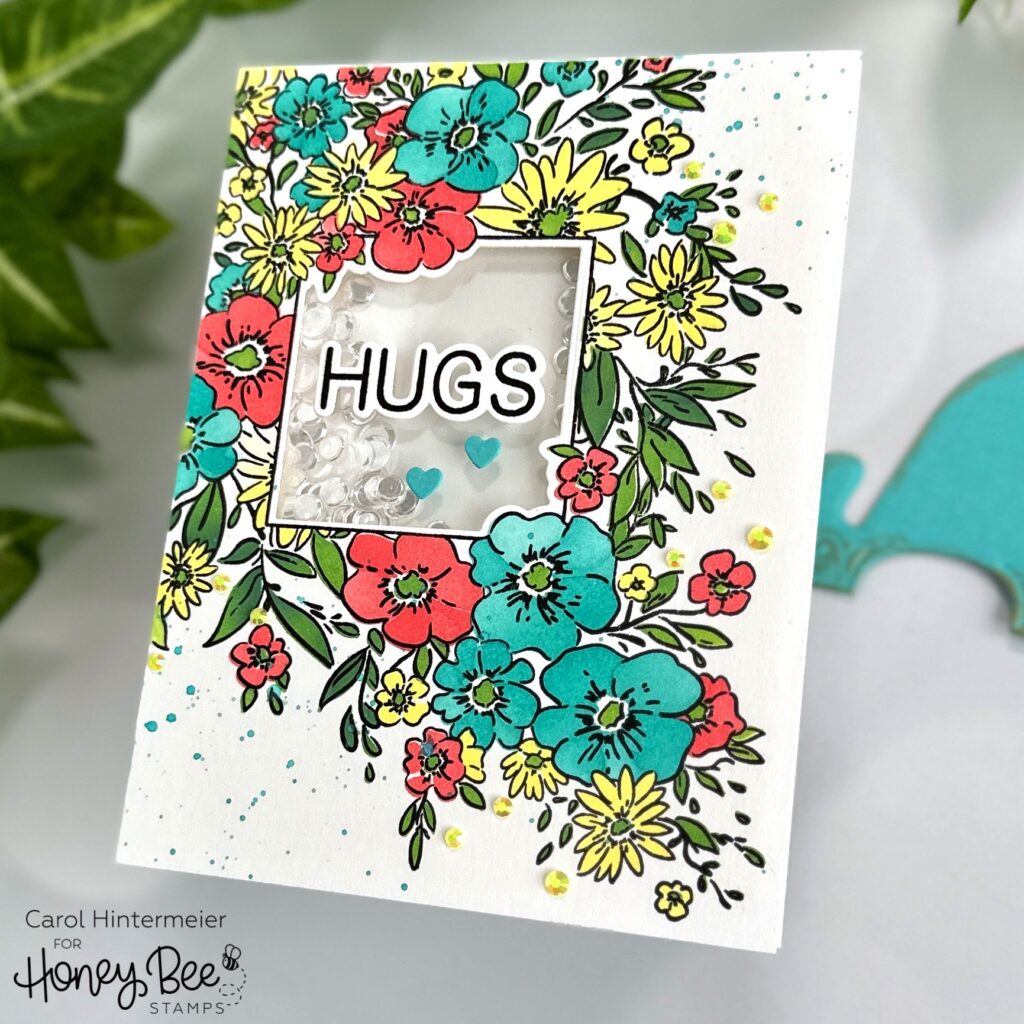
The Squared Spring Florals Honey Cuts have dies for all of the sentiments as well as a die to cut out the floral image and a die to cut out just the center square. So many options! As you can see from the photos, I just used the center square die to cut the opening for my shaker window. After I added a piece of acetate to the back of the opening, I added foam tape around the opening and all of the edges. I sprinkled in my sequins and closed the opening with another piece of acetate. This makes it easy to adhere the card to your card base.
After I stamped the sentiment in black ink and cut it out with the coordinating die, I used Bee Creative Glue to adhere it to the shaker window. I added pretty yellow gems from the Let’s Party Gem Stickers.
Next I die cut the Ornate Card Stand from some coordinating teal cardstock. Since I’ve had this Gilded Distress Foundry Wax for quite some time (and have NOT even tried it!) I thought I’d add some gold touches to the stand. I followed the directions on the bottle and added the wax with an old paint brush. TIP: I held the brush almost sideways to the cardstock to lightly brush it on in a more natural looking way. To set the wax, you use your heat tool over it and it becomes so pretty and shiny!
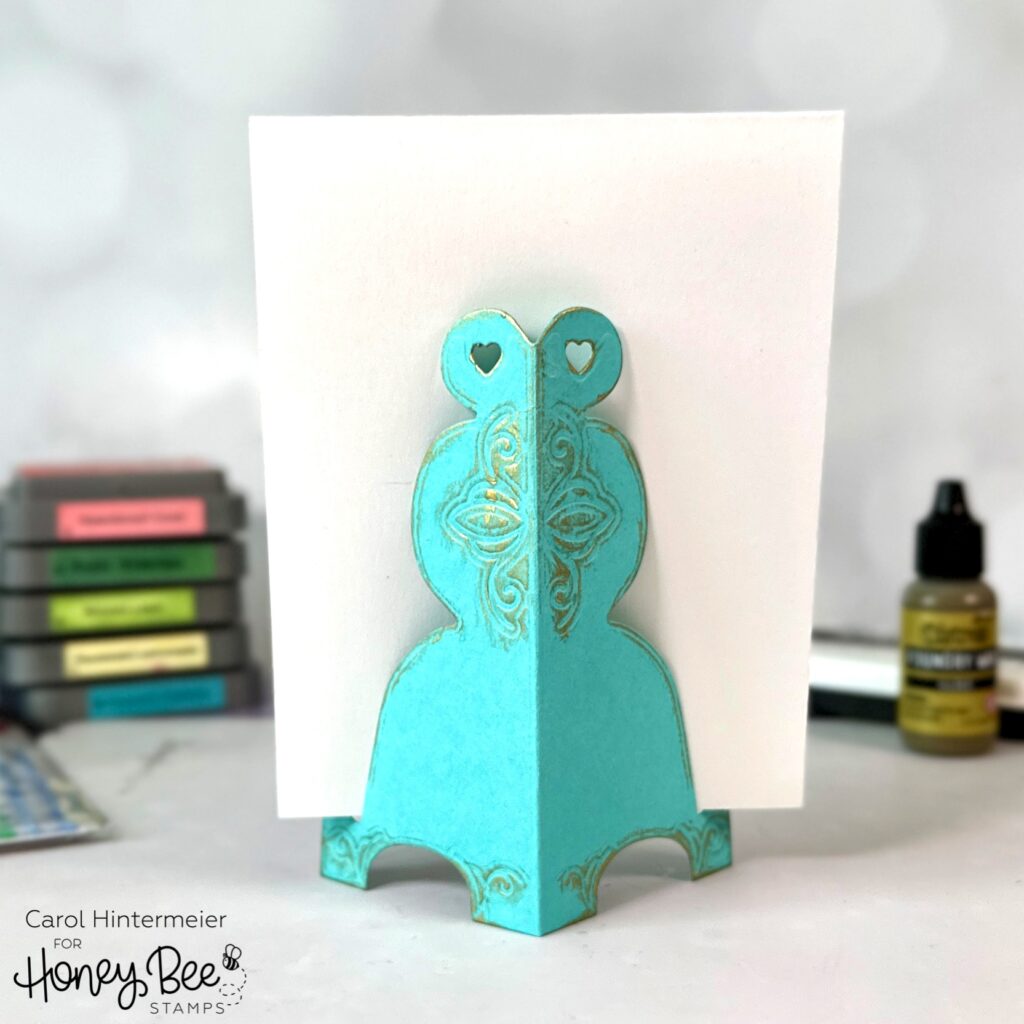
This was super fun to make! It was so easy and quick, that I am going to try to make more to send with the cards I mail. This next photo shows how pretty it looks with the card!
I hope you’ve enjoy my post today and have been inspired to try out the Ornate Card Stand for your cards! Thanks so very much for stopping by!
2 responses to “Floral Shaker Card with An Ornate Card Stand”
I think that card and stand are beautiful. I would buy that in a flash if I were not trying to find a graduation card for my only grandson.
Thank you so much, Dee! And congratulations to your grandson on his graduation!