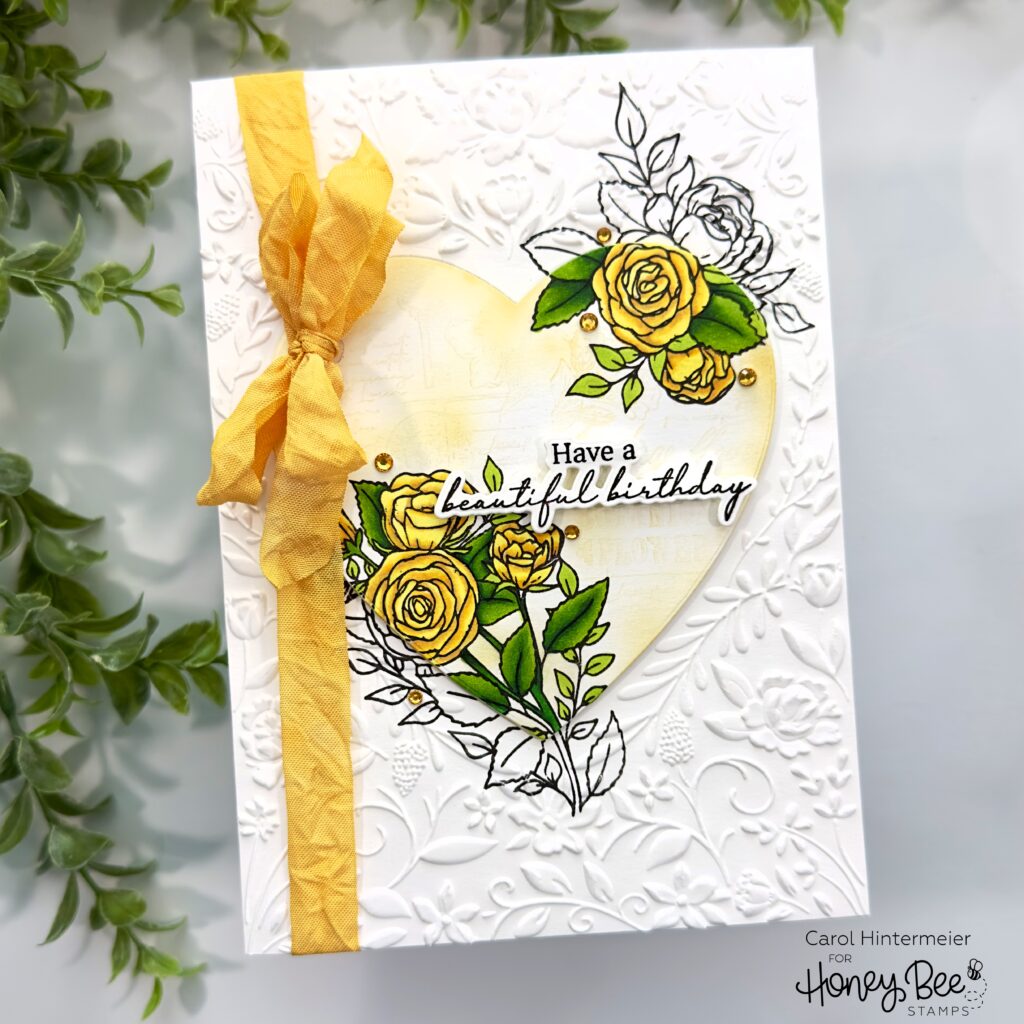
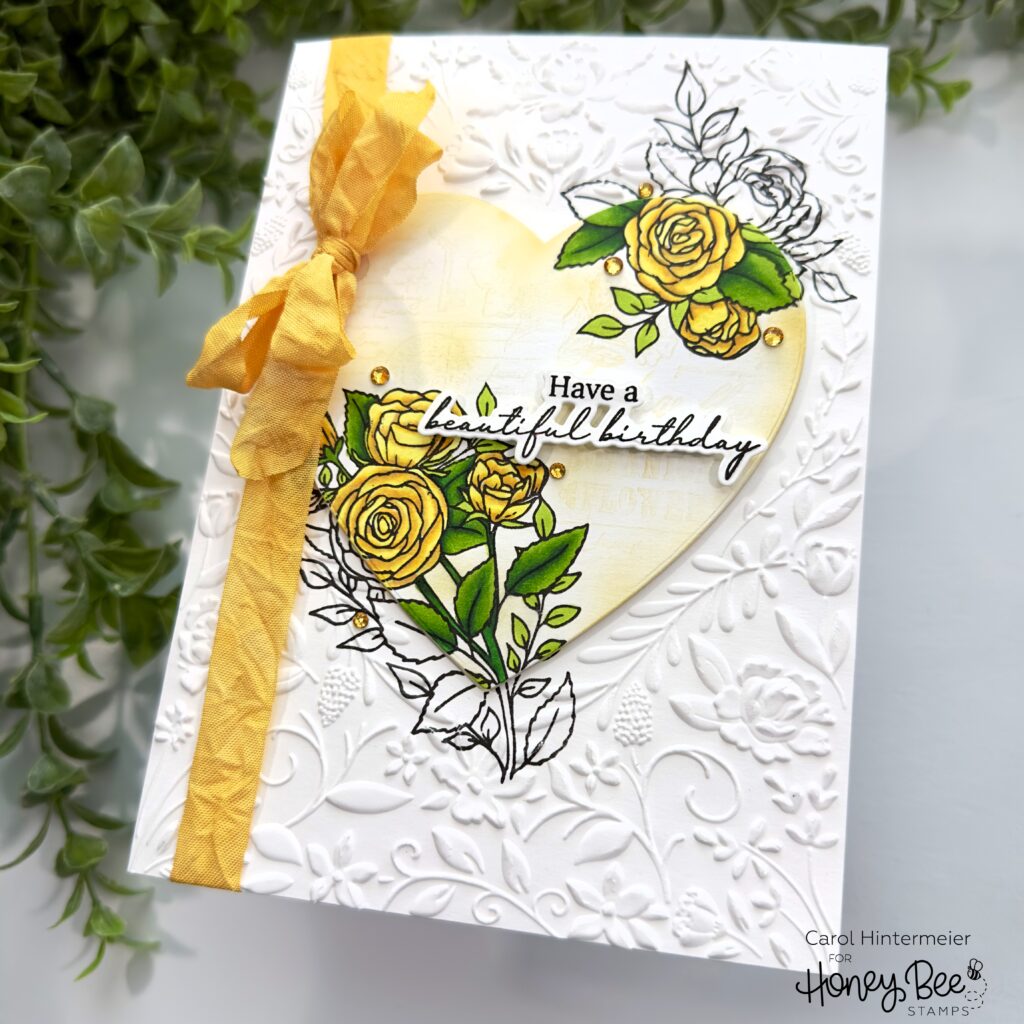
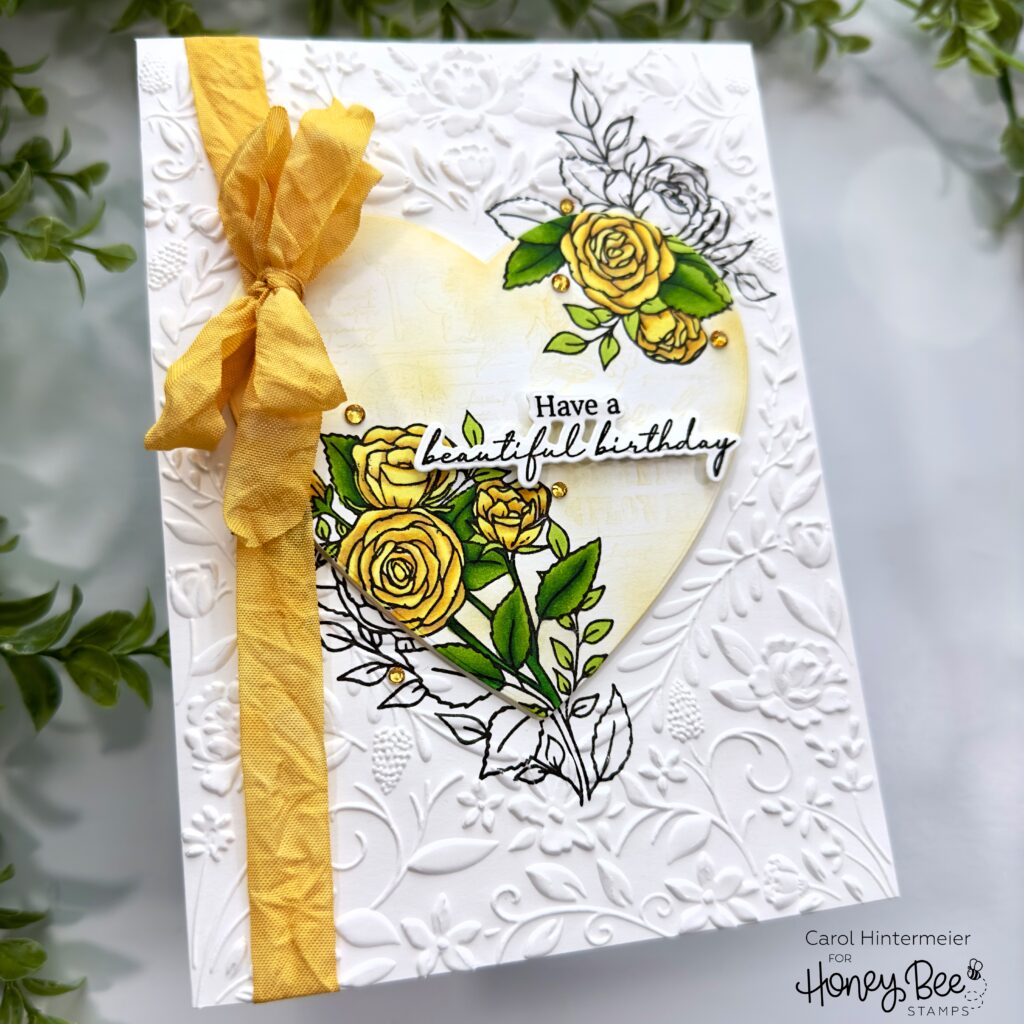
Hello Honey Bee friends! Today I’m sharing another card with the florals from the Blooming View stamp set, but with a twist! Did you see my card from last week’s blog where I used this set? I love thinking of different ways to use the same set to get more use out of a favorite! Check out the details below.

First I cut a panel of 5″ x 7″ 80# Neenah. I placed it inside the Floral Heart 3D embossing folder, but did not emboss it just yet. I used the embossing folder to plan where to place the included heart die to cut out the center. I adjusted as needed, then use removable tape to hold the die in place. After I ran it through my die cutting machine, I taped the die cut heart by putting tape on the back to hold it in place.
Next I put the entire panel into my MISTI. Then I chose two of the florals from the Blooming View stamp set and arranged them so that part would stamp on the heart and part off. Then I removed the tape and placed the heart aside and ran the other piece through my die cutting machine after I placed it in the Floral Heart embossing folder.

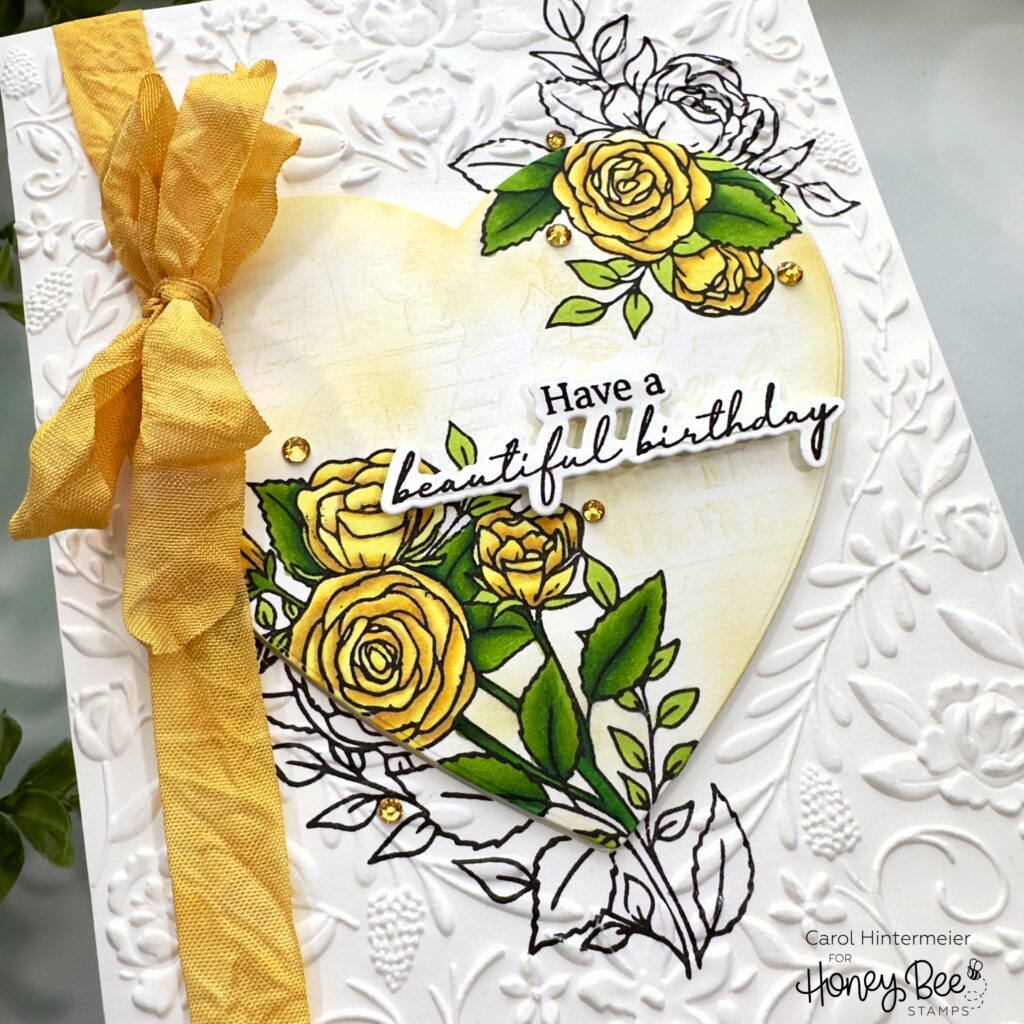
I used some Copic markers to color the images of the Blooming View stamp set on the heart die cut. Then I placed the Vintage Flora background stamp on my craft mat and inked up just one corner with a light golden yellow ink. TIP: Use a small ink blending brush to apply the ink to the stamp. This will avoid the lines you get when pressing the ink pad to the stamp and give a more subtle stamped image. I used my fingers to press the heart over the inked portion of the stamp and repeated once more. As you can see in the above photo it certainly adds detail, but does not overpower the colored flowers. I used the same ink and a blending brush to add ink to the edges of the heart.
I dyed some white ribbon with drops of Scattered Straw Distress Ink re-inker that I added water to. After drying the ribbon, I tied it around the main panel in a double bow. I used glue to adhere it to a 5″ x 7″ card base.

I added foam tape to the back of the heart and adhered it in the opening of the embossed piece. The sentiment is from the Love Is A Rose stamp set. After I stamped it with black ink, I cut it out with the coordinating die and popped it up with foam strips.
For a touch of bling, I added some sparkle from the Vintage Love Gem Stickers!

I hope I’ve given you inspiration for another way to use the gorgeous Blooming View stamp set! Thank you so much for stopping by, and I hope you have a wonder, crafty day!
