
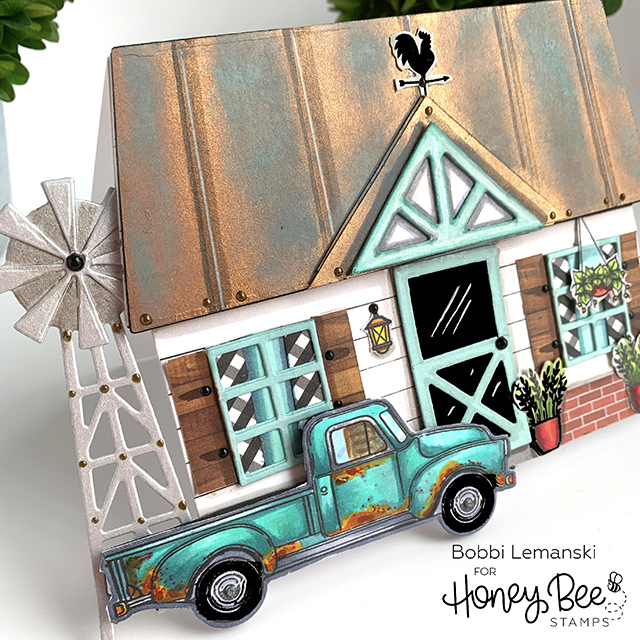
Hello! It’s Bobbi Lemanski here with a shaped card featuring the new Honey Bee Stamps Farmhouse Add-on stamp and dies that coordinate with the House Builder die set. Notice the pick-up? How can you create a farmhouse without the ever-popular Honey Bee Stamps Little Pickup parked in front? 🙂 My inspiration for this card started with this rusty teal pickup that I colored over a year ago.
To make the card, I used the following Honey Bee products:
Farmhouse Add-on stamp and die set
House Builder Card Base die set
Little Pickup stamp and die set.
Barn Scene Builder die set (for the windmill and front screen door pieces, only)
Back to Basics 6″ X 6″ paper pad for the curtains
Home Essentials 6″ X 6″ paper pad for the brick, and stoop
Shiplap Siding Background Stencil
To begin, I die cut the house base from a folded piece of cardstock, allowing the top of the die to fall off, beyond the fold, to avoid cutting at the top. This will make it a folded card base. I also die cut from the following cardstock colors:
- Roof and gable roof from copper metallic
- Little Pickup and roof from black 3mm craft foam
- Windmill elements from silver metallic
- Window frames, gable, door pieces (I used the barn elements for the screen door) from aqua
- Card front piece (i..e, one house base not folded), window square bases, gable, little pickup (for a finished backing piece) and also STAMPED and COLORED images of two planter pots, hanging plant, weather vane, outside outside lantern, evergreen and pickup (for finished backing pieces) in white
- Shutters from wood pattern paper and red brick foundation from the Home Essentials paper pad
- Door base from black
- Evergreen from green
- Curtain pieces from black/white gingham paper from the Back to Basics paper pad
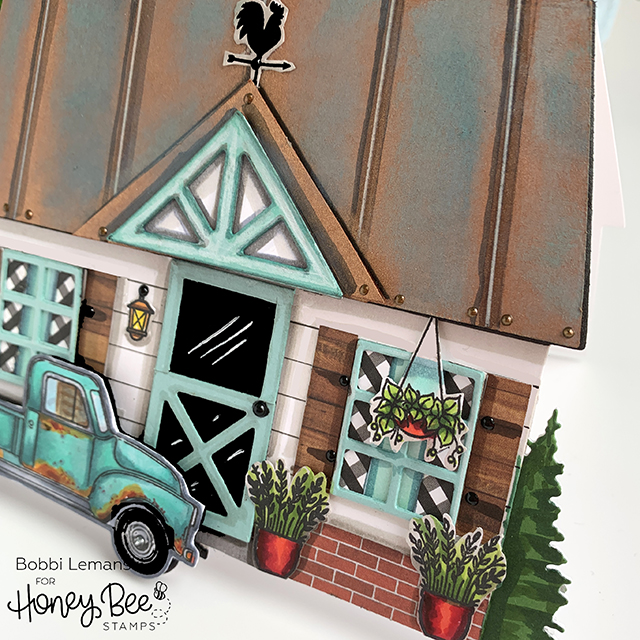
To create this card, I started with a little pickup that I had colored over a year ago. Because it was a teal color with rusty areas, I decided to add a copper metal roof to the house to match. (Fun fact: Joanna Gaines from the HGTV Fixer Upper show has a metal roof on her farmhouse!) I added a patina finish to it to blend well with the pickup. To make the roof, I used a ruler to draw white lines for the metal seams and added shadowing to both sides of the line with Copics. For the patina, I applied Distressed Oxide ink in Mermaid Lagoon and Evergreen Bough to the roof using the medium sized Blender Brush. I LOVE how this turned out. It’s even prettier and more realistic-looking in person! You can see the sparkle of the copper and the dinginess of the patina finish – a perfect blend of old and new!
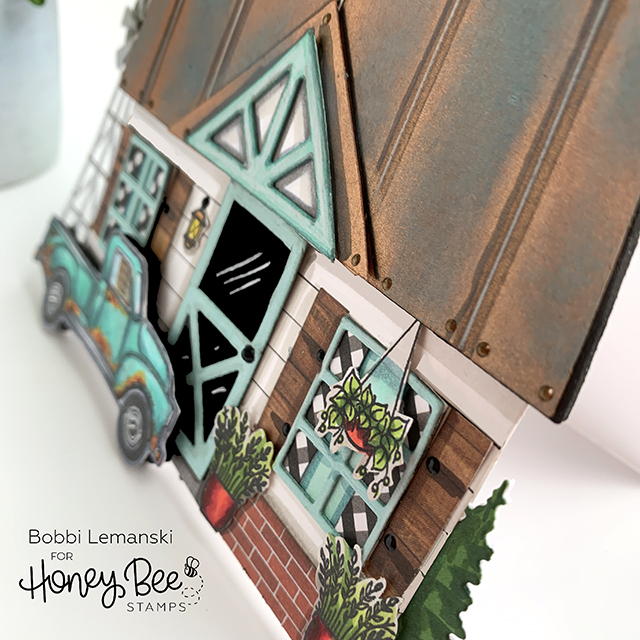
Siding was added to the base of the house using the Shiplap Siding Background Stencil. If you don’t have this stencil, you can also use the siding paper from the Home Essentials paper pad or create your own. Elements were colored and attached to the front to create the house front. The roof and the pickup truck were attached with a layer of die cut black craft foam for added dimension.
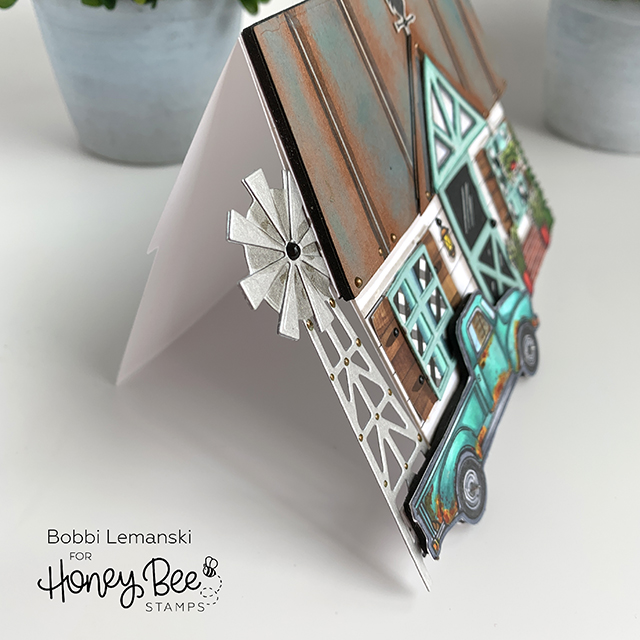
The side elements – windmill and shrub – were attached to the back of the card front to hold them in place. They will end up “sandwiched” in between the front and the card base. I covered the back of the shrub with the white die cut so that my Copic coloring bleed would not show from the back. I did the same for the truck so that the black craft foam would be covered. From the back of the card, everything is white for a clean finish except for the windmill. I left that in sliver because there was no color bleeding. If your silver cardstock is flimsy, you will want to back it in white for extra sturdiness.

I attached the card front to the card base. Added white glare lines on the door using my Uni-ball Signo White Gel Pen. I used Nuvo drops to add more dimension to the roof and windmill (copper), door knob and shutters (black), and tire hubcaps (silver). This card, with its added elements on the sides, fits in an A2 sized (5-1/4″ X 7-1/4″) envelope.
Shop all these wonderful Honey Bee Stamps products here!
Want to see more ideas and inspiration from me? Subscribe to my blog, BobbiHartDesign.com. I’ll send you updates on new posts! You can also find me on Instagram as @BobbiHartDesign and on Facebook as BobbiHartDesign.
Bobbi Hartmann Lemanski, Bobbi Hart♥ Design, Adding h♥art into every design
6 responses to “Farmhouse Style Living”
Wow, wow, wow, this is fabulous. Love all the little element. Stunning
Gorgeous card! I have the pickup, now I just need to get the rest of the farm elements!
Amazing card. The patina roof is so striking.
Amazing! I can’t wait to try some of your techniques! Just waiting on my stamps and dies to get here. I just love this set!
WOW!!
My dear, you are a genius! Your ideas are brilliant! I would love to live in your card!!!
I have just received my Farm House add-on set and I only hope I can do it justice as you have. I don’t have the HB pick up or barn so I will have to make something up.
Thank you for your inspiration!
XXOOO’S to another stamping sista!