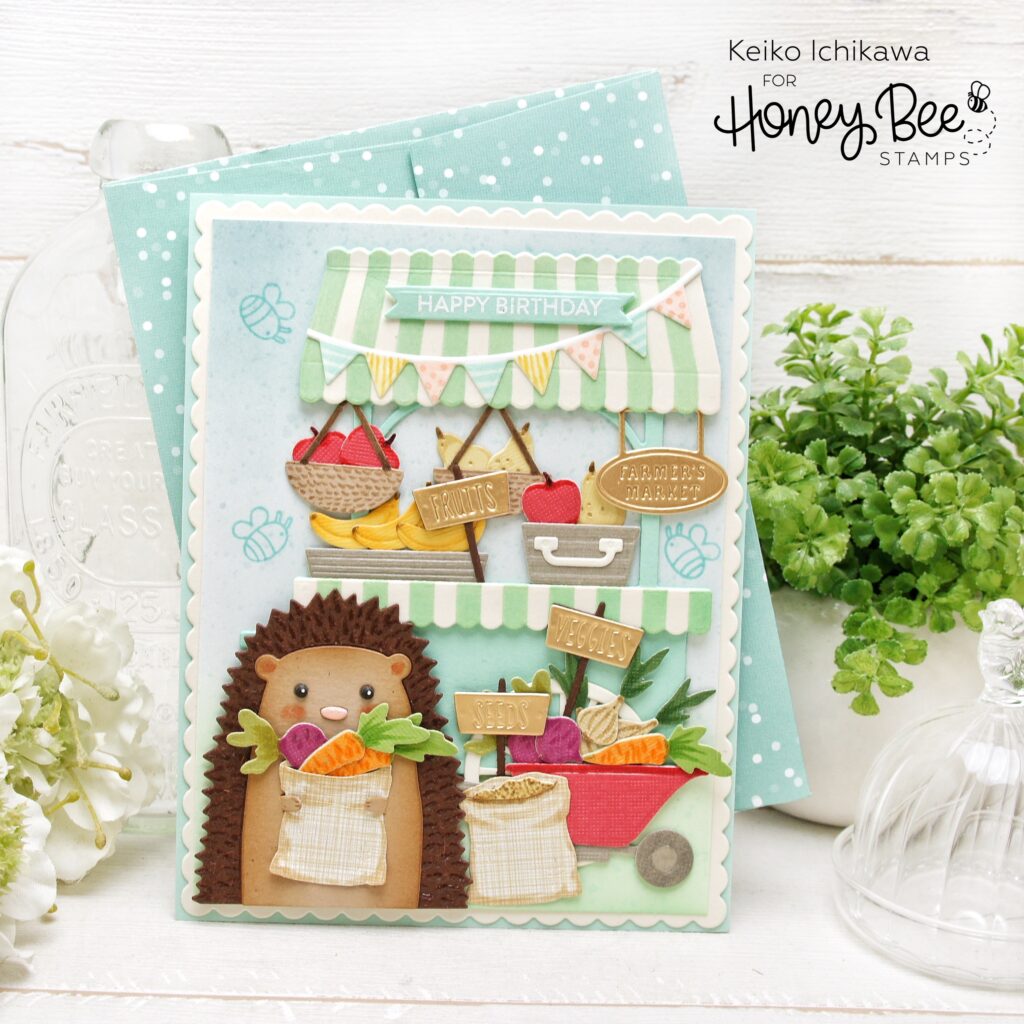
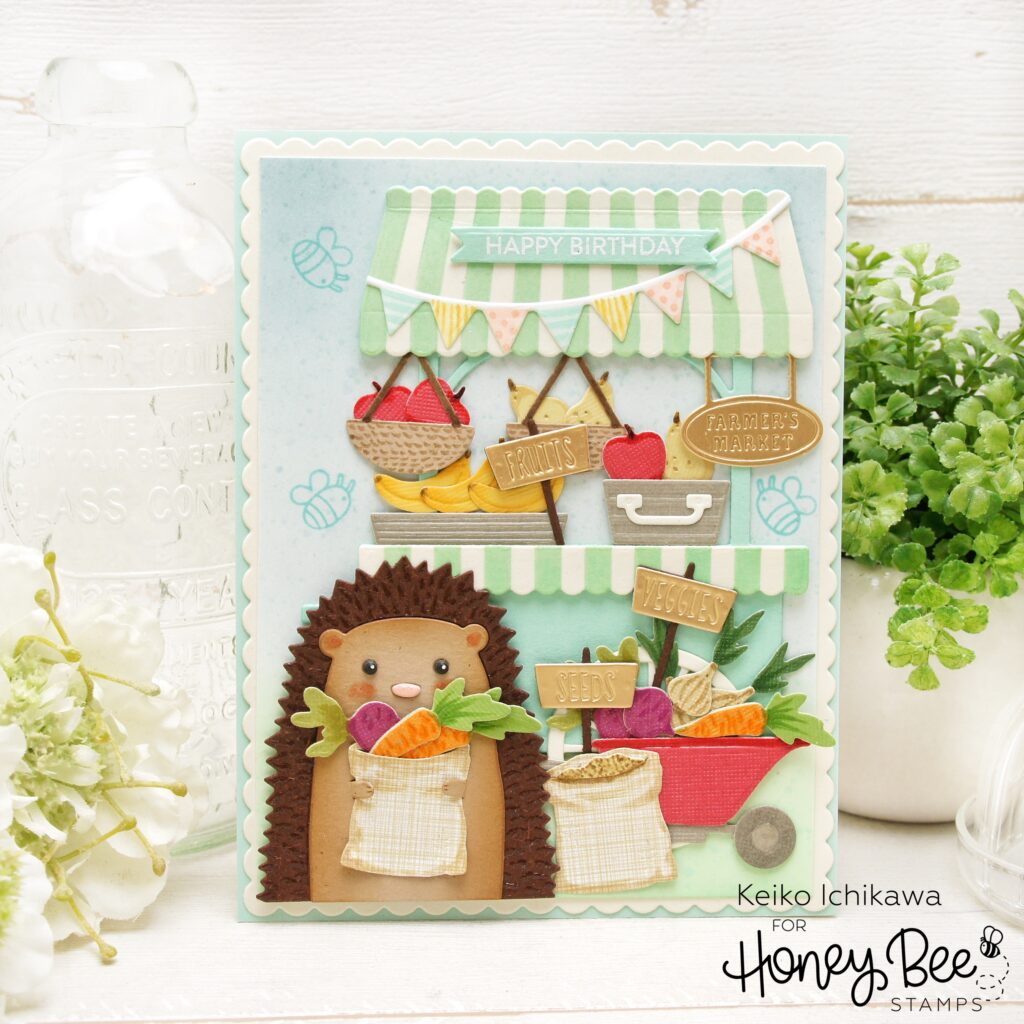
Hi crafty friends! It’s Keiko from Happy Tree Studio and I have this adorable farmer’s market scene card to share with you. I think this hedgy has a super cute market cart!
For the background, I cut a piece of white card stock slightly smaller than a A2 panel and inked it with Salvaged Patina Distress Ink (top 3/4) and Cracked Pistachio Distress Ink (bottom 1/4). To add little texture, I splatter the panel with water mixed with each colors.
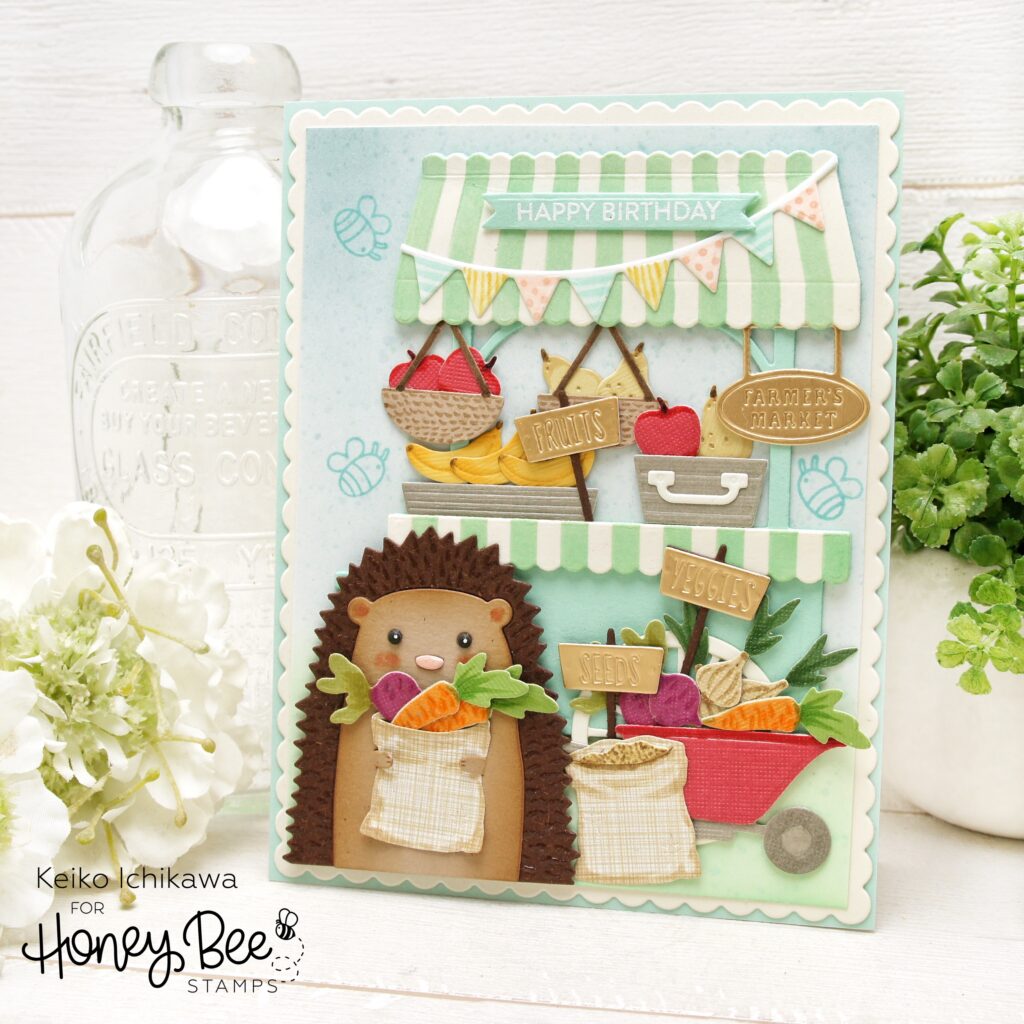
I then die cut all the elements out of various colors of card stocks including gold foil card stock for the signs (I love how the dies emboss these details on foil card stock really well).
Here are the list of dies I used:
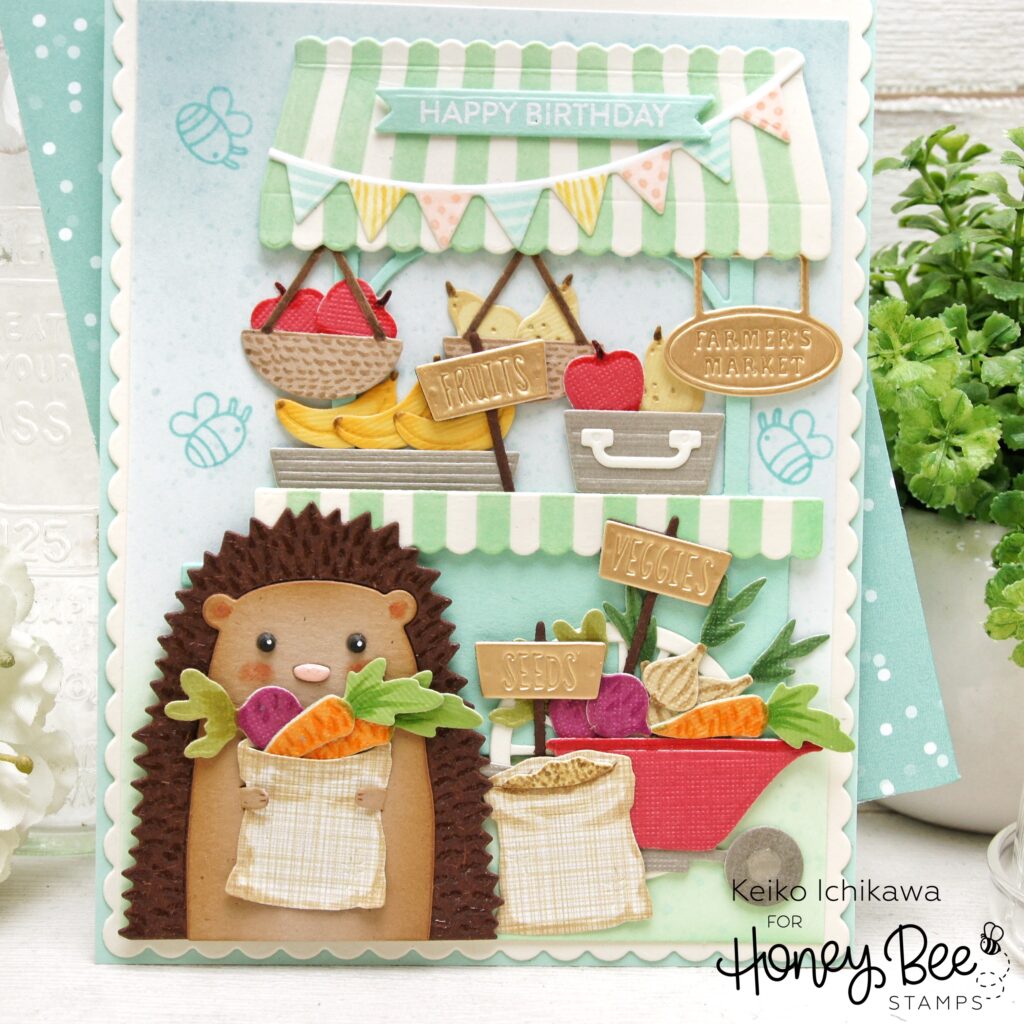
Market Cart Builder
Farmer’s Market Cart Add-On
Farm Fresh Market Cart Add-On (banner)
Heart Hugs (hedgehog)
I used markers and inks to add colors and details to the die cuts. For the market cart, I used the coordinating stencil to add stripes. Most of the dies emboss the details when cut, so adding these details with markers is super easy! Here are some helpful TIPS:
*I added Glossy Accents to the hedgehog to mimic his spine.
*To make hedgy’s eyes and nose stand out, I layered an extra die cut.
*I die cut the banner from white card stock and added color and patterns with COPIC markers.
For the Happy Birthday sentiment, I used the new Mini Messages stamp set and coordinating Banner die. I adhered the die cuts with liquid glue and some foam adhesives to make the scene dimensional. I felt the background was little empty (I really don’t know when to stop LOL), so I stamped the cute bees from Spring Meadow set.
To complete the card, I layered the panel on the cream card stock cut with Scallop A2 Card Frames die and adhered it on the mint card base.
Thank you so much for stopping by today. Have a wonderful week!!
