Hello Crafters!
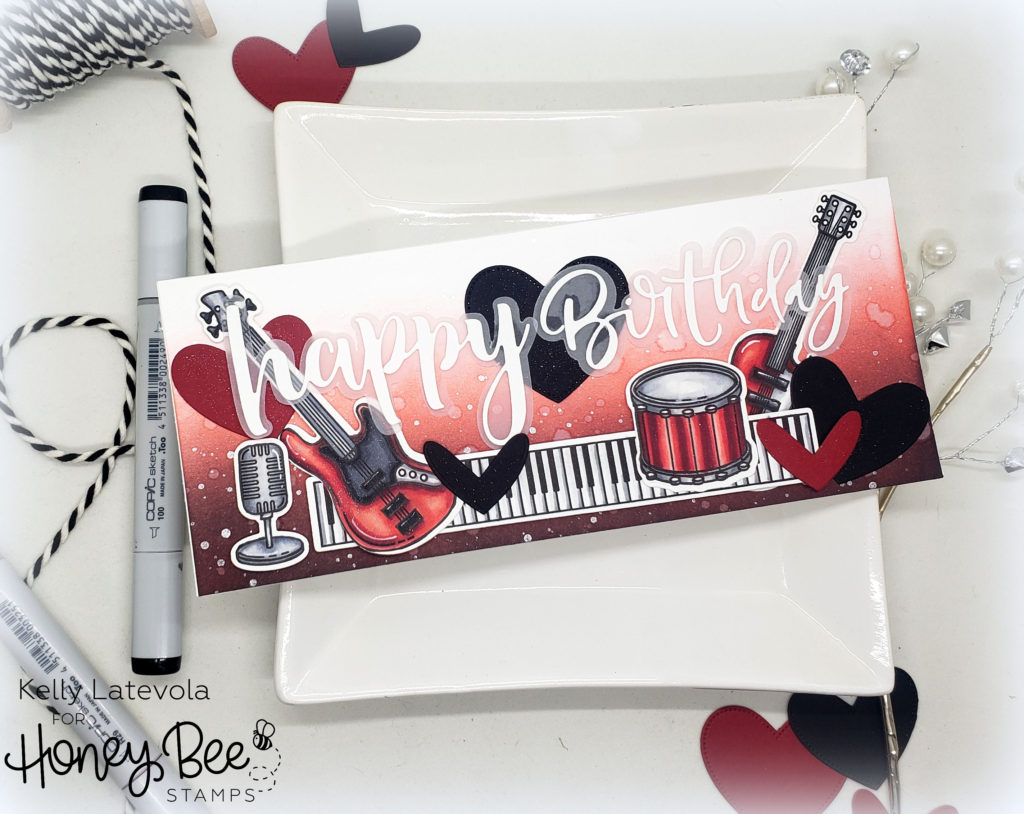
Today’s card is a little extra special because it’s for my fiance’s birthday. I bought him concert tickets but since almost everything is done digitally now I didn’t have anything tangible for him to open.
I have been wanting to create a slimline card for quite some time. I had created an insert to put in his card with all the concert information but I also wanted to be able to write him a note inside his card. This led me to making my slimline card a tri-fold so he would open the card and see his gift then flip up the insert and read my note.
As far as measurements go the card base is 8.5 inches x 7 inches. I scored in the middle at 3.5 inches. The insert is 8.5 inches x 4 inches. I scored a half inch in to create a half inch flap. I matched up the score lines on the base with the insert and only applied glue to just the flap portion.
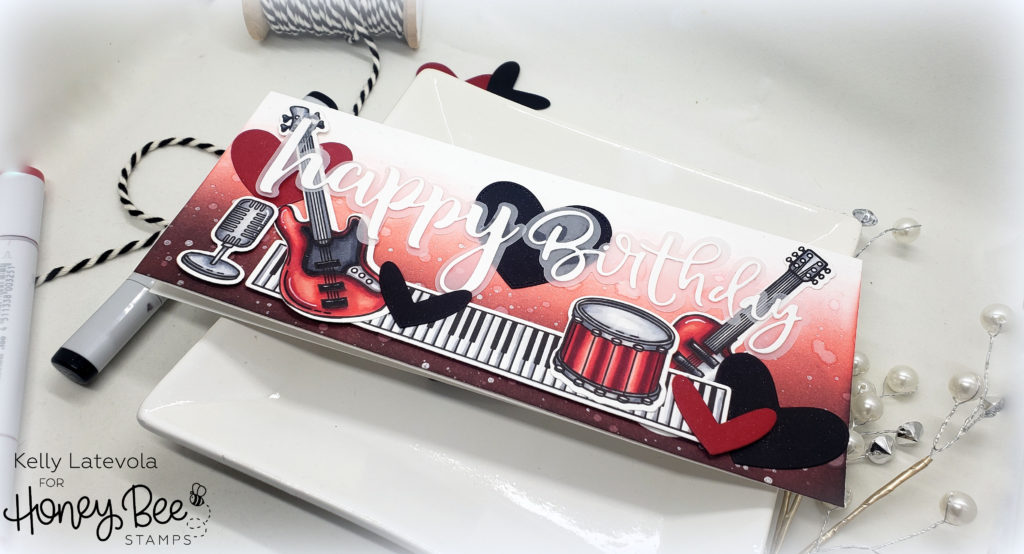
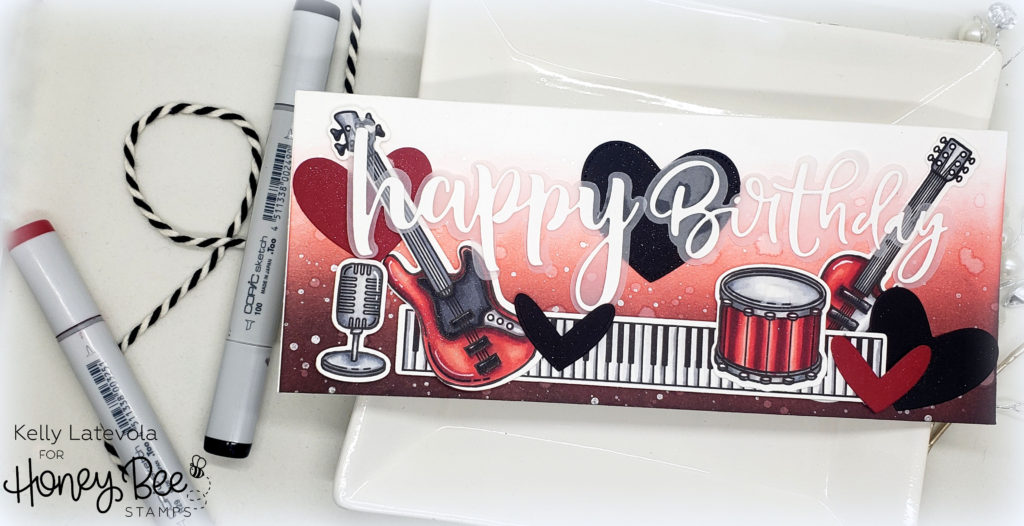
Since the gift was tickets to a rock concert I wanted the theme of the card to be consistent. The insert I created was red, white, and black in color so I carried that through to the front. I used distress ink to create an ombre effect on the front in reds. I added spatters of clean water and perfect pearls for shine.
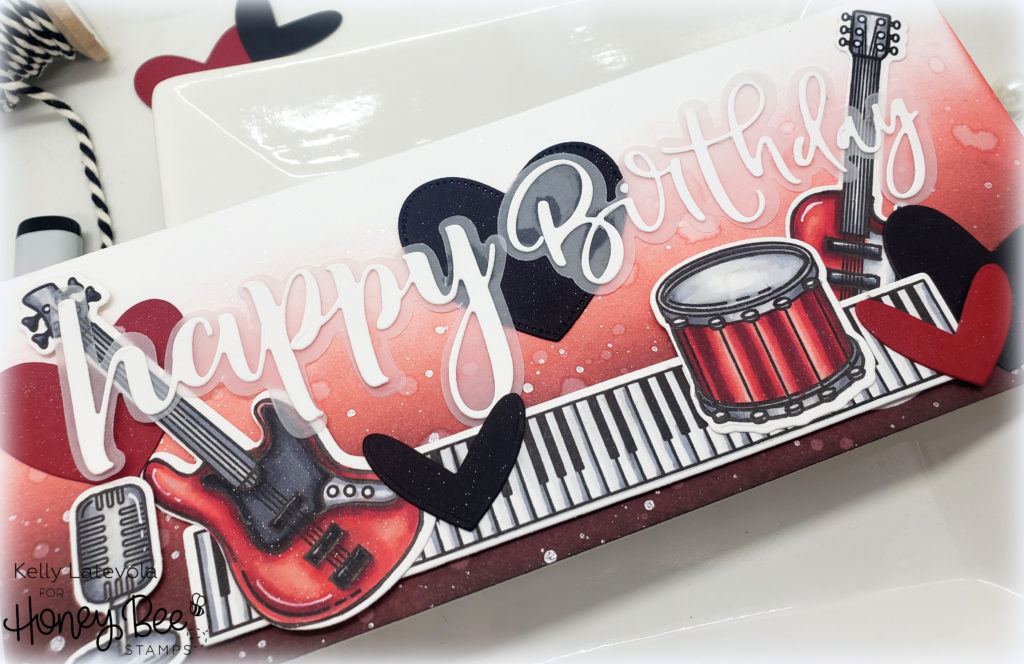
I used the Music Speaks set to decorate the front of the card. I stamped and colored up several of the musical instruments with copic markers. They were die cut using their matching dies. I die cut my sentiment and hearts as well. I assembled the card using glue and foam adhesive for varying heights.
You can see the entire process in the video below.
I think these cards are so fun for gift giving or even gift cards could be put in the insert section. There’s a ton of variations to be made 🙂
Thank you so much for stopping by!
Supplies:


