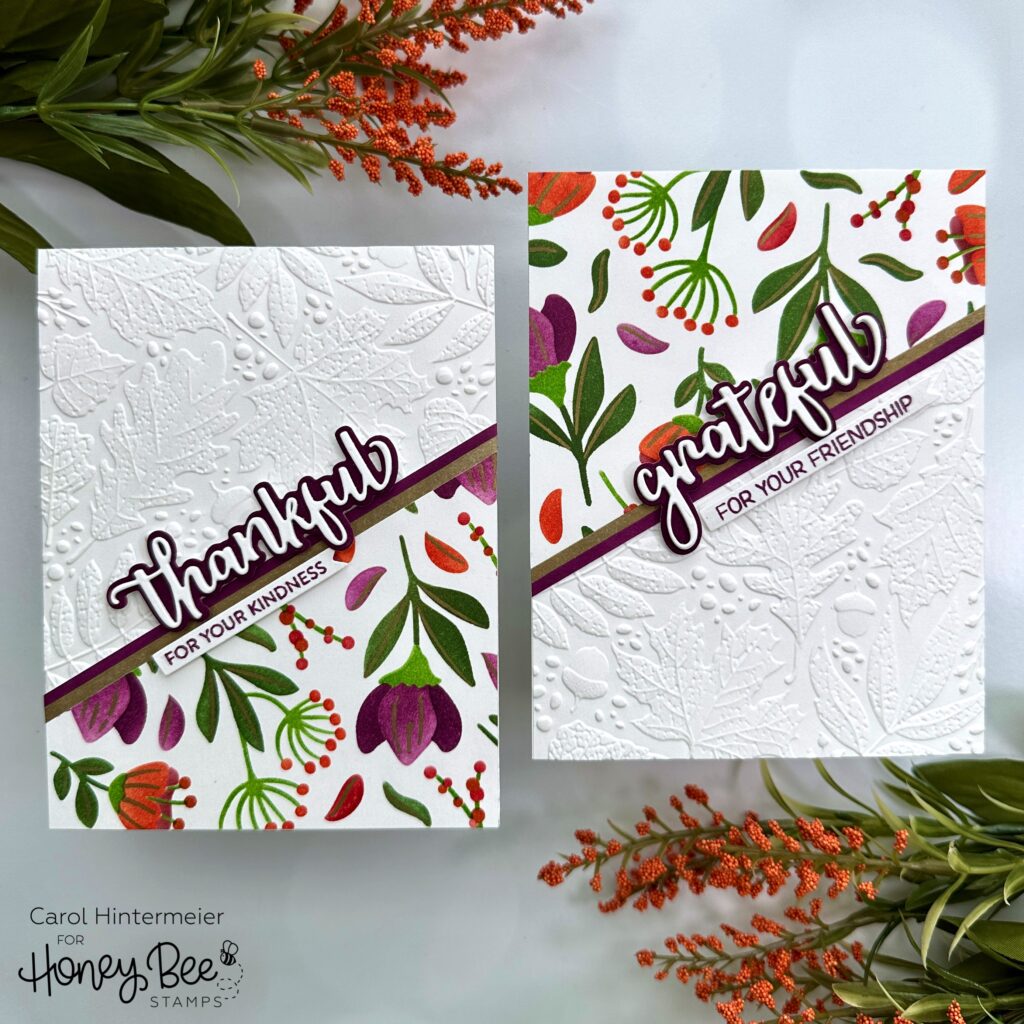
Hello Honey Bee friends! Have you tried the new Autumn Delights stencil set? This was my first go at it, and I love it! The size is large enough that you can easily make two cards from the one stenciled piece too! Gotta love that!
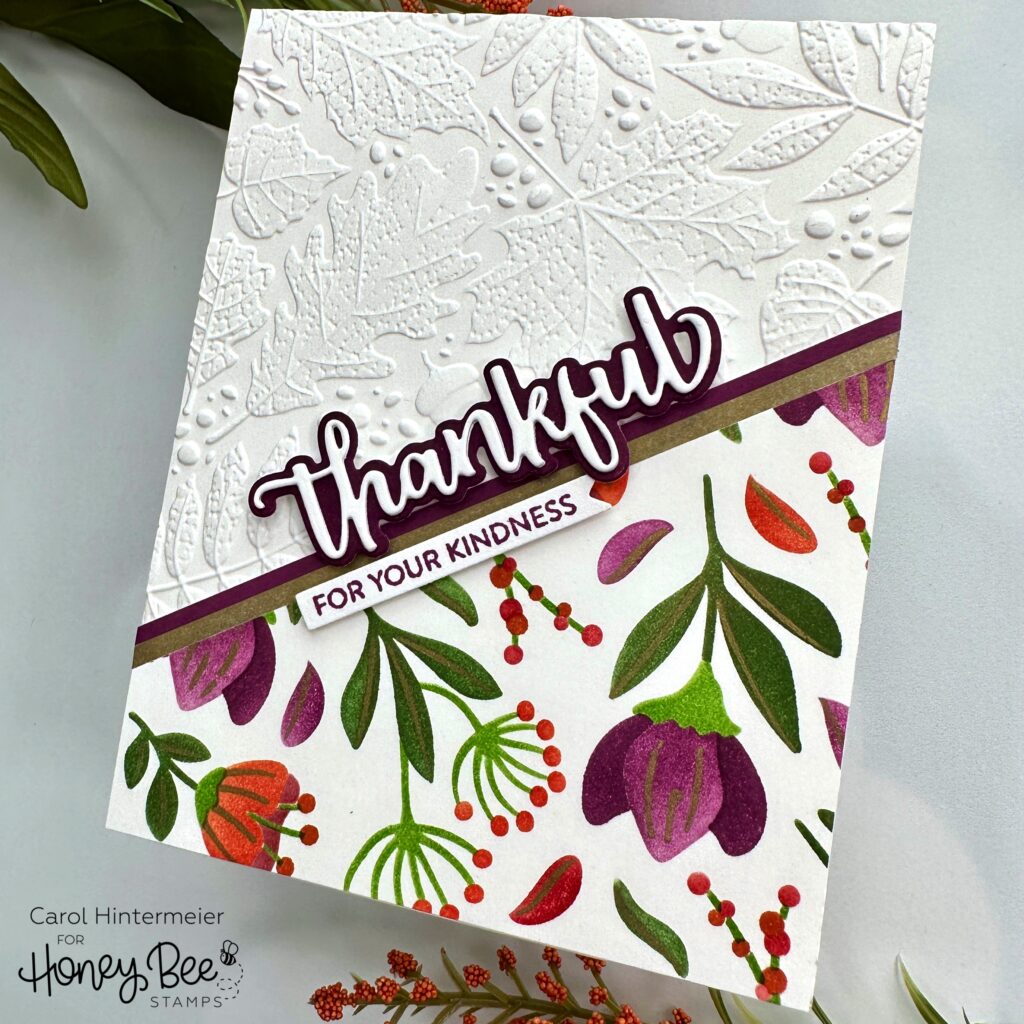
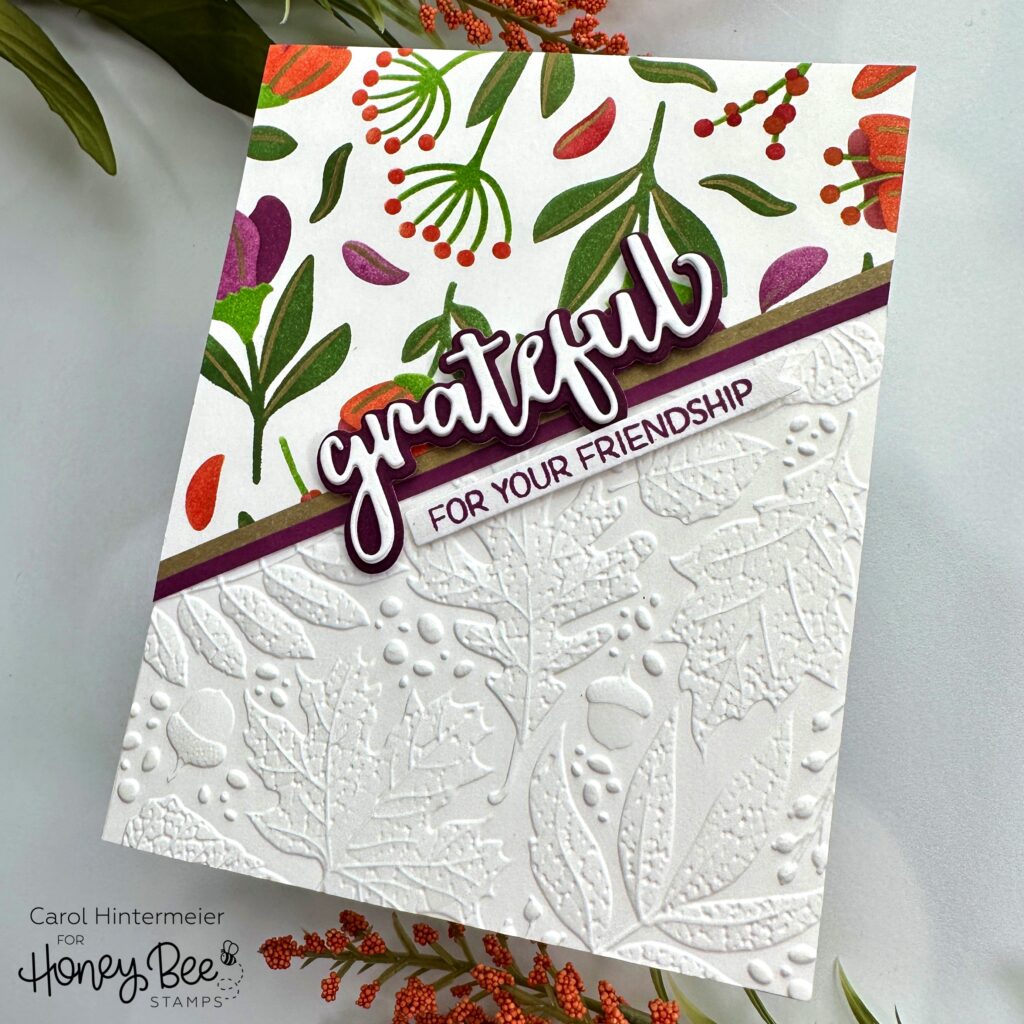
I use 80# Neenah Solar White for all of the white cardstock on these cards. I started with a 6″ x 6″ piece for the Autumn Delights stencils. I used Distress Inks and Detail Blender Brushes for each layer of the stencil set. I really like the regular Distress Inks compared to the Distress Oxides for the bright and clear colors. I used these Distress Ink colors: Aged Mahogany, Seedless Preserves, Fired Brick, Crackling Campfire, Rusty Hinge, Mowed Lawn, and Rustic Wilderness.
The only stencil layer that I didn’t use Distress Inks with is the stencil that’s labeled “small stems”. I used a separate ink blending brush to add Bee Creative Metallic Gold ink through that stencil. While I had that out, I inked up a scrap piece of cardstock with more gold ink. I let the ink dry and then trimmed two narrow strips with my paper trimmer.
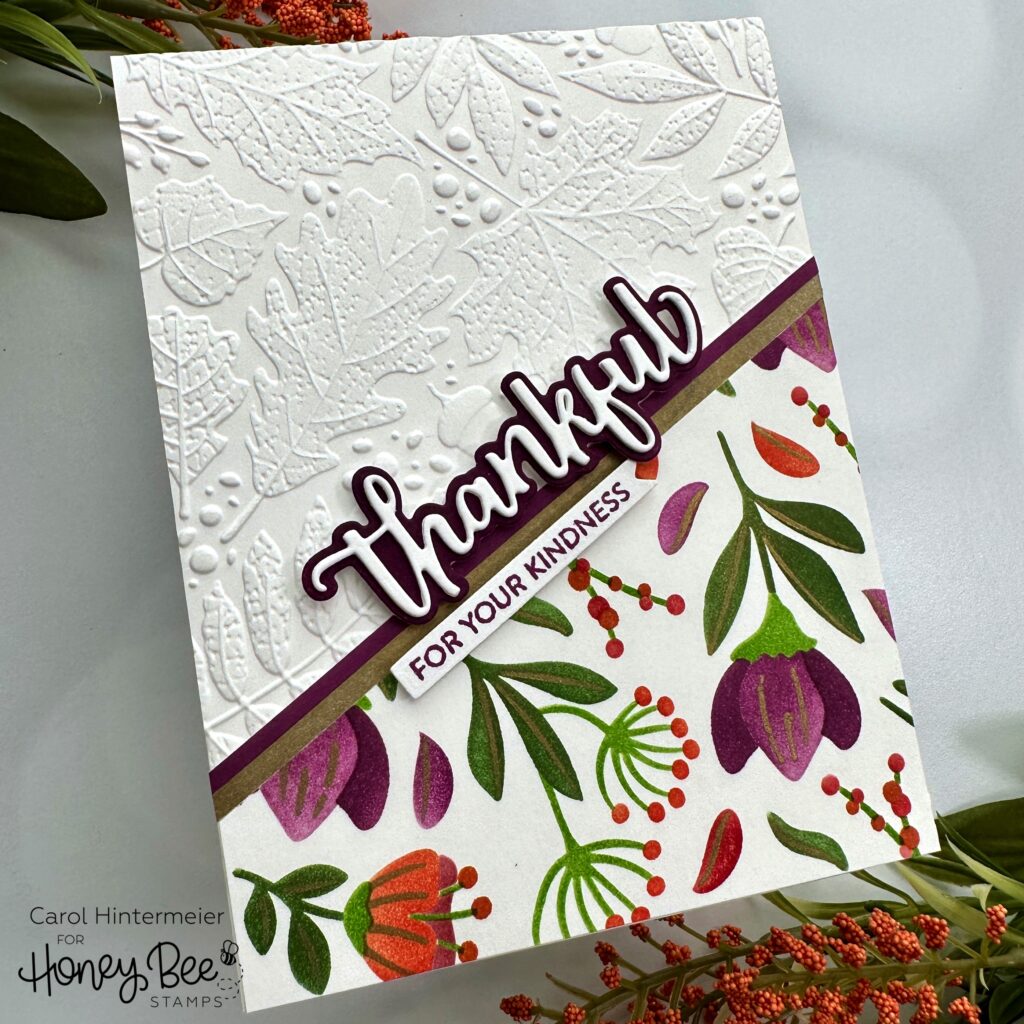
I wish I had remembered to take a photo of the finished piece before I cut it into two pieces! Next I trimmed it at an angle, then cut each of those pieces to fit my A2 card bases. (FYI, did you know that I almost always have a reel I post on my Instagram that shows a bit of my card making process? Join me over there and you will see the full stenciled piece!)
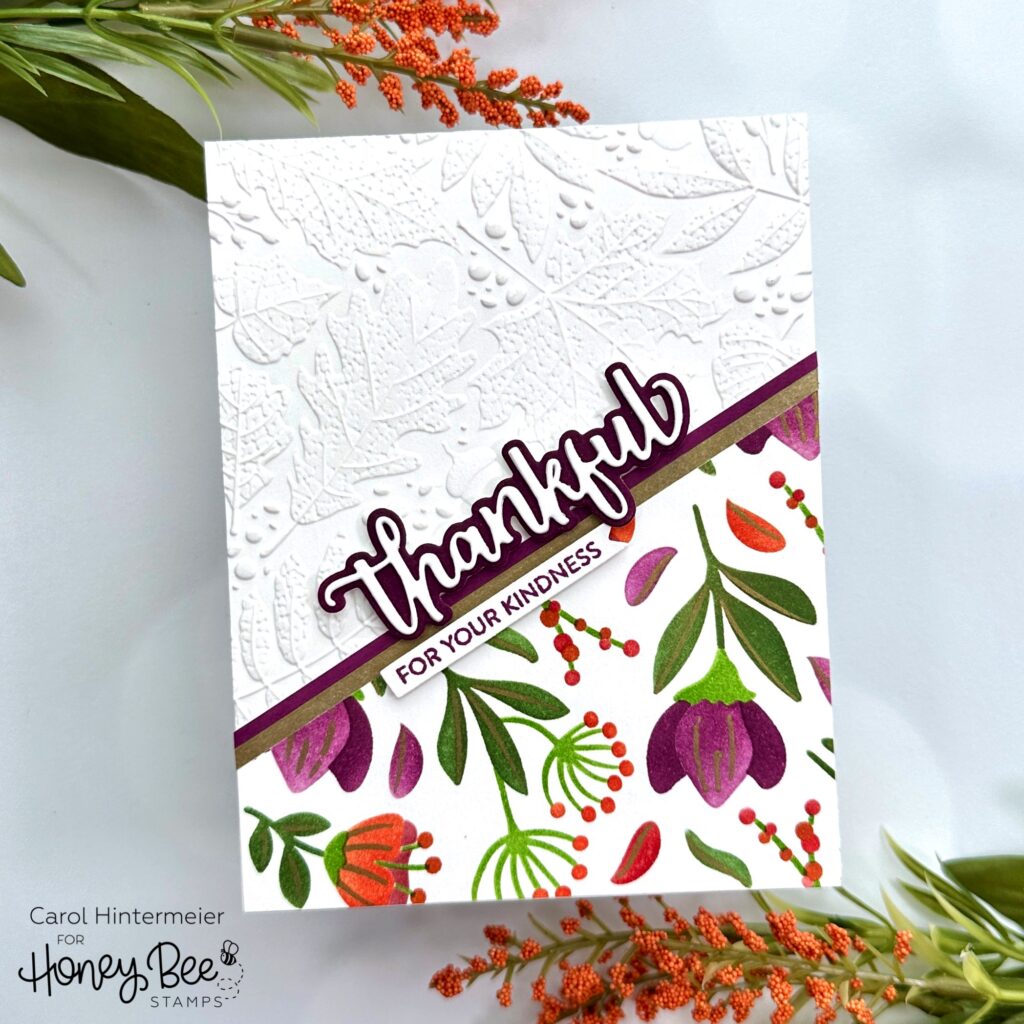
I used the gorgeous Fall Leaves 3D embossing folder to emboss two pieces of A2 sized cardstock. Then I used Bee Creative glue to adhere them to the card bases.
Next I adhered the stenciled pieces to each card with glue. I inked up more scrap cardstock with Seedless Preserves Distress Ink and trimmed off two narrow strips. As you can see in the photos, I glued the gold and purple strips next to the stenciled pieces.
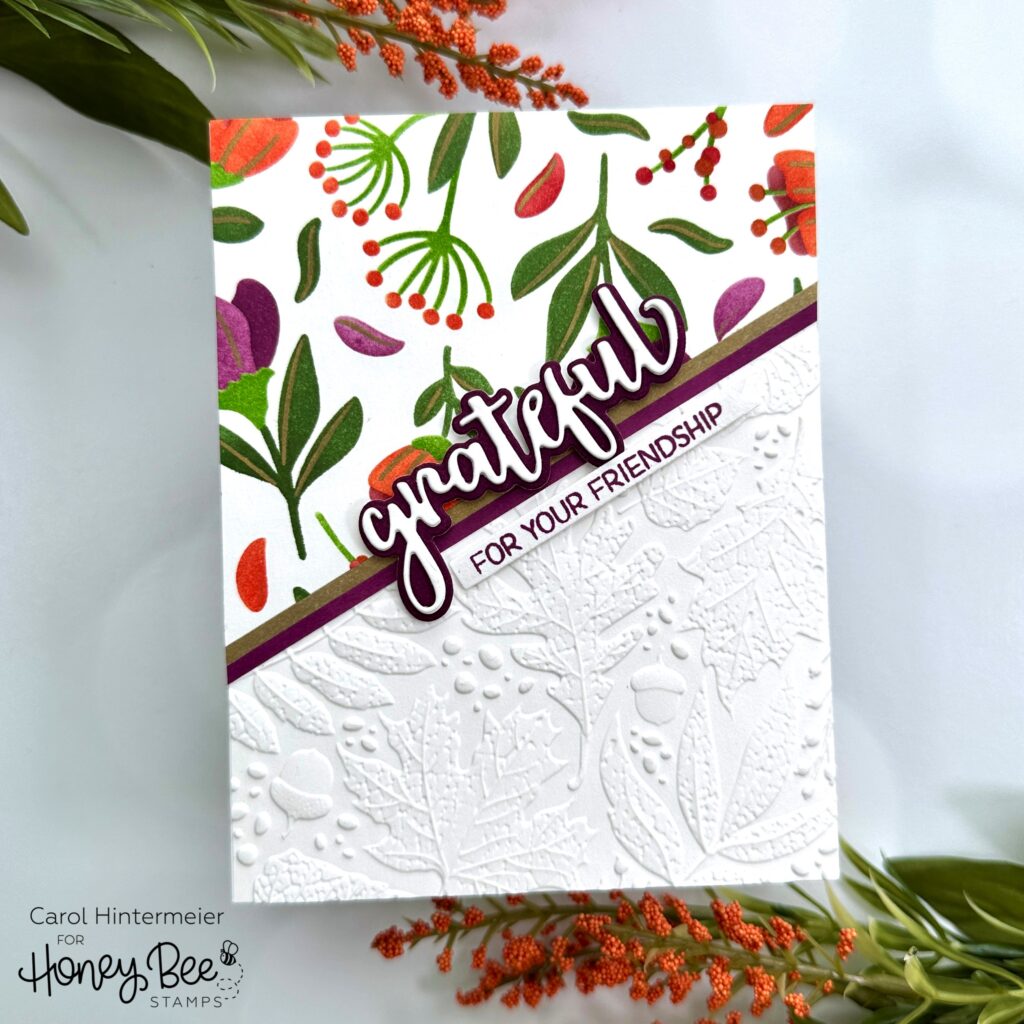
Again, I inked up more scrap cardstock with Seedless Preserves Distress Ink. Then I cut out the shadow layers of the Bitty Buzzwords: Fall Honey Cuts from the inked piece. I die cut the sentiment layers three times each from white cardstock and adhered the layers with glue.
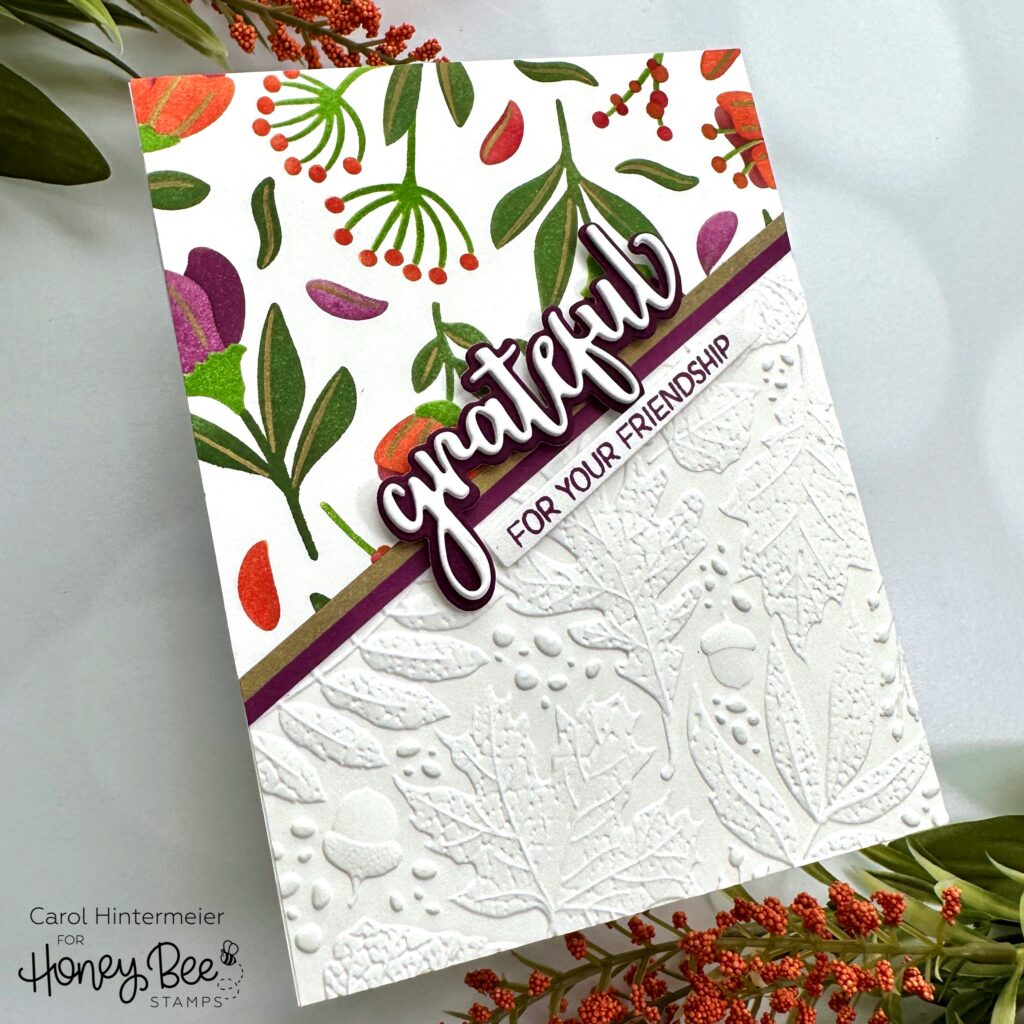
The sub-sentiment of “for your friendship” from the Bitty Buzzwords: Fall stamp set is stamped with Seedless Preserves. I stamped another sentiment to go with Thankful that’s in the Mini Messages stamp set. I was happy to find that both sentiments could be die cut with the Mini Messages dies! Both sentiments are popped up with foam tape. Tip: I used my scissors to trim pieces of foam tape to fit as needed. Makes it so easy to get the fun dimension!
I do enjoy getting two cards in one session! The Autumn Delight stencil set would look beautiful in colors of any season too! I hope you’ve enjoyed these cards and have found some inspiration too! Thank you so much for stopping by!
11 responses to “Create Two Easy Cards with the Autumn Delight Stencil Set”
Oh my gosh these are so beautiful! Love your color choices!
I love this idea with the diagonal design.fantastic cards.
Thank you so much!
Thank you very much, Cindy!
Amazing card, wow!! So classy and cheerful! Love the stencilled panel and the embossing is just gorgeous! Great design!
I want also say a BIG THANK YOU to HoneyBee for sponsoring The Cat Lovers Christmas Challenge, 2023!
Thank you Alicia! Honey Bee really is the best!
I’ve used this layout many times. It’s an easy way to get 2 cards made quickly.
THANK YOU for sponsoring
The Cat Lovers Christmas Challenge, 2023!
Happy you like my cards! Honey Bee is THE best!
Love how you put these colours together. Unfortunately, when I tried it the stencils didn’t line up so the images were rather askew. I used a stencil mat so everything was tucked into a corner but things still didn’t line up. Did you have to line yours up by hand or did you use a stencil mat too?
Thank you! I do line up each stencil individually and do not use a stencil mat with these stencils. I hope that helps! Thank you for stopping by!
[…] white of the embossing, it’s give these Thank You playing cards a really elegant look. Go to the Honey Bee Stamps weblog for a better […]