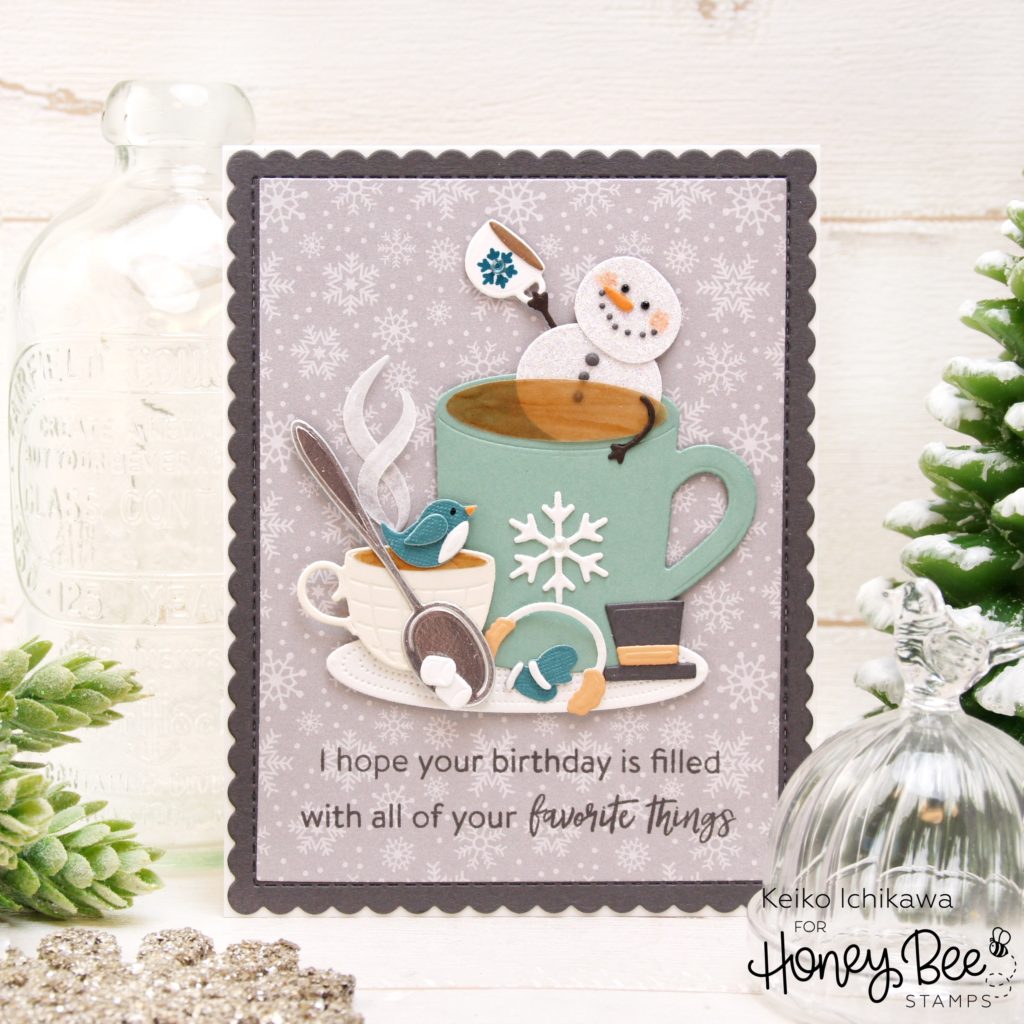
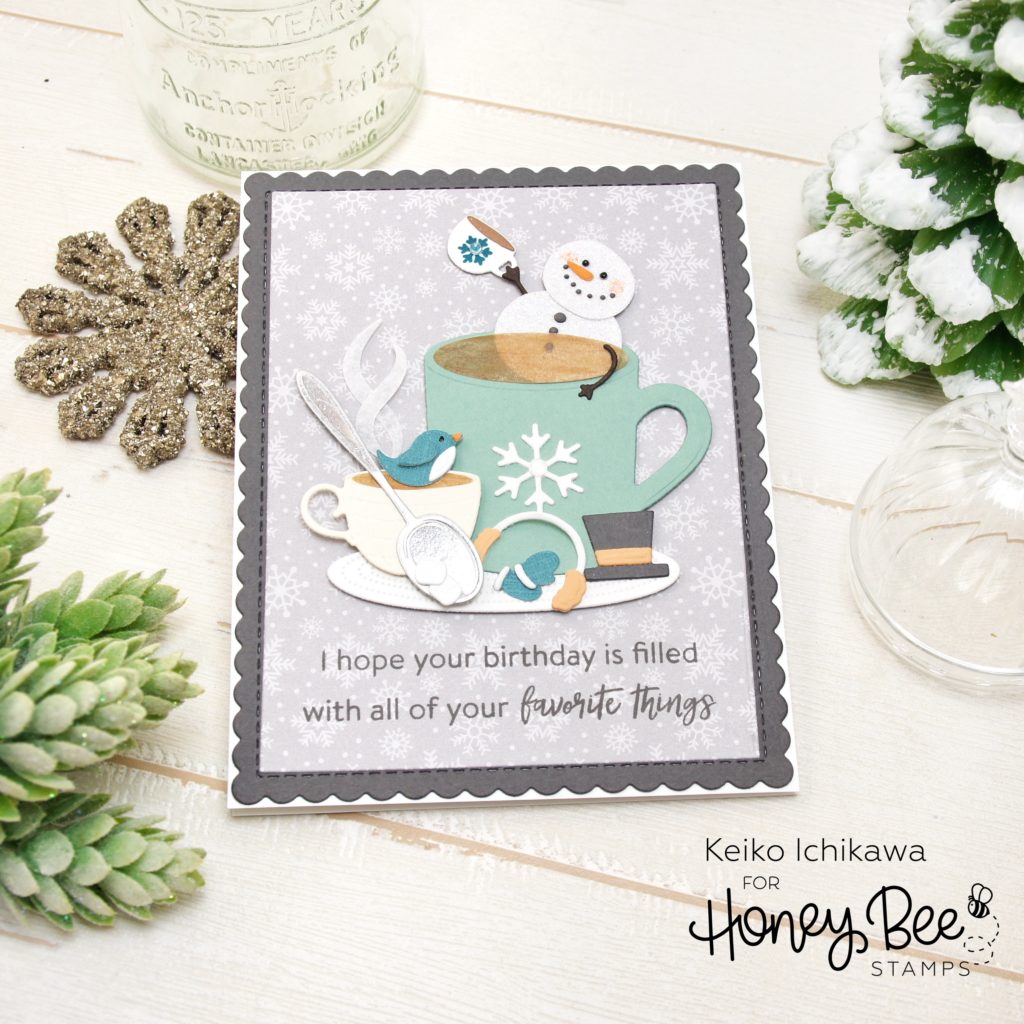
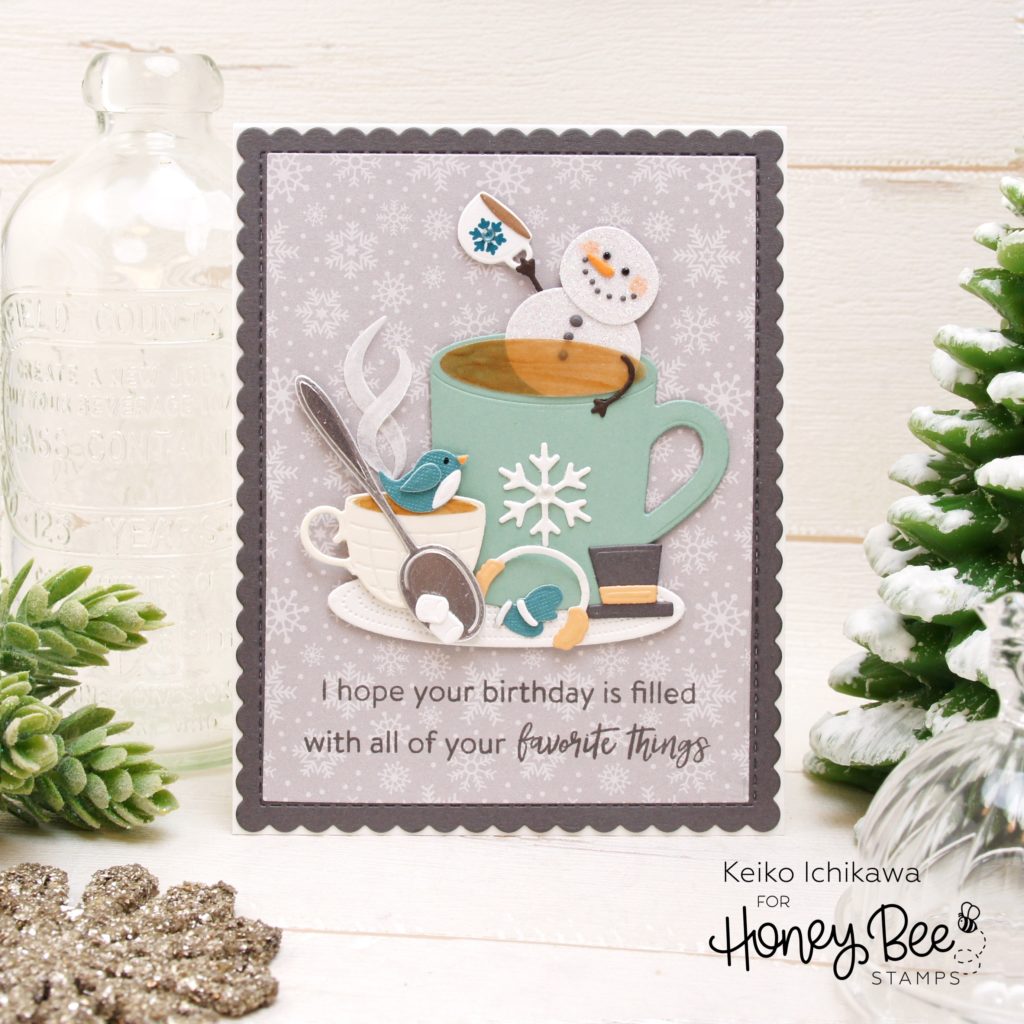
Happy new year crafty friends! It’s Keiko from Happy Tree Studio and I’m so happy to share my creations with you for another year! Today I have a clean and simple (very rare for me LOL) scene card for you all. I went through my die collection to created this adorable scene. This card is for my hubby’s birthday and I combined two of his favorite things: hot spa and coffee! I encourage you to look in your stash and find the dies to create a simple scene card.
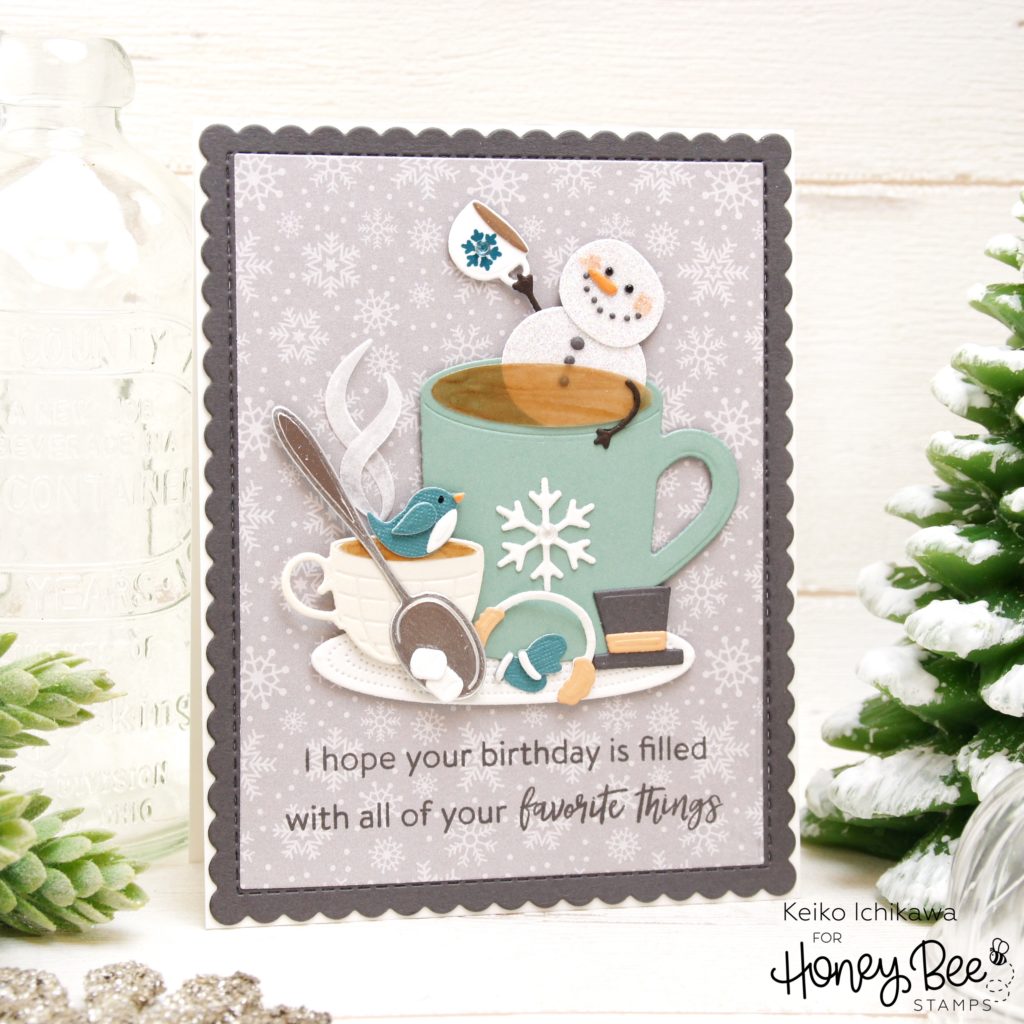
For the background, I die cut a piece of dark gray card stock with Scallop A2 Frame die and adhered it to the top folding A2 card base I created from white card stock. I then cut a slightly smaller rectangle panel from a snowflake patterned paper from Make It Merry paper pad and layered it on top. The sentiment is from Birthday Wishes set and I used dark gray ink to stamp it on the bottom of the panel.
Next step is to die cut all the elements from various card stocks including velum and foil. For this card, I used four different die sets:
Large mug, spoon, sugar, snowflake and steam: Mugs & Kisses die set
Tea cup: Teapot & Cup die set
Round mat: Rock-a-Bye Baby die set
Snowman, bird and accessaries: Build A Snowman die set
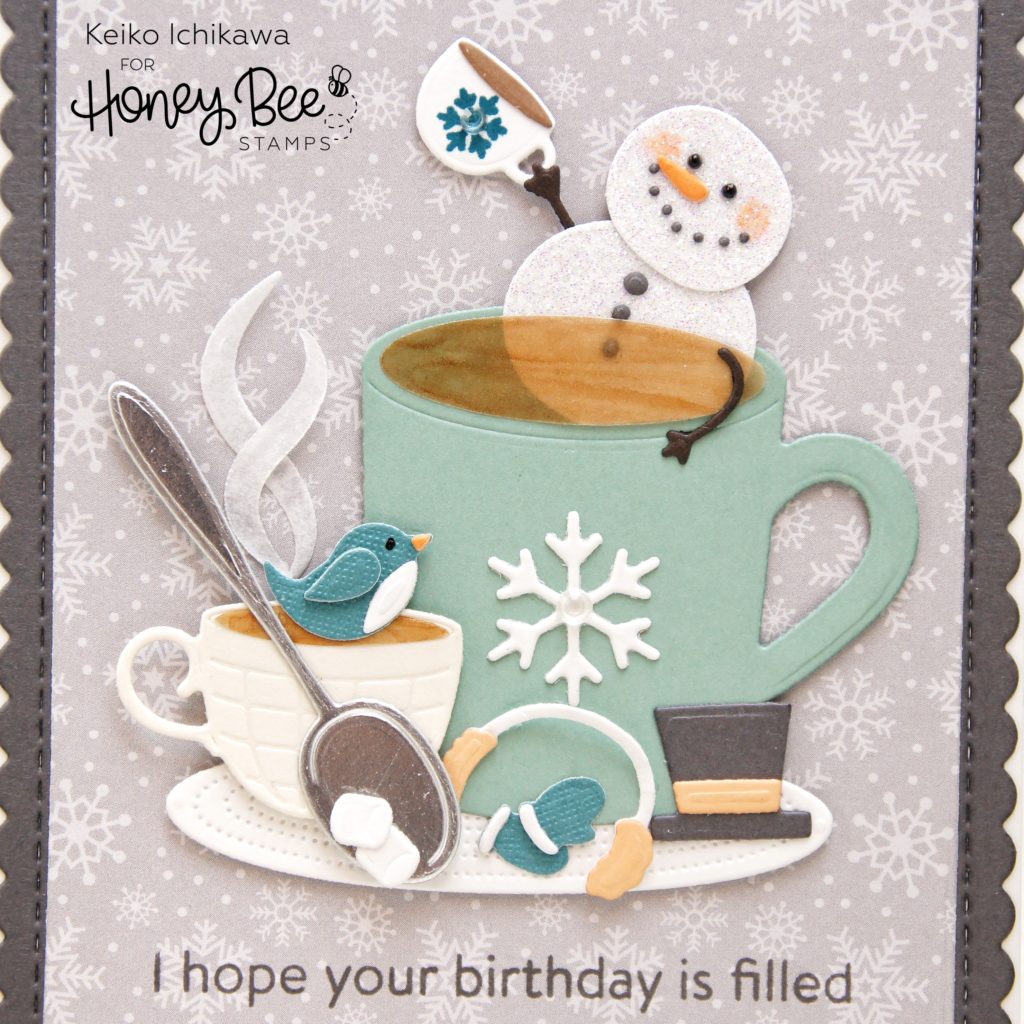
It is pretty straight forward from here on since all you need to do is to put together all the die cuts but here are the few TIPS. I used velum for the coffee for the large mug and colored it brawn using a Copic marker. I wanted to the coffee part to be semi transparent so you can see the snowman’s body underneath. I also die cut the steam from velum and only added glue to the bottom to make them look dimensional. When adhering the die cut elements, I used some foam tapes (single layer to most of them and double layers to some) to add dimension.
To finish off the card, I added rosy cheeks to the snowman using a Copic marker and also added some gems to the snowflakes. I stamped a tiny snowflake stamp I found in my stash on the tiny mug the snowman is holding.
Thank you so mush for stopping by today. Have a wonderful week!
