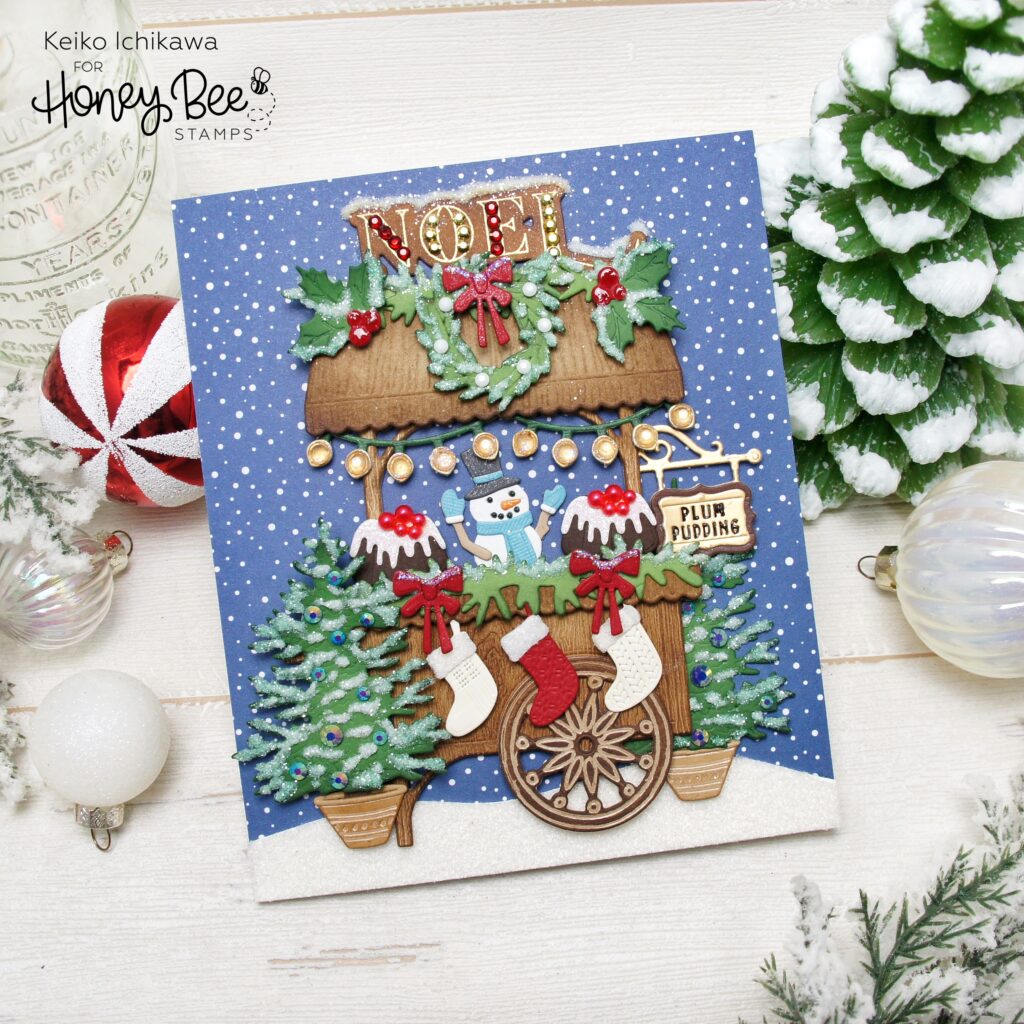
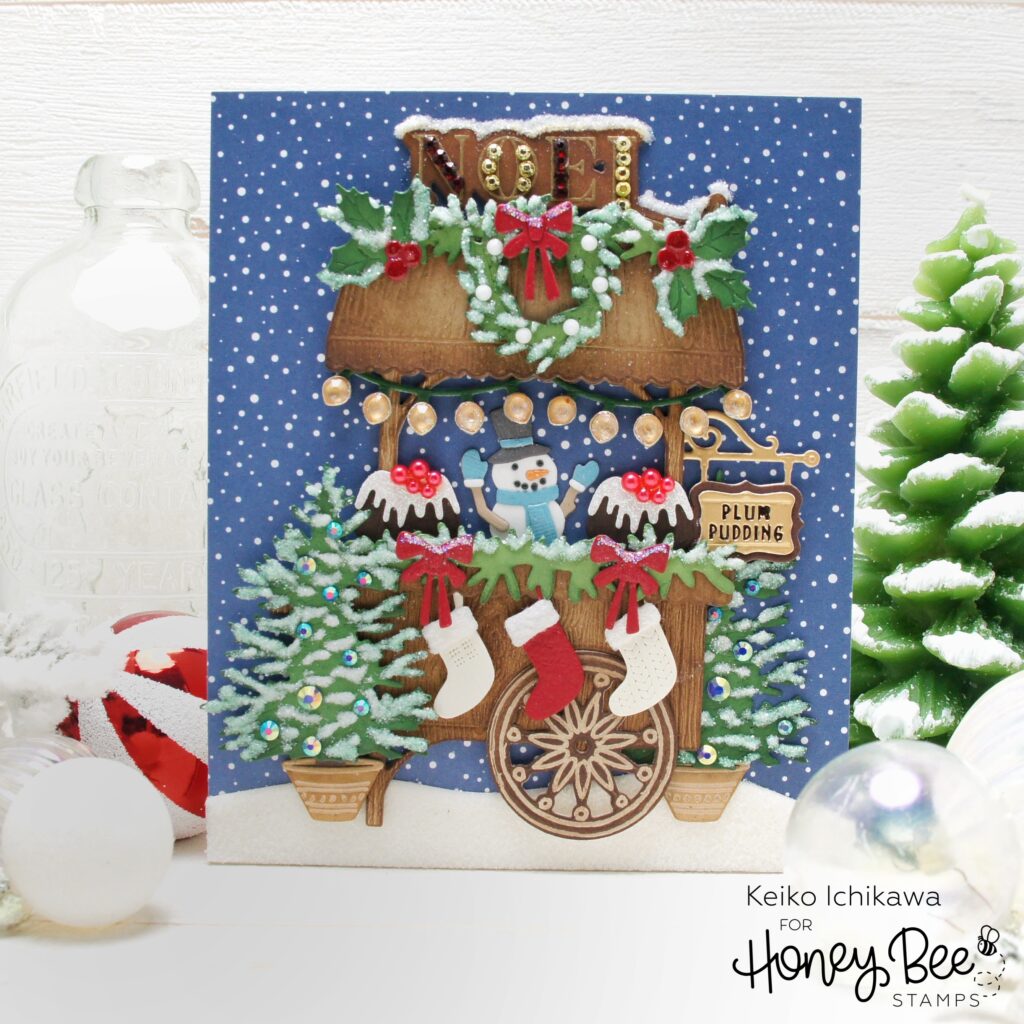
Hi crafty friends! It’s Keiko from Happy Tree Studio today and I have this Christmas market scene card to share with you all! As you can see, Mr. Snowman’s plum pudding shop is all decorated for Christmas. The card like this might look a little too detailed (it may well be!) and intimidating to create, but the design itself is pretty simple to put together. You can leave these die cuts as they are (without any detailing) and the finished card will still look perfectly cute since Honey Bee Stamps dies add so much texture and details just by die cutting. Just look at those stockings! Because I enjoy adding details to die cuts, I thought today I share some of the little tips and tricks!
For the background, I used the snowy pattern paper from the new Winter Wonder paper pad. I cut it to 5″ x 6″ and adhered it to the card base I created. This market cart will fit in the standard A2 size card panel, but because I wanted to add many elements to the scene, I decided to make a slightly larger card. The design of this card is pretty simple. You just need to die cut the elements and glue them together. Here are the stamp and die sets I used:
Market Cart Builder die set
Christmas Market Cart Add-On die set
Farm Fresh Market Cart Add-On die set (wooden roof and the trim)
Lovely Layers: Front Porch Holiday Add-On die set (snowman)
Peace, Love, Joy stamp & die set (NOEL sign)
<TIPS For Adding Texture & Details To The Die Cuts>
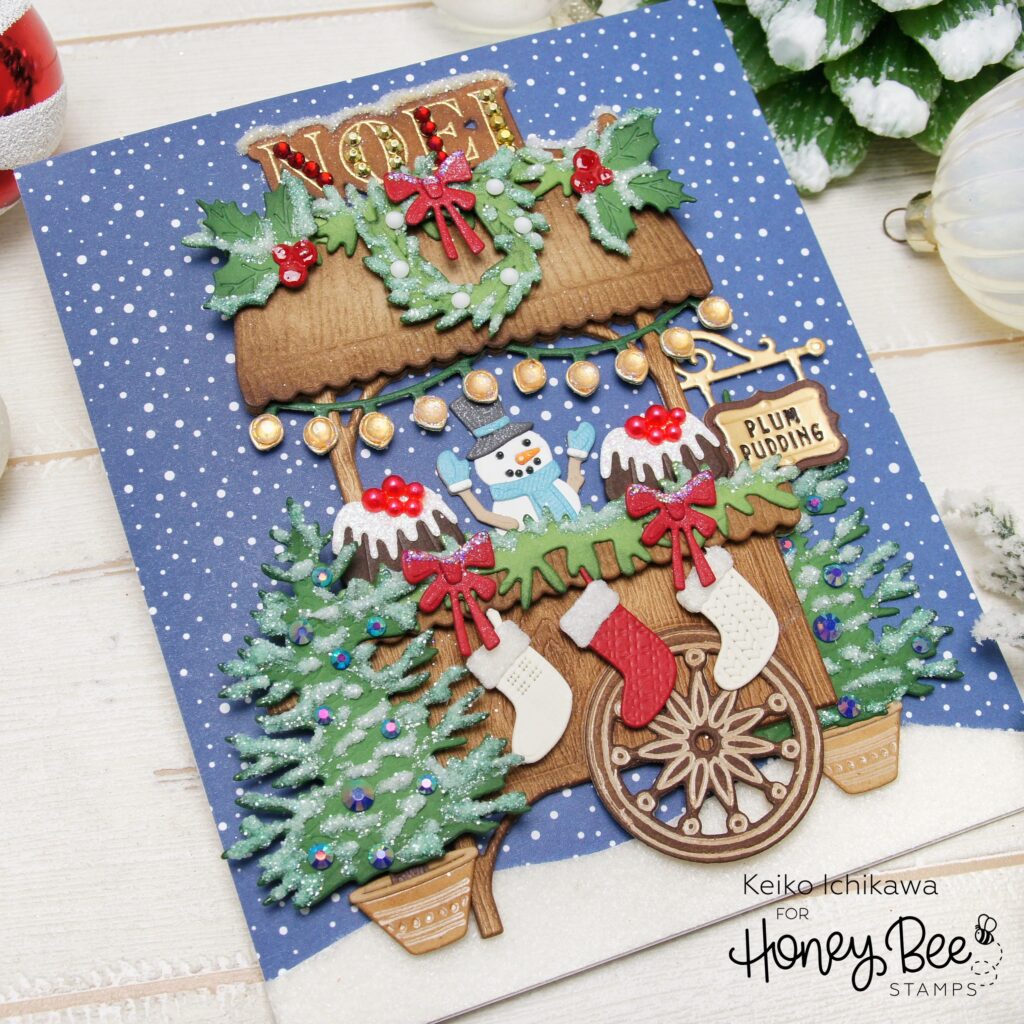
1. Adding Snow: I added snow to many of the elements by applying some clear glitter glue in a fine tip bottle and then cover them with Distress Glitter Clear Rock Candy. You can also use Glossy Accents instead of glitter glue to get the similar look.
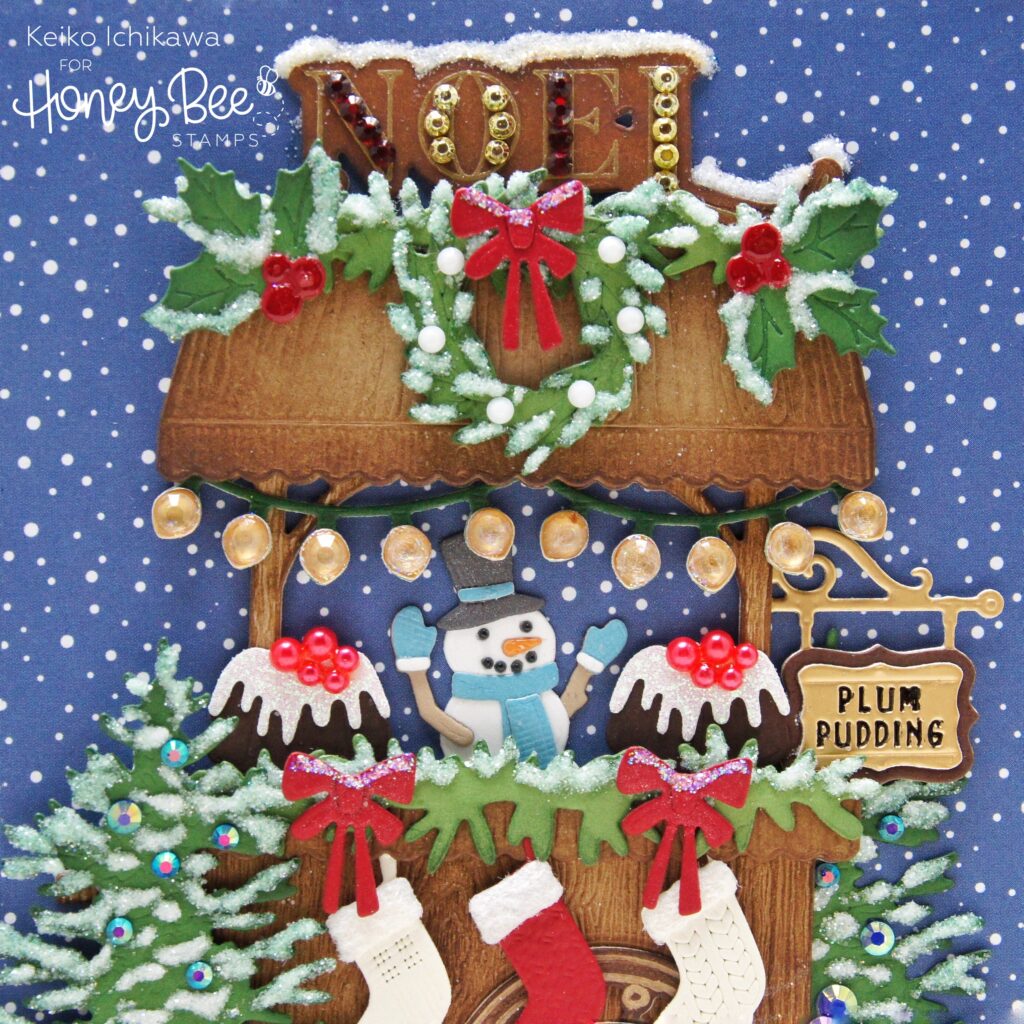
2. Adding gem & pearl stickers: Honey Bee has gem & pearl stickers in so many colors (and a packet includes three different sizes!). I used them on the Noel sign, puddings, wreath, and the trees. I also added some clear gems to the Christmas lights to make them look dimensional.
3. Using specialty papers: Die cutting the elements from specialty papers add so much details. I used gold foil for the Christmas lights and the store sign, and white flocked paper for the snowy ground and the trims for the stockings. The woodgrain paper was perfect for the main part of the market cart. For the icing, I used white glitter paper.
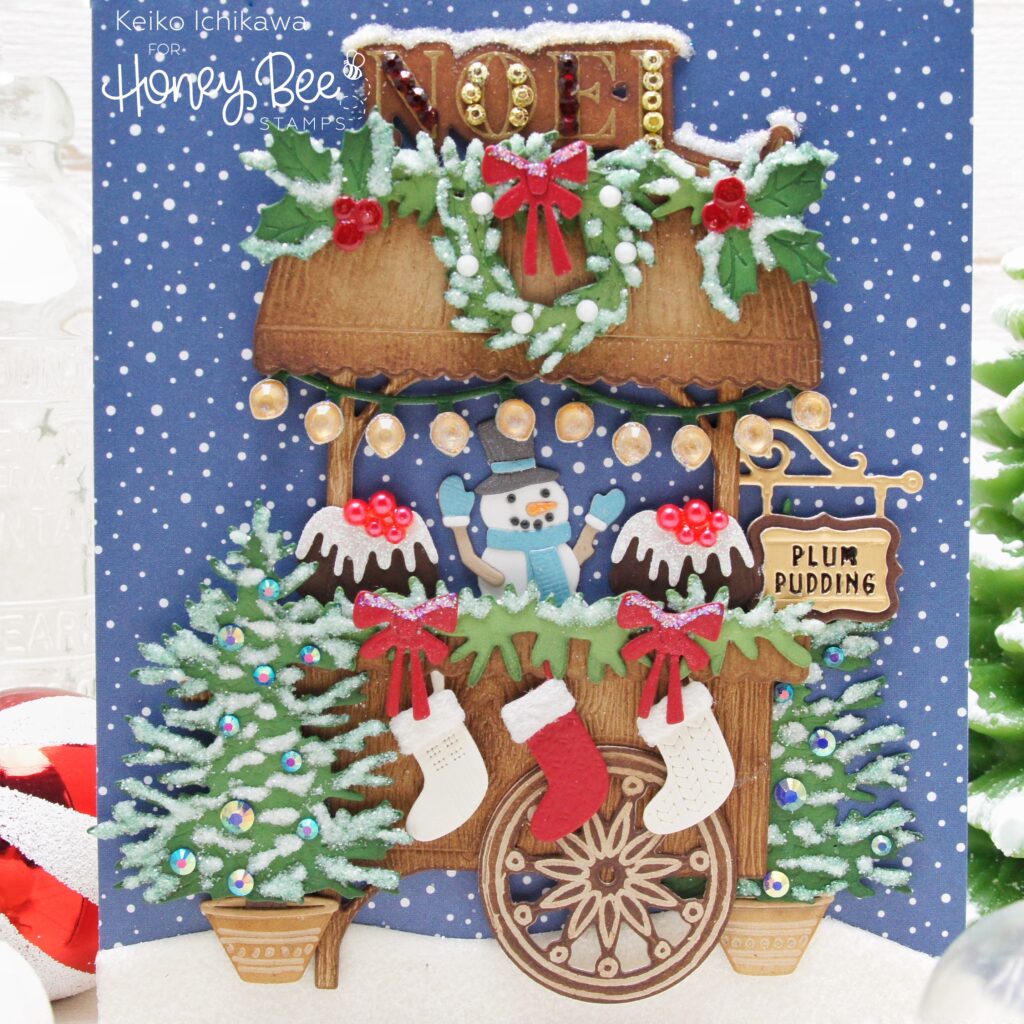
4. Inking the die cuts: I love die cutting elements from colored card stock and adding extra color and shading by inking. It also make the details added by the dies stand out. I didn’t ink the small elements such as snowman or stockings but did ink most of the elements. One of my favorite trick is to trace over the embossed details with clear gel pen (I use the one by Sakura) before inking. I used this technique on the wheel and the tree pots and you can see the details really stand out.
5. Adding dimensions: I love adding dimensions when putting together the elements. I usually do this by foam adhesives on the back but for the thin/small pieces, I prefer die cutting the multiples and layer them for dimension. I did this for the market card base (because of the thin pillars and legs), wheel, and the Noel sign.
Thank you so much for stopping by today and I hope these tips will help you add some texture and dimensions to your creations!
